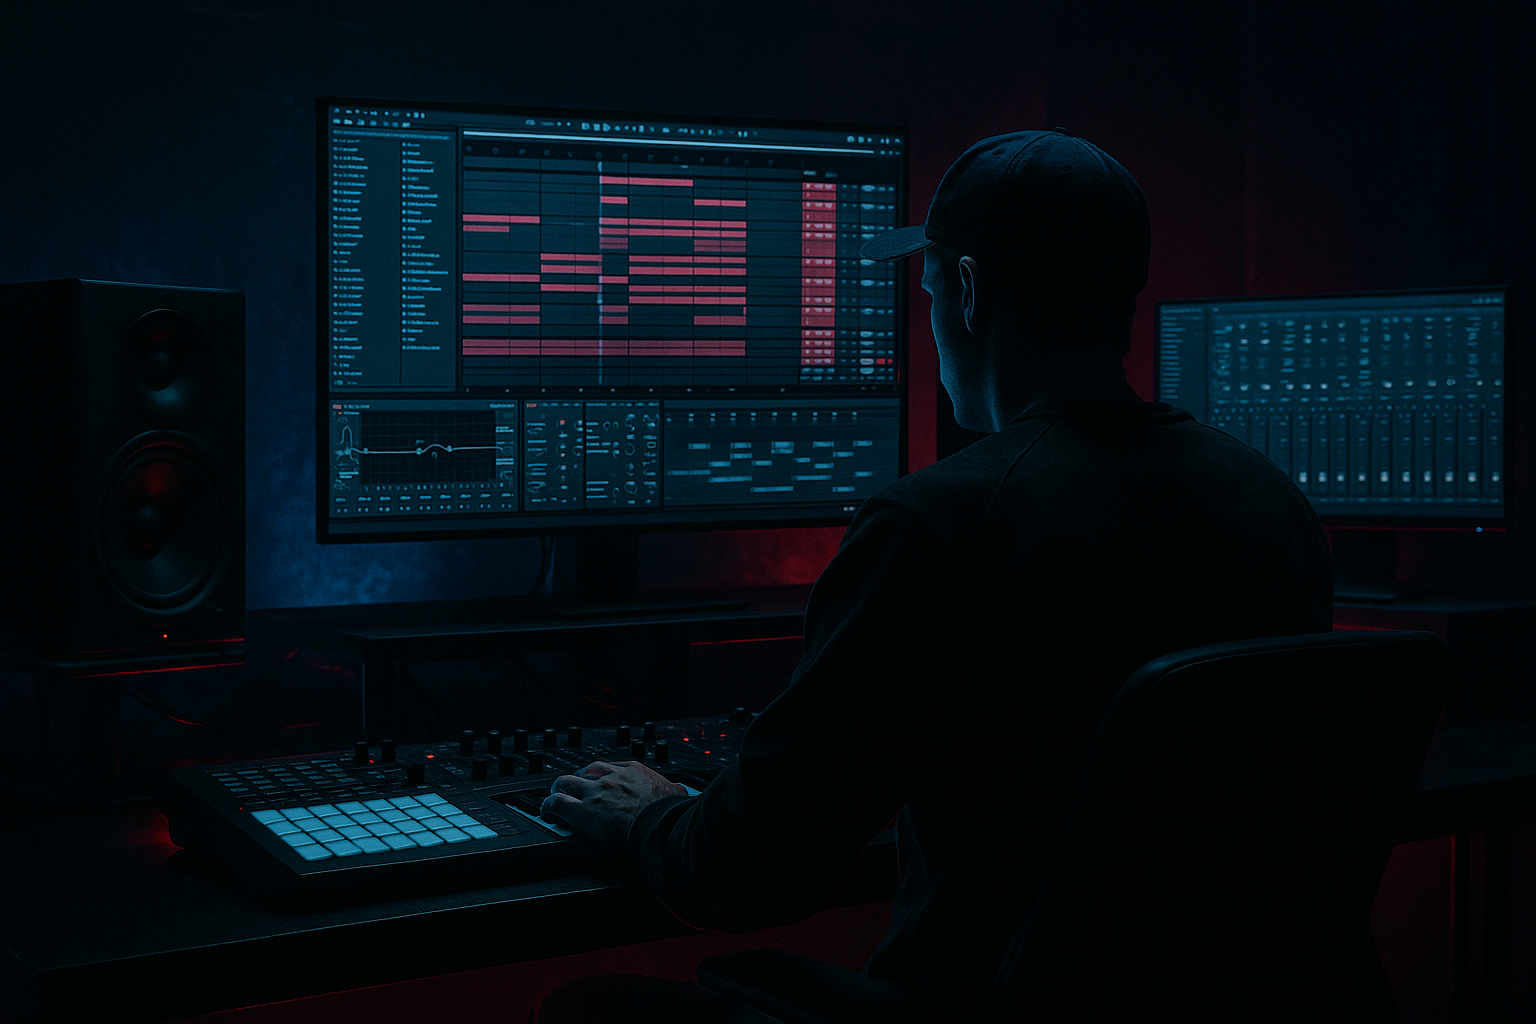
Main tutorial
90s Sampler Tone Emulation (Resampling Only) — DnB in Ableton Live 🧪🎛️
1. Lesson overview
This lesson is about building authentic 90s sampler character from scratch in Ableton Live using resampling as the only “tone generator.”
No “sampler emulation” plugins, no “vintage” buttons as the main trick—just a deliberate degrade + resample workflow that mirrors how jungle/DnB records got their grit: limited bandwidth, crunchy conversion, pitch artifacts, noise floors, and repeated printing.
We’ll do this in a way that’s repeatable, fast, and musically useful for rolling drums, Reese basses, and dark atmospheres.
---
2. What you will build
You’ll end up with:
- A Resample Bus that prints audio through a “90s sampler” chain (bit depth / sample rate / filtering / noise / saturation).
- A multi-generation resampling workflow (Gen 1 → Gen 2 → Gen 3) to create authentic aliasing, blur, and punch loss… in a good way.
- Practical DnB applications:
- Source track(s) → master → RESAMPLE BUS records → drag clip to PRINTED → repeat.
- Gen 1: 12-bit, Downsample 2.0, Saturator 2–3 dB
- Gen 2: 11-bit, Downsample 3.0, Saturator 3–5 dB
- Gen 3 (special FX): 10-bit, Downsample 4.0+, add stronger filtering
- Intro: cleaner Gen 1 break
- Drop: blend Gen 2/3 for extra bite + a clean transient layer
- Breakdown: band-limited Gen 3 with lots of noise = instant atmosphere
- Overdoing Redux in one go: 90s grit often comes from multiple moderate passes, not one catastrophic crusher.
- Warp left ON unintentionally: warping can add modern smear that fights the “simple playback” illusion.
- Printing too hot: clipping can be cool, but uncontrolled clipping destroys snare snap and turns hats into sand.
- No band-limiting before distortion: if you don’t LP/HP before saturation, you get harsh fizz instead of converter bite.
- Not gain-matching: louder always sounds “better.” Use Utility to match level when judging generations.
- Pitch down first, then resample: darker jungle weight often comes from slowed audio printed with artifacts.
- Parallel grime:
- Midrange violence, controlled top:
- Print “room” into breaks: add a short Reverb (tiny room, low decay) before printing one generation—instant 90s glue.
- DnB drop dynamics: use cleaner Gen 1 in the first 8 bars, then bring in Gen 2/3 + noise for “the system just got angry” effect.
- You built a 90s sampler tone using only stock Ableton devices + resampling.
- The key is moderate degradation over multiple generations: band-limit → bit/downsample → saturate → print → repeat.
- For DnB/jungle authenticity:
- Break resampling for crunchy, glued Amen/Think-style drums 🥁
- Bass resampling for gritty Reese movement 🔊
- Atmos + stab resampling for dark jungle texture 🌫️
---
3. Step-by-step walkthrough
Step 0 — Project setup (so resampling behaves predictably)
1. Set sample rate:
- `Preferences → Audio → Sample Rate`: 44.1 kHz (very period-correct).
2. Warp modes discipline (important for “sampler” pitch artifacts later):
- For drums: use Beats warp when needed, but often turn Warp OFF once printed.
- For tonal/bass: prefer Complex Pro OFF unless you need it. You’ll print pitch changes instead.
DnB tempo suggestion: 170–175 BPM.
---
Step 1 — Build a dedicated “Resample Bus” (your fake sampler input)
Create a track that everything “prints through.”
1. Create Audio Track → rename: RESAMPLE BUS
2. Set Audio From: `Resampling`
3. Set Monitor: `Off` (so it doesn’t feedback)
4. Arm it when printing.
Now create a separate Audio Track called PRINTED (this is where you’ll drag your recorded clips and build your library).
Workflow idea:
---
Step 2 — The core “90s sampler tone” device chain (stock devices)
Put these devices on your Master temporarily or on a dedicated SAMPLER FX RETURN if you want control.
For true resample discipline, put it on the Master while printing, then disable after.
#### Device Chain (in this order)
1. EQ Eight (band-limit like older converters + input filters)
- HP: 24 dB/oct @ 30–40 Hz (keep subs controlled before crunch)
- LP: 12 dB/oct @ 12–14 kHz (90s top-end rolloff)
- Optional: small bell dip -2 dB @ 300–500 Hz if it’s getting boxy
2. Redux (bit depth + downsample grit)
- Bit Reduction: start at 12 bits (try 10 bits for nastier jungle)
- Downsample: 2.0–4.0 (higher = more aliasing)
- Keep it subtle first. You’ll do multiple generations.
3. Saturator (converter-ish push + harmonics)
- Mode: Soft Clip ON
- Drive: 2–6 dB
- Output: trim to maintain level
- Optional: Color ON, set around 1–3 kHz for crunch presence
4. Dynamic Tube (optional, for “hardware-ish” bite)
- Drive: 10–25%
- Bias: slightly positive for edge
- Keep it light—this can smear transients.
5. Utility (gain staging + mono management)
- Gain: adjust so you print around -10 to -6 dBFS peak
- Optional: Bass Mono below 120 Hz (useful for DnB stability)
6. Limiter (ONLY if needed to catch spikes)
- Ceiling: -0.5 dB
- Don’t smash—this isn’t modern loudness, it’s texture printing.
✅ This chain is your “ADC/DAC + bandwidth + abuse.”
---
Step 3 — Print in generations (this is where the magic happens) 🔁
The most authentic sampler vibe comes from repeated conversion.
#### Generation method
1. Solo what you want to print (e.g., your break loop).
2. Arm RESAMPLE BUS.
3. Record 4–16 bars.
4. Drag that clip into PRINTED.
5. Disable Warp on the printed clip (right-click clip → Warp OFF) unless you explicitly want warping artifacts.
6. Now print the printed:
- Play the PRINTED clip through the same master chain
- Record again on RESAMPLE BUS
- Repeat 2–3 times total
Suggested intensity:
Stop when transients start to dull too much—DnB still needs impact.
---
Step 4 — Apply to classic jungle/DnB drums (Amen/Think style) 🥁
1. Load a clean break (Amen, Think, Hot Pants—whatever you use legally).
2. Slice/edit BEFORE resampling:
- Tighten start points, remove dead air
- Optional: transient shaping with Drum Buss (very gentle!)
- Drive: 0–5%
- Crunch: 0–10%
- Boom: 0 (usually avoid before printing)
3. Print Gen 1 and Gen 2 as above.
4. After Gen 2, do DnB-focused EQ on the printed break:
- EQ Eight
- HP @ 40–60 Hz (leave space for sub)
- Small boost +1–2 dB @ 180–220 Hz if you want body
- Notch harshness -2–4 dB @ 3–5 kHz if it’s tearing your face off
5. Add groove and “sampler swing” after printing:
- Use Groove Pool (e.g., MPC-ish grooves or shuffled 16ths)
- Commit by resampling once more if you want it “baked”
Arrangement idea:
---
Step 5 — Pitching like a sampler (the real 90s move) 🎚️
Old-school jungle often pitched breaks by changing playback speed.
In Ableton:
1. Take your printed break clip (Warp OFF).
2. Transpose it:
- -2 to -7 semitones for darker, heavier
- +2 to +5 for ravey, manic energy
3. When you transpose with Warp OFF, you get speed + pitch change together—that’s the vibe.
4. Resample the pitched version (Gen 2) to lock it in.
Pro move:
Pitch down for weight → resample → high-pass slightly → layer with a clean hat loop for crispness.
---
Step 6 — Resampled Reese bass with 90s grime 🔊
We’ll keep this focused on resampling tone, not synth theory.
1. Make a Reese (Operator or Wavetable is fine):
- Two saws detuned
- Some subtle movement (slow LFO to filter or phase)
2. Print it through your chain:
- Do long notes (2–8 bars) plus one-shot stabs
- Resample Gen 1, then Gen 2
3. Post-print shaping (on PRINTED bass clip/track):
- Auto Filter
- LP 24 dB, cutoff 200–800 Hz depending on role
- Moderate drive (filter drive adds weight)
- Saturator (again, but gentle now)
- EQ Eight
- Carve space for kick at 50–80 Hz (small dip)
- Utility
- Mono below 120 Hz (if your sub is part of this layer)
DnB arrangement trick:
Use the Gen 2 Reese for mids (grit + movement), and a clean sine/sub underneath not resampled as hard (or resampled separately with much less degradation).
---
Step 7 — Add “noise floor” and print it (don’t just overlay it)
Noise is part of old sampler identity—print it into the audio.
1. Create a noise track:
- Use Operator with Noise, or simpler:
- Use Analog noise, or even a recorded room tone
2. Filter it:
- EQ Eight: LP @ 8–10 kHz, HP @ 200 Hz
3. Keep it low:
- Aim around -30 to -24 dBFS under your drums
4. Route noise + source together while printing a generation.
This makes your breaks and stabs feel “held together” like they came from the same box.
---
4. Common mistakes
---
5. Pro tips for darker/heavier DnB 🕯️💣
- Keep a cleaner break layer (transients)
- Mix in a Gen 2/3 resampled layer (dirt + body)
- Let 1–4 kHz bite a little
- Keep 10–16 kHz rolled off so it feels older and heavier
- Reverb settings (starter): Decay 0.3–0.6s, Size small, HP in reverb 300 Hz, LP 8–10 kHz
---
6. Mini practice exercise (20–30 minutes) 🎯
Goal: Build a 16-bar rolling loop that evolves using resample generations.
1. Pick a break and make a 2-bar loop.
2. Print Gen 1 and Gen 2.
3. Arrange 16 bars:
- Bars 1–4: Gen 1 only
- Bars 5–8: Gen 1 + low-level Gen 2
- Bars 9–12: Gen 2 dominant + pitched-down fill (Warp OFF, -3 semitones)
- Bars 13–16: Gen 3 “telephone” moment (LP 8 kHz, more downsample), then slam back to Gen 2 at bar 16
4. Add a Reese:
- Print Gen 1 and Gen 2
- Use Gen 2 for mids, keep sub cleaner
5. Bounce your loop and A/B:
- With master chain OFF vs ON (printed audio stays gritty—mission accomplished)
---
7. Recap ✅
- Warp OFF + transpose for real pitch/time behavior
- Noise printed into audio for glue
- Parallel clean + dirty layers to keep modern impact with vintage grit
If you want, tell me what subgenre you’re aiming for (deep rollers, techstep, ragga jungle, etc.) and what your break/bass source is—I can give you a tuned resample chain and a 32-bar arrangement template for that vibe.

