Main tutorial
1. Lesson Overview
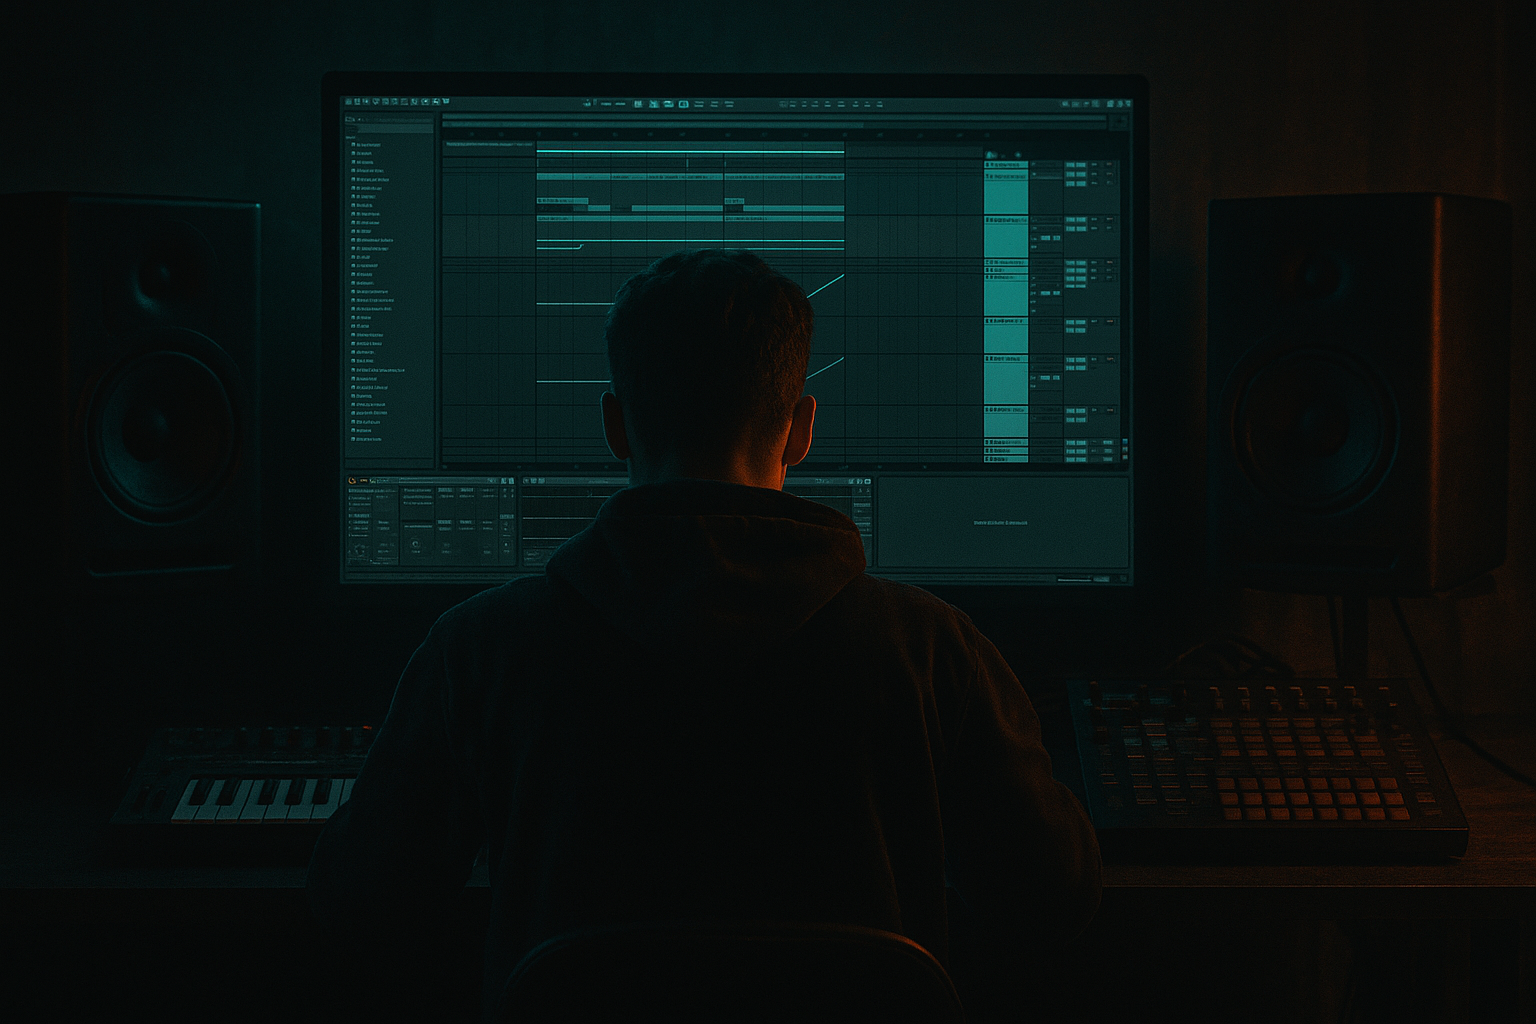
This advanced mastering lesson demonstrates the "A Little Sound approach: stack a kick transient in Ableton Live 12 with minimal CPU load" — a surgical method to add a short, punchy transient layer to your Drum & Bass kick during late-stage mixing/mastering without sacrificing CPU headroom. You’ll learn a lightweight stock-device workflow (Simpler, Utility, EQ Eight, Gate/Compressor, freeze/flatten/resample) and the commit/bounce techniques to keep CPU low while preserving phase, mono low-end, and mix translation.
2. What You Will Build
A committed, CPU-efficient transient-stack for a Drum & Bass kick:
- A one-shot transient layer (short click/snare-ish sample) mapped and aligned to the kick.
- Minimal device chain to sculpt attack and presence (Simpler → EQ Eight → Utility → Gate/Compressor as needed).
- A rendered (frozen or resampled) audio result so devices and synths can be disabled to save CPU.
- Use Simpler (lightweight) not Sampler.
- Keep the device chain short; prefer clip gain and Utility over multiple processors.
- Commit the transient with Freeze & Flatten or Resampling and then disable source devices.
- Avoid realtime oversampling / heavy devices on many micro layers.
- Phase cancellation: placing the transient exactly at the kick peak without sample-level alignment can cause cancellation. Always check phase and nudge.
- Leaving many Simplers/Devices active: keeping dozens of Simplers for micro-on-samples will kill CPU—commit and disable.
- Boosting the wrong frequency: boosting low-frequency energy on the transient layer muddies the sub. High-pass the transient around 120–220 Hz.
- Too long decay on the transient: a long tail interferes with subsequent drums and bus compression. Keep decay tight.
- Over-compressing the transient chain: compressors with micro attack times can squash the transient you just added — use light glue compression on the group instead.
- Ignoring mono: a wide transient high in the stereo field can give phase issues on club systems. Keep the transient mono under ~1–2 kHz or mono the low-end.
- Use single-sample nudges in Arrangement clip view (hold Shift for finer steps) for perfect phase alignment — often 1–3 sample shifts are all that’s needed.
- Prefer clip gain and Utility for tiny level tweaks; they’re cheaper CPU-wise than a chain of compressors/EQs.
- If you need to audition multiple transient samples, create a single Simpler and replace the sample; freeze/flatten only the final pick.
- For mastering-level polish, render transient-stacked kick at 32-bit float and keep the original non-destructive track archived in a muted group.
- Use frequency-specific transient stacking: create two ultra-light transient layers — one around 3–5 kHz for attack, one around 800–1.2 kHz for beater click — but only render the ones that genuinely improve the mix.
- When stacking multiple kicks across the arrangement, render region-by-region and cross-check transitions to avoid clicks or level jumps.
- Use Utility’s Phase (L or R invert) for micro-corrections if you can’t align substantially by time.
Outcome: improved attack and perceived loudness on the kick, mono low-end intact, and a single lightweight audio clip ready for final master processing.
3. Step-by-Step Walkthrough
Note: this uses only Ableton Live 12 stock devices. Keep warp off on the transient Simpler.
A. Prep and source
1. Consolidate your original kick audio on its own track (select clip → Cmd/Ctrl-J). Name it KICK_BODY.
2. Choose a short transient sample (click, hi-hat-pitched attack, or short processed snare top) 20–120 ms in length. Keep it as short as possible — we’re stacking just the attack. Put it in the Project/Clips folder and import to the session.
B. Make a lightweight transient layer track
3. Create a new MIDI track called KICK_TRANSIENT. Drop a Simpler onto it.
- Simpler settings: Mode = One-Shot (or Classic with Loop OFF), Warp = Off, Sample Start = start of click, Loop = Off.
- Envelope (Amp): Attack = 0 ms, Decay = 30–60 ms (start short, e.g., 40 ms), Sustain = -inf/zero, Release = 10–30 ms. This gives a single click with no sustain.
4. Drag the transient sample into Simpler. Create a one-bar MIDI clip with a single note triggering the transient exactly where your kick hits.
- Zoom to sample view and nudge the MIDI note (or sample start) by samples if needed. Use 1–5 sample nudges to hit the phase sweet spot.
C. Align and phase-check
5. Solo KICK_BODY + KICK_TRANSIENT and zoom on the waveform. Use the Arrangement view zoom to sample-level to visually align peaks. If the transient seems to cancel, invert phase on Utility (Device → Phase) on one of the tracks until alignment is constructive.
6. Use Utility on KICK_TRANSIENT to flip phase if necessary; small timing nudges (1–5 samples) using the clip start are often better than phase inversion.
D. Sculpt the transient (lightweight chain)
7. Keep the chain minimal: Simpler → EQ Eight → Utility → (optional Gate/Compressor).
- EQ Eight (single band narrow boost for presence): Band 1 = Bell at ~3.0–5.0 kHz, Gain +3 to +6 dB, Q 1.0–1.6. This brightens the click without touching low-end.
- High-pass on EQ Eight: a shelf or HPF at 120–220 Hz with 24 dB/oct if your click has irrelevant low energy. This keeps the transient layer out of the sub.
- Utility: Mono Left/Right: On (Width 0%) below 120 Hz — you’ll mono the combined kick later on the grouped track. Set Gain to +2–6 dB while you dial in presence (we’ll normalize by resampling later).
8. Optional: Gate to remove any tail (Gate settings: Threshold = -30 to -12 dB depending on sample, Attack = 0 ms, Release = 20–60 ms, Hold = 0 ms). This ensures no tiny tail interferes with reverb/space.
E. Balance and dynamic control
9. With both tracks playing in context, pull the transient layer up until you feel the attack — small moves (+1–3 dB equivalent). Use clip gain first (click Clip → Gain) for micro adjustments — clip gain is cheaper than device automation.
10. If you need glue, use a light Compressor (Compressor or Glue Compressor) on the group bus, not on the transient track, to avoid heavy per-voice CPU hits. Glue settings: Attack = 3–10 ms, Release = 60–120 ms, Ratio 2:1–4:1, Gain Make-up to taste.
F. Commit the transient to audio to save CPU
11. Route KICK_BODY and KICK_TRANSIENT to a Kick Group or leave separate but prepare to resample. Select the arrangement loop covering your kick region(s).
12. Method A — Freeze & Flatten (fast, lossless):
- Freeze the Kick Group track (right-click → Freeze Track). Then right-click → Flatten the frozen track. This renders audio and removes devices, drastically lowering CPU.
13. Method B — Resample to a new Audio Track (more control):
- Create an audio track. Set its Input to Resampling or set Monitor In and Input to the Kick Group’s output. Arm record and record the looped kick with transient. This yields a single audio clip (clearer to edit).
14. After committing, disable or delete the original Simpler/processing devices. Keep the committed audio clip and group the kick to your master chain.
G. Final checks (mastering context)
15. Check for phase cancellation by soloing the new combined kick vs. original and toggling your transient-rendered clip in/out. Use Spectrum or the Utility meter to confirm sub is mono and no dip near the transient frequency.
16. Loudness check: measure peaks (True Peak) and LUFS after the commit. The transient stack should raise perceived attack/short-term loudness without raising sub energy. If it increased peak too much, reduce transient clip gain and re-render.
H. CPU-saving summary
4. Common Mistakes
5. Pro Tips
6. Mini Practice Exercise
Objective: In a 16-bar Drum & Bass loop, add a minimal transient stack that increases perceived attack without increasing peaks above -6 dBFS.
Steps:
1. Take your kick loop. Consolidate the main kick hit (Cmd/Ctrl-J).
2. Pick three short click samples. Load one into Simpler (One-Shot) with AMP Decay = 40 ms.
3. Create a MIDI note on KICK_TRANSIENT that lines up with the kick hit. Nudge by ±1–5 samples to find the best constructive alignment.
4. EQ Eight: HPF = 150 Hz, Bell boost at 4 kHz +4 dB Q 1.2.
5. Use Utility to mono the low-end (Width 0% below 120 Hz) and raise the transient layer by clip gain +3 dB.
6. Record the combined kick (Resample or Freeze & Flatten). Disable original devices.
7. Compare LUFS and peak: ensure combined kick peaks ≤ -6 dBFS and subjectively feels punchier. If peak is too high, reduce transient clip gain by 1–2 dB and re-render.
7. Recap
This lesson showed the "A Little Sound approach: stack a kick transient in Ableton Live 12 with minimal CPU load." Use a single Simpler-based transient layer, sculpt it with a narrow EQ and HPF, align sample-level for phase coherence, use clip gain/Utility for tiny adjustments, and commit the result via Freeze & Flatten or resampling. The workflow gives you a punchier Drum & Bass kick that translates to clubs while keeping CPU usage low by committing audio and disabling devices.

