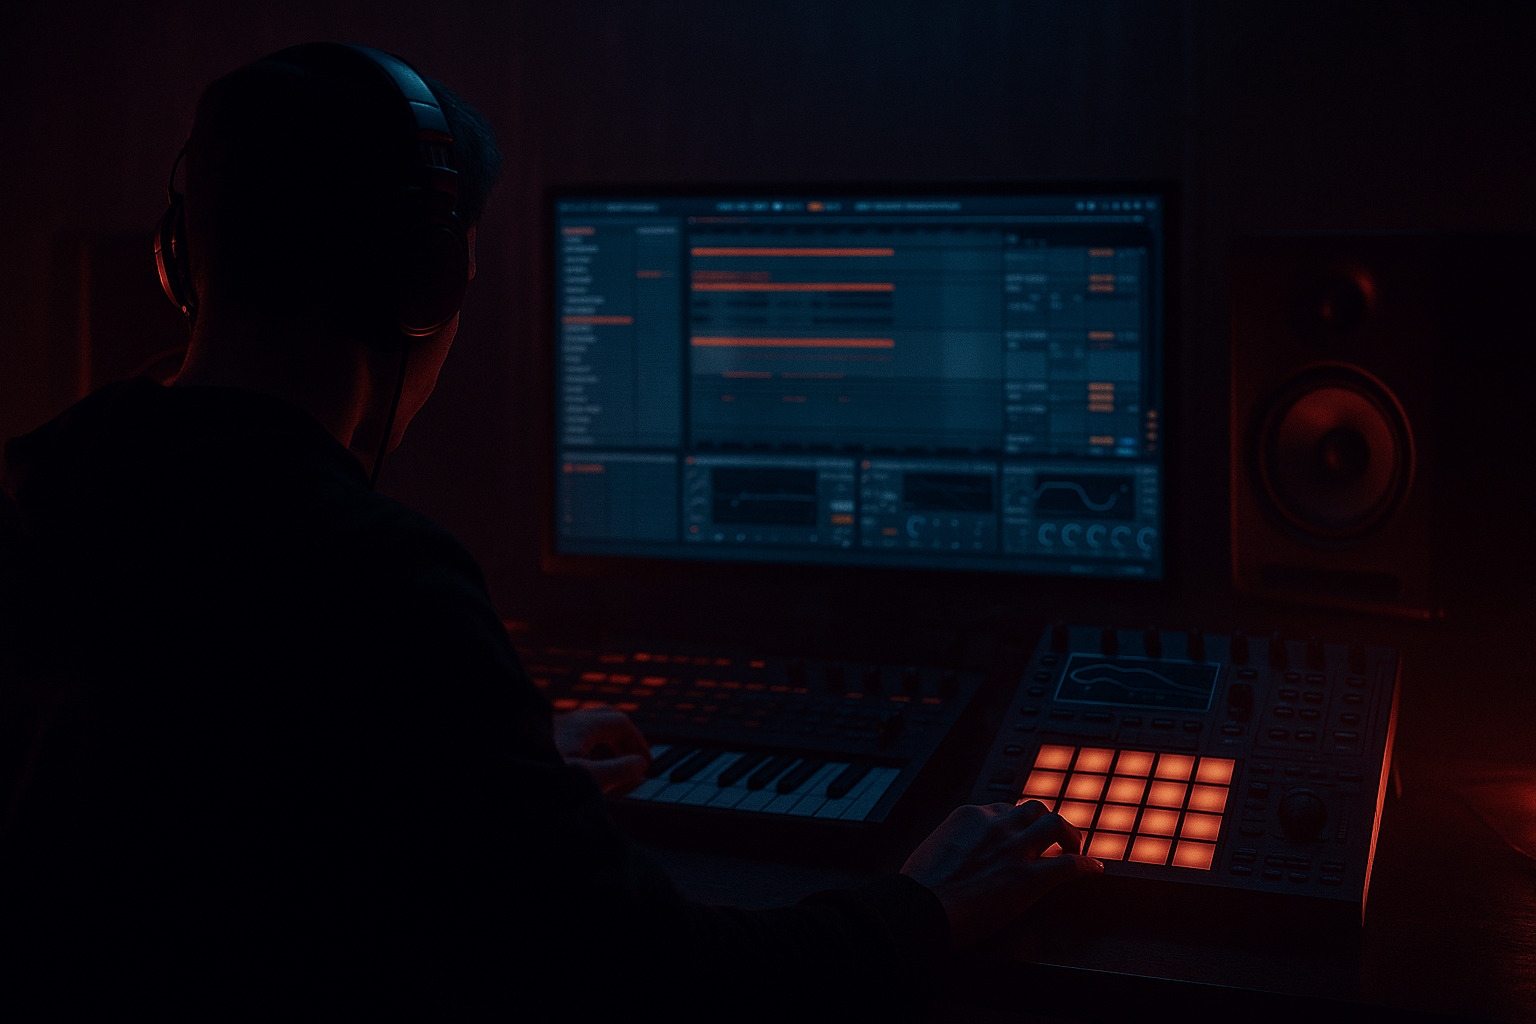
Main tutorial
Lesson Overview
An air horn hit is one of the most instantly recognizable ragga textures in jungle and oldskool DnB — but on its own, it can sound thin, cheesy, or stuck in the wrong decade. The goal of this lesson is to turn a raw air horn stab into a wide, DJ-friendly, arrangement-ready accent that feels authentic in a modern Ableton Live 12 DnB session.
In a real track, this kind of hit usually works as a call-and-response hook, a pre-drop warning, a drop marker, or a mid-phrase interruption that adds personality without cluttering the groove. For oldskool jungle and darker rollers, the trick is not just making it loud — it’s making it big in the mids, controlled in the low end, stable in mono, and exciting in stereo. That balance matters because air horns live in the same range as snares, reese harmonics, and vocal chops. If you widen them carelessly, they can wash out the center. If you keep them too narrow, they lose the “speaker-rattling” swagger that makes them work in a club.
This lesson focuses on a DJ-friendly structure: a clean intro version, a wide featured version, and a mix-safe return to mono-compatible placement for transitions. You’ll use Ableton stock devices to design the width, movement, and impact so the horn feels like part of the arrangement, not a random sample dropped on top. 🔊
What You Will Build
You’ll build a layered ragga air horn hit that has:
- a solid mono core for punch and translation
- a wide stereo halo for excitement and size
- optional call-and-response movement using delays and micro-shifts
- a DJ-friendly intro/outro structure so the horn can be introduced, teased, and removed cleanly
- a dark, rough-edged finish that suits jungle, rollers, neuro-adjacent bass music, and oldskool DnB
- Widening the entire horn signal
- Letting low mids build up
- Overusing reverb
- Making the horn too bright
- Ignoring phrase structure
- Making it compete with the snare
- Stereo width that collapses badly in mono
- Resample the horn after processing: Once you like the sound, resample it to audio and trim the tail. This lets you chop the hit like a drum and keeps CPU down during heavy arrangement work.
- Add a distorted shadow layer: Duplicate the horn, low-pass it, distort it lightly with Saturator or Drum Buss, and tuck it very low under the main hit for a grimier core.
- Automate filter-and-delay throws: Send only the last hit in a 4- or 8-bar phrase into a delay throw. That makes the arrangement feel alive without filling every bar.
- Use intentional degradation: Slight bit reduction or sample-rate reduction on the width layer can make the horn feel more oldskool and less polished.
- Pair with reese movement: If your bassline has a moving reese, time the horn so it answers the bass rhythm rather than masking it. The contrast between a stable horn accent and a modulated bass bed is very DnB-effective.
- Keep the sub absolutely clean: The more character the horn has, the less it should invade the low end. Leave the sub in mono and let the horn live above it.
- Use drum bus tension around the horn: A touch of Drum Buss or parallel saturation on the break can make the horn feel louder without actually raising its gain.
- Build the horn around a mono core + stereo support structure.
- Use EQ Eight, Saturator, Drum Buss, Utility, Delay, Auto Pan, and Reverb to shape impact and width.
- Keep the horn midrange-focused so it doesn’t fight the sub or drum foundation.
- Automate it for DJ-friendly phrasing: intro tease, drop statement, and clean exit.
- Always check mono compatibility, harshness, and arrangement context before deciding it’s done.
The final result should feel like a horn stab that can sit in a 174 BPM break-driven track, cut through a dense drum edit, and still leave room for sub weight, reese bass movement, and snare impact.
Step-by-Step Walkthrough
1. Choose or create the horn source with the right attitude
Start with a horn sample that has a strong midrange bark and a fast attack. If you’re using a sample from your library, audition one that already sounds slightly aggressive rather than pristine. In DnB, especially jungle and ragga-flavoured material, the horn often benefits from a bit of grime at the source.
If you want to synthesize a basic horn-style hit in Ableton Live 12, use Wavetable or Operator as a supporting layer:
- In Wavetable, start with a saw-based wavetable, keep unison modest, and use a short amp envelope.
- In Operator, try a bright sine or saw-style harmonic structure and add a little FM for edge.
- Shape the amplitude with an attack around 0–5 ms, decay around 200–500 ms, sustain near 0%, and release around 50–150 ms.
The point is not to replace the sample entirely — it’s to make a horn that feels more “played” and less static. Layering a synth underneath a sample gives you more control over the transient and the harmonic body.
2. Build a two-layer rack: mono core + stereo character
Group your horn layers into an Instrument Rack or Audio Effect Rack so you can process the center and sides differently. Advanced DnB workflow = separate the job of impact from the job of width.
Suggested structure:
- Chain 1: Core Horn
- Keep this mostly mono
- Use it for the main punch and melodic identity
- Chain 2: Width Layer
- Spread the stereo image
- Add texture, delay, or modulation
- Chain 3: FX Tail
- Reverb, echoes, reverse movement, or filtered ambience
On the core chain, insert EQ Eight and cut unnecessary low end:
- High-pass around 120–200 Hz depending on the sample
- Narrow any honky buildup around 700 Hz–1.2 kHz if it gets nasal
- If it’s harsh, tame a peak around 2.5–4.5 kHz with a moderate Q
Keep the low frequencies out of the horn. That’s not just mix hygiene — it protects your sub and kick relationship. In DnB, the horn is a midrange event, not a bass event.
3. Shape the transient so it hits like a phrase marker, not a wash
Use Drum Buss, Saturator, or Glue Compressor to add presence and density before widening. The goal is to make the horn feel like it lands with intent.
A solid starting point:
- Drum Buss:
- Drive: 5–15%
- Crunch: very light, just enough to roughen the attack
- Damp: adjust until the harsh top loosens slightly
- Saturator:
- Soft Clip: On
- Drive: 2–6 dB
- Curve: keep moderate, avoid flattening the transient completely
- Glue Compressor:
- Ratio: 2:1
- Attack: 10–30 ms
- Release: Auto or 100 ms
- Aim for only 1–3 dB of gain reduction
Why this works in DnB: the horn needs to feel loud in the arrangement without stealing all the peak space from snares and bass drops. A bit of controlled saturation gives you perceived loudness and makes the horn survive break-heavy sections where transients are already busy.
4. Create stereo width with movement, not just widening
Don’t just slap on a widener and call it done. In DnB, especially on systems where mono translation matters, width should be selective and musical.
Use Utility on the core layer:
- Set Width = 0% or use Bass Mono principles if you’re keeping any lower harmonic content in the layer
- This keeps the main body anchored in the middle
On the width layer, try one or more of these stock approaches:
- Delay: use very short left/right offsets
- Left: 10–20 ms
- Right: 15–30 ms
- Feedback: 0–10%
- Dry/Wet: 10–25%
- Chorus-Ensemble:
- Keep Amount modest
- Rate slow enough that it feels like width, not wobble
- Micro pitch drift via Shifter if you want a rougher, dubby edge
- Very small shifts, e.g. ±3 to 7 cents
- Reverb with a short decay for halo only
- Decay: 0.4–1.2 s
- Pre-delay: 10–25 ms
- High-cut around 6–9 kHz
A strong DnB trick is to keep the center horn dry and punchy while the sides carry a filtered, delayed copy. That gives you big-sounding stereo without clouding the arrangement.
5. Use an Auto Pan or modulation trick to make the horn feel alive
For ragga and jungle vibes, the horn should feel slightly animated, almost like it’s thrown into the mix from a dub system. Use subtle movement to avoid a static “sample pack” feel.
Try Auto Pan on the width layer:
- Phase: 180° for full stereo motion, or 0° if you want rhythmic amplitude movement without panning
- Rate: set to 1/8, 1/4, or even 1/16 synced if you want a nervous energy
- Amount: keep it low, around 10–30%
Or use Shaper / LFO-style automation in Live 12 to modulate:
- filter cutoff on an Auto Filter
- reverb send amount
- delay feedback on the tail
For a darker DnB arrangement, automate the horn so the first hit is full and the repeats get progressively more filtered. That creates a sense of escalation without needing more notes.
6. Design DJ-friendly structure: intro tease, drop statement, exit room
This is where the horn becomes a real arrangement tool. DnB DJs need phrases that are readable and mixable. Build the horn into a structure that can survive a rewind, a transition, or a long blend.
A practical arrangement approach:
- Intro version: filtered horn tease every 8 or 16 bars
- Drop version: full-spectrum horn on the first drop phrase
- Mid-drop variation: one octave or one rhythmic variation later
- Outro version: reduced-width or filtered horn to help the DJ blend out
In Ableton, automate:
- Auto Filter cutoff: open from around 300–800 Hz up to full brightness
- Reverb dry/wet: keep low in the intro, raise slightly before the hit, then pull back after impact
- Delay feedback: short burst only at phrase ends
- Utility width: wider in the featured moment, narrower in the intro/outro
A good musical example: at 174 BPM, place a horn hit on the last beat of bar 8 before the drop, then answer it with a second horn on bar 1 of the drop alongside the snare. That gives the listener a clear landmark and gives the DJ a phrase anchor they can feel immediately.
7. Lock the horn into the drum grid with rhythmic placement
The horn should interact with the break, not fight it. In oldskool jungle especially, the best ragga horn hits often land where the drum edit creates space — after a snare, before a fill, or in the gaps between ghost notes.
Try these placements:
- after the 2nd or 4th snare in a break phrase
- on the last 1/16 before bar reset
- in a call-and-response with a chopped break fill
- doubled with a kick/snare accent for a drop marker
If the horn is too long, use Clip Envelopes or a Gate-style approach with Compressor sidechained from the drums to make it duck just enough under the break. This keeps the groove open and makes the horn feel embedded instead of pasted on.
Advanced tip: duplicate the horn clip and create a second version with a slightly later start time or a small swing offset. The tiny timing mismatch can create a thicker, more human, rave-ready character, especially when combined with stereo width.
8. Control harshness and stereo conflicts before the final bounce
Air horns can get painful fast around the upper mids. In a dense DnB mix, harshness often appears when the horn overlaps with hats, snare crack, or distorted bass mids.
Use EQ Eight:
- High shelf down 1–3 dB if the horn is too splatty
- Notch any piercing peak between 2.5–5 kHz
- If it feels boxy, reduce 300–600 Hz carefully
Then check the horn in context:
- solo with drums
- solo with bass
- mono check with Utility
- listen at low volume
If the horn disappears in mono, your width layer is doing too much. Reduce stereo effects and strengthen the core layer. If it dominates the mix, lower the 1–3 kHz band before turning it down in level — that usually preserves attitude better.
Common Mistakes
- Fix: keep a mono core and only widen the supporting layer.
- Fix: high-pass the horn and cut boxiness around 300–600 Hz.
- Fix: use short decays and filtered sends; DnB needs space, not fog.
- Fix: tame the 2.5–5 kHz region before boosting top end.
- Fix: place horns on clear 8- or 16-bar landmarks so the DJ can read the section.
- Fix: reduce attack overlap, shorten the tail, or duck slightly with sidechain compression.
- Fix: check with Utility and reduce phase-heavy delays or chorus depth.
Pro Tips for Darker / Heavier DnB
Mini Practice Exercise
Spend 10–20 minutes making a 16-bar ragga horn phrase in Ableton Live 12:
1. Choose one horn sample and one synth layer.
2. Build a rack with a mono core and a stereo width chain.
3. High-pass the horn and add light saturation.
4. Add a short delay throw only on the last hit of each 8-bar phrase.
5. Place the horn on bars 7 and 15, then answer it with a shorter variation on bars 8 and 16.
6. Automate filter cutoff so the intro version is narrower and the drop version opens fully.
7. Check the whole phrase in mono, then in the full mix with drums and bass.
8. Export a quick bounce or resample the horn so you can audition it later in arrangement.
Goal: make one horn idea that could sit inside a jungle intro, then slam into a drop without changing the sample.

