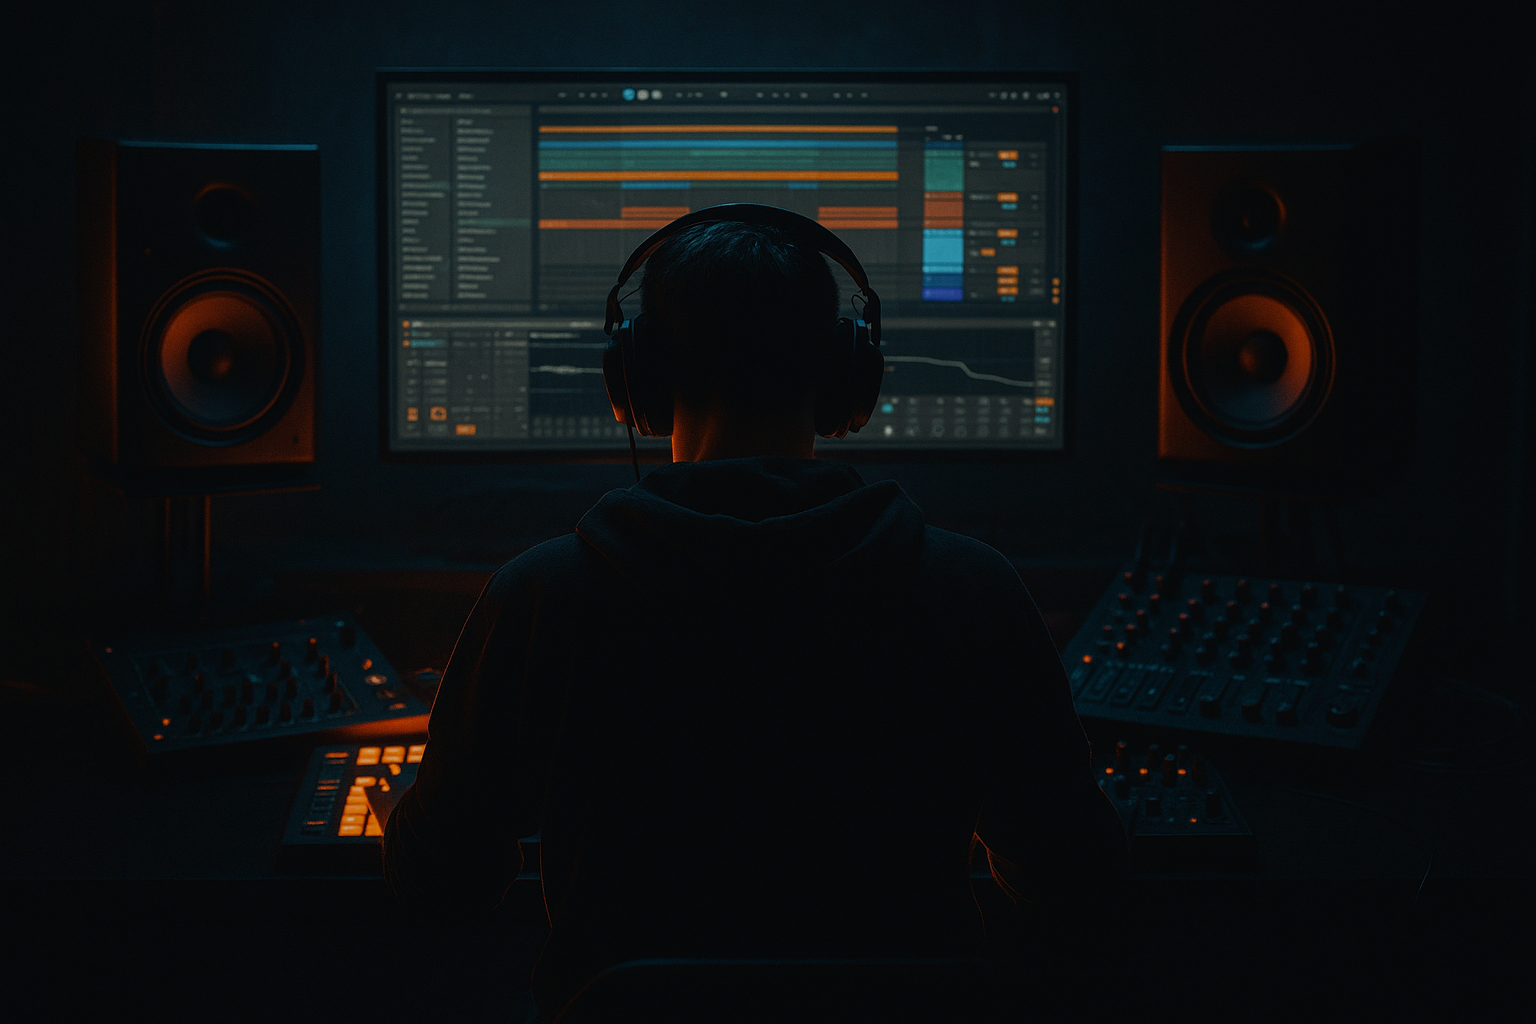
DNB COLLEGE

Drum & Bass Ableton Live 12 Tutorials

LESSON DETAIL

Amen Ableton Live 12 percussion layer lab with crisp transients and dusty mids (Advanced)

An AI-generated advanced Ableton lesson focused on Amen Ableton Live 12 percussion layer lab with crisp transients and dusty mids in the Arrangement area of drum and bass production.

Back to lessons
Amen Ableton Live 12 percussion layer lab with crisp transients and dusty mids (Advanced) cover image

Narrated lesson audio

The voice track includes the tutorial plus extra teacher commentary.

Open audio file

Main tutorial

Amen Ableton Live 12 Percussion Layer Lab

Crisp transients ⚡ + dusty mids 🪵 (Advanced DnB Arrangement)

---

1. Lesson overview

This lab is about building a modern DnB/jungle Amen layer in Ableton Live 12 that hits like a clean contemporary break (sharp, controlled transients) while still carrying that dusty midrange grit that makes a break feel human and moving.

We’ll do it in a way that’s arrangement-friendly: you’ll end up with multiple Amen “roles” (attack, body, dirt, air) you can automate through an intro → drop → switch → breakdown.

---

2. What you will build

A 4-layer Amen system in Ableton Live 12:

1. Transient Layer (Attack) – crisp, fast, controlled (no flab)

2. Mid “Dust” Layer (Body) – band-limited, textured, lightly distorted

3. Sub-safe Low Cut Layer – ensures the break never fights your bass

4. Air/Room Layer (Optional) – hype, space, and movement in fills

Plus an arrangement approach:

  • Drop = full stack
  • A/B switch = swap mid layer processing + micro-edits
  • Breakdown = dusty mids only (filtered), then slam back in with transient layer reintroduced
  • ---

    3. Step-by-step walkthrough

    Step 0 — Session prep (DnB fundamentals)

  • Tempo: 172–176 BPM (try 174 BPM)
  • Warp mode for break audio: use Beats mode for tight control, or Complex Pro only if you must preserve tone (usually not needed for Amen chops).
  • Create a group: `Amen BUS` (Group Track) with 4 audio tracks inside:
  • - `Amen ATTACK`

    - `Amen DUST`

    - `Amen CLEAN`

    - `Amen AIR` (optional)

    > Arrangement mindset: you’re building a bus you can automate like a drum machine.

    ---

    Step 1 — Pick and prep your Amen source

    1. Drop an Amen break sample onto `Amen CLEAN`.

    2. Warp ON

    3. Set Seg. BPM correctly (right-click clip → Warp from here if needed).

    4. In Clip View:

    - Turn Loop on

    - Start with a classic 2-bar loop (Amen loves 2 bars)

    - If transient timing is messy, use Warp Markers sparingly (don’t grid everything—keep swing).

    Clip gain staging: aim for clip peaks around -6 dB before processing. You want headroom for transient shaping and saturation later.

    ---

    Step 2 — Slice for arrangement control (without losing the feel)

    You have two strong options:

    #### Option A: Audio-first (fastest for arrangement)

  • Keep it as audio.
  • Use Consolidate (Cmd/Ctrl+J) to make clean loop regions.
  • Make micro-edits: split (Cmd/Ctrl+E) and nudge.
  • #### Option B: “Slice to new MIDI track” (best for fills + variation)

  • Right-click the clip → Slice to New MIDI Track
  • Choose Transient slice preset
  • This creates a Drum Rack you can rearrange.
  • For this lesson, we’ll stay audio-based for maximum “real break” vibe, but you can hybridize later.

    ---

    Step 3 — Build the Transient Layer (Amen ATTACK) ⚡

    Duplicate `Amen CLEAN` to `Amen ATTACK`.

    Goal: sharp hits, minimal mid smear, controlled tails.

    Device chain (Amen ATTACK):

    1. EQ Eight

    - HP filter: 24 dB/oct @ 160–220 Hz (keep low end out)

    - Gentle dip: -2 to -4 dB @ ~350–500 Hz (removes box)

    - Small lift: +2 dB @ 3–6 kHz if needed (adds snap)

    2. Drum Buss

    - Drive: 2–6

    - Transients: +10 to +25

    - Boom: OFF (or very low—don’t add fake low end to Amen)

    - Damp: adjust so harshness stays controlled

    3. Saturator

    - Mode: Soft Sine or Analog Clip

    - Drive: 1–4 dB

    - Soft Clip: ON

    4. Limiter (optional safety)

    - Ceiling: -0.8 dB

    - Only if you’re doing aggressive transient boosts

    Key trick: if transients start sounding “clicky,” reduce Drum Buss Transients and use EQ instead (too much transient enhancement can turn hats into needles).

    ---

    Step 4 — Build the Dusty Mid Layer (Amen DUST) 🪵

    Duplicate `Amen CLEAN` to `Amen DUST`.

    Goal: the “tape-dust / old sampler” midrange that moves the groove.

    Device chain (Amen DUST):

    1. EQ Eight

    - HP: 24 dB/oct @ 250–350 Hz

    - LP: 12 dB/oct @ 7–10 kHz

    - Optional: small bell boost +2 dB @ 900 Hz–1.8 kHz (character zone)

    2. Roar (Ableton Live 12)

    Use Roar as your tone engine:

    - Style: start with Tape or Tube

    - Drive: 10–25% (use ears; don’t flatten)

    - Tone: slightly dark

    - Dynamics: keep it controlled (avoid pumping unless intentional)

    - Mix: 40–70%

    3. Redux (for “sampler crust,” subtle)

    - Bit Reduction: 10–14 bits (start at 12)

    - Sample Rate: 14–22 kHz (don’t annihilate highs completely)

    - Dry/Wet: 10–30%

    4. Auto Filter (movement)

    - Mode: LP 12

    - Cutoff: automate between 2–8 kHz depending on section

    - Envelope: tiny amount if you want hits to “open” slightly

    Why this layer works: you’re deliberately band-limiting and dirtying the break, so it sits behind the attack layer while still pushing the groove.

    ---

    Step 5 — Tight clean support layer (Amen CLEAN) 🧼

    Keep `Amen CLEAN` as the “glue” layer—quiet but steady.

    Device chain (Amen CLEAN):

    1. EQ Eight

    - HP @ 120–180 Hz (depending on how much you want to keep)

    - Gentle shelf: -1 to -3 dB above 8 kHz if it’s too bright

    2. Compressor (not OTT, just control)

    - Ratio: 2:1

    - Attack: 10–30 ms

    - Release: 50–120 ms (tempo-dependent)

    - Gain reduction: 2–4 dB

    This layer prevents your stack from sounding “all edges + dirt.” It’s the quiet continuity.

    ---

    Step 6 — Optional Air/Room layer (Amen AIR) 🌫️

    This is for modern polish and transitions.

    Duplicate to `Amen AIR`.

    Device chain (Amen AIR):

    1. EQ Eight

    - HP @ 2–4 kHz

    2. Gate

    - Use to chop tails / emphasize hats

    - Fast attack, short release (tune to taste)

    3. Hybrid Reverb

    - Algorithmic mode for controllable tails

    - Decay: 0.4–1.2s

    - Pre-delay: 10–25 ms

    - HP in reverb: 2–4 kHz

    - Wet: 5–15%

    4. Utility

    - Width: 120–160% (careful—check mono)

    Use this layer mostly in fills, pre-drop lifts, or last 8 bars of a 32 to increase excitement.

    ---

    Step 7 — Group bus processing (Amen BUS) 🧠

    Now process the group lightly. Your layers are doing the heavy lifting.

    Device chain (Amen BUS):

    1. Glue Compressor

    - Attack: 3 or 10 ms

    - Release: Auto or 0.1–0.3s

    - Ratio: 2:1

    - GR: 1–3 dB

    - Soft Clip: ON (optional)

    2. EQ Eight (micro-corrections)

    - Tiny dip if harsh: -1 to -2 dB @ 3–5 kHz

    - Tiny shelf if dull: +1 dB @ 10 kHz

    3. Saturator (optional)

    - Drive: 0.5–2 dB, Soft Clip ON

    Critical: don’t “master” your Amen bus. Your drum bus + bass + master will do the final glue.

    ---

    Step 8 — Arrangement: make it roll like real DnB 🏃‍♂️

    Here’s a practical 64-bar drop structure that feels rooted in rolling jungle/DnB:

    #### Bars 1–16 (Drop A)

  • Full stack: ATTACK + DUST + CLEAN
  • AIR very low or off
  • Add small 1/16 micro-cuts on the last snare of every 4 bars (classic tension).
  • #### Bars 17–32 (Drop A variation)

  • Keep ATTACK constant
  • Automate DUST filter slightly darker over 8 bars, then open back up
  • Add one signature fill at bar 32 (Amen classic: snare → snare → kick-stutter)
  • #### Bars 33–48 (Drop B – switch)

  • Change the break rhythm with 2–4 edits:
  • - swap one kick placement

    - repeat a ghost-note slice

    - add a tiny reverse into a snare (render a small tail, reverse it)

  • Turn up AIR layer for the first 4 bars of B, then fade it back.
  • #### Bars 49–64 (Final drive)

  • Reduce DUST layer level slightly (-1 to -2 dB)
  • Increase ATTACK layer transients just a touch (automation)
  • Add hard stop or tape-stop style cut (manual edit + reverb tail) at bar 64 into breakdown.
  • Automation lanes to prioritize:

  • `Amen DUST` Auto Filter cutoff
  • `Amen ATTACK` Drum Buss Transients
  • `Amen BUS` Glue threshold (tiny moves only)
  • `Amen AIR` volume (arrangement energy)
  • ---

    Step 9 — Bass relationship (must be intentional)

    DnB breaks often “feel” like they have low end even when you’ve high-passed them—because the bass carries the weight.

  • Make sure bass owns 30–120 Hz.
  • Make sure Amen layers are typically high-passed 120–250 Hz depending on vibe.
  • If bass feels masked, dip 200–400 Hz slightly on DUST or CLEAN.
  • If you sidechain, do it gently:

  • Put Compressor on `Amen BUS` keyed from Kick (or a ghost kick):
  • - Ratio 2:1

    - Attack 5–15 ms

    - Release 50–120 ms

    - GR 1–3 dB

    This keeps the roll but preserves break character.

    ---

    4. Common mistakes

  • Over-transient shaping: Drum Buss Transients too high = brittle hats, fake “clicks.”
  • Too much distortion on the full-range break: distort band-limited DUST, not the entire Amen (unless you want chaos).
  • No headroom: stacking 4 layers without gain staging = clipping and flatness.
  • Ignoring phase/feel: if layers are slightly misaligned, you’ll lose punch. Zoom in, align the main snare transient by a few ms if needed.
  • Stereo width everywhere: wide breaks can smear your groove. Keep core layers mostly centered; widen AIR only.
  • ---

    5. Pro tips for darker/heavier DnB 🖤

  • Make the dust darker, not louder: lower the DUST LP filter to 5–7 kHz and push slight saturation. Dark = weighty, not just “more highs removed.”
  • Resample “damage”: Freeze/Flatten `Amen DUST` after Roar/Redux, then re-import and do tiny fades + re-chops. It instantly feels more “hardware.”
  • Ghost-note emphasis: duplicate just the ghost regions (tiny slices) onto a separate track, distort them, and tuck them in at -12 to -20 dB. Suddenly the loop breathes.
  • Controlled brutality on the bus: try Roar on Amen BUS at very low mix (10–20%) for cohesiveness, not obvious distortion.
  • Swing with intent: use Groove Pool subtly. Extract groove from an old break and apply at 10–25% to tighten your modern drums while keeping jungle movement.
  • ---

    6. Mini practice exercise 🎯

    Goal: Create two 16-bar drop sections (A and B) that feel like a DJ-friendly switch.

    1. Build the 3 core layers (ATTACK/DUST/CLEAN) with the chains above.

    2. Write Drop A (16 bars) with no edits except:

    - one tiny cut every 4 bars

    3. Copy to Drop B (16 bars) and do:

    - 3 micro-edits (kick swap, snare repeat, ghost stutter)

    - automate DUST filter to open across bars 9–16

    - introduce AIR layer only in bars 13–16 as a lift

    4. Bounce the Amen BUS to audio and listen:

    - Does A roll?

    - Does B feel like a switch without losing the groove?

    ---

    7. Recap

  • You built a layered Amen system designed for arrangement control in DnB.
  • ATTACK gives modern punch ⚡
  • DUST gives jungle character 🪵
  • CLEAN keeps continuity 🧼
  • AIR adds hype and transitions 🌫️
  • You arranged it like a real rolling tune: A → variation → switch → final drive.

If you want, tell me your target vibe (e.g., “97 techstep,” “metallic neuro rollers,” “modern jungle with clean subs”), and I’ll tailor the exact EQ points, Roar style, and a 32-bar switch pattern that matches it.

Ask GPT about this lesson

Chat with the lesson tutor, get follow-up help, or use quick actions.

Bigup 👽 Ask me anything about this lesson and I’ll answer in context.

Narration script

Show spoken script
Title: Amen Ableton Live 12 percussion layer lab with crisp transients and dusty mids (Advanced)

Alright, let’s build a modern drum and bass Amen system in Ableton Live 12 that hits with clean, controlled transients up front, but still has that dusty midrange grit that makes the groove feel alive.

This is not “how to EQ an Amen.” This is an arrangement-friendly layer setup where each layer has a job, and you can automate those jobs through an intro, a drop, a switch, and a breakdown without the break falling apart.

Set your tempo to the DnB pocket: 172 to 176. I’ll sit at 174. And we’re doing this in Arrangement View because I want you thinking like you’re writing a record, not looping a demo forever.

First, create a group track. Name it Amen BUS. Inside it, make four audio tracks: Amen ATTACK, Amen DUST, Amen CLEAN, and Amen AIR. Air is optional, but trust me, it’s one of the easiest ways to make transitions feel expensive.

Now drop your Amen break onto Amen CLEAN. Turn Warp on. For warp mode, Beats is usually the move for chopped, controlled drum and bass breaks. Complex Pro is only if you absolutely need tone preservation, and most of the time it just softens the bite in a way you don’t want.

Make it a classic two-bar loop. And here’s a big mindset piece: don’t warp-marker every transient to the grid. Jungle and DnB breaks have swing and attitude. Use warp markers sparingly. If one snare is late in a cool way, let it be late in a cool way.

Before you touch any processing, gain stage the clip. Aim for peaks around minus six dB. That headroom is what lets your transient shaping and saturation sound crisp instead of crunchy and flattened.

Now, extra coach note before we start duplicating tracks: pick an anchor transient. Zoom in and choose the one hit everything else will align to. Most of the time it’s the main snare on beat two, or the first really strong snare in the two-bar loop. You’re going to nudge layers to that anchor, not force the whole break to be “perfect.” If your snares don’t line up across layers, the roll will feel wrong even if the meters look tight.

Cool. Now duplicate Amen CLEAN to Amen ATTACK.

The ATTACK layer’s mission is simple: sharp hits, minimal mid smear, controlled tails. This is where modern punch lives.

On Amen ATTACK, start with EQ Eight. High-pass at around 160 to 220 Hz, steep, like 24 dB per octave. We’re keeping low end out because your bass owns the subs and low mids in DnB. Then dip a couple dB around 350 to 500 Hz to lose that boxy “cardboard” area. And if you need snap, a small lift around 3 to 6 kHz.

Next, Drum Buss. Drive somewhere around 2 to 6, and transients up in the plus 10 to plus 25 range. Boom is off. We are not faking low end into a break that’s going to fight the bass. Use Damp so the top doesn’t turn into sandpaper.

Then a Saturator. Soft Sine or Analog Clip, light drive, like 1 to 4 dB, and Soft Clip on.

If you’re pushing transients hard, you can put a Limiter at the end as a safety with a ceiling around minus 0.8 dB. But don’t use a limiter as permission to go wild. It’s just a seatbelt.

One key teacher warning here: if your hats start sounding like needles, that’s usually too much transient boost. Back down Drum Buss transients, and do your clarity with EQ and layering instead. Crisp is not the same as painful.

Now duplicate Amen CLEAN again to Amen DUST.

This DUST layer is the soul. It’s the tape dust, the old sampler midrange, the “human moving air” inside the loop. But it has to sit behind the attack, not compete with it.

Start with EQ Eight. High-pass higher than you think: 250 to 350 Hz, steep. Then low-pass around 7 to 10 kHz, maybe 12 dB per octave. We’re band-limiting on purpose. Optional but powerful: a small boost, like 2 dB, somewhere between 900 Hz and 1.8 kHz. That’s the character zone.

Now bring in Roar, Live 12’s distortion beast, but we’re using it like a tone engine, not like a chainsaw. Start with Tape or Tube. Drive around 10 to 25 percent. Keep the tone slightly dark. And set the mix somewhere around 40 to 70 percent. The point is to add density and movement without turning the loop into a square wave.

After Roar, add Redux for subtle sampler crust. Start at 12-bit. Sample rate around 14 to 22 kHz. Dry/wet 10 to 30 percent. You want texture, not destruction.

Then Auto Filter for motion. Low-pass 12 mode, and automate cutoff between roughly 2 and 8 kHz depending on the section. In darker parts of the arrangement, you’ll ride it lower. In a lift or a switch, you’ll open it up.

Why does this work? Because we’re making the dust layer intentionally limited and dirty, so it can push groove and emotion without stealing the front edge from the attack layer.

Now let’s treat Amen CLEAN like the glue layer. This is the quiet continuity track that stops your stack from sounding like it’s only edges plus fuzz.

On Amen CLEAN, EQ Eight with a high-pass around 120 to 180 Hz depending on vibe. If it’s too bright, a gentle shelf down 1 to 3 dB above 8 kHz.

Then a Compressor, nothing crazy. Ratio 2:1. Attack 10 to 30 milliseconds so you don’t kill the transient. Release 50 to 120 milliseconds. Aim for 2 to 4 dB of gain reduction. This is control, not punishment.

Now, optional: Amen AIR. Duplicate the source again onto Amen AIR.

This layer is basically hype and space, but controlled. Think fills, pre-drop lifts, the last eight bars of a 32, those “whoa it just got wider” moments.

EQ Eight first. High-pass at 2 to 4 kHz. Only the top lives here.

Then a Gate to chop tails and emphasize hats. Fast attack, short release, tune it until it feels rhythmic rather than glitchy.

Then Hybrid Reverb. Algorithmic mode, short decay, like 0.4 to 1.2 seconds. Pre-delay 10 to 25 milliseconds. High-pass inside the reverb around 2 to 4 kHz so the space stays light. Keep wet low, 5 to 15 percent.

Then Utility to widen, maybe 120 to 160 percent. But check mono. Always. Wide breaks can smear your groove if you go too far.

Now before we process the group, do a quick alignment and phase sanity check.

First, zoom in on that anchor snare and nudge layers by a couple milliseconds if needed so the main snare transient lines up across ATTACK, DUST, and CLEAN. Don’t obsess over microscopic perfection, but do make sure the hit feels like one hit, not three slightly late hits.

Then check polarity and phase like a mix engineer. Even with high-passing, the 150 to 400 Hz zone can cancel and make the break feel hollow. Solo Amen CLEAN and Amen DUST together, then on one track drop a Utility and flip phase invert left and right briefly. Choose the setting that gives more chest and less papery snare. You’re not chasing louder. You’re chasing more solid.

Alright. Now group bus processing on Amen BUS. Lightly. Your layers are doing the work.

Start with Glue Compressor. Attack 3 or 10 milliseconds, release Auto or around 0.1 to 0.3 seconds, ratio 2:1. Aim for 1 to 3 dB of gain reduction. Optional soft clip on if it helps the bus feel contained.

Then EQ Eight for micro corrections. If it’s harsh, dip 1 to 2 dB around 3 to 5 kHz. If it’s dull, a tiny shelf up around 10 kHz. Tiny. This isn’t mastering.

Optional Saturator, very light, 0.5 to 2 dB drive, soft clip on.

And one more pro-level monitoring idea: don’t just watch peaks. Watch how the dynamics feel, the crest factor vibe. Your attack layer should add punch and definition without making the entire bus equally spiky. If everything gets spikier, you’re not adding attack, you’re just turning the break into brittle noise.

Now we arrange. Because the whole point is that you can automate roles like a drum machine.

Here’s a practical 64-bar drop map.

Bars 1 to 16, Drop A. Full stack: ATTACK, DUST, CLEAN. AIR is off or barely there. Add a tiny micro-cut every four bars, like a 1/16 cut on the last snare. That’s classic tension. It’s small, but it makes the loop feel like it’s talking.

Bars 17 to 32, variation. Keep ATTACK constant. Now automate DUST: filter it slightly darker over eight bars, then open it back up. You’re creating a slow breath. At bar 32, do one signature fill. A classic is snare, snare, then a kick stutter. Keep it rhythmic, not random.

Bars 33 to 48, Drop B switch. The mistake here is thinking “switch” means “more processing.” It often means different cadence. Do two to four edits. Swap one kick placement. Repeat a ghost note slice. Add a tiny reverse into a snare. A quick method: duplicate a small tail region, consolidate it, reverse it, and fade it in so it sucks you into the hit.

For the first four bars of B, turn up the AIR layer, then fade it back. That gives the listener the feeling of a new chapter without you rewriting the whole beat.

Bars 49 to 64, final drive. Pull the DUST level down 1 to 2 dB. That sounds backwards, but it makes the groove feel faster and more forward because the transient information becomes dominant. Automate a small increase in ATTACK transients. Not a jump scare, just a nudge. Then at bar 64, do a hard stop or tape-stop style cut into your breakdown. You can literally edit the audio, leave a short reverb tail, and let the silence punch.

Automation lanes to prioritize: Amen DUST filter cutoff, Amen ATTACK Drum Buss transients, Amen BUS Glue threshold with tiny moves, and Amen AIR volume for energy control.

Now, bass relationship. This is non-negotiable in DnB.

Your bass owns roughly 30 to 120 Hz. Your Amen layers are typically high-passed somewhere between 120 and 250 depending on vibe. If your bass feels masked, you usually don’t need to turn the bass up. You dip some 200 to 400 Hz on DUST or CLEAN, just a little, and suddenly the low end speaks.

If you sidechain, keep it gentle. Put a Compressor on Amen BUS keyed from the kick or a ghost kick. Ratio 2:1, attack 5 to 15 ms, release 50 to 120 ms, and only 1 to 3 dB of reduction. You want the roll to breathe, not duck like EDM.

Advanced extras, if you want to push it further.

One: the transient layer does not have to be the same Amen. If your Amen is soft, don’t brute-force transients until it clicks. You can use a different break or even a hat loop as your ATTACK donor, then match the groove by nudging to the anchor snare. Your system still behaves like “an Amen,” but with a more reliable front edge.

Two: resample to lock the vibe. Once ATTACK or DUST sounds right, freeze and flatten, or record them to new audio tracks. This prevents endless tweaking and lets you chop aggressively without your tone shifting later.

Three: make two dust personalities. DUST A is warmer and smoother, darker, less fizz. DUST B is raspier, more forward, maybe more 1 kHz bite, or even a touch more aliasing. Switch between them in Drop A and Drop B. That’s a switch identity that isn’t just “louder.”

Four: try a pre-switch hat tax. Four to eight bars before a switch, remove hats without removing energy. Fade down AIR and any hat-heavy layer, but keep the mid-focused groove alive. The listener feels tension because something is missing, and the switch hits harder.

Five: momentary aliasing as ear candy. Automate Redux sample rate down further for the last half bar before a fill, then snap it back right on the drop. It sounds like the break overloaded for a split second, and in DnB that kind of “damage” reads as excitement.

Now, quick mini exercise to make this real.

Build the three core layers: ATTACK, DUST, CLEAN. Write a 16-bar Drop A with basically no edits except one tiny cut every four bars. Copy it to Drop B for another 16 bars. Do three micro-edits: a kick swap, a snare repeat, a ghost stutter. Automate the DUST filter opening across bars 9 to 16. And only introduce AIR in bars 13 to 16 as a lift.

Then bounce the Amen BUS to audio and listen away from the session. Does A roll? Does B feel like a switch without losing groove? Is the snare consistent across both? That’s the standard.

Final recap.

ATTACK is your modern punch and crisp transient control. DUST is your jungle character and midrange movement. CLEAN is continuity and glue. AIR is polish and transitions. And the reason this whole system works is because you’re not making one break do everything. You’re giving each layer a role and then arranging those roles like a DJ mixer.

If you tell me your target vibe, like 97 techstep, metallic neuro rollers, or modern jungle with clean subs, I can suggest exact EQ points, which Roar style to start on, and a clean 32-bar switch pattern that matches your bass phrasing.

mickeybeam

Go to drumbasscd.com for +100 drum and bass YouTube channels all in one place - tune in!

Generating PDF preview…