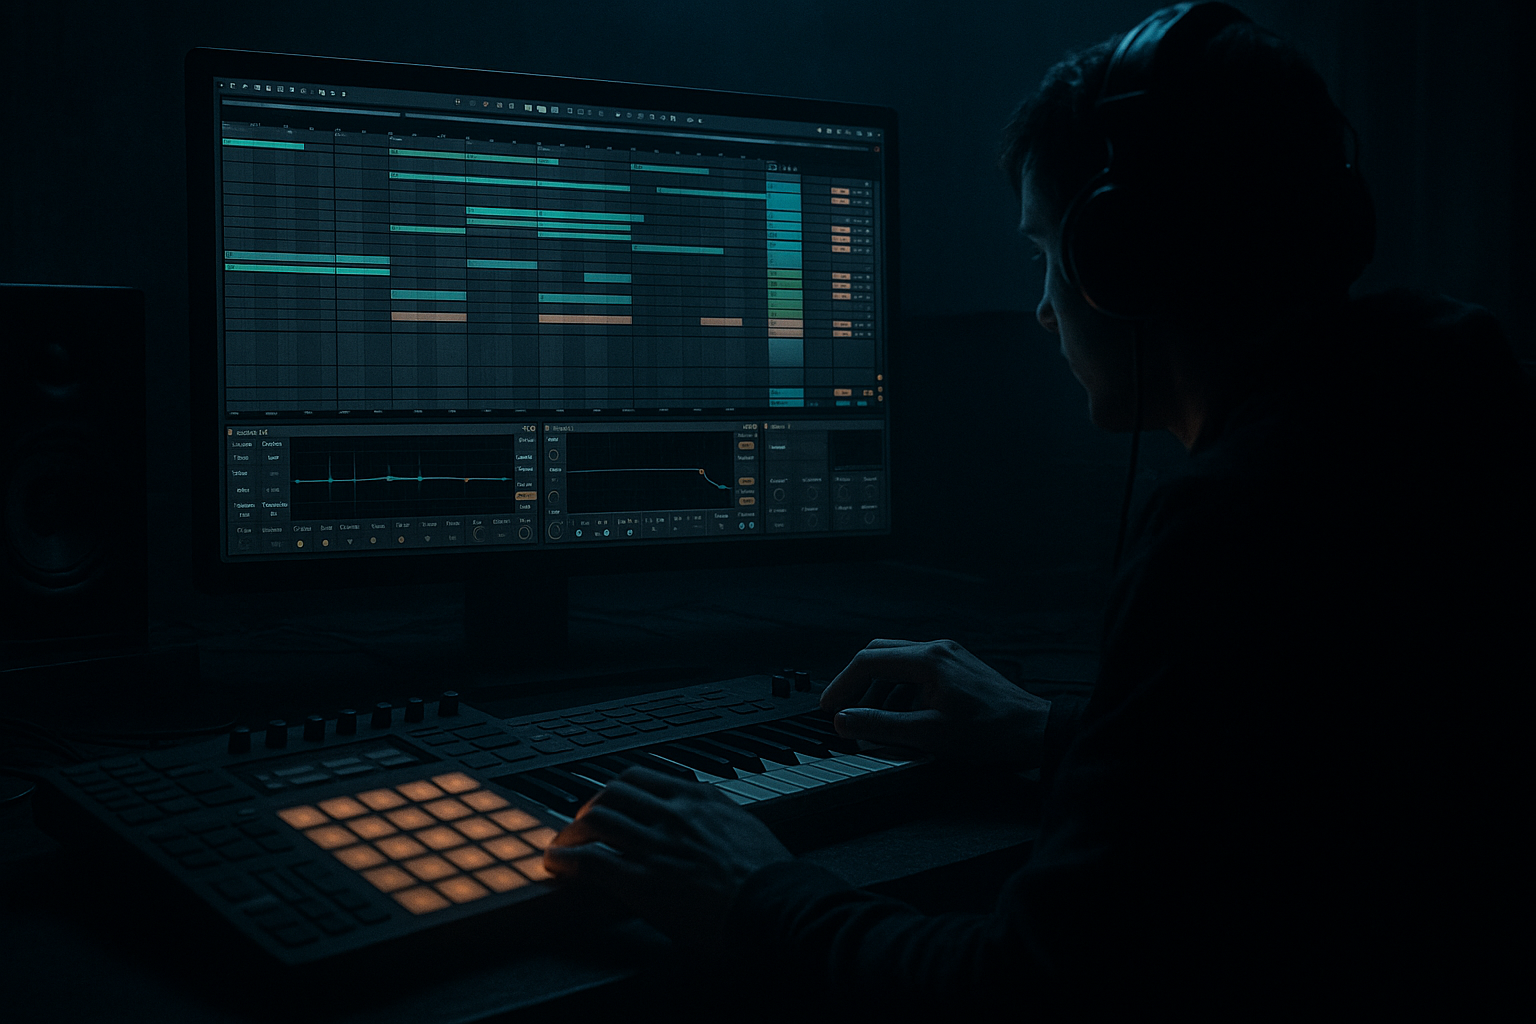
Main tutorial
Amen: Drop Color (Vocals) using stock devices only in Ableton Live 12 🎛️🔥
Intermediate — Drum & Bass / Jungle focused
---
1. Lesson overview ✅
“Drop color” is the moment a vocal (or vocal chop) changes tone/space/energy right as the drop hits, making the drop feel bigger and more intentional. In DnB, you’ll hear this as:
- a telephone/lo‑fi vocal in the build that suddenly becomes wide + bright + punchy at the drop
- or the opposite: clean in the build → dark/washed/ghostly on the drop for menace
- BUILD VOCAL (thin + narrow + filtered + tension)
- DROP VOCAL (wide + present + controlled + aggressive)
- Auto Filter, EQ Eight, Roar, Saturator, Compressor / Glue Compressor, Delay, Hybrid Reverb, Utility, and Limiter
- HP filter at 150–250 Hz (24 dB/oct)
- Optional notch if harsh: dip 2.5–4.5 kHz by -2 to -4 dB
- Filter type: Band-Pass or Low-Pass
- If Band-Pass:
- Add slight movement:
- Mode: Warm or Tube
- Drive: 3–8 dB
- Tone: slightly darker (tilt down a touch)
- Mix: 30–60% (don’t smash it)
- Width: 0–50% (narrow = tension)
- Gain: adjust so it’s not jumping the meter
- Algorithm: Room or Chamber
- Decay: 0.6–1.2 s
- Pre-delay: 0–10 ms
- High-cut: 5–8 kHz (dark)
- Wet: 8–18%
- HP filter: 90–130 Hz (you usually don’t want vocal fighting sub/bass)
- Presence boost: gentle bell at 3–6 kHz, +1 to +3 dB
- Air shelf: 9–12 kHz, +1 to +2 dB (only if it isn’t harsh)
- Mode: Soft Sine or Analog Clip
- Drive: 2–6 dB
- Soft Clip: On
- Output: bring down to match level
- Ratio: 3:1
- Attack: 10–30 ms (let consonants through)
- Release: 60–120 ms (or Auto)
- Aim: 3–6 dB gain reduction on peaks
- Drive: 2–5 dB
- Mix: 15–35%
- Mode: Ping Pong
- Sync: 1/8 or 1/4
- Feedback: 15–30%
- Filter: cut lows below 200–400 Hz, cut highs above 7–10 kHz
- Dry/Wet: 8–18%
- Algo: Plate or Chamber
- Decay: 1.2–2.2 s
- Pre-delay: 15–30 ms (keeps the initial word punchy)
- Wet: 6–14%
- High-cut: 8–12 kHz depending on brightness
- Width: 120–160% (careful—too wide can disappear in mono)
- If the drop is dense, try Bass Mono: set to 150–250 Hz
- Ceiling: -0.8 dB
- Just shaving peaks (1–2 dB max)
- Auto Filter Freq: slowly sweep downward (e.g., 2.5 kHz → 1 kHz) then snap open at drop (when you switch to DROP chain).
- Hybrid Reverb Wet (BUILD): rise slightly in the final half-bar (e.g., 12% → 20%), then drop to the tighter DROP reverb amount.
- Bar -2: vocal begins filtered + narrow
- Bar -1: LFO movement increases / reverb swells
- Drop bar 1: switch to DROP chain + add a short delay tail
- Too much reverb on the drop: your snare loses impact and the vocal sounds “behind” the mix. Keep drop reverb short and pre-delayed.
- No level matching between BUILD and DROP: the drop feels louder but messy. Match perceived loudness; make the tone change do the excitement.
- Over-widening (Utility width 200%): vocal disappears in mono and clashes with cymbals.
- Ignoring low-mid mud (200–500 Hz): vocals can cloud the bassline and break. Cut gently if needed.
- Distortion without control: Roar/Saturator can add harshness fast—always re-check 3–6 kHz.
- Make the drop darker but more present: instead of boosting air, add harmonics with Saturator and slightly reduce 10–12 kHz if it’s fizzy.
- Roar for “system grit”: keep Drive moderate and Mix under 40%; pair with EQ cuts around harsh bands (often ~3.5–5 kHz).
- Mono discipline: keep vocal low end mono (Utility Bass Mono 180–250 Hz). Heavy DnB needs a stable center.
- Use Delay instead of huge reverb: tempo-synced ping-pong delays give space without washing drums.
- Drop impact trick: at the exact drop, automate Utility Gain +1 dB for the first word only (then back). Tiny moves read huge in DnB.
- You built a two-state vocal rack (BUILD vs DROP) using stock Ableton Live 12 devices.
- BUILD state = filtered, narrow, tense. DROP state = wide, present, harmonically rich, controlled.
- You used Chain Selector automation (or crossfade) to create a clean, musical drop color moment.
- You shaped it to sit in DnB with EQ discipline, sidechain, and tempo-synced space.
In this lesson you’ll build a repeatable Ableton Live 12 stock-device chain that gives you two vocal “states” (Build vs Drop), and you’ll automate the switch like a pro.
---
2. What you will build 🧱
You’ll create a two-lane vocal processing system:
You’ll control the transition with automation, using:
All stock, all Live 12.
Result: a vocal that “snaps into color” on the drop and sits correctly over rolling drums + sub.
---
3. Step-by-step walkthrough 🥁🎙️
Step 0 — Set the DnB context (so the vocal decisions make sense)
1. Set tempo to 174 BPM (or your usual 172–178 range).
2. Have a basic drop loop playing:
- Kick + snare (2&4)
- Amen/chops or 2-step hats
- Sub/bass
This matters because vocal tone choices are relative to the drum/bass density.
---
Step 1 — Prep your vocal (clean start = easier drop color)
1. Create an Audio Track: `Vocal`.
2. Drag in a vocal phrase (one-shots, MC line, classic rave snippet, etc.).
3. Warp mode:
- For spoken/rap: Complex Pro
- For short chops: Tones or Beats (preserve transients)
4. Trim and fade: add tiny fades (2–8 ms) to avoid clicks.
Arrangement tip (DnB classic): place a short vocal phrase in the last 1 bar before the drop, or make it a call-out right on bar 1 of the drop.
---
Step 2 — Create two “states” with an Audio Effect Rack (Build vs Drop)
1. On the `Vocal` track, add Audio Effect Rack.
2. Click Chain List → create two chains:
- Chain 1: `BUILD`
- Chain 2: `DROP`
We’ll build both chains so they feel like a proper before/after.
---
BUILD chain: tight, tense, filtered, narrow 😬
Goal: create anticipation, keep it out of the way, sound like it’s “behind the wall.”
Device order (BUILD chain):
1. EQ Eight
2. Auto Filter
3. Roar (subtle grit or filtering)
4. Utility
5. Hybrid Reverb (small + dark)
BUILD settings (starting points)
1) EQ Eight
2) Auto Filter
- Freq: 800 Hz – 2.5 kHz (automate later)
- Resonance: 15–25%
- LFO Amount: 5–12%
- Rate: 1/8 or 1/4 (sync)
3) Roar
4) Utility
5) Hybrid Reverb
---
DROP chain: wide, present, controlled, aggressive 😈💥
Goal: it pops through the drums, feels “bigger,” but stays controlled over the sub.
Device order (DROP chain):
1. EQ Eight
2. Saturator
3. Compressor (or Glue Compressor)
4. Roar (optional for character)
5. Delay
6. Hybrid Reverb
7. Utility
8. Limiter (safety)
DROP settings (starting points)
1) EQ Eight
2) Saturator
This adds harmonics so the vocal reads on small speakers (important in DnB).
3) Compressor (clean leveling)
4) Roar (optional edge)
Use this if you want that “rave-system chew” without destroying intelligibility.
5) Delay
Keep it rhythmic—not washy—so it rolls with the break.
6) Hybrid Reverb
7) Utility
8) Limiter
---
Step 3 — Make the “Drop Color Switch” (automation that hits hard)
You’ve got two chains; now you need a clean way to switch states.
Option A (tightest): Chain Selector
1. In the Audio Effect Rack, show Chain Selector.
2. Set `BUILD` chain zone to 0–63
3. Set `DROP` chain zone to 64–127
4. Map Chain Selector to a Macro (Macro 1: “Build↔Drop”).
5. Automate Macro 1:
- Build section: value 0
- On drop: jump to 127 right on bar 1
This creates a hard tonal cut—classic DnB energy.
Option B (more modern): crossfade using volumes
1. Map each chain volume to a macro (Macro 1 controls both inversely).
2. Automate a fast ramp (like 30–80 ms) into the drop for a smoother “color bloom.”
---
Step 4 — Add “pre-drop tension” automation (this is where it gets exciting) ⚡
In the last 1 bar before the drop, automate BUILD chain for tension:
DnB arrangement idea:
---
Step 5 — Make the vocal sit with an Amen / break (without washing the snare)
DnB drums are bright and transient-heavy; your vocal must not mask the snare crack.
1. On the `Vocal` track (after the Rack), add EQ Eight:
- If snare lives around 180–220 Hz (body) and 2–4 kHz (crack), don’t boost aggressively there.
2. Add Sidechain Compression (stock Compressor):
- Create a `Drum Bus` track (or use your main drums group)
- On `Vocal`: Compressor → Sidechain ON → input = Drum Bus
- Start settings:
- Ratio 2:1
- Attack 5–15 ms
- Release 80–140 ms
- GR: 1–3 dB on snare hits
This subtly “tucks” the vocal into the groove.
---
Step 6 — Quick “DnB callout” edit (optional but powerful) 🎤
A common jungle/DnB move is to make the first drop vocal short + rhythmic.
1. Duplicate your vocal clip.
2. Slice it into 1/8 or 1/16 chunks (right click → Slice to New MIDI Track is fine too, but audio works).
3. Place chops on offbeats around the snare hits.
4. Use Gate on the DROP chain if needed:
- Threshold so it closes between chops
- Return/Release short (tight like a shout)
---
4. Common mistakes 🚫
---
5. Pro tips for darker/heavier DnB 🖤🔊
---
6. Mini practice exercise 🎯
Goal: Create a 16-bar section with a vocal that “colors” into the drop.
1. Make an 8-bar build + 8-bar drop loop.
2. Put a vocal phrase in bar 7–8 (build) and bar 1–2 (drop).
3. Build an Audio Effect Rack with the two chains exactly as above.
4. Automate:
- Macro “Build↔Drop” (Chain Selector) switching on bar 1
- BUILD Auto Filter Freq sweep across bar 8
- BUILD Reverb Wet +5% in last half-bar
5. Bounce a quick export and check:
- Can you hear the words clearly on phone speakers?
- Does the snare still smack?
- Does the drop feel bigger even if the peak level is similar?
---
7. Recap 🔁
If you want, tell me what kind of vocal you’re using (MC line, diva phrase, old rave sample, your own recording) and whether your drop is roller, jump-up, or jungle, and I’ll suggest a tuned rack preset and exact automation moves for your style.

