Main tutorial
Lesson Overview
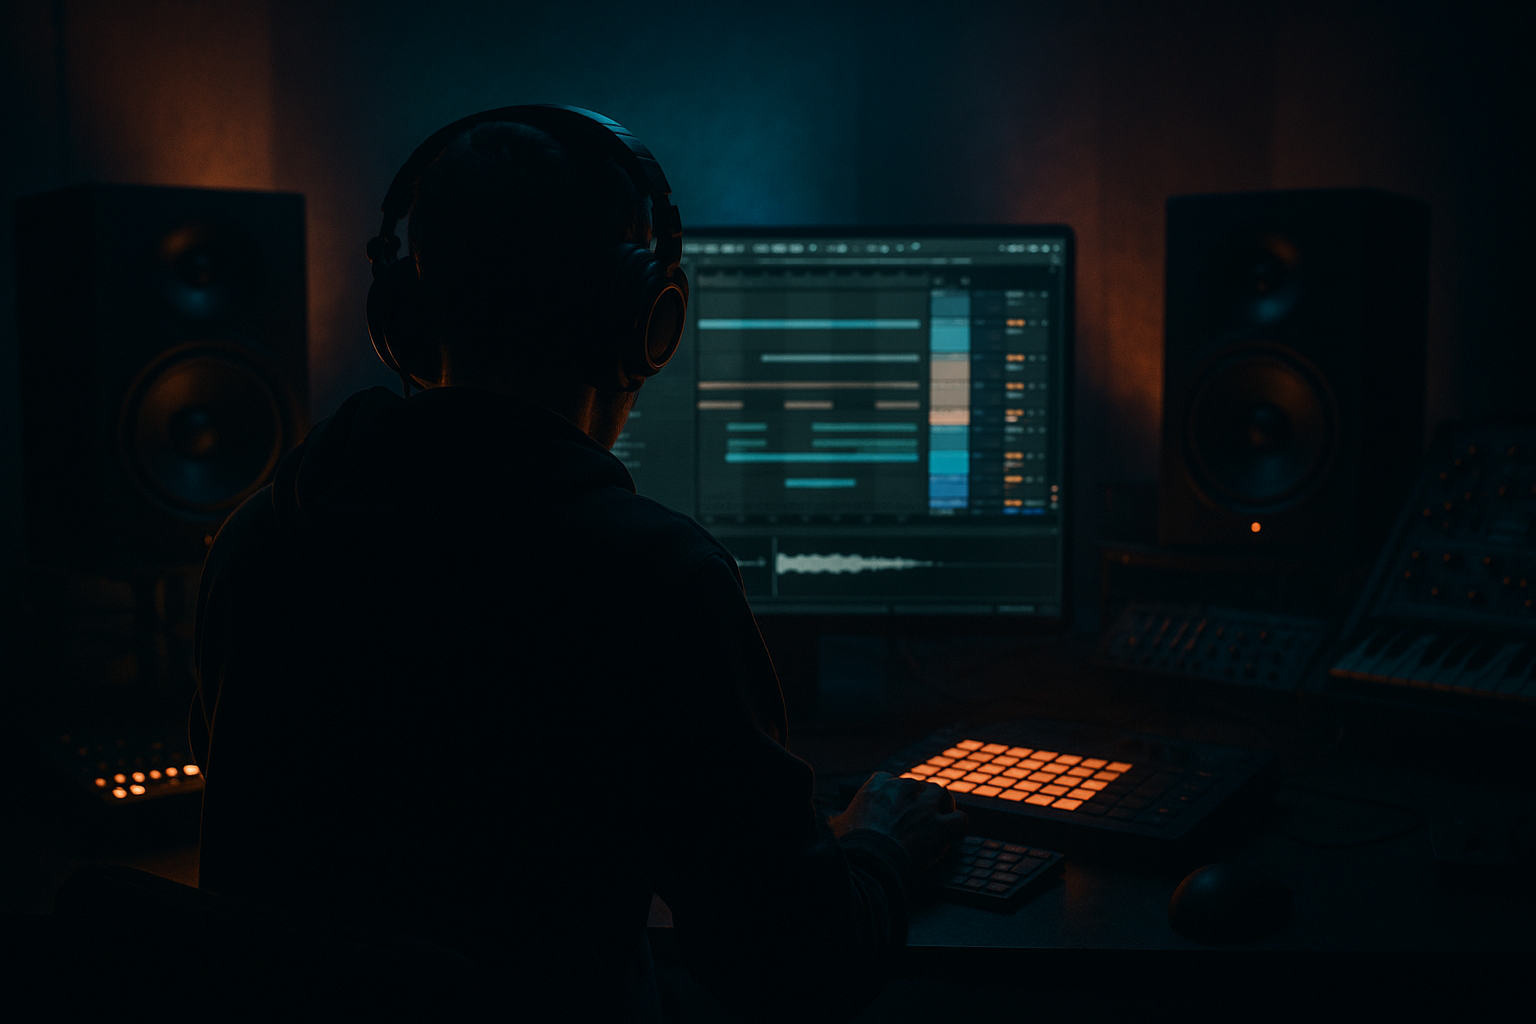
This lesson is about building an Amen Science FX chain in Ableton Live 12 that turns a raw Amen break into a smoky, warehouse-ready DnB texture. The goal is not just to make the break sound “processed,” but to make it feel like it belongs in a dark club system: gritty, spatial, controlled, and full of motion.
In real Drum & Bass production, especially jungle, rollers, darker halftime, and neuro-adjacent bass music, the Amen is more than a drum loop. It’s a rhythmic identity piece. You’ll often chop it, resample it, respace it, and then push it through a chain that adds character without destroying the groove. That matters because in DnB, the drums have to do a lot of work: they need to hit hard, leave room for the sub, and still carry enough atmosphere to feel cinematic in the intro, breakdown, and switch sections.
Here, “Amen Science” means a workflow where you:
- slice the break,
- shape it with transients and saturation,
- add controlled ambience,
- resample the result,
- and treat the loop like a performance-ready instrument.
- a main break layer under a sub and reese
- a top percussion texture in an intro or buildup
- a call-and-response drum phrase for a drop
- a resampled break hit you can repeat, mute, and rearrange
- a dusty, slightly overdriven Amen with tight transient punch
- a dark room tone around the break, like a warehouse tail or concrete chamber
- enough midrange grit to cut through bass without sounding brittle
- a loop that can sit in a 174–176 BPM track and still feel agile
- clean-ish intro break
- compressed drum-led drop
- more degraded, atmospheric variation
- filtered breakdown phrase
- Over-washing the break with reverb
- Compressing too hard too early
- Letting the low end fight the sub
- Quantizing the Amen too rigidly
- Using too much stereo widening on drums
- Not resampling
- Put Drum Buss on a parallel return and blend it under the clean break for extra grit without losing the original transient.
- Use frequency-targeted automation: open the high end in the last 2 bars before a drop, then snap it back down for impact.
- Layer the Amen with a very quiet foley texture or vinyl-style room noise, then high-pass it so it only adds atmosphere.
- Use Echo on only selected slices like snare ghosts or fills; a short synced delay can create classic jungle tension.
- If your break feels thin, try parallel Saturator instead of boosting EQ. Drive it, low-pass it, and blend it quietly.
- For a more underground warehouse tone, reduce the brightness of the break and let the midrange distortion do more of the character work.
- Resample multiple versions: one clean, one dirty, one filtered. That gives you arrangement options without extra sound design later.
- In heavier DnB, keep the break’s stereo energy mostly in the top layer, not the kick and snare core. That preserves punch on club systems.
- Build the Amen as a sampled, editable instrument, not just a loop.
- Use EQ, Glue Compressor, Saturator, Drum Buss, and return effects to create weight and atmosphere.
- Keep the sub separate, mono, and clean so the break can stay punchy without cluttering the low end.
- Resample the processed break to unlock new chopping and arrangement options.
- Use selective reverb, automation, and groove to create smoky warehouse energy without losing clarity.
- In DnB, the best Amen chains feel tight, gritty, and alive — not overprocessed, just properly controlled.
The focus is Sampling, so the lesson is designed around Ableton’s stock tools for chopping, processing, resampling, and arranging breaks in a way that sounds intentional rather than loop-based. 🔥
What You Will Build
By the end of this lesson, you’ll have a smoky warehouse Amen loop that works as:
Musically, the result should feel like:
You’ll end up with a chain that can move between:
The sound target is not polished pop breakbeat. It’s shadowy, physical, DJ-friendly DnB energy.
Step-by-Step Walkthrough
1. Load and slice the Amen cleanly
Start by dragging a classic Amen break into an Audio Track or Simpler. If you’re using an audio clip, set the clip to warp correctly first. For DnB, a good starting point is around 174 BPM or your project tempo, then adjust warp markers so the snare and kick land tightly.
Best workflow:
- Right-click the break and choose Slice to New MIDI Track
- Slice by transients or 1/16 if the break is already clean
- Use Simpler in Slice mode for quick control
Why this matters: Amen-based DnB often needs micro-editing. Slicing gives you the freedom to rephrase the break, mute weak hits, or create syncopated rolls. That’s the backbone of authentic jungle and rollers programming.
For a smoky warehouse vibe, don’t over-quantize everything. Keep some swing and human drift. A lot of classic drum & bass feels alive because the break retains tiny imperfections.
2. Build the core drum chain: EQ, compression, and saturation
Put your sliced break or break group into a Drum Group and start a simple stock FX chain:
- EQ Eight
- Glue Compressor
- Saturator
Suggested starting points:
- EQ Eight: high-pass around 25–35 Hz to clear sub rumble
- Cut a bit around 250–400 Hz if the break gets boxy
- Add a small shelf around 6–9 kHz only if you need more snap
- Glue Compressor: ratio 2:1 or 4:1, attack 10–30 ms, release Auto or 0.3–0.6 s
- Saturator: Drive 2–6 dB, Soft Clip on, output trimmed to match gain
This chain gives you the classic DnB combination of impact + density + control. The compressor glues the break together, while Saturator adds harmonic weight that helps the drums survive on big systems. In darker DnB, saturation is often more useful than extreme EQ boosting because it thickens transients without making the top end harsh.
3. Shape the break with transient and groove control
Add Drum Buss after the compressor or use it instead of Saturator if you want more built-in drum character. Keep it subtle at first.
Good starting settings:
- Drive: 5–15%
- Crunch: low to moderate
- Transients: slightly positive if the break needs more attack
- Boom: usually off or very low for Amen processing, unless you want extra low drum weight
- Damp: adjust if the top end gets spitty
Then, use Ableton’s Groove Pool to add swing. Try a classic MPC-style groove or a subtle shuffle:
- Timing: 55–60%
- Random: very low
- Velocity: 5–10%
For DnB, groove is not just feel — it’s tension. A break with slightly pushed hats and slightly laid-back ghost notes can sit beautifully against straight 808 subs or a rolling reese line.
If your kick and snare feel too “MIDI perfect,” the track can lose that smoked-out jungle energy. The Amen should feel like it’s dancing around the grid, not sitting dead on it.
4. Create a smoky space with parallel ambience
Now build the warehouse vibe using Return tracks rather than washing out the main break directly.
Create one return with:
- Reverb
- EQ Eight
- optional Echo
Suggested settings:
- Reverb decay: 1.2–2.5 s
- Pre-delay: 10–25 ms
- High cut: around 6–9 kHz
- Low cut: around 180–300 Hz
- Echo: synced to 1/8, 1/8 dotted, or 1/4 depending on movement
- Ping Pong: light use only if it stays mono-safe enough
Send only selected hits or slices to this return. For example:
- snare ghosts
- open hats
- end-of-bar fills
- chopped re-trigger hits
This is where the warehouse illusion happens. You’re not drowning the whole break in reverb; you’re creating selective distance. In DnB, that matters because the sub and kick need clarity, but the atmosphere can live above and around them. That’s why parallel ambience works so well: the dry break still punches, while the send gives you room depth.
5. Resample the processed break for control and grit
Once the chain is feeling good, resample it. This is a key sampling move in Ableton Live.
Create a new Audio Track, set Audio From to Resampling, and print 4–8 bars of your processed Amen. Then drag the recorded audio into a new clip or Simpler.
Why resample?
- You commit to a sound and stop endlessly tweaking
- You can now chop the processed result like new source material
- You get natural artefacts from your FX chain, which often sound more “real” than pristine processing
After resampling, you can:
- slice the printed break again
- reverse selected hits
- rearrange ghost notes
- pull out a single snare tail for transition use
This is especially effective in darker DnB because the resampled break captures the interaction between compression, saturation, and ambience. That interaction is what makes the sound feel like a machine working in a room, not just a sample playing back.
6. Add modulation and movement without ruining the groove
To make the Amen feel alive, automate or modulate a few parameters instead of changing everything at once.
Good targets:
- Auto Filter cutoff for intro/breakdown movement
- Reverb send on fills
- Saturator Drive during build tension
- Drum Buss Transients for drop emphasis
- Echo feedback for transition tails
A practical move:
- Automate an Auto Filter low-pass from about 250 Hz up to 18 kHz over 8 bars in an intro
- Then open it fully right before the drop
- Add a small automation bump to reverb send on the last snare before a switch
You can also map Macro controls if the break is inside an Audio Effect Rack:
- Macro 1: Dry/Wet Ambience
- Macro 2: Drive
- Macro 3: Filter Cutoff
- Macro 4: Transient Intensity
For a smoky warehouse vibe, movement should feel like fog drifting through the beat, not a giant EDM sweep. Subtle automation usually wins here.
7. Carve space for bass and sub
In DnB, your break and your bassline are a team, not competitors. Use EQ and arrangement choices to keep them from fighting.
On the break group:
- high-pass around 25–35 Hz
- gently reduce muddiness around 200–350 Hz if the bass feels crowded
- tame harsh hats around 7–10 kHz if the bass has bright distortion
On the bass group:
- keep the sub mono
- let the bass occupy the fundamental weight
- avoid duplicating low-end energy with the break
If the Amen has a strong kick, consider trimming its low end a touch so the dedicated sub line can own the bottom. This is a very common DnB workflow: the break supplies drive and texture, while the sub delivers the chest hit.
A useful check: solo kick/snare/bass together, then listen in mono. If the break suddenly disappears or the low end blooms uncontrollably, back off the stereo widening and low-end processing.
8. Arrange the break for a proper DnB phrasing structure
Now place the processed Amen in a musical context. A practical arrangement example:
- Bars 1–8: filtered intro break with reverb send, no full sub
- Bars 9–16: break opens up, bass tease enters
- Drop A: full Amen layer with sub and reese
- Bars 17–24: drum variation with a call-and-response phrase
- Breakdown: resampled, more degraded break with echoes and cut hits
- Drop B: harder, tighter version with more transients and less ambience
For dark rollers or warehouse DnB, the drop often works best if the Amen is not looping identically every bar. Try:
- muting one or two slices every 4 bars
- adding a snare pickup into the next phrase
- using a reversed slice before the downbeat
- swapping in a more aggressive resampled hit on bar 8 or 16
This keeps the listener locked in and helps the track feel performed rather than copied and pasted.
9. Final polish: bus shaping and headroom
On the drum bus, finish with gentle control rather than heavy destruction.
Suggested final chain:
- EQ Eight for corrective cleanup
- Glue Compressor if needed, very light
- Limiter only if you’re previewing loudness, not as a crutch
Keep headroom so the bass and master chain have space to breathe. In a DnB mix, drums can feel huge even if they are not slammed to the ceiling. The room impression comes from density, movement, and balance, not just loudness.
Do a quick reality check:
- Does the snare cut through at low volume?
- Does the break still groove when the bass enters?
- Is the atmosphere supporting the drums instead of smearing them?
If yes, you’ve got a proper Amen Science chain ready for a smoky warehouse record.
Common Mistakes
- Fix: use sends and automate them only on certain hits or transitions.
- Fix: start with moderate compression and add saturation for density instead of crushing the transient.
- Fix: high-pass the break, trim mud, and keep the sub mono and clearly defined.
- Fix: preserve some groove and human variation. DnB needs motion, not stiffness.
- Fix: keep core kick/snare energy centered and use width mainly for ambience and tops.
- Fix: print your processed break so you can chop it as a new instrument and commit to the vibe.
Pro Tips for Darker / Heavier DnB
Mini Practice Exercise
Spend 10–20 minutes building a three-version Amen system in Ableton Live:
1. Load a single Amen break and slice it in Simpler or to MIDI.
2. Create three versions:
- Clean version: mild EQ and compression only
- Warehouse version: add Saturator, Drum Buss, and a reverb send
- Dirty version: resample the processed break, then add a little more distortion and filtering
3. Arrange each version into 4 bars:
- Clean for intro
- Warehouse for the first drop
- Dirty for a switch or second drop
4. Add one automation move to each version:
- filter cutoff
- reverb send
- Drive or Transients
5. Check all three in mono and make sure the kick/snare still read clearly.
Goal: by the end, you should have a usable mini-arrangement that shows how the same Amen can tell three different parts of a DnB story.

