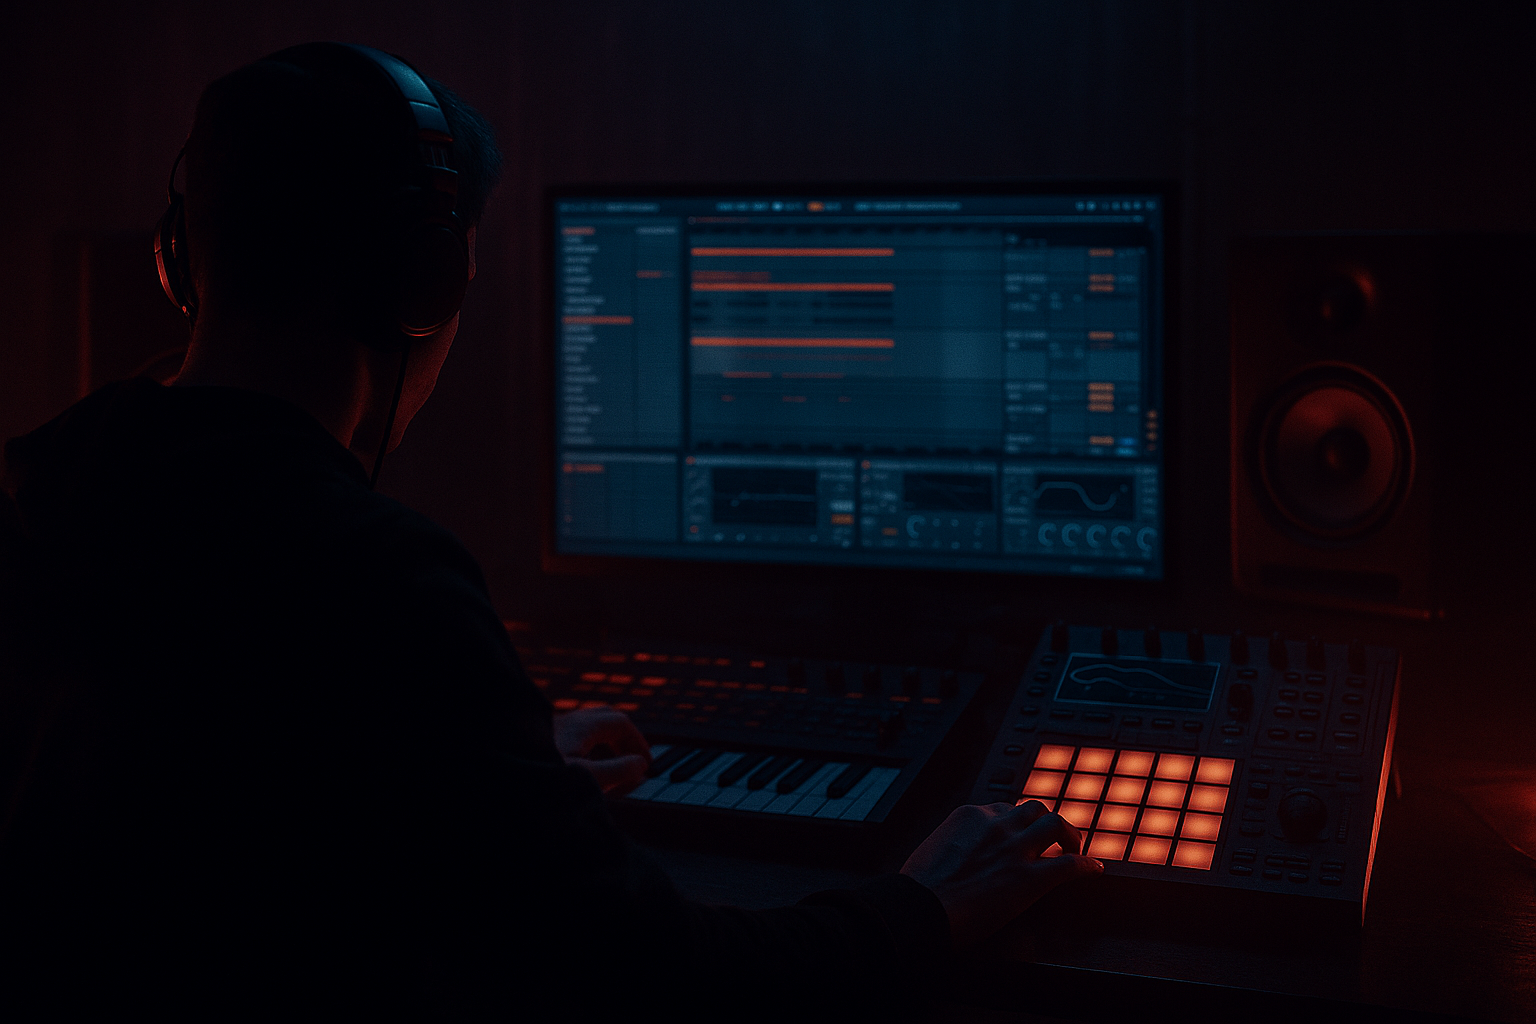
Main tutorial
Lesson Overview
This lesson is about building an Amen Science edit: a chopped-vinyl break texture that feels like it was lifted from a worn jungle plate, then reshaped into a modern Ableton Live 12 weapon. The goal is not just to make an Amen break “sound old.” The goal is to make it move like a performance, with controlled modulation, vinyl-style texture, and enough rhythmic intention to sit inside a real Drum & Bass drop.
This technique lives in the space between drum editing, resampling, and texture design. In a DnB track, it usually appears as a top-layer break phrase, a call-and-response edit before the drop, a mid-drop switch-up, or a ghost groove behind the main kick/snare anchor. It matters because a raw Amen chopped badly will either feel stiff and looped, or it will smear the low end and fight your bass. A strong edit adds urgency, history, and motion without killing punch.
This works especially well in jungle, rollers, dark halftime-leaning DnB, and heavier atmospheric tracks where you want the break to feel human, gritty, and slightly unstable. By the end, you should be able to hear a break edit that feels like a vinyl-sampled loop under controlled modulation, with clear snare identity, moving top texture, and enough discipline to survive a club mix.
What You Will Build
You will build a 4-bar Amen Science edit in Ableton Live 12 that feels chopped from vinyl, modulated from scratch, and ready to live inside a DnB arrangement.
The finished result should have:
- a dusty, chopped break tone with audible transient detail
- a rhythmic feel that swings, stutters, and rephrases like a live edit rather than a static loop
- a role in the track as either a top-layer driver, a drop intro hook, or a tension break before a full drum/bass return
- enough polish to be mix-ready as a layer, not a finished master
- a result that sounds like old-school source material reworked with modern control: gritty, purposeful, and not overly lo-fi
- Let the snare be the authority. In darker DnB, the break can be messy as long as the snare still feels like the spine. If the snare gets blurred, reduce the texture layer before adding more grit.
- Use a two-tier break hierarchy. Keep one layer for impact and one layer for atmosphere. The impact layer should stay more centered and cleaner; the atmosphere layer can be crushed, filtered, and slightly unstable.
- Automate movement in the upper break, not the sub area. Heavy DnB gets darker when the top-end is restless, not when the low end is smeared. That keeps the drop brutal and readable.
- Print variation, don’t rely on endless live tweaking. Once you find a version that feels wrong in a useful way, resample it and re-edit the audio. DnB tension often improves after commitment because the edit becomes a performance artifact.
- Use negative space like a weapon. A small gap before a snare or a brief drop in texture right before the next bar makes the next hit feel bigger. In heavy tracks, tension is often created by what you remove.
- Keep the main break mono-friendly, then let the top noise breathe. This preserves club translation and makes the track easier to mix with a sub-heavy bassline.
- For more menace, offset one ghost note slightly late. That tiny drag can make the groove feel heavier without changing the pattern itself. If it starts sounding sloppy, pull it back a touch.
- Use only Ableton stock devices
- Start from one Amen break sample
- Use no more than 3 processing devices on the main layer
- Add only one extra texture layer
- Include one fill or switch-up in bar 4
- a 4-bar loop with a clear snare identity
- one modulated texture movement
- one moment of phrase contrast before the loop repeats
- Does the break still sound like an Amen, not random drum noise?
- Does it stay punchy when the bassline is playing?
- Can you hear a deliberate change by bar 4 without the groove falling apart?
Success sounds like this: the break should feel alive, slightly unstable, and obviously edited, but still punch through a dense DnB drop without masking the kick, sub, or main snare.
Step-by-Step Walkthrough
1. Start with the right source and place it in context
Drag a clean Amen break sample into an audio track. If you have a full break with space around it, even better. Set the clip warp mode to a simple transient-friendly mode if needed, but keep the focus on the chopped rhythm rather than time-stretch artifacts. Start at around 170–174 BPM if you are building for a standard DnB grid, but don’t obsess over perfect alignment yet.
Now loop 2 bars and listen to the source in the context of your drums, not solo. If you already have kick and sub, leave them running. This matters because an Amen edit that feels exciting alone can become clutter once the bassline enters. You want to hear whether the break naturally supports the pocket or if it is crowding the main backbeat.
What to listen for:
- Does the snare still read clearly when the loop repeats?
- Are the ghost hits and hats adding motion, or just clutter?
- Does the source have enough transient edge to survive chopping?
If the break is too clean, too modern, or too flat, that’s fine. You are going to reshape it.
2. Slice the break into playable pieces
Right-click the clip and choose Slice to New MIDI Track. Use transient slicing so the kick, snare, ghost hits, and hats become individual pads in a Drum Rack. This is the fastest way to turn a fixed loop into an editable performance.
In the Drum Rack, identify the core pieces:
- main snare
- main kick
- ghost snare / tap
- hat / ride fragments
- any off-grid noise hits worth keeping
Rename the most important pads immediately. This is a workflow efficiency move that saves you from hunting later when you start resampling layers.
The reason this works in DnB is simple: jungle and break-driven DnB rely on micro-phrasing. The break is not just a loop; it is a set of accents that can be re-ordered for tension, fills, and drop momentum.
3. Build a 1-bar performance pattern first
Program a tight 1-bar MIDI phrase using the sliced pads. Don’t try to write the full 4-bar story yet. Focus on a believable core groove:
- anchor the main snare on the expected backbeat
- place the kick so it supports the bass rather than masking it
- use one or two ghost hits for propulsion
- leave at least one small gap for breath
Keep the first pass fairly conservative. In jungle and darker rollers, the groove often works best when the edit implies chaos without actually collapsing into it.
A good starting point:
- main snare on beat 2
- another snare or strong ghost accent leading into beat 4
- a kick pickup near the end of the bar
- small hat fragments between snares
Listen for whether the pattern has forward pull. If it sounds too square, move a ghost hit earlier by a 16th. If it sounds rushed, pull one accent back and let the snare breathe.
4. Create the “vinyl feel” with timing and variation, not a fake lo-fi blanket
Now use subtle timing differences to mimic chopped vinyl performance. In Ableton’s MIDI clip, nudge a few ghost notes slightly late or early by a small amount. Think in terms of a few milliseconds or a tiny swing feel, not dramatic drift. The goal is to make the break feel like it was cut by hand, not quantized by a machine.
Add velocity variation too:
- main snare: strong and consistent
- ghost hits: noticeably lower
- hat fragments: alternating medium and low velocity
If you want a stronger vinyl illusion, duplicate the Drum Rack and use two layers:
- Layer A: dry, punchy break slices
- Layer B: heavily filtered texture slices, lower in level
Then blend them so the texture layer adds dust and smear without stealing the transient. This is the first stock-device chain example: Drum Rack + EQ Eight + Saturator on the texture layer. Use EQ Eight to roll off low end below roughly 150–250 Hz, then a light Saturator with modest Drive to roughen the top texture. The punch layer stays cleaner.
5. Shape the break with filter movement
Put an Auto Filter after the break rack or on the texture layer only. Use it to simulate the sense of a chopped sample being opened and closed over time. This is where the “Amen Science” identity starts to show up.
Try one of two valid directions:
A. Dark, underground movement
- low-pass filter around 8–12 kHz
- small resonance boost
- slow envelope or automation opening slightly before key accents
- subtle LFO movement if it doesn’t interfere with the snare
B. More aggressive, nervous edit
- band-pass or sharper low-pass motion
- quicker automation on the last half of the bar
- more audible cut-and-open movement around fill moments
Choose A if the track is deep, moody, or rolling. Choose B if the break needs to feel like it is pulling the drop forward with tension.
What to listen for:
- Does the filter movement enhance the phrase, or just sound like a sweep?
- Do the snare transients remain clear after filtering?
If the snare loses attack, move the filter to the texture layer only, or raise the cutoff more than you think.
6. Add controlled distortion and resample if needed
For the gritty vinyl edge, insert Saturator or Drum Buss after your break processing. Use it lightly. In DnB, the danger is not “too little grit.” The danger is flattening the transient and losing the snap that drives the groove.
A practical starting point:
- Saturator Drive: around 2–6 dB
- Soft Clip on if the break is spiky
- Drum Buss Crunch: modest, not maxed
- Drive or Boom kept restrained unless you are intentionally thickening the low break layer
If the edit is already rhythmically interesting, commit this to audio if the CPU starts stacking up. Resampling is often the right move here. Print the break to a new audio track once the timing, filter movement, and distortion feel right. That lets you chop the resampled performance again, reverse pieces, and create second-order edits with less CPU and more commitment.
Why this works in DnB: resampling turns a loop into a phrase with consequence. A printed break feels more like a record being worked, which suits jungle, rollers, and darker club edits far better than endlessly adjustable MIDI.
7. Create the “science” part: modulation that moves but doesn’t collapse
Now make the texture modulate from scratch. Use Auto Filter, Beat Repeat, and/or Frequency Shifter carefully on the resampled layer if you want more unstable character. The idea is not obvious FX. The idea is controlled motion.
One effective stock chain example:
- EQ Eight: remove mud below roughly 120–180 Hz
- Auto Filter: band-pass or low-pass with slow movement
- Frequency Shifter: tiny shifts for metallic instability, used subtly
- Saturator: a final grit stage
If you use Beat Repeat, keep the interval and grid musical. Use it as a phrase tool, not a constant effect. Short repeat windows can create a convincing chopped-vinyl stutter before a drop or at the end of a 4-bar section.
Important listening cue:
- If the modulation feels exciting but the snare no longer lands emotionally, the effect is too dominant.
- If it sounds static, you probably need one more small change in filter cutoff or note spacing rather than more distortion.
8. Write the 4-bar phrase with arrangement in mind
Build the 4-bar pattern so it functions like a real DnB section, not a loop demo. Use the first 2 bars to establish the groove, then let bars 3–4 evolve.
A practical arrangement example:
- Bar 1: cleanest version of the edit, with the strongest snare placement
- Bar 2: add a ghost hit or reversed fragment
- Bar 3: filter opens slightly, one extra kick pickup
- Bar 4: break into a fill, a stutter, or a short dropout before the next section
This gives you a DJ-friendly and mix-friendly phrase. It also means the break is doing musical work: setting up contrast, not just looping endlessly.
Check this against your bassline. If the bass is busy, keep the break more selective. If the bass is sparse, the break can carry more top-end motion. The question is not “how much detail can I add?” It is “how much detail can the bass and drums support without turning into mush?”
9. Control width, mono, and low-end separation
Keep the core break energy centered. Any stereo movement should live mostly in the higher texture layer, not the transient core. Use Utility to narrow the width of the important drum layer if needed, and keep the low end clean by removing unnecessary sub information from the break.
Practical rule:
- below around 120 Hz, the break should contribute almost nothing unless it is a deliberate kick layer
- the main snare and kick must survive in mono
- stereo excitement belongs in hats, dust, and upper noise
Check the edit in context with the bass and kick. In a club mix, a wide break with uncontrolled low-mid smear will eat into the bassline and make the drop feel smaller. A focused, mono-safe core gives you more room for the sub and makes the arrangement hit harder.
What to listen for:
- Does the snare still feel centered and punchy in mono?
- Does the texture widen the track without blurring the groove?
10. Add one purposeful fill or switch-up, then stop
Add a single identity moment: a reverse slice, a one-beat stutter, or a short fill that resolves back into the main phrase. This is where the break becomes memorable.
Good places to use it:
- last half of bar 4 before a drop
- end of an 8-bar phrase
- final bar before a breakdown
- second-drop transition
If the edit already works, stop here if the groove is stronger than the FX. That is a real success point. You do not need to keep adding movement just because the DAW allows it. In DnB, overworked break edits lose their function quickly. Once the phrase lands and the snare reads, commit it and move on to the arrangement.
Common Mistakes
1. Over-chopping every transient
Why it hurts: the break turns into clicky debris with no recognisable Amen identity.
Fix: keep the main snare and at least one kick anchor intact. In Ableton, simplify the MIDI pattern and leave a stronger backbeat.
2. Putting heavy distortion on the full break
Why it hurts: the transient softens and the low mids clog up, especially once bass enters.
Fix: split the break into punch and texture layers. Distort only the texture layer with Saturator or Drum Buss.
3. Making the edit too wide
Why it hurts: the groove becomes unstable in mono and clashes with the bass.
Fix: use Utility to narrow the core break. Keep width for hats and noisy fragments only.
4. Using filter automation like a generic sweep
Why it hurts: it sounds like EDM transition FX instead of chopped sample movement.
Fix: automate small, phrase-based changes around accents. Think “record being worked” rather than “riser.”
5. Ignoring the bassline when programming the break
Why it hurts: the break competes with the bass rhythm and the drop feels overcrowded.
Fix: check the groove with bass active. Remove a ghost hit or move one kick pickup if the bass phrase needs space.
6. Leaving the break too clean
Why it hurts: it loses the vinyl personality and sounds like a basic loop.
Fix: add subtle Saturator drive, a filtered texture layer, and tiny timing variation on ghost notes.
7. Overusing Beat Repeat or stutters
Why it hurts: the phrase stops feeling like a drum performance and starts sounding like an effect demo.
Fix: reserve repeats for the end of a bar or fill points only, then return to the groove quickly.
Pro Tips for Darker / Heavier DnB
Mini Practice Exercise
Goal: Build one 4-bar Amen Science edit that feels like a real DnB drop layer.
Time box: 15 minutes
Constraints:
Deliverable:
Quick self-check:
Recap
An Amen Science edit works when you treat the break like a performed DnB phrase, not a static loop. Build a strong core, add vinyl-style texture with controlled filtering and saturation, keep the low end disciplined, and make one purposeful movement or fill that supports the arrangement. If the snare stays clear, the groove keeps moving, and the edit still works with the bass in the mix, you’ve built something worth keeping.

