Main tutorial
1. Lesson Overview
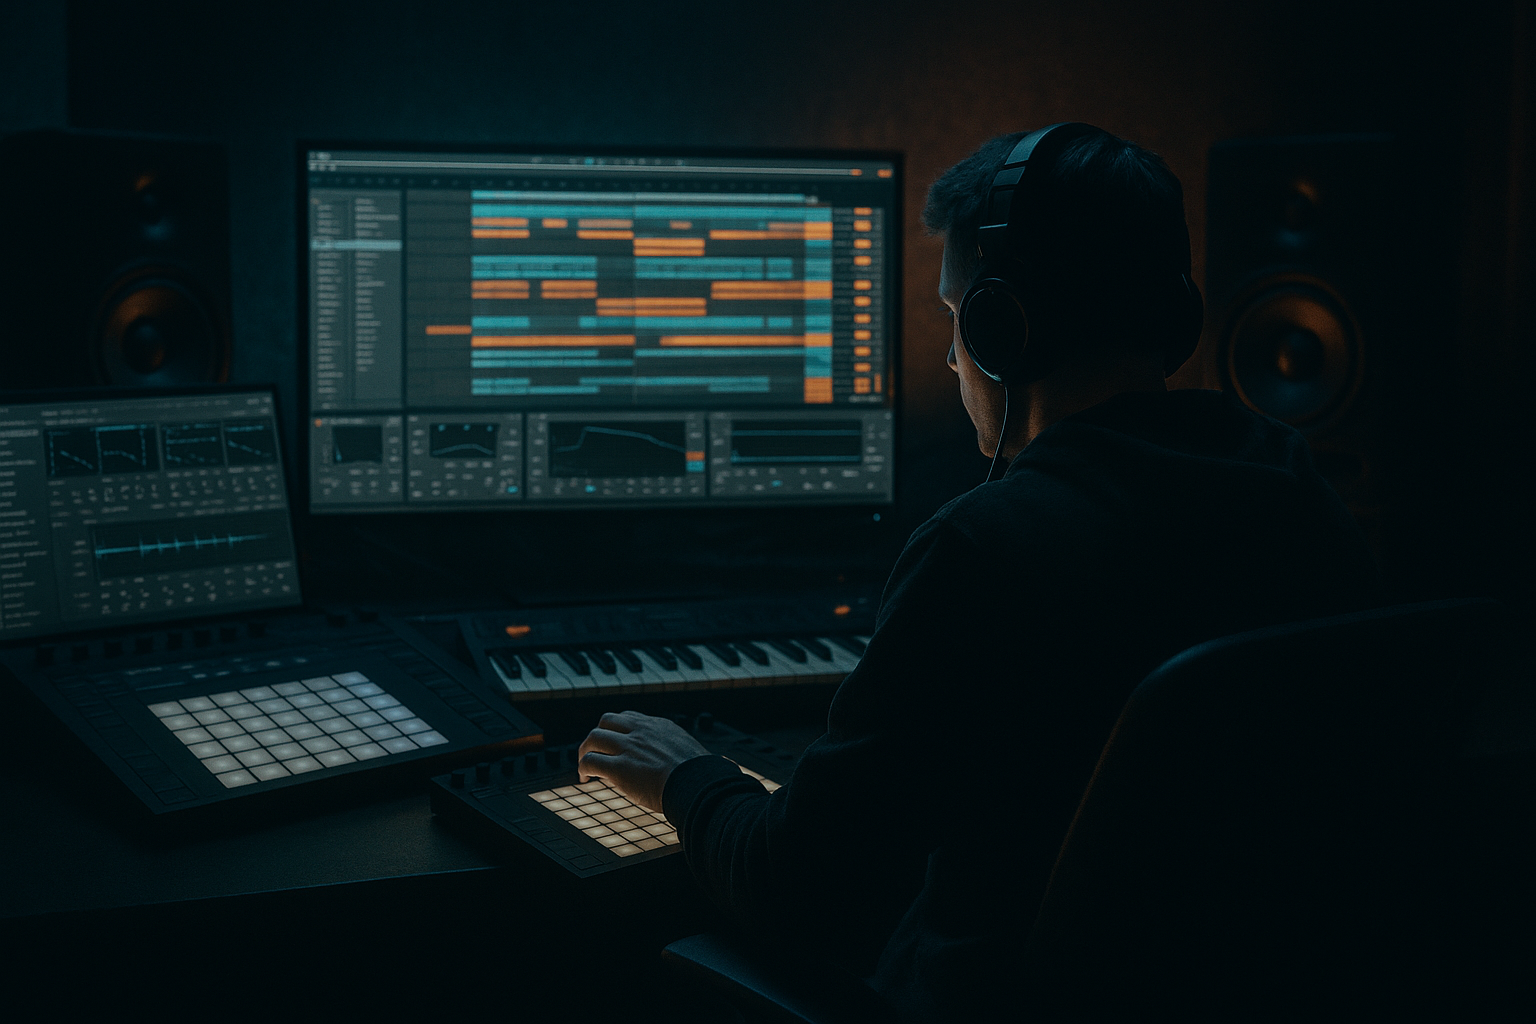
This advanced Groove lesson shows an "Andy C approach: stretch a breath FX in Ableton Live 12 for deep jungle atmosphere". We’ll take a short breath or inhale sample, aggressively time-stretch it, add granular / spectral grit, sculpt the tonality and stereo image, and lock it rhythmically into a fast Drum & Bass pocket. The result is a long, haunting breath pad that breathes with the drums and adds deep jungle atmosphere without cluttering the low end.
2. What You Will Build
- A stretched breath FX that sits behind/around the drums and bass at ~174–176 BPM.
- A multi-layer processing chain using only Ableton Live 12 stock devices (Clip Warp Texture/Complex Pro, Grain Delay, EQ Eight, Reverb + Send/Return, Frequency Shifter, Utility, Compressor).
- Resampled, tempo-synced breath layers with automated grain/spectral movement to create evolving groove-synced atmosphere.
- Stretching in Beats mode: Beats warp mode slices transients and can destroy breath sustain. Use Texture or Complex Pro for long continuous smear.
- Overloading lows: Not HPF-ing the breath can clash with bass; always high-pass at ~120–300 Hz depending on your mix.
- Too much reverb without EQ: Huge tails muddy the mix — always sculpt reverb return.
- CPU overload: Using multiple Texture/Grain Delay + long reverb instances can spike CPU. Resample evolving chains to audio and disable original chains.
- Not sidechaining: If breath is static and loud, it will fight snares/kicks; sidechain to the drum bus.
- Over-automation rate: Fast LFOs on Grain Delay or Texture can make the breath jittery; keep modulations slow for ambient atmosphere unless you want stutter.
- Andy C approach nuance: keep the stretched breath rhythmic but not rhythmic-overly mechanical — use small unsynced Spray or Flux to humanize grains.
- Double-layer: keep one ultra-stretched low-detail layer (high Grain Size, heavy HPF) and one short, more detailed mid/high layer (low Grain Size, higher dry level) for clarity and evolving texture.
- Use transient detection: slice a breath into a longer sustaining loop by placing warp markers at the start and stretching the rest — this keeps the initial transient natural.
- Formant shifting: small positive formant shifts during fills can make breath sound like a living creature; use Complex Pro Formants sparingly.
- Stereo micro-movement: automate tiny frequency shifts (Frequency Shifter) in opposite directions on two duplicate tracks for a subtle, organic stereo wobble.
- Create multiple tempo-locked variants: resample 1-bar, 2-bar and 4-bar stretched versions and crossfade between them to follow arrangement energy.
- Use the Drum Rack or a choke group if you want breath bursts that cut each other (useful for rhythmic breaths synced to the groove).
Files used: any short breath/inhale audio clip (mono or stereo, 200–600 ms typical). All steps assume a Live 12 set at Drum & Bass tempo (e.g., 174 BPM).
3. Step-by-Step Walkthrough
Note: The walkthrough uses the exact topic name in context: Andy C approach: stretch a breath FX in Ableton Live 12 for deep jungle atmosphere. Follow the numbered steps and test in context with your drum loop.
A. Prep the Sample and Session
1. Create an audio track named "Breath Raw". Drag your breath sample into the Arrangement or Session clip.
2. Set Live 12 tempo to your DnB tempo (e.g., 174 BPM). This will let warp modes and tempo-synced devices behave predictably.
B. Quick audition with Warp Modes (choose a starting method)
3. Double-click the clip to open Clip view. Turn Warp on.
4. Try two approaches and pick what you like:
- Texture (granular-style): Warp Mode → Texture. Set Grain Size (start 40–120), Flux 0–25. Pull Seg. BPM to stretch length (drag the clip’s loop/segment markers or change clip length). This gives a grainy stretched version with good motion.
- Complex Pro (time-stretching + formant): Warp Mode → Complex Pro. Use Formants slider to preserve character while stretching; this is smoother but less “granular”.
Tip: For a very large, smeared breath, Texture is usually the starting point for the Andy C approach because it produces that breathy, grainy jungle feel.
C. Make the Basic Long Stretch
5. Duplicate the clip to a new audio track called "Breath Stretch Base".
6. In Clip view, increase the clip loop length to 2–8 bars depending on how long you want the atmosphere to hang (for DnB, 2–4 bars is common). To stretch the sample to that loop, drag the warp segment markers so the sample spans the loop (or use right-click → Warp → Stretch to x Bars if you’ve created a loop brace; if not, manually set the 1.1 warp marker and stretch).
7. While keeping Warp Mode = Texture: increase Grain Size to around 80–180 (larger for smoother smear), Flux 0–20 for subtle variation. Adjust Nudge/Transpose for pitch-shifting (see next step).
D. Sculpt Pitch and Formant (tonal glue)
8. Add a MIDI or Audio Effect Rack? Instead, keep it simple:
- Add Pitch Transposition: Use the Clip Transpose (in Clip view) or add the stock device Pitch (Audio Effects → Pitch) set to -7 to -24 semitones for a darker vibe. For formant preservation: if you used Complex Pro earlier, tweak Formants to avoid “munchkin” artifacts; if using Texture, be aware Grain Size + Pitch will alter timbre.
9. For subtle stereo pitch spread: add Frequency Shifter (Audio Effects → Frequency Shifter). Set Amount very low (0.1–3 Hz) and turn on the Stereo switch (if present), or duplicate track and offset pitch by ±5–20 cents for left/right.
E. Add Granular Motion and Rhythm (Groove syncing)
10. Place a Grain Delay after your warp chain: Audio Effects → Grain Delay.
- Delay Time: Sync mode → 1/1, 1/2, 1/4, or use Triplet values; try unsynced ms for less mechanical motion.
- Spray: 40–200 ms — adds jitter.
- Frequency: low values (0.1–2.0 Hz) or sync to beat when you want steady motion.
- Pitch: -12 to -36 semitones if you want a heavy pitch-down grained tail; combine with Random Pitch for variety.
- Feedback: 10–40% for repeated grains; be careful — use EQ after to kill buildup.
- Dry/Wet: 20–60% depending on how integrated you want the granulized texture.
11. Automate Grain Delay Spray, Frequency, or Pitch slowly across 4–8 bars to keep the atmosphere evolving (use Clip or track automation). Sync some modulations to the groove: e.g., boost Spray on every 2nd bar to emphasize transitions.
F. Reverb + Send/Return for huge space
12. Use a long Plate or Hall Reverb on a Send. Create a Return track named "Breath Reverb".
- Reverb Size: Large (60–100%)
- Decay: 4–10 s (long tail gives that jungle cavern)
- High-cut/Low-cut inside the Reverb: roll off below 200–300 Hz to avoid mud; roll off highs above ~8–10 kHz for roundness.
- Pre-Delay: short (5–30 ms) so breath feels part of the rhythm.
13. Send the stretched track 20–60% to the reverb (adjust Send knob). Use EQ Eight on the return to notch resonances and sculpt the tail so it doesn’t clash with snares.
G. Tonal and dynamic control (EQ + Compression + Sidechain)
14. Insert EQ Eight immediately after Grain Delay (or before reverb send) and:
- High-pass at 150–300 Hz to preserve bass clarity.
- Cut 500–900 Hz if the breath makes the midrange muddy.
- Add a gentle shelf or boost around 3–6 kHz to retain breath air if needed.
15. Glue Compressor (or Compressor) after EQ for level control: slow attack, medium release synced to tempo (try 1/8–1/4 note) and ratio 2:1 to 4:1. This keeps the stretched breath sitting smoothly.
16. Sidechain to the kick/snare: Insert a Compressor, choose the drum bus or a dedicated ghost kick as the sidechain input. Use a moderate threshold and fast attack/release to duck the breath on drum hits — this is crucial to maintain groove and clarity in DnB.
H. Resample to create static layers and further processing
17. When you’ve automated the Texture + Grain Delay + Reverb movement to taste, create a new audio track named "Breath Resample".
18. Set input to Resampling or to the breath track’s output, arm Record, and record a few bars to capture the evolving stretched result.
19. Warp the resampled audio as needed — now you can stack, reverse small sections, pitch-shift, or create rhythmic chops without reprocessing CPU-heavy chains.
I. Final stereo shaping and microgroove
20. Duplicate the resampled audio:
- Pan one copy left, one right slightly, detune one by ±5–15 cents (use Pitch device) for width.
- Add Utility and reduce Width to taste if the mix becomes too wide.
21. Add small rhythmic gating to lock to groove: use the built-in Auto Pan with a sharp phase (0° stereo) and a slow Rate synced to 1/8 or 1/16; set Shape to rectangle or triangle for a pulsed feel, and reduce Amount to subtle levels so the breath breathes with the drums rather than pumping.
J. Final polish
22. Final EQ on group: create a group track for all breath layers, add EQ Eight (HPF at ~120–200 Hz), add Multiband Dynamics if needed to tame frequencies, and add subtle Saturator for harmonic content (drive < 3–4 dB, dry/wet low).
23. Automate overall send to reverb and Grain Delay wet values in the track to accent phrases (e.g., send more reverb on fills or breakdowns).
4. Common Mistakes
5. Pro Tips
6. Mini Practice Exercise
Goal: Create a 2-bar stretched breath that ducks on every snare and flares on the first beat of every 4 bars.
Steps:
1. Pick a breath sample (~400 ms). Place on "Breath Stretch Base".
2. Warp in Texture mode, Grain Size 120, Flux 8, loop to 2 bars.
3. Add Grain Delay (Dry/Wet 40%), Pitch -18 st, Spray 90 ms, Feedback 20%.
4. Add EQ Eight HPF 180 Hz, cut 600–900 Hz by -3 dB, boost 4 kHz by +2 dB.
5. Add Compressor with sidechain input from your snare track; set fast attack, release ~120 ms, ratio 3:1 to duck on snare.
6. Automate reverb send so Send up to +6 dB on bar 1 of every 4 (i.e., flare on phrase start).
7. Resample 2 bars, duplicate and pan copies L/R, detune ±8 cents. Play the loop with your drum loop and tweak.
7. Recap
This lesson demonstrated an "Andy C approach: stretch a breath FX in Ableton Live 12 for deep jungle atmosphere" by combining Live 12’s Texture or Complex Pro warp modes, Grain Delay, reverb send/returns, EQ/sidechain compression and resampling workflow. Key takeaways: use Texture for granular smearing, high-pass to clear low end, automate granular parameters slowly for motion, sidechain to drums to preserve groove, and resample CPU-heavy chains into editable audio layers. Practice the mini exercise to internalize the chain and then expand with additional pitch/formant automation and stereo micro-motions for a professional jungle atmosphere.

