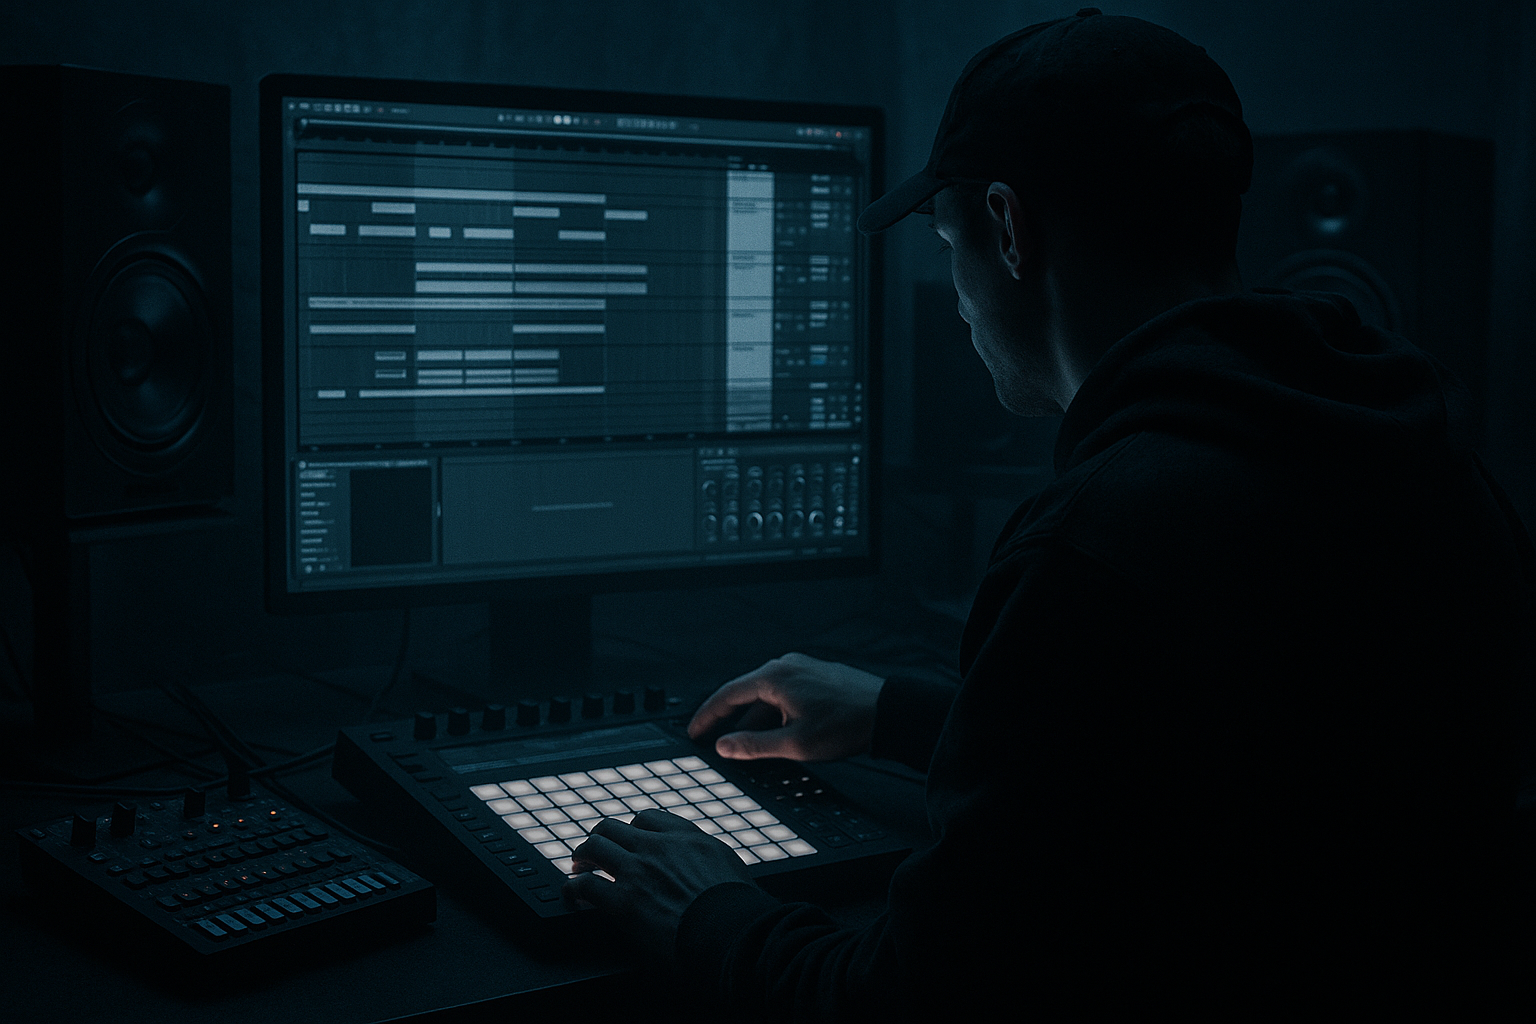
Main tutorial
```markdown
Apache break layering with one-shots (DnB in Ableton Live) 🥁⚡
1. Lesson overview
In drum & bass, classic breaks like the Apache are pure energy—but modern rolling DnB usually needs more punch, consistency, and sub control than an old break provides on its own.
In this lesson you’ll learn a beginner-friendly, repeatable Ableton Live workflow for:
- Slicing an Apache break
- Keeping its groove
- Layering clean kick/snare one-shots
- Tightening the low end
- Making it hit like a modern DnB drum bus 🎛️
- Apache break (top/character layer) for swing, ghost notes, hats
- Kick one-shot (low layer) for consistent weight
- Snare one-shot (body + crack) for punch and modern impact
- A simple drum bus chain using stock Ableton devices
- EQ Eight
- Track Delay on Kick Layer: try -5 ms to +5 ms while listening in context.
- Utility
- In the MIDI clip of the sliced break, reduce a few loud hat hits or ghost notes:
- Bars 1–4: Apache only (filtered) + light kick
- Bars 5–8: Full drums (kick + snare layers in)
- Bars 9–12: Add variation
- Bars 13–16: Fill + transition
- Leaving the break full-range: Apache low end fights your kick/sub and the mix collapses.
- Not aligning transients: Even good samples sound weak when phase/timing is off.
- Over-saturating the bus early: Too much Drum Buss/drive makes hats brittle and snares papery.
- Stacking kicks without purpose: If both kicks have sub, you’ll get flab instead of punch.
- No velocity control on break slices: The groove becomes chaotic and distracts from the roll.
- Make the break “dirty,” keep the one-shots “clean”:
- Tighter, heavier kick relationship with bass:
- Controlled aggression on snare:
- Make hats feel sharper without volume:
- Mono-check like a pro:
- Version A: break loud, layers quiet
- Version B: layers loud, break tucked
- Apache = groove + texture, not your low-end foundation.
- One-shots = consistency + punch (kick/snare do the main work).
- Warp accurately, slice to MIDI, then high-pass the break.
- Align transients and glue everything on a drum bus with stock devices.
- Use simple arrangement moves (mutes, fills, filter automation) to make it feel like real DnB.
---
2. What you will build
By the end you’ll have a 16-bar rolling drum loop built from:
Target vibe: jungle DNA + modern roller pressure 🔥
---
3. Step-by-step walkthrough
Step 1 — Set up the session (DnB-friendly)
1. Set tempo to 172–176 BPM (try 174 BPM).
2. Create 3 audio tracks:
- Break (Apache)
- Kick Layer
- Snare Layer
3. Create a Drum Bus group:
- Select those 3 tracks → Cmd/Ctrl + G (Group)
- Name the group: `DRUMS BUS`
Why: Separating layers keeps mixing clean and makes it easy to process the whole kit later.
---
Step 2 — Import and warp the Apache correctly
1. Drop your Apache break sample onto the Break (Apache) track.
2. Double-click the clip to open Clip View.
3. Turn Warp = ON.
4. Set Warp Mode:
- Start with Complex (good general default).
- If transients feel smeared, try Beats mode:
- Beats → Preserve: Transients
- Start with 1/16 or 1/8
5. Right-click the first downbeat → “Set 1.1.1 Here”
6. Right-click again → “Warp From Here (Straight)”
7. Loop 1 bar first to check tightness.
✅ Goal: Apache plays in time with the grid without weird stretching artifacts.
---
Step 3 — Slice the break to MIDI (best beginner method)
1. Right-click the warped break clip → Slice to New MIDI Track.
2. In the dialog:
- Slicing preset: Built-in (fine)
- Slice by: Transients
3. Ableton creates:
- A Drum Rack with slices
- A MIDI clip representing the break’s rhythm
Now you can edit timing, remove hits, or rearrange while keeping Apache flavor.
Tip: Rename the new track `Apache Rack` and keep it as your break layer.
---
Step 4 — High-pass the break so it doesn’t fight your kick/sub
On the Apache Rack track, add:
- Enable a High-Pass filter (Filter 1)
- Frequency: 120–180 Hz (start at 150 Hz)
- Slope: 24 dB/oct
- If it gets too thin, back down to 120 Hz
✅ Why: The break becomes your “tops/texture” layer. Your kick one-shot owns the sub/low punch.
---
Step 5 — Choose one-shot kick + place it with the break
1. Find a punchy DnB kick one-shot (short, controlled tail).
2. Drag it onto the Kick Layer track (Audio track).
3. Put it in Simpler (optional but recommended):
- Right-click the sample → “Convert to Simpler”
4. Program the kick pattern:
- Create a MIDI clip (1 bar loop)
- Typical DnB foundation:
- Kick on 1.1
- Optional extra kick on 1.3.3 or 1.3 (depends on roll)
Tight alignment:
Zoom in and align the kick transient with the break’s main kick transient. Even a 2–10 ms timing mismatch can weaken the punch.
Ableton tool: Use the track delay if needed:
---
Step 6 — Choose one-shot snare + lock it to the 2 and 4
1. Pick a snare with a strong transient + body around 200 Hz (DnB snares often need authority).
2. Put it on Snare Layer (Audio or Simpler).
3. Program:
- Snare on 1.2 and 1.4 (classic DnB backbeat)
4. Align transient with the break’s snare.
5. Add a tiny bit of shape if needed:
- Drum Buss on Snare Layer:
- Drive: 2–6
- Transients: +5 to +15
- Boom: Off (usually keep it off on snare if it muddies)
✅ Goal: Break provides ghost notes and realism; one-shot provides “front-of-speaker” smack.
---
Step 7 — Make the break groove support the layers (not compete)
Now that kick and snare are doing the heavy lifting, you can “tuck” the break:
On Apache Rack:
- Gain: -3 to -8 dB (start at -5 dB)
- Width: 120% (optional—only if it doesn’t mess mono compatibility)
Optional groove control:
- Lower velocity of busy hits by 10–30.
- Delete any kick/snare slices that clash with your one-shots.
---
Step 8 — Glue the layers together on the DRUMS BUS
On the DRUMS BUS group, try this stock chain:
1. EQ Eight
- Low cut (gentle): 25–35 Hz, 12 dB/oct (remove rumble)
- Small dip if boxy: 250–400 Hz (-2 to -4 dB, Q ~1.2)
2. Glue Compressor
- Attack: 3 ms
- Release: Auto
- Ratio: 2:1
- Aim for 1–3 dB of gain reduction on peaks
3. Drum Buss
- Drive: 3–8
- Transients: +5 to +20 (DnB likes snap)
- Damp: adjust if hats get harsh
- Boom: 0–10% at 50–60 Hz (ONLY if it enhances kick—turn off if it muddies)
4. Limiter (safety, not loudness war)
- Ceiling: -0.3 dB
- Just catch occasional peaks (1–2 dB max)
🎯 Listening check: Your kick and snare should feel “centered” and consistent while Apache adds movement and grit.
---
Step 9 — Arrangement ideas (turn a loop into DnB sections) 🧩
Create a simple 16-bar phrase:
- Automate EQ Eight HPF on the break from 250 Hz down to 150 Hz
- Remove the kick on bar 12 beat 1 for a micro-drop
- Add a snare flam (duplicate snare hit and nudge by 10–20 ms)
- Add a break chop or reverse snare
- Short pause right before bar 17 (classic DnB tension)
---
4. Common mistakes 🚫
---
5. Pro tips for darker/heavier DnB 🖤
- Put Saturator only on the Apache:
- Mode: Analog Clip
- Drive: 2–6 dB
- Soft Clip: On
- Sidechain your bass to the Kick Layer using Compressor:
- Attack: 1–3 ms
- Release: 50–120 ms
- GR: 2–6 dB
- EQ Eight on snare:
- Small boost at 180–220 Hz (body) if needed
- Boost at 3–6 kHz (crack) carefully
- Auto Filter on Apache:
- HPF around 300–600 Hz
- Add a tiny resonance (0.7–1.2) for edge
- On DRUMS BUS add Utility (temporarily):
- Width: 0%
- If the groove collapses, reduce stereo tricks on the break.
---
6. Mini practice exercise 🎯
Do this in 15–20 minutes:
1. Build a 1-bar loop at 174 BPM using Apache slices.
2. Add a kick one-shot on 1.1 and 1.3 (or 1.3.3).
3. Add a snare one-shot on 1.2 and 1.4.
4. High-pass the break at 150 Hz.
5. On DRUMS BUS apply:
- Glue Compressor (1–3 dB GR)
- Drum Buss (Drive 5, Transients +10)
6. Create one variation bar:
- Remove one snare ghost, add a small fill at the end.
Export 8 bars and compare:
Pick which feels more “modern roller” and why.
---
7. Recap ✅
If you want, tell me your target subgenre (liquid, neuro, jump-up, jungle) and I’ll suggest a specific kick/snare style and a 2-step/roller pattern that fits it.
```

