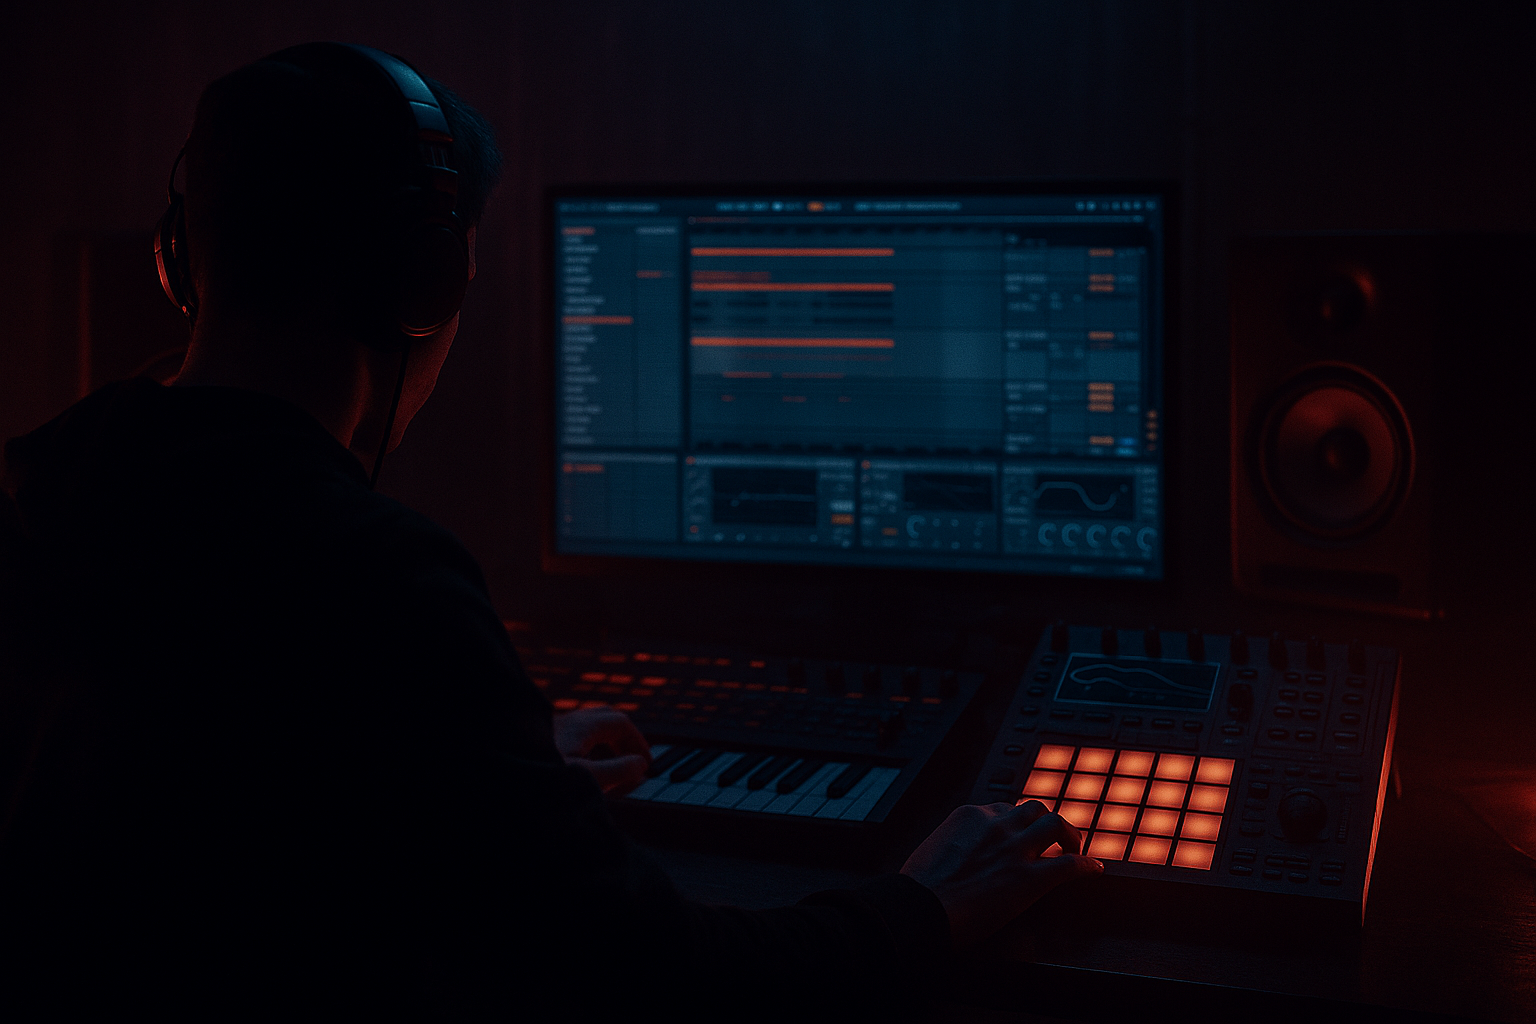
Main tutorial
Apache: Reese Patch Route for Ragga-Infused Chaos in Ableton Live 12
1. Lesson overview
In this lesson, we’re building a high-energy riser / transition weapon for drum and bass, jungle, and ragga-infused bass music: an “Apache” style reese patch route that climbs, mutates, and tears through the mix like a warning siren. 🔥
The goal is not just “make a noise that goes up.”
We want a musically controlled chaos riser that:
- feels rooted in classic DnB / jungle tension
- has a ragga flavor through movement, formant-like grit, and off-grid attitude
- uses Ableton Live 12 stock devices
- can be arranged to build into a drop, switch-up, or rewind-style transition
- sound design
- automation choreography
- resampling strategy
- mix control
- arrangement placement
- a reese bass being pulled upward
- with vocal-ish snarls
- filter and distortion movement
- stereo widening
- and a controlled collapse into the drop
- a 16-bar breakdown-to-drop
- a 2-bar fakeout
- a DJ-friendly loop transition
- a ragga callout into a jungle drop
- Wavetable: Basic Shapes or any saw-heavy table
- Position: around 25–40% if using a morphable table
- Unison: 2–4 voices
- Detune: small to moderate; don’t smear it too early
- Same or similar wavetable
- Tune: -12 semitones
- Level: lower than Osc A
- Phase/Random: slightly offset for movement
- Add a subtle noise layer if you want more air in the lift
- Keep it low for now
- Choose LP24 or MS2
- Drive: around 10–25%
- Cutoff: start fairly low, then automate upward
- Resonance: moderate
- Start on a low note, e.g. F1 / G1 / A1
- Build with held notes
- Add octave jumps near the end
- Use short repeated notes or stabs in the last 1/2 bar
- Bar 1: long held root note
- Bar 1 beat 3: add octave above very quietly
- Bar 2 beat 1: hold root + octave
- Bar 2 beat 3: add a higher third or fifth
- Bar 2 last 1/4: quick repeated note hits
- syncopated note repeats
- short staccato bursts
- slight pitch automation
- call-and-response note layering
- Open the Envelopes tab
- Choose MIDI Ctrl > Pitch Bend
- Draw a gradual rise over 1 or 2 bars
- Semitone transpose
- or use clip note changes
- or automate Wavetable tuning on Oscillator pitch
- one layer rising by pitch
- one layer rising by filter
- one layer rising by reverb send / delay feedback
- one layer rising by formant or phaser movement
- Drive: 2–8 dB
- Soft Clip: On
- Output: compensate to taste
- Filter type: Low-pass 24
- Drive: a little if needed
- Cutoff: automate from dark to bright
- Resonance: moderate to strong near the end
- Mode: Ensemble
- Amount: subtle to moderate
- Width: wide, but check mono compatibility
- Mix: around 10–30%
- alien movement
- metallic tension
- unstable “ripping” motion
- Fine: automate slowly
- Coarse: use in very small amounts or automate sparingly
- Feedback: only if you want it to get nasty
- Dry/Wet: keep controlled
- Bits: increase toward the end
- Downsample: automate into the transition
- Mix: low to moderate
- a shout
- a chant
- a reggae-style phrase
- a spoken phrase with attitude
- Formant shifting via Auto Filter + Frequency Shifter
- Echo with high feedback for dub-style tails
- Reverb for space
- Saturator for grit
- volume up
- filter open
- reverb send up
- Auto Filter in band-pass mode
- EQ Eight with moving mid boosts
- Phaser-Flanger
- Frequency Shifter
- Corpus for resonant throat-like body
- Use a small body or tube-ish model
- Tune it to emphasize resonant midrange
- Mix it subtly; too much becomes cartoonish
- Filter cutoff: up
- Filter resonance: slightly up toward the end
- Saturator drive: up
- Chorus depth/mix: up
- Frequency Shifter amount: tiny upward sweep
- Reverb dry/wet: up, then cut sharply before drop
- Delay feedback: briefly increase
- Utility width: widen during the build, then collapse or snap down at the drop
- cut the reverb tail
- mute low end
- drop the send abruptly
- leave a brief vacuum of space
- high-pass around 120–200 Hz
- steep slope if needed
- cut unnecessary low-mid mud around 250–500 Hz if the patch clouds the mix
- Wavetable
- Auto Filter
- EQ Eight
- Saturator
- Redux
- Frequency Shifter
- Phaser-Flanger
- Echo
- Hybrid Reverb
- EQ Eight high-pass
- Macro 1: Filter rise
- Macro 2: Dirt amount
- Macro 3: Space send
- Macro 4: Width
- lets you surgically edit the ending
- makes it easier to reverse, stretch, and chop
- allows you to add transient tricks without CPU overhead
- reverse the last hit for a pull-in
- add a tiny fade-in
- clip the tail hard right before the drop
- layer a sub drop or impact hit after the riser
- Bars 1–8: sparse, low movement, filter mostly closed
- Bars 9–12: automate pitch rise and widen stereo
- Bars 13–14: add vocal/ragga layer and more distortion
- Bar 15: rhythmic stabs and formant movement
- Bar 16: hard acceleration, reverb swell, then sudden cut
- Bars 1–4: establish the core
- Bars 5–6: open filter and add shifting harmonics
- Bars 7–8: push the chaos and cut into the drop
- First bar: full riser
- Second bar: unexpected stop, drum fill, rewind effect, then drop
- warp the ending
- reverse selected slices
- pitch tiny segments differently
- chop the tail into a fakeout fill
- Wavetable reese core
- Auto Filter cutoff automation
- Saturator drive increase
- subtle Chorus-Ensemble
- high-pass EQ
- reverb swell
- Wavetable reese core
- a vocal shout in Simpler
- Band-pass filtering
- Frequency Shifter movement
- Redux grit
- abrupt tail cut before drop
- Which one hits harder?
- Which one leaves more space for the kick and sub?
- Which one feels more “Apache” in attitude?
- detuned reese synthesis
- pitch and filter climbs
- vocal/formant tension
- digital grit
- stereo expansion
- smart arrangement timing
- tight automation
- midrange aggression
- low-end discipline
- strategic silence before impact
- a device-by-device Ableton rack blueprint
- a MIDI + automation template
- or a follow-up lesson on making the drop that comes after this riser.
This is an advanced lesson, so we’ll focus on:
You’ll walk away with a repeatable route you can reuse across multiple tracks.
---
2. What you will build
You will create a layered riser patch made from:
1. A detuned analog reese core
2. A resonant movement layer
3. A ragga-style vocal/formant edge
4. A noise lift and pitch surge
5. A final impact-ready swell and tail
The end result should sound like:
This is especially useful before:
---
3. Step-by-step walkthrough
---
Step 1: Set up the MIDI track and instrument
Create a new MIDI track and load Wavetable.
#### Wavetable settings
Use a patch foundation that is wide, aggressive, and harmonically rich.
Oscillator A
Oscillator B
Noise
Filter
#### Why this works
A reese patch is all about beating detuned harmonics.
For riser work, we want that core to increase in urgency as the filter opens and motion speeds up.
---
Step 2: Add the “Apache” character with pitch and interval movement
The “Apache” vibe here means tribal urgency, rhythmic menace, and shout-like motion. We’re not literally copying any specific record; we’re borrowing the energy language.
Create a MIDI clip of 1 bar or 2 bars.
#### MIDI note strategy
Example structure for a 2-bar riser:
If you want a more jungle-style feel, use:
---
Step 3: Shape the pitch climb
Now create the actual “riser” motion.
#### Option A: Classic MIDI pitch rise
In the MIDI clip:
If your synth responds smoothly, this gives a very natural ascent.
#### Option B: Automate transpose via an Instrument Rack
If pitch bend behavior is awkward, wrap the instrument in an Instrument Rack and automate:
#### Option C: Layered riser stack
Use:
This creates the sense that the sound is “pulling apart.”
---
Step 4: Build the reese movement with stock Ableton devices
After Wavetable, add an Audio Effect Rack or a device chain like this:
#### Suggested chain
1. Saturator
2. Auto Filter
3. Chorus-Ensemble
4. Redux or Frequency Shifter
5. EQ Eight
6. Utility
7. Reverb or Hybrid Reverb
8. Limiter on the end if needed
Let’s break it down.
---
#### Saturator
Use this to thicken the reese and bring out harmonics.
Settings
For darker/heavier DnB, use Analog Clip if you want a more aggressive edge.
---
#### Auto Filter
This is one of your main riser controls.
Settings
You can also use Band-pass briefly near the transition to create a “radio-voice” / tunnel effect.
---
#### Chorus-Ensemble
This is excellent for widening the reese and destabilizing it.
Settings
This is especially good if you want the riser to feel bigger without just being louder.
---
#### Frequency Shifter
This is your chaos tool. Very DnB-friendly if used carefully.
Use it for:
Settings
A tiny pitch shift over time can make the riser feel like it’s warping under pressure.
---
#### Redux
Use sparingly for digital bite.
Settings
This gives a grimy, broken-edge quality that works well in darker jungle/DnB.
---
Step 5: Add the ragga edge
To make this feel “ragga-infused,” you need a vocal-ish or chant-like texture, not just synth motion.
There are two strong stock-device approaches:
---
#### Approach A: Sample a vocal one-shot or phrase
Load a short vocal hit into Simpler or Sampler:
Then process it:
Try layering the vocal phrase quietly under the reese riser, then automate:
This creates a callout feel, like the track is “speaking” before the drop.
---
#### Approach B: Create pseudo-formants from the synth
If you don’t want vocals, fake them.
Use:
#### Quick formant-style chain
1. Auto Filter (Band-pass)
2. Phaser-Flanger
3. Corpus
4. Saturator
5. EQ Eight
Corpus tips
This can give the riser a “chanting machine” quality.
---
Step 6: Design the movement automation
Now the patch needs an actual rise arc.
Automate these parameters over 1–2 bars:
#### Important arrangement trick
In the final 1/8 or 1/4 bar before the drop:
That contrast makes the drop hit harder.
---
Step 7: Control the low end properly
Risers in DnB should rarely fight the sub during the build.
#### On the riser track:
Add EQ Eight and:
If you want the riser to feel huge without low-end conflict, let the sub or drum fill own the bottom while the riser lives in the mids and highs.
---
Step 8: Make it hit with parallel aggression
Duplicate the track or use an Audio Effect Rack with parallel chains:
#### Chain 1: Clean tension
#### Chain 2: Dirty chaos
#### Chain 3: Space tail
Blend the chains with macros:
This is a very Ableton-native way to perform the riser live or automate it cleanly.
---
Step 9: Render to audio and edit the tail
Once the automation feels good, resample the riser to audio.
Why?
#### After rendering
Try:
This is especially effective in jungle where transitions can be abrupt and impactful.
---
Step 10: Arrange it like a DnB transition
A strong arrangement for this riser might look like:
#### 16-bar build
#### 8-bar build
#### 2-bar fakeout
This style works beautifully in rolling DnB where the listener expects momentum but not always the exact shape.
---
4. Common mistakes
1. Too much low end in the riser
If the riser competes with the kick/sub, the drop loses impact.
Fix: high-pass aggressively and keep the bottom clean.
2. Overusing reverb
A huge wash can feel cinematic but kill urgency.
Fix: automate the reverb up, then cut it before the drop.
3. Making the filter movement too slow
In DnB, the build often needs to feel tight and intentional.
Fix: use faster automation in the final bar or half-bar.
4. No midrange focus
A reese riser without midrange bite can disappear on club systems.
Fix: use saturation, chorus, and a moderate EQ push in the 500 Hz–2 kHz zone.
5. Too much stereo width too early
A giant wide sound can feel flat if it’s already maxed out from the start.
Fix: start narrower and widen progressively.
6. Forgetting rhythmic context
A riser should support the drums, not ignore them.
Fix: align key automation changes with snare rolls, fills, or amen edits.
---
5. Pro tips for darker/heavier DnB
Tip 1: Use micro-detune, not mush
For darker DnB, keep detune subtle at the start and increase only near the climax.
This keeps the patch menacing rather than cloudy.
Tip 2: Use transient interruptions
Insert tiny volume dips or gate-like cuts in the final bar.
That little stutter can feel brutal when paired with a snare roll.
Tip 3: Layer with a noise riser
A separate noise layer through Auto Filter and Redux can add top-end lift without destroying the bass character.
Tip 4: Push the mids, not just the highs
Heavy DnB lives in the lower mids and upper mids.
Use EQ Eight or Multiband Dynamics to intensify the “growl zone.”
Tip 5: Try controlled aliasing
A touch of Redux or frequency modulation-style movement can make the sound feel more broken and hostile.
Don’t overdo it—just enough to add grit.
Tip 6: Resample and perform the edit
The best risers often come from audio edits, not just plug-in automation.
Once rendered, you can:
Tip 7: Make space for the drop
The riser should create contrast.
If the build is constantly maxed out, the drop won’t feel massive.
Leave a gap, mute the tail, or strip the low mids for the final beat.
---
6. Mini practice exercise
Build two versions of this riser in Ableton Live 12:
Exercise A: Clean-to-chaos riser
Create a 2-bar riser with:
Goal: smooth and controlled, suitable for a polished rolling DnB track.
Exercise B: Ragga chaos riser
Create a 1-bar riser with:
Goal: raw, rowdy, and explosive, suitable for jungle or dark dancefloor DnB.
#### Challenge
Bounce both to audio and compare:
---
7. Recap
You’ve now built a ragga-infused reese riser route in Ableton Live 12 that blends:
The core idea is simple:
> Start dark, move upward, destabilize the harmonics, add ragga attitude, then cut hard into the drop. 🔊
If you apply this in a real DnB arrangement, focus on:
That’s how you turn a riser from a filler effect into a drop-defining transition.
If you want, I can also turn this into:

