Main tutorial
Lesson Overview
The Apache riser bounce system is a classic jungle / oldskool DnB tension tool built from a chopped breakbeat, a rising tonal layer, and a repeating “bounce” movement that feels like pirate-radio hype. Instead of using a generic EDM riser, you’re making a transition device that sounds like it belongs in a 1993–1996 jungle mix: urgent, gritty, rhythmic, and obviously drum-led.
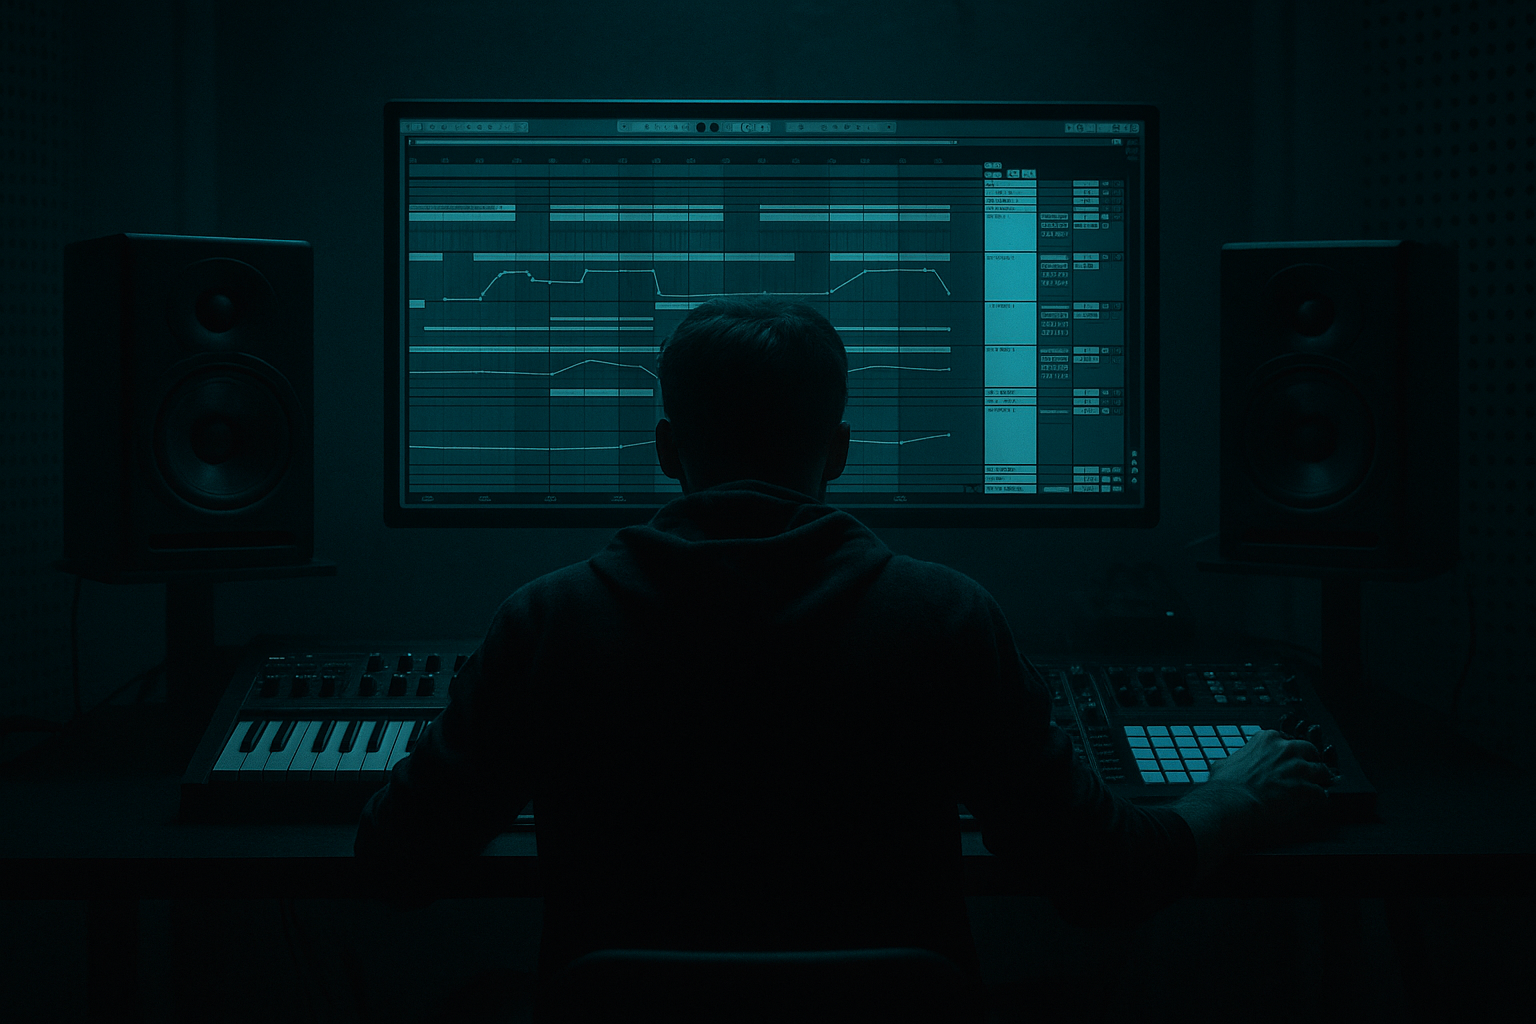
In Ableton Live 12, this technique is especially powerful because you can build it from stock devices only and shape every part of the movement: the break edit, pitch rise, filtering, stereo motion, and final impact into the drop. For breakbeats specifically, this matters because jungle and oldskool DnB transitions are rarely smooth and polite — they’re often syncopated, chopped, and percussion-first, so the riser itself can feel like part of the drum arrangement rather than a separate FX layer.
Why it matters:
- It creates pirate-radio energy without sounding generic.
- It makes your drop feel more earned by building tension through rhythmic motion.
- It bridges the gap between breakbeat storytelling and modern DnB arrangement discipline.
- It gives you a reusable template for intros, switch-ups, 8-bar builds, and pre-drop fakeouts.
- A chopped breakbeat loop with a rising pitch/filtered movement
- A bouncy rhythmic gate so it feels like it’s jumping, not just sweeping
- A layer of vinyl / radio grit for oldskool texture
- A subtle tonal riser under the break for tension
- A final impact tail that lands into a drum fill, bass hit, or full drop
- An Apache break quote or break-inspired chop
- A rising, filtered loop that accelerates into the next phrase
- A tension device that works in a 16-bar intro, a 2-bar pre-drop, or a DJ-friendly breakdown
- Something that feels right in a dark roller, jungle rave cut, or half-time switch-up with breakbeat emphasis
- Using a generic smooth riser instead of a break-based one
- Letting the riser eat the low end
- Over-warping the break until it loses swing
- Making the bounce too clean
- Overdoing width and reverb
- Building the riser as a separate “FX event” with no relationship to drums
- Not leaving room for the drop
- Resample twice: first as a clean bounce, then again after saturation and filter automation. The second pass often sounds more “recorded” and less programmed.
- Use Ghost-note emphasis: if the break has little shuffled hats or snare ghosts, bring them up slightly with clip gain. Those details make the riser feel alive.
- Try Break Repeat energy: use Beat Repeat very sparingly on the last half-bar for a frantic pirate-radio stutter. Keep mix low so it reads as excitement, not glitch overload.
- Pair with a reese tease: let a muted reese note enter in the final bar under the Apache bounce. Even a tiny detuned low-mid growl makes the drop feel heavier.
- Dark tension through harmonic minor phrasing: if your tonal riser uses a note sequence, choose notes from the track’s key and lean on minor 2nd or tritone motion for unease.
- Keep the sub out until the last moment: the cleaner the low-end before the drop, the harder the entrance feels.
- Automate harshness with intent: if the riser gets piercing, tame 3–6 kHz with EQ Eight or a small dynamic dip in the top end. You want urgency, not ear fatigue.
- Make the build DJ-friendly: in intro sections, keep the Apache bounce loopable so a DJ can mix over it without constant interruption.
- a subtle intro version
- a medium pre-drop version
- a high-energy fakeout version
Think of this lesson as building a breakbeat-powered tension engine: an Apache-style loop that bounces upward, ducks in and out of the groove, and lands into a heavy jungle / roller drop with attitude.
What You Will Build
By the end, you’ll have a short, reusable Apache riser bounce rack in Ableton Live 12 that can sit in the final 1–4 bars before a drop or switch-up.
The result will include:
Musically, this will sound like:
Step-by-Step Walkthrough
1. Choose the right source break and make it loopable
Start with a strong break sample from your jungle library or your own break edit. The Apache feel works best when the break has clear midrange punch and a recognizable swing. Classic candidates are Amen-style, Think-style, or any chopped break with open hats, ghost notes, and a strong snare.
In Ableton, drag the break into an audio track and set Warp mode to Complex Pro if the loop has tonal content, or Beats if it’s more percussive and transient-heavy. For Apache bounce, you want the break to feel tight but not over-quantized.
Practical settings:
- Warp Mode: Beats
- Preserve: 1/16 or 1/8 depending on the chop density
- Clip Gain: trim so peaks stay controlled, leaving headroom
Now make a 1-bar or 2-bar loop. If it feels too static, manually cut and shuffle a few hits:
- Nudge the snare slightly late for swing
- Leave ghost notes unquantized for human movement
- Shorten the tail of any long kick or crash so the loop stays agile
Why this works in DnB: jungle energy comes from the drum phrase itself moving forward, not just from a smooth synth sweep. If the break already has swing and internal dynamics, the riser feels authentic rather than bolted on.
2. Build the bounce with Auto Filter and rhythmic gating
Duplicate the break to a second audio track so you can process one layer as the “main bounce” and one as the “texture rise.” On the bounce layer, insert Auto Filter first.
Use these starting settings:
- Filter Type: Band-Pass or Low-Pass
- Frequency: automate from around 200–400 Hz up to 8–12 kHz
- Resonance: 10–30% for some whistle without piercing
- Drive: small amount if needed for urgency
Then add Gate after Auto Filter if you want the Apache bounce to feel more stuttered and radio-like. Set it so the break pulses with the groove rather than staying fully open.
Suggested Gate ideas:
- Threshold: just below the quieter hits so the gate opens on the main transients
- Return Time: 20–80 ms
- Release: 50–150 ms
- Floor: around -inf to -12 dB depending on how chopped you want it
Automate the filter frequency over 1–4 bars and let the gate create the “bounce.” If you’re going for a more oldskool pirate-radio style, keep the motion obvious and rhythmic instead of ultra-smooth.
3. Layer a tonal riser under the break using Wavetable or Analog
The Apache bounce works better when the ear hears pitch ascent, not only brighter filtering. Create a MIDI track and load Wavetable, Analog, or even Operator for a simple tonal layer.
Good sound choice:
- A saw or square-based tone with a little noise
- A short resonant pulse
- A detuned unison layer if you want more modern pressure
Keep it minimal — this is not the main lead. You’re making a tension bed beneath the break.
Starter settings:
- Oscillator: saw or square with slight detune
- Filter: low-pass, starting around 200–800 Hz
- Envelope: short attack, medium decay, low sustain if it’s rhythmic
- Glide/Portamento: subtle if you want a sliding jungle feel
Write a simple MIDI note that rises by semitone steps or a repeating 2-note shape over the build. For example:
- Bar 1: D
- Bar 2: D# → E
- Bar 3: F → F#
- Bar 4: G
Keep it hypnotic rather than cinematic. In jungle, tension often comes from repetition with increasing brightness and urgency.
4. Resample the break bounce and edit the best bits
Once the loop feels right, record the processed audio into a new track using Resampling or audio recording. This is key: the Apache effect gets stronger when you treat the riser as a custom performance instead of a static loop.
After recording, zoom in and cut the best transients into a more intentional phrase:
- Keep the strongest snare/clap hits
- Leave little gaps for breathing space
- Trim any muddy low-end tail
- Overlap a few slices for extra bounce if the groove needs it
Now add Simpler to the resampled clip if you want even more control. Set it to Slice mode and slice by transients. This makes the break behave like a playable drum instrument, which is perfect for building a more musical pre-drop fill.
Example phrase design:
- First 2 beats: sparse chopped loop
- Next 2 beats: more frequent snare hits
- Final beat: a quick burst or drag into the drop
This kind of arrangement makes the riser feel like it’s playing a drum solo into the transition, which is very jungle and very DnB.
5. Add movement with Saturator, Drum Buss, and subtle modulation
The bounce needs texture. Put Saturator before or after filtering depending on the tone you want.
Try these settings:
- Saturator Drive: 2–8 dB
- Soft Clip: On
- Output: trim so the level stays controlled
Then add Drum Buss lightly if you want more weight and punch:
- Drive: 5–20%
- Crunch: very small amount for bite
- Damp: adjust to tame harsh highs if needed
- Boom: usually keep low or off for this effect unless you want extra low-end swell
For movement, map Auto Filter frequency, Saturator drive, and possibly reverb send to an Envelope Follower or simple clip automation lanes. If you want a modern jungle edge, automate a very small amount of ping-pong delay or Beat Repeat just on the final bar.
A strong stock-device combo:
- Auto Filter
- Saturator
- Drum Buss
- Echo
- Utility
Keep modulation subtle enough that the break still reads clearly. The more tension you add, the more important the groove becomes.
6. Shape the stereo image carefully
Apache risers often work best with a solid mono core and a little widened top-end texture. Keep the low-mid break energy centered with Utility or by simply not widening the source too much.
Suggested stereo workflow:
- Keep the main break bounce mostly mono or narrow
- Add a separate high-passed layer with Chorus-Ensemble or a tiny Echo width
- Use Utility Width around 80–100% on the main layer
- If you widen anything, high-pass it first around 300–500 Hz
In darker DnB, stereo discipline matters a lot because the riser shouldn’t smear the sub or kick area before the drop. The bounce should create movement in the upper mids and highs, while the core rhythm stays firm and club-safe.
7. Automate the build like a phrase, not just a sweep
Make the riser feel like it belongs inside a DnB arrangement by mapping it to the bar structure. The strongest Apache bounce systems usually work in 2-bar or 4-bar phrases.
A practical arrangement example:
- Bars 1–8: DJ-friendly intro with light break texture
- Bars 9–16: add bass motif and drums
- Bars 17–24: breakdown or tension section
- Bars 25–28: Apache riser bounce grows every bar
- Bar 29: final drum fill or sub stop
- Bar 30: drop into full roller or jungle break
Automation ideas:
- Filter cutoff rising each bar
- Slight increase in saturation on each repeat
- Delay feedback rising only in the final 1–2 beats
- Reverb send increasing, then hard-cutting before the drop
A good rule: make the last bar do the most work. That’s where the pirate-radio energy pops.
8. Make the landing count with a drop-ready impact
The riser should not just end; it should collapse into the drop. Add one final hit or short impact at the end of the phrase.
Use one of these:
- A chopped snare flam
- A reverse break slice
- A sub drop from Operator
- A short crash + rim shot combo
- A brief tape-stop style motion using clip automation or pitch lowering
If your drop is a dark roller, let the riser die into space, then let the bass and drums hit cleanly. If it’s oldskool jungle, let the drop re-enter with an edited break fill so the transition feels like part of the rhythm section.
Good landing practice:
- Cut reverb tails slightly before the drop
- Leave 1/16–1/8 of silence if the impact needs more punch
- Make sure the sub is not already cluttered by the riser layer
Common Mistakes
- Fix: build the transition from chopped drums and rhythmic filtering so it sounds like jungle, not trailer music.
- Fix: high-pass tonal layers and keep the main bounce layer controlled with Utility or EQ Eight.
- Fix: use Warp only as much as needed. Preserve the groove and ghost notes.
- Fix: add a little Saturator, vinyl-style grit, or small timing imperfections. Apache energy needs edge.
- Fix: keep the core mono-ish and use width only on high-frequency texture layers.
- Fix: tie it to the breakbeat phrasing, snare placement, and bar structure.
- Fix: automate tails down and make sure the final transient lands with a clear arrangement gap or a decisive fill.
Pro Tips for Darker / Heavier DnB
Mini Practice Exercise
Spend 10–20 minutes making a reusable Apache riser bounce for one of your own tracks.
1. Pick a breakbeat loop already in your project.
2. Create a 2-bar bounce version using Auto Filter, Gate, and Saturator.
3. Add a simple rising tonal layer with Wavetable or Operator.
4. Resample the result into audio.
5. Cut the last bar into a tighter fill with 2–4 edits.
6. Automate the filter so it rises over 4 bars.
7. Place the final bounce before a drop or switch-up and test it against your drums and bass.
Goal: create three variations:
Listen back and choose the one that best supports your drum arrangement without cluttering the mix.
Recap
The Apache riser bounce system is a breakbeat-first tension technique for jungle and oldskool DnB. Build it from chopped drums, add rhythmic filtering and gate movement, layer in a simple rising tonal element, then resample and arrange it like a real phrase. Keep the low end disciplined, preserve the swing, and make the final bar land hard. If it feels like a pirate-radio drum performance rather than a generic FX sweep, you’ve nailed it.

