Main tutorial
Arrange an Air Horn Hit with Jungle Swing in Ableton Live 12
1. Lesson overview
In drum and bass and jungle, an air horn hit is more than just a silly sound effect — it can be a riser accent, a transition marker, or a drop hype tool when used correctly 🎺🔥
In this lesson, you’ll learn how to take a simple air horn sample and turn it into a tight, rhythmic, jungle-flavoured hit that sits naturally in a DnB arrangement. We’ll focus on:
- Timing it with swing
- Shaping it with stock Ableton devices
- Making it feel energetic, not messy
- Placing it in an arrangement so it works like a real transition element
- 174 BPM drum and bass
- Jungle rollers
- Jump-up-style tension moments
- Darker breakdowns leading into a drop
- lands with jungle swing
- has a slightly delayed, bouncing groove
- rises in energy with filter and pitch movement
- feels like it belongs in a DnB breakdown into drop transition
- Bar 1: horn hits with space and groove
- Bar 2: horn repeats with more intensity
- Final beat: horn cuts off or sweeps into the drop
- Set tempo to 174 BPM
- Use 1/16 grid for editing
- Turn on Snap for clean placement
- If you want to feel the groove more clearly, add a 2-bar loop in Arrangement View
- a vocal-style horn
- a brass stab
- a rave-style air horn
- a synthetic horn from a sample pack
- Mode: Classic
- Trigger: One-Shot
- Voices: 1
- Start: adjust so the horn starts immediately
- Fade: very short or off
- Turn Warp on
- Try Complex Pro if the sample is tonal and you want cleaner playback
- If the sample is short and percussive, Beats may work too
- First horn: right on the beat
- Second horn: a little late
- Third horn: slightly earlier or on a syncopated offbeat
- Bar 1 beat 1: main horn hit
- Bar 1 beat 3: second hit slightly late
- Bar 2 beat 2&: quick anticipation hit
- Bar 2 beat 4: final hit into the drop
- High-pass filter around 120–180 Hz
- Cut any harshness around 2.5–5 kHz if it’s piercing
- If it sounds boxy, reduce a little around 500–900 Hz
- If you want more bite, add a small boost around 1.5–2 kHz
- Use one band to clean lows
- Use one band to tame harsh top-end
- Leave enough midrange so the horn cuts through the drums and bass
- Drive: +2 to +6 dB
- Turn on Soft Clip
- Use Analog Clip if you want a rougher edge
- Start cutoff around 300–800 Hz
- End cutoff around 8–12 kHz
- Add a little Resonance for excitement, but not too much
- Decay: 1.2–2.5 seconds
- Pre-delay: 10–25 ms
- Dry/Wet: keep low if inserted directly
- Use High Cut to soften the tail
- 1/8 or 1/4 dotted
- Low feedback
- Filter the repeats so they don’t clutter the mix
- Right after a snare fill
- On the last beat of a 4-bar phrase
- Before a reese bass drop
- As a call-and-response with chopped breaks
- Beat 1: horn hit
- Beat 3: horn hit with groove
- Beat 4&: short delay tail
- Beat 2: horn hit with filter opening
- Beat 4: final horn hit, slightly louder
- Last half-beat: cut the horn or automate reverb down
- Drop lands on next bar
- jungle intros
- pre-drop tension sections
- rolling bass build-ups
- half-time-to-double-time switch moments
- shorter
- brighter
- wetter
- slightly delayed
- Gain: adjust so it cuts through but doesn’t overpower
- Width:
- makes editing faster
- lets you reverse, chop, or pitch the final phrase
- helps you create a unique transition sound
- a brass stab
- a reese stab
- a noisy synth hit
- Saturator
- Pedal
- Roar if available in your Live 12 setup
- Version A: clean and punchy
- Version B: darker and distorted
- Version C: wide and echo-heavy
- Set your project to 174 BPM
- Use Simpler or a clean audio clip workflow
- Add light swing and manual timing offsets
- Shape the sound with EQ Eight, Saturator, and Auto Filter
- Use Reverb and Echo carefully for atmosphere
- Place the horn in a musical DnB phrase, not randomly
- Resample if you want more control and creativity
- a sample Ableton device chain preset
- a 4-bar MIDI/clip pattern
- or a full DnB breakdown-to-drop arrangement template for this effect.
This is perfect for:
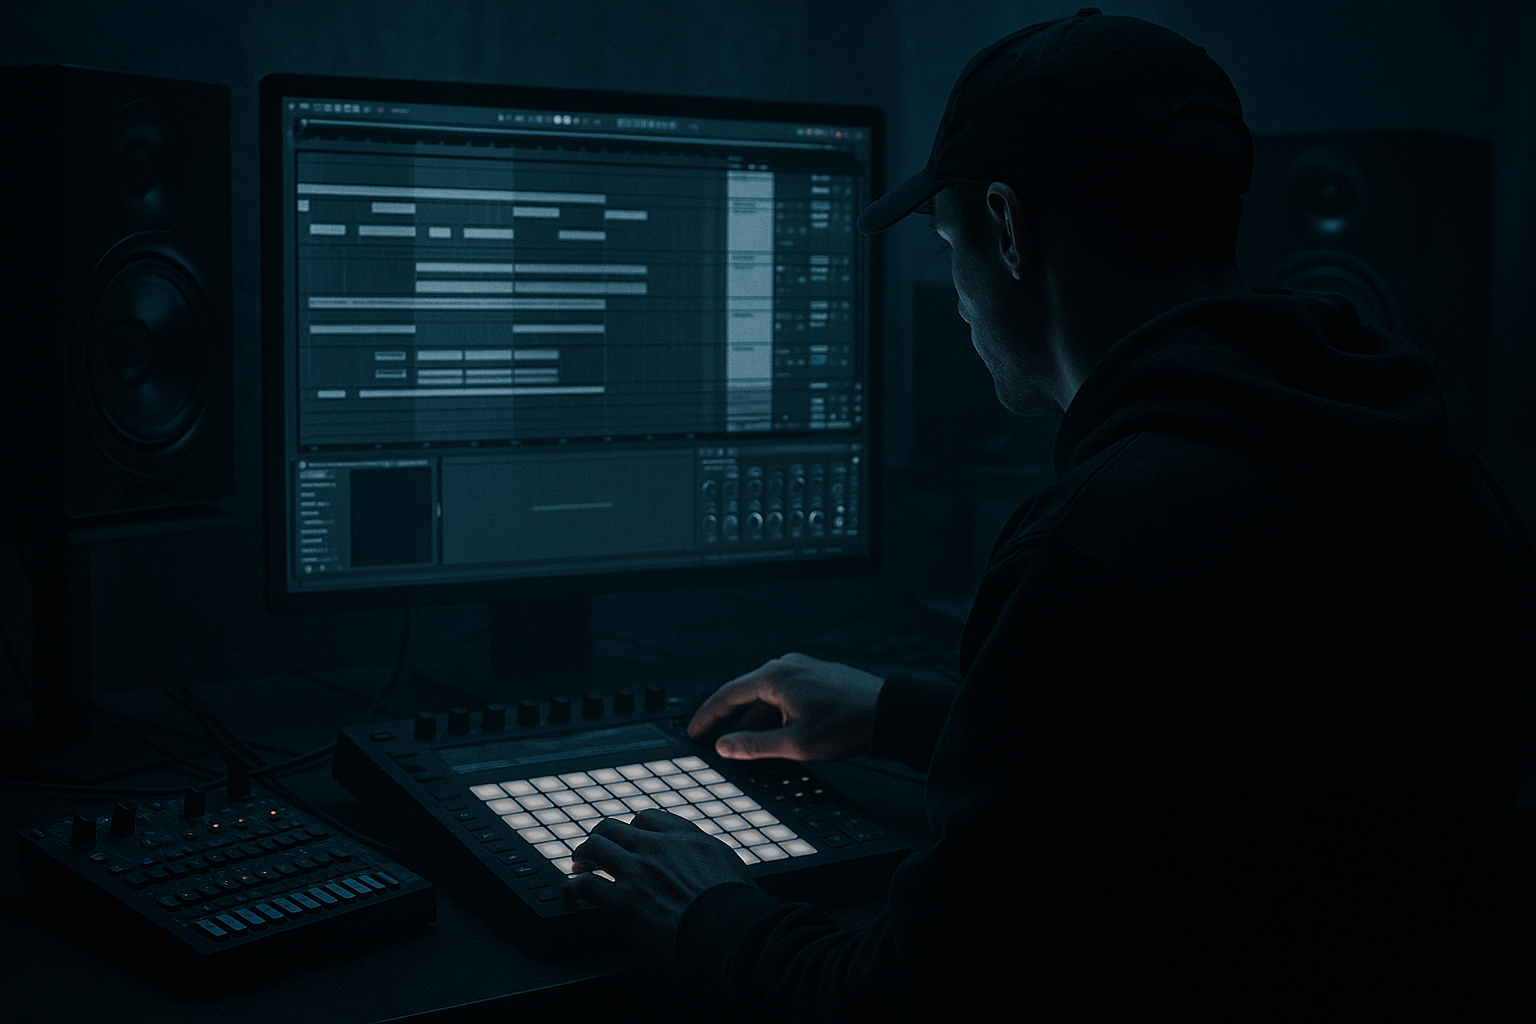
You’ll be working in Ableton Live 12, using beginner-friendly tools like Simpler, EQ Eight, Auto Filter, Saturator, Reverb, Delay, and Utility.
---
2. What you will build
By the end, you’ll have a short air horn phrase that:
Final result idea
Think of this as a 2-bar transition moment:
You’ll build a chain that sounds something like:
Air Horn Sample → EQ → Saturation → Filter Automation → Reverb/Delay Sends → Utility
---
3. Step-by-step walkthrough
Step 1: Set the project tempo and grid
For classic DnB/jungle energy:
✅ Tip: DnB is fast, so tiny timing changes matter a lot. Zoom in when editing the air horn so you can place it musically.
---
Step 2: Load an air horn sample
You can use:
#### In Ableton:
1. Drag the sample into an Audio Track
2. If it’s too long, crop it so the main hit is short and punchy
3. Open Clip View and make sure the transient starts cleanly
If your air horn is too “flat,” don’t worry — we’ll shape it.
---
Step 3: Tighten the sound with Simpler or warp settings
If you want more control, drop the sample into Simpler instead of using it as a raw audio clip.
#### In Simpler:
This makes the horn behave like a solid hit, which is ideal for arrangement work.
If staying in audio clip form:
---
Step 4: Create the jungle swing feel
This is the key part. Jungle swing usually feels like the phrase is leaning forward and bouncing off the grid, not locked rigidly to it.
#### Option A: Manual swing with placement
Place the horn slightly late on certain hits.
A useful pattern might be:
Example 2-bar idea at 174 BPM:
This gives you that skippy, danceable jungle feel.
#### Option B: Add groove from Ableton Groove Pool
1. Open the Groove Pool
2. Try a groove like MPC 16 Swing
3. Drag it onto the horn clip
4. Start with:
- Timing: 10–20%
- Random: 0–5%
- Velocity: 0–10%
Keep it subtle. You want movement, not a drunken horn 😂
✅ Best practice: Use swing lightly on the horn, while your drums keep the track driving hard.
---
Step 5: Shape the horn with EQ Eight
Air horns can get harsh fast, especially in dense DnB arrangements.
Add EQ Eight:
#### Suggested starting points:
- removes unnecessary low end
#### Simple approach:
In DnB, you usually want your horn to sit above the kick and sub, not fight them.
---
Step 6: Add controlled aggression with Saturator
To make the horn feel more present and less sample-pack-clean, use Saturator.
#### Suggested settings:
This helps the horn sit better in a loud jungle mix.
✅ Tip: Saturation can make the horn feel more “ravey” and more audible on small speakers.
---
Step 7: Add filtering movement for a riser feel
If you want the horn to function like a riser hit, automate Auto Filter.
#### Try this:
1. Add Auto Filter after Saturator
2. Set filter type to:
- Low-pass for rising tension
- or Band-pass for a narrower, more dramatic effect
3. Automate the cutoff opening over 1–2 bars
#### Example automation:
This creates a classic tension build before the drop.
---
Step 8: Add space with Reverb and Delay
Air horns can sound too dry and abrupt. A little space makes them feel bigger and more musical.
#### Reverb
Use Reverb on a send or directly on the track.
Suggested settings:
#### Delay
Try Echo or Delay:
For jungle, rhythmic delay can help the horn echo into the break and make it feel more alive.
✅ Best practice: Send the horn to reverb/delay rather than drowning it directly in the insert chain.
---
Step 9: Make it groove with the drums
An air horn in DnB should usually interact with the drum phrasing.
#### Good placement ideas:
If your drums are busy, put the horn in a small gap between snare ghosts and break hits.
For jungle swing, let the horn answer the drums, not override them.
---
Step 10: Arrange it in a real DnB structure
Here’s a simple arrangement idea for a transition:
#### 2-bar breakdown-to-drop phrase
Bar 1
Bar 2
This works well in:
#### Extra trick:
Duplicate the horn clip and make the second version:
That creates progression without needing a new sample.
---
Step 11: Fine-tune the impact with Utility
Use Utility to manage width and gain.
#### Helpful settings:
- keep mono or narrow for punch
- widen slightly for a more cinematic horn
For darker DnB, a narrower horn often feels heavier and more focused.
---
Step 12: Freeze, flatten, or resample if needed
Once your horn effect feels good, consider resampling it.
#### Why resample?
In Ableton:
1. Route the horn track to a new audio track
2. Record the processed result
3. Cut and rearrange the resampled audio
This is a very common workflow in jungle and DnB production.
---
4. Common mistakes
1. Making the horn too loud
Air horns can dominate the mix instantly. If it feels annoying in solo, it will be worse in the full track.
Fix: Lower it and let saturation/reverb do the work.
2. Using too much reverb
Too much space will blur the timing and destroy the punch.
Fix: Use shorter decay or send less signal.
3. Putting it exactly on every beat
This can sound stiff and robotic.
Fix: Offset some hits slightly and use swing lightly.
4. Ignoring harsh frequencies
Air horns often spike in the upper mids.
Fix: Use EQ Eight to tame harshness around 3–5 kHz.
5. Conflicting with the snare or bass
If the horn lands on a busy snare fill or the sub drop, it can clutter the phrase.
Fix: Move it into a gap or cut other elements briefly.
---
5. Pro tips for darker/heavier DnB
Tip 1: Pitch the horn down a little
A semitone or two down can make it feel more menacing and less playful.
Tip 2: Layer with a dark stab
Blend the horn with:
This turns it from a novelty sound into a proper rave weapon 😈
Tip 3: Use filtered distortion
Try:
A little grit gives the horn weight in a dark mix.
Tip 4: Automate width
Keep the horn narrow during the build, then widen slightly right before the drop.
Tip 5: Sidechain the horn lightly
If the horn overlaps the kick or bass, use Compressor or Glue Compressor with sidechain input from the kick.
This keeps the groove clean and punchy.
---
6. Mini practice exercise
Exercise: Build a 4-bar jungle horn transition
Create a 4-bar clip in Arrangement View at 174 BPM.
#### Do this:
1. Load one air horn sample
2. Make a 2-hit phrase in bar 1
3. Duplicate it in bar 2 with:
- slight timing changes
- more filter opening
- a touch more saturation
4. In bar 3, add reverb and delay automation
5. In bar 4, cut the horn short and let the drop hit cleanly
#### Bonus challenge:
Try three variations:
Compare which one works best in a DnB arrangement.
---
7. Recap
You now know how to turn a basic air horn into a jungle-swing riser hit inside Ableton Live 12 🎛️
Key takeaways:
The big idea is simple:
an air horn works best when it feels rhythmically locked into the jungle groove, not just dropped on top of it.
If you want, I can also give you:

