Main tutorial
Lesson Overview
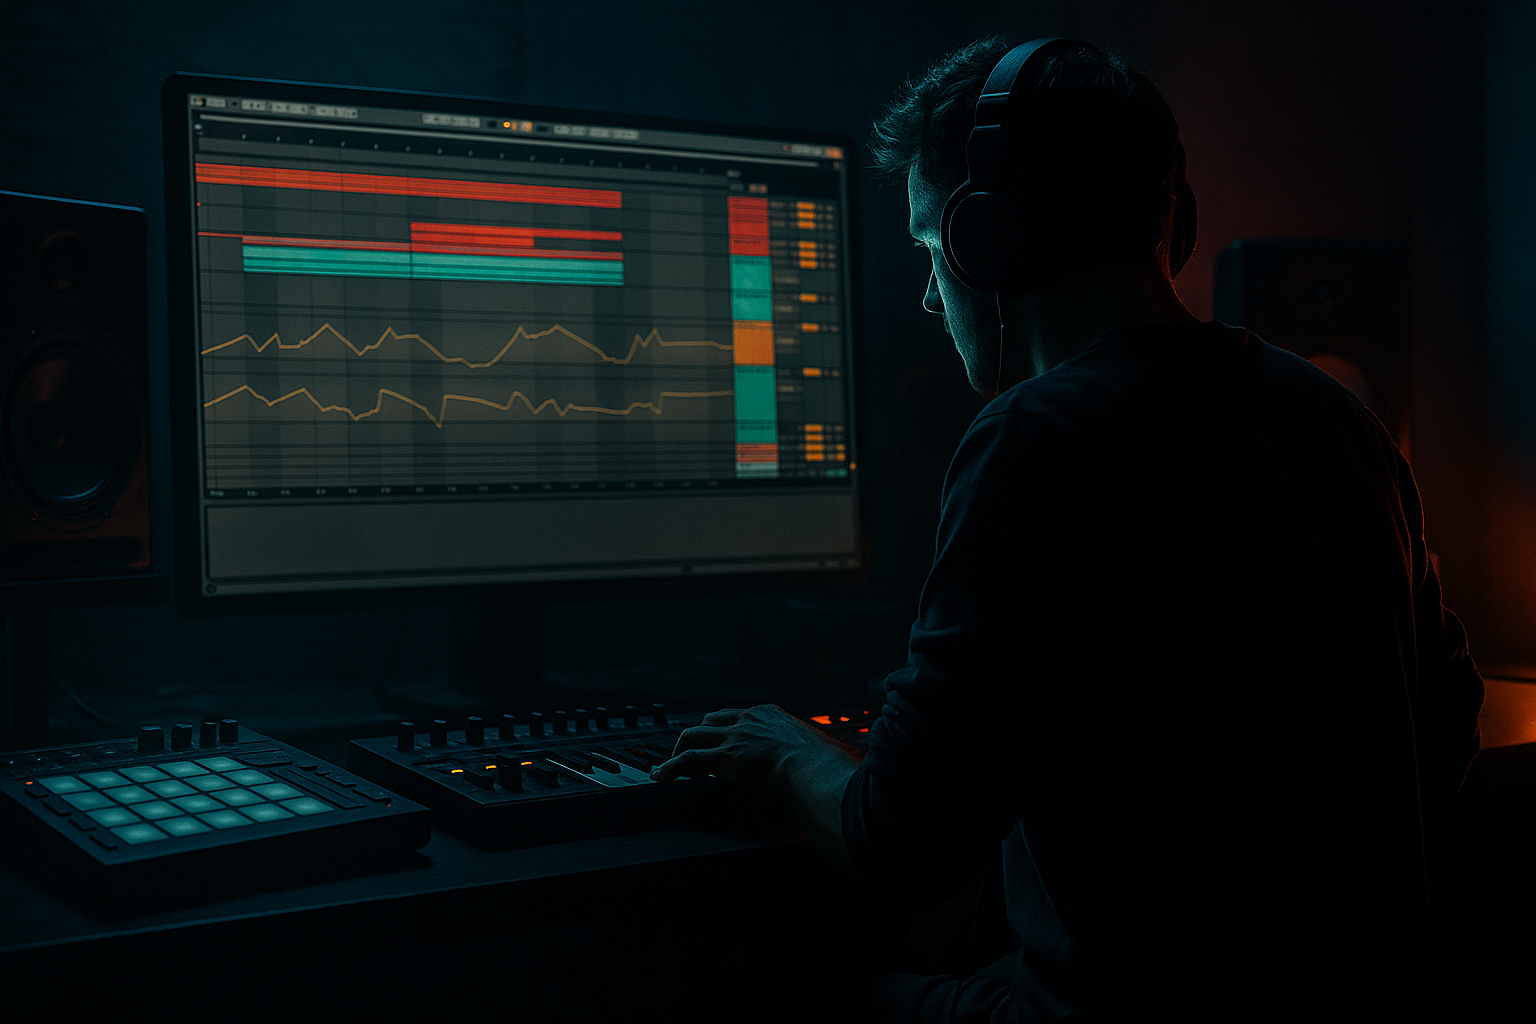
In this lesson, you’ll build a ragga vocal layer for a jungle / oldskool Drum & Bass idea using an automation-first workflow in Ableton Live 12. The goal is not to make the vocal the main lead — it’s to turn it into a rhythmic, hyped, DJ-friendly layer that sits on top of breaks, bass, and rewinds like a classic rave weapon 🔥
This technique matters because ragga vocal chops are a huge part of jungle and early DnB energy. The attitude, cadence, and call-and-response feel can instantly make a loop sound more authentic and more “alive.” In a DnB track, vocal layers often work best as:
- hooks between drum hits
- callouts before the drop
- phrase markers in 8-bar sections
- texture and hype over a rolling bassline
- chopped vocal hits aligned to drum accents
- a band-pass / low-cut intro that opens into the drop
- delay throws on selected words
- filtered pauses and cut-ins for tension
- subtle pitch or formant-style variation from Ableton stock tools
- clean routing so the vocal feels part of the track, not pasted on top
- 4 bars of filtered vocal tease
- 4 bars where the vocal answers the snare
- a drop where the vocal shouts land on the off-beat or before phrase changes
- a final repeat with more echo, more edge, and more urgency
- Drag the vocal sample into an audio track
- Turn on Warp if needed so it stays in time
- Open the sample and trim away silence at the start and end
- Split or slice the phrase so you can use individual words or syllables
- short commanding phrases
- crowd-style shouts
- one-liners with attitude
- chopped syllables that can become rhythmic hits
- place the first chopped vocal before the snare in bar 1 or bar 5
- answer the snare with a second vocal hit on the next bar
- leave gaps so the break can breathe
- use silence as part of the groove
- Bars 1–4: filtered vocal tease + break + no full bass
- Bars 5–8: vocal shout lands on transitions into the drop
- Bars 9–16: call-and-response between vocal and drums/bass
- zoom in and line the vocal start to the snare or kick accents
- use nudge and cut tools to tighten timing
- if a word feels late, move it earlier by a small amount rather than forcing it exactly on the grid
- EQ Eight
- Compressor
- Saturator
- optional Redux or Erosion for grit
- Reverb and Delay on sends, not necessarily inserted
- High-pass around 120–180 Hz to keep bass space clear
- If the vocal is harsh, dip a little around 2.5–5 kHz
- If it sounds muddy, reduce 200–400 Hz gently
- Ratio: 2:1 to 4:1
- Attack: 10–30 ms
- Release: 50–120 ms
- Aim for light to medium gain reduction
- Drive: 2–6 dB
- Keep Soft Clip on if you want extra bite
- Use it to help the vocal cut through the drums without turning it up too much
- Intro: low-pass or band-pass with cutoff around 300 Hz to 1.5 kHz
- Build-up: gradually open to 5 kHz to full open
- Drop: keep it more open, or automate quick filter dips on individual hits
- press A to show automation
- choose Auto Filter Frequency
- draw a smooth opening curve over the intro
- automate Reverb Dry/Wet or a send amount only on selected words
- automate Delay feedback or send amount for one-bar throws
- manually split audio clips in Arrangement View
- use Simpler in Slice mode if you want more flexible playback later
- cut the phrase into 2–4 useful bits
- move one piece to answer the snare
- repeat a key word on the “and” of 2 or 4
- leave a gap after the most important word
- vocal hit on beat 1
- drum fill on beat 3
- another vocal response on the next bar
- bass resumes on the downbeat
- load the sample into Simpler
- use Slice mode
- trigger slices from MIDI
- then automate filter and send levels in the same way
- Return A: Delay
- Return B: Reverb
- Time: 1/8 or 1/4 dotted
- Feedback: 20–40%
- Filter the delay so it doesn’t cloud the low mids
- Keep the return mostly wet
- Use Reverb
- Decay around 1.2–2.5 seconds
- Pre-delay around 10–25 ms
- High-pass the reverb return if needed
- keep delay send at 0% for most words
- automate it up only on the final word of a phrase
- return to zero immediately after
- use reverb only on the “hype” words, not every syllable
- lower the vocal until it feels embedded in the track
- turn on Mono on your master or monitor chain briefly if needed
- make sure the vocal is not masking the snare crack or bass punch
- EQ Eight for cleaning midrange
- Utility to control gain and width
- Compressor if the vocal jumps too much
- Glue Compressor lightly on the drum bus, not necessarily the vocal
- keep vocal level modest
- let processing provide the character
- avoid boosting the vocal too much in the low mids
- Intro: filtered vocal tease over drums
- Pre-drop: one full phrase with delay automation
- Drop 1: short vocal stabs only on phrase ends
- Breakdown: more space, longer echo tail
- Drop 2: more aggressive vocal cut-ins, possibly pitched slightly up or down
- bar 1 of a new phrase
- before a fill
- before the drop
- after a drop switch-up
- 1st 4 bars: filtered
- 2nd 4 bars: more open
- 3rd 4 bars: delay throw
- 4th 4 bars: cut to silence before the next section
- Using too much vocal all the time
- Leaving too much low end in the vocal
- Too much reverb washing out the groove
- Ignoring timing against the break
- Overprocessing before the arrangement is right
- Not leaving space for the bass drop
- Darken the vocal with filtering, not just volume
- Use small pitch shifts for attitude
- Add subtle grit with Saturator or Redux
- Create tension with automation ramps
- Let the vocal answer the reese or bassline
- Use short silence before vocal hits
- Keep return effects dark
- Start with a short, strong ragga vocal and trim it tightly.
- Place the vocal like percussion so it locks with the break and snare.
- Use automation-first thinking: filter, delay, and reverb changes over time.
- Keep the vocal clear with EQ Eight, Saturator, and light compression.
- Use the vocal to mark phrase changes, drop entries, and switch-ups.
- In DnB, the best vocal layers are often sparse, rhythmic, and full of attitude.
The automation-first approach is important because DnB arrangement depends on movement over time. Instead of building a static loop, you’ll shape the vocal with filters, delays, pitch changes, and send levels so it evolves across the intro, build, and drop. That keeps your track feeling like a real performance rather than a loop pasted on top.
You’ll be working mostly with Ableton stock devices and simple editing inside the Arrangement View, so this is very beginner-friendly and practical.
What You Will Build
By the end, you’ll have a short ragga vocal layer arranged across an 8- or 16-bar DnB section, with:
Musically, think of a classic jungle setup like:
The end result should feel like a rude, energetic ragga layer that supports the drums and bass without cluttering the low end.
Step-by-Step Walkthrough
1. Choose a short vocal with attitude and trim it hard
Start with a short ragga phrase, shout, or ad-lib. For beginner work, keep it simple: one phrase is enough.
In Ableton Live:
Good vocal choices for jungle / oldskool DnB:
Why this works in DnB: the genre often uses short, memorable phrases instead of long vocal takes. That leaves space for the breakbeat and bassline to stay dominant.
Practical tip: if the sample has too much room tone or tail, trim it tight. Ragga vocals in DnB usually sound better when they are punchy and direct rather than airy and polite.
2. Put the vocal in Arrangement View and place it like percussion
Move to Arrangement View and place the vocal against the drums, not just on the grid.
Try this layout:
A simple oldskool DnB arrangement idea:
If your break is busy, keep the vocal sparse. One or two strong hits can do more than a constant chant.
Workflow move:
This approach makes the vocal feel like part of the rhythm section.
3. Build a simple vocal processing chain with stock devices
On the vocal track, add a basic chain using Ableton stock devices:
Start with EQ:
Then add Compressor:
Then add Saturator:
Why this works in DnB: breaks and bass occupy a lot of the midrange. A ragga vocal needs enough harmonic edge to stay audible, but it should not fight the kick, snare, or reese. Saturation helps it stay present at lower volume.
4. Use automation first: filter the vocal before you effect it
Now set up your automation. This is the core of the lesson.
Automate the vocal using Device On/Off, Auto Filter, Reverb Send, and Delay Send. Start with an Auto Filter before any heavy effects.
Suggested filter moves:
A beginner-friendly automation pattern:
1. Start the vocal filtered and narrow
2. Open the filter over 4 or 8 bars
3. Add short delay throws on the last word of a phrase
4. Close the filter briefly before the drop or switch-up
5. Re-open on the downbeat for impact
In Ableton Live:
Keep the automation musical, not random. You want the vocal to feel like it’s responding to the arrangement.
5. Slice the phrase into call-and-response parts
Now turn the vocal into a rhythmic tool.
You can do this in two beginner-friendly ways:
For this lesson, manual editing is fine:
Try a classic ragga style call-and-response:
This works especially well if your drums already have a strong break loop. The vocal becomes another percussive layer in the groove.
If you want a more sample-based workflow:
That’s a strong foundation for later, more advanced jungle chopping.
6. Add movement with delay throws and reverb tails
Ragga vocals in DnB love space, but only in controlled bursts. Use send automation so the vocal stays dry and punchy most of the time, then blooms briefly on key words.
Set up two return tracks:
For the Delay return, use Echo or Simple Delay:
For the Reverb return:
Automation idea:
Why this works in DnB: delay throws create excitement without filling every gap. In fast music, small echo moments feel larger because the drums keep moving underneath.
7. Make the vocal sit with the break and bass, not on top of them
Now check the balance with your drums and bassline.
Do a simple mix check:
Useful stock tools:
For a beginner-friendly balance:
A good test: if the track still feels like DnB when the vocal is muted, you’re on the right path. The vocal should enhance the groove, not define the whole mix.
8. Arrange the vocal as a section marker, not constant decoration
Think in DnB phrases.
A strong oldskool arrangement example:
A beginner rule: use the vocal to mark section changes.
That means:
This makes the arrangement easier to follow and gives your tune that “DJ tool” feel. In jungle, those vocal moments often act like signposts for the dancer and the MC.
If you have a 16-bar loop, try making the vocal do something different every 4 bars:
That tiny variation goes a long way.
Common Mistakes
Fix: keep it sparse. Ragga vocals hit harder when they appear in short bursts.
Fix: high-pass with EQ Eight around 120–180 Hz so it doesn’t fight the sub.
Fix: automate reverb only on selected phrases and keep the rest dry.
Fix: move vocal cuts to answer the snare or kick. In DnB, rhythm matters as much as the words.
Fix: get the chop, placement, and automation working first. Then add saturation, delay, and extra character.
Fix: reduce vocal density during the heaviest bass moments. Let the low-end breathe.
Pro Tips for Darker / Heavier DnB
A band-pass or low-pass can make the sample feel more menacing and vintage, especially in intros.
In Clip View, try pitching a chop down 1–3 semitones for a heavier feel, or up slightly for a frantic oldskool rave stab.
Keep it controlled. A little drive can make the vocal feel more authentic and cut through dense drums.
Open the filter slowly over 4 or 8 bars, then drop it back suddenly for impact. This is a classic rave arrangement move.
If your bassline is doing a long note or movement, place the vocal on the off-beat or at the end of the phrase so it feels like a response.
A tiny gap before a shout can make it feel much bigger, especially with a hard snare or break fill right after.
Filter your delay and reverb so the echoes sit behind the drums instead of washing over the whole mix.
Mini Practice Exercise
Spend 10–20 minutes making a mini vocal section.
1. Load one ragga vocal sample into an audio track.
2. Slice it into 3–5 short bits.
3. Place the chops across 8 bars in Arrangement View.
4. Add EQ Eight and high-pass the vocal at around 150 Hz.
5. Add Saturator with 3 dB Drive.
6. Create one Delay return and one Reverb return.
7. Automate an Auto Filter so the vocal opens from filtered to fuller over 4 bars.
8. Automate one delay throw on the last vocal word.
9. Mute the vocal for 2 bars before the drop and bring it back on the downbeat.
10. Listen once with drums and bass only, then with the vocal. Check if the vocal feels like part of the rhythm.
Goal: make the vocal feel like a performance element, not just a sample placed on top.
Recap
If you remember one thing: arrange the vocal like a drum element first, then shape it with automation. That’s the quickest route to authentic jungle / oldskool DnB energy.

