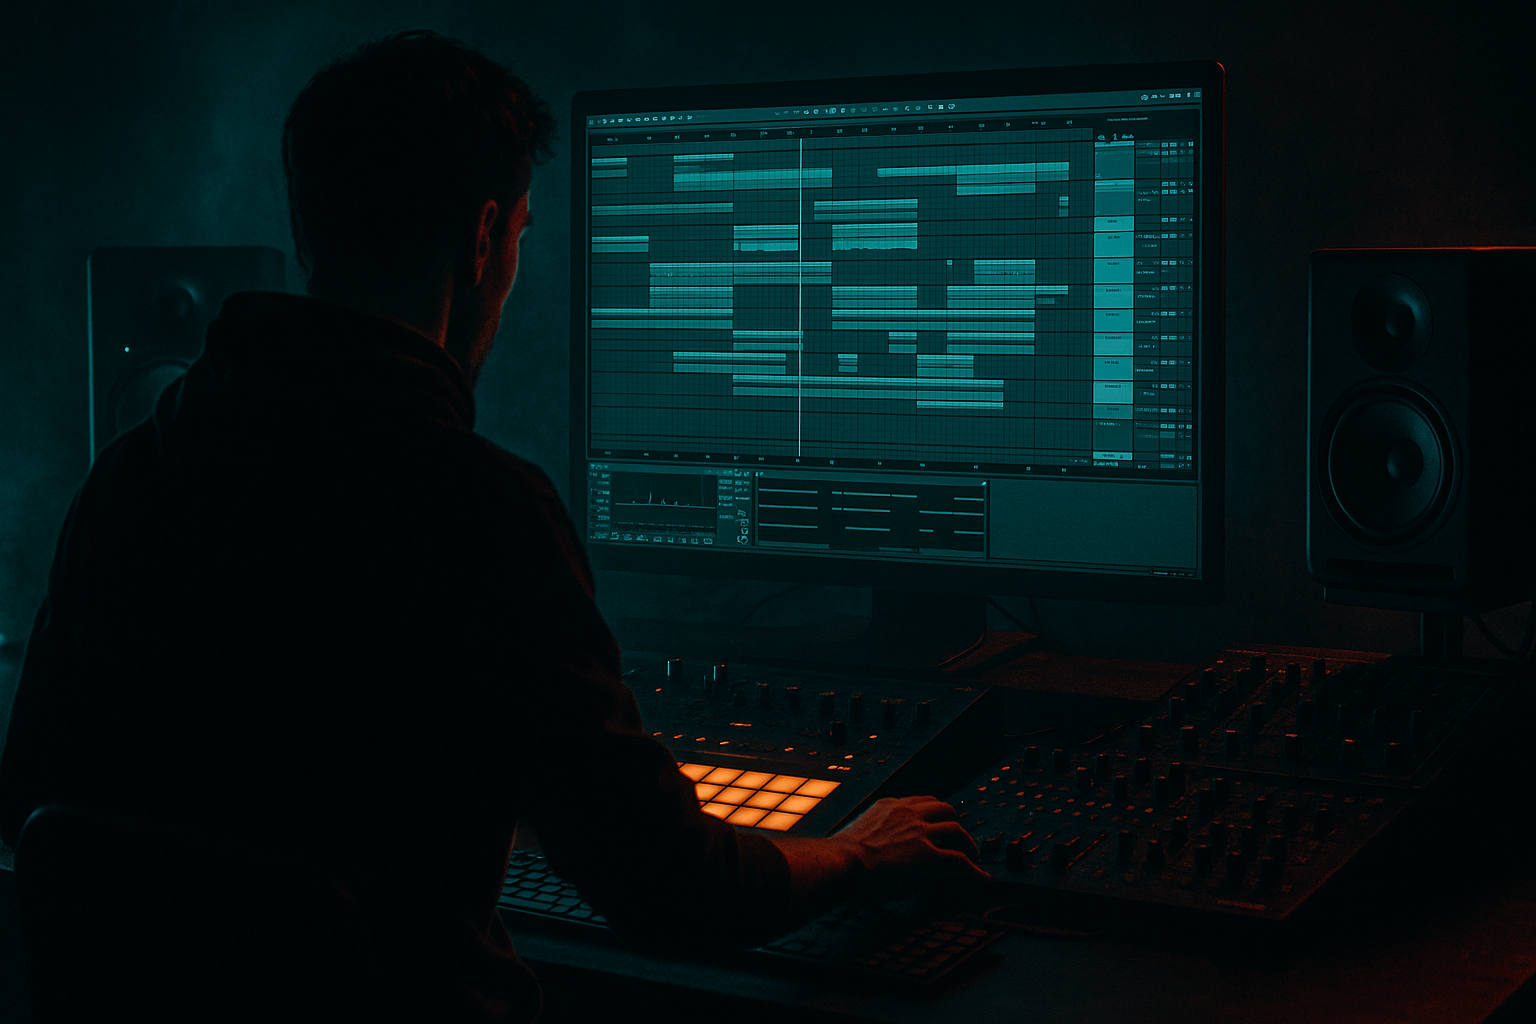
Main tutorial
1. Lesson overview
------------------
Goal: Speed up your Ableton Live arrangement workflow for drum & bass by creating reliable "arrangement checkpoints" — small, quick-to-return-to snapshots of musical ideas, drum/bass variations, and section-ready audio — so you can try big arrangement moves without fear, iterate fast, and keep momentum in rolling DnB sessions. 🎧⚡
What you’ll get here:
- A repeatable checkpoint system: locators, versioned chains, resampled audio checkpoints, and named consolidated clips.
- Device-chain suggestions (stock Ableton) for drum buses and bass that make checkpointing painless.
- Practical step-by-step actions you can apply immediately in Live for jungle/rolling DnB at ~174 BPM.
- A lightweight DnB arrangement template with named locators for common checkpoints (Intro, Build, Drop, etc.).
- Instrument/Drum Racks with chain-selector or chain macro variations for quick in-place changes.
- A "Checkpoints" audio track where you resample and store snapshot audio for each major section (e.g., IntroToDrop_A.wav).
- Consolidated, color-coded arrangement clips for quick drag-and-drop reordering.
- A simple processing bus chain (stock devices) for heavier DnB that’s easy to recall as a preset.
- Switch to Arrangement View. Decide standard sections (example):
- Right-click the timeline in Arrangement → "Add Locator" for each section and rename them (e.g., "01_Build"). These are your checkpoints. Color-code the locators (right-click → color).
- Drums:
- Bass:
- Drum Bus chain (place on Drum Group track):
- Bass Bus chain:
- Select notable loops/sections in Arrangement (e.g., 16 or 32 bar blocks), then consolidate (Cmd/Ctrl+J). Name them with a prefix 01_Intro, 02_Build, 03_DropA.
- Color-code by function (intro = blue, drop = red).
- Place consolidated blocks in a dedicated "Library" area at the far left of Arrangement for quick drag/drop.
- When you want a variant of a drop, duplicate the Group (right-click → Duplicate Group) and mute the original. Work on the duplicate (less risk).
- If you like a frozen variant, Freeze Track and Flatten to commit to audio, then keep the duplicated track and hide the originals. This gives you a quick switch back: keep original muted but present.
- Use file versioning: Save As with a suffix each time you cross a big checkpoint: trackname_v1, _v2, _v3. Don’t trust one big file with everything.
- Alternatively, collect your checkpoint clips into a "Checkpoints" set and Save Live Set As "ProjectName_check01".
- Not naming locators or clips → chaos. Always name and color (it takes 5–10 seconds).
- Resampling without isolating tracks → you’ll capture unwanted returns/FX. Use solo or temporary routing.
- Freezing/Flattening too early → you lose MIDI editability. Duplicate first, then flatten the duplicate.
- Too many duplicates → CPU/arrangement clutter. Use Instrument Rack chains instead of dozens of track copies.
- Forgetting to mono sub frequencies (Utility Width 0% under ~120 Hz) → causes phase issues and muddy mixes when played on club systems.
- Exporting huge stems every time instead of lightweight checkpoints — export only when you need stems for external use.
- Sub control: Always keep the sub (below ~120 Hz) mono. Use Utility width 0% on a Bass Group or an EQ Eight M/S to collapse low frequencies. This keeps the low end tight for club systems.
- Heavy drums: Use Drum Buss on Drum Group with "Boom" and some "Crunch", then send a parallel bus for extreme compression:
- Reese madness: Create two layers for your reese: sub (sine) + mid/high reese (detuned Wavetable) → route them to Bass Group and use Multiband Dynamics to clamp the mid/high band for bite, leave sub free.
- Filter automation: Automate an Auto Filter (Lowpass) on the top reese chain with a macro (LFO device or just envelope automation) — for tension builds, automate cutoff down to 800 Hz then snap up at drop.
- Gluing for punch: On master, use Glue Compressor subtly (Attack 5–10 ms) and a final Saturator with Soft Clip to get aggressive loudness without clipping harshly.
- Use Redux and Saturator on separate chains: one clean sub chain, one dirty chain with Redux + Saturator for grime — merge in a Rack and ride the Macro to dial dirt per checkpoint.
- Use named locators as your map — they’re checkpoints and navigation shortcuts.
- Prefer Instrument/Drum Rack chain variations and macros for quick non-destructive swaps instead of many duplicated tracks.
- Resample full sections to a CHECKPOINTS audio track — this gives you fast, CPU-light rollback points.
- Consolidate and color-code building blocks so you can rearrange rapidly by drag/drop.
- Freeze/duplicate rather than flatten early, and version-save the Live Set after each major checkpoint.
- Stock devices that matter: Drum Rack, Instrument Rack, Drum Buss, Glue Compressor, Saturator, EQ Eight, Utility, Multiband Dynamics, Redux — all useful for darker/heavier DnB processing.
2. What you will build
----------------------
By the end of this lesson you’ll have:
Style: Rolling Jungle/DnB — focus on 16/32-bar phrasing, 174 BPM, punchy drums, reese/rolling bass.
3. Step-by-step walkthrough
---------------------------
Preparation: open a new Live Set, set tempo to 174 BPM. Create core tracks: Drums, Bass, Lead/Pad, FX, Vox, Master. Group the first three into a Group called "Core".
A. Create structural locators (your map)
- 00_Intro (0:00) — 16 or 32 bars
- 01_Build — 16 bars
- 02_DropA — 16 bars
- 03_Interlude — 8–16 bars
- 04_DropB — 16–32 bars
- 05_Outro — 16 bars
Why: Locators give you instant navigation, loop braces, and export regions. Use them as your mental map.
B. Build chain-based variations for instant section switching
1. Create a Drum Rack with your main break(s) / slices.
2. Duplicate that Drum Rack track (or, better: create an Instrument Rack and drop Drum Rack chains inside; Live allows chaining via Chain Selector).
3. In an Instrument Rack, create multiple chains — Chain 1 = Intro Groove (sparser), Chain 2 = Build Groove (filters, snare layers), Chain 3 = Full Drop (full breaks + fills).
4. Map the Chain Selector to a Macro (right-click > Show Chain List, show Chain Selector) and name the Macro "Drum Variant".
5. Automate the Macro in Arrangement where you want the drum variant to change — you now switch entire drum texture without duplicating clips.
1. Use Wavetable or Operator to craft a reese/sub combo. Duplicate the device chain into an Instrument Rack and create chains:
- Chain 1: Sub-Solid (mono sub, Utility Width 0%, lowpass)
- Chain 2: Reese-Growl (detuned, bandpass → Saturator)
- Chain 3: Grit (distortion, highpass to keep sub)
2. Use an EQ Eight and Utility on each chain. Use Rack macros for Drive and Low/High cutoffs. Automate the Macro to switch variants per checkpoint.
Why: Chain selector = instant, non-destructive arrangement switching. Fewer clips = faster scrubbing and less copy clutter.
C. Create a Drum Bus and Bass Bus checkpoint processing chain (stock devices)
1. EQ Eight (high-pass at 30 Hz to clean DC; gentle dip ~300–500 Hz if muddy).
2. Drum Buss (Drive ~2–4, Boom 0.4–0.6 for weight, Crunch ~2) — for analog grit and transient shaping.
3. Glue Compressor (Attack 3–10 ms, Release ~0.2–0.5 s, Ratio 2:1, Threshold to taste) — glue the kit.
4. Saturator (Soft Clip mode, Drive 2–3 dB) — adds weight for heavier drops.
5. Utility (Width: adjust; set Width 0% for sub-only or use mid/side later).
1. EQ Eight (shelf the top if too bright).
2. Saturator (Drive 3–5 dB, type: Analog Clip).
3. Multiband Dynamics (compress low band gently to control sub; thresholds -10 to -20 dB depending on material).
4. Utility (Width 0% below 120 Hz — use an EQ Eight with M/S if needed to limit stereo low).
5. Optional Redux for grit on top band (rate 8–16? Mix low).
Save each group as an Effect Rack preset: click the rack title bar → Save Preset. Now you can load the bus chain onto new projects quickly.
D. Save audio checkpoints (resampling snapshots) — your actual rollback points
This is the key to fast experimentation. You’ll resample whole sections into an audio track and name them. Later you can swap them into the arrangement quickly.
Steps:
1. Create a new audio track called "CHECKPOINTS". Set its input to "Resampling" (or route the Master to the track input).
2. Mute sending tracks you don’t want. Solo the section you want to snapshot (or set loop brace to the locator region).
3. Arm CHECKPOINTS and record while playing the region (or press record while loop is active). Stop when done.
4. Consolidate the recorded clip (select clip → right-click → Consolidate) to make a single clip file. Rename it "CHK_IntroToDropA.wav" and color it (hot color).
5. Move this clip to an external folder or keep it in place. Duplicate as many checkpoints as you need (Build_A, DropA, DropB_v1, DropB_v2).
Why: Resampled audio checkpoints are lightweight, CPU-friendly, and let you audition alternate drops instantly (mute/unmute). You can also cut and paste them into other projects.
E. Consolidate and color-code arrangement building blocks
F. Quick versioning: duplicate groups, don't export everything
G. Naming + Save-As increments
4. Common mistakes
------------------
5. Pro tips for darker/heavier DnB 🖤
------------------------------------
- Create Drum Parallel send → Compressor (Ratio 8:1, Attack 1–3 ms, Release 0.1–0.3 s) → Saturator → return it to taste. Blend with dry drum bus.
6. Mini practice exercise
-------------------------
Time: 30–45 minutes.
1. Set tempo 174 BPM. Create tracks: Drums (Drum Rack), Bass (Wavetable), FX (Return), CHECKPOINTS (Audio).
2. Build a 16-bar Intro groove (sparse drums + pad) and a 16-bar Drop groove (full break + reese bass).
3. Add locators: "00_Intro" and "02_DropA". Color them.
4. Put Drum Rack inside an Instrument Rack and make 2 chains: Intro and Drop. Map Chain Selector → Macro "Drum Variant".
5. Make Bass instrument with two chains (Sub / Reese). Map a Macro "Bass Variant".
6. Loop "00_Intro" and record a resampled clip to CHECKPOINTS (Resampling input). Rename "CHK_00_Intro".
7. Loop "02_DropA", record to CHECKPOINTS and name "CHK_02_DropA".
8. Consolidate both project sections (select → Consolidate) and duplicate them in the Arrangement left-zone for quick drag-and-drop reordering.
9. Try one arrangement move: replace the live Drum variant automation with the consolidated audio checkpoint for the Drop and compare. Which feels punchier? Save As "Project_checkpoint_exercise".
7. Recap
--------
Go create — experiment with a heavy Drop checkpoint, then swap it in and out at the click of a macro or with a single consolidated clip. Fast checkpoints = more iterations = better tracks. If you want, I can export a starter template .als layout with these track names and rack presets (Drum Bus / Bass Bus) to get you rolling. Want that? 🚀

