Main tutorial
1. Lesson overview
Energetic, flow-forward arrangement is what separates a club-ready drum & bass track from a collection of great loops. In this lesson you'll learn how to map and control arrangement energy in Ableton Live so your DnB (rolling, jungle, techy, or dark liquid) has clear climbs, hits, and breathing space — all while keeping the groove and bass impact intact. Expect practical steps, exact device chains, automation strategies, and arrangement recipes targeted to 174 BPM and the common DnB forms.
Why this matters:
- Energy = perceived loudness + rhythmic density + spectral brightness + reverb/delay wetness + low-end presence.
- If you can control those elements together, you can shape your listener’s emotional arc deliberately.
- Drum density and presence (hi-hat rolls, snare variations).
- Bass presence and sidechain behaviour.
- Filter/openess (spectral brightness).
- Space (reverb/delay sends).
- Master/gang gain control for quick global tweaks.
- Drum Rack, Simpler/Sampler, Wavetable/Operator
- EQ Eight, Glue Compressor, Compressor (for sidechain), Saturator, Drum Buss, Utility
- Auto Filter, Reverb, Ping Pong Delay, Multiband Dynamics, Redux
- Return tracks and Sends
- (Optional Suite devices: Hybrid Reverb, Corpus, Echo)
- Kick chain:
- Snare chain:
- Drum Bus (group all drums):
- Best practice is to split bass into Sub (low) and Top (harmonic) chains in an Instrument Rack.
- Sidechain:
- Reverb (Return A):
- Delay (Return B):
- Use send levels as an “energy” parameter — more send = more space = perceived energy for big builds.
- Utility gain mapping: Macro 0 → -6 dB, Macro 127 → +3 dB.
- Auto Filter cutoff mapping example: 200 Hz → 6000 Hz (sweep over build).
- Drum Saturator: 0 → 6 Drive, 30–50% dry/wet ideal.
- Reverb send: 0 → +6 dB on the channel send knob (not the return input).
- 0:00–0:16 — Intro (Energy 0–10%): Filtered pads, light percussion, no full bass.
- 0:16–0:32 — Build 1 (Energy 10–50%): Add hat rolls, percussion, increase brightness.
- 0:32 — Drop 1 (Energy 80–100%): Full drums, full bass, saturated drums, send reverb low.
- 0:32–0:56 — Main section (Energy 70–90%): Small automation stabs for movement; occasional snare rolls.
- 0:56–1:12 — Halftime or breakdown (Energy 10–20%): Kill full sub or lowpass below 120 Hz, increase reverb send, add reversed FX, half-time feel at ~87 BPM for contrast.
- 1:12–1:20 — Build back (Energy rising): risers, increasing send, transient automation.
- 1:20 — Re-entry / Drop 2 (Energy peaking): return everything big, add an extra percussion fill or crash.
- 1:20–1:40 — Outro / Wind down: gradually reduce brightness/sends and leave a pad out.
- Use density automation: create a 1-bar clip with hi-hat triplets and program it to appear only in rising sections. Duplicate and quantize variations in arrangement view.
- Snare rolls: use 1/32 → 1/64 rolls with increasing velocity and small increases in filter cutoff for builds — automate `Simpler` pitch envelope for rising pitch sweeps on the roll.
- Filter sweeps: use `Auto Filter` with LFO off and automate cutoff over 8–16 bars. For tension, automate Resonance up by +1–2 dB.
- Low-end gating: automate `EQ Eight` low-cut band to remove sub below 90–120 Hz during breakdowns.
- Use negative space: mute low mids and drums for 1–2 beats before a drop to create impact.
- Use `Multiband Dynamics` subtly on master for glue (max 1–2 dB gain reduction).
- Avoid heavy master compression — do final loudness in mastering stage.
- Create markers in Arrangement (Right-click → Insert Locator) for sections (Intro, Drop, Break, etc.) for easy navigation and automation referencing.
- Relying only on volume automation — energy = more than loudness. Automate spectral and density parameters too.
- Over-saturating the master: you lose dynamics. Apply saturation on drums/bass bus instead.
- Not sidechaining bass enough at 174 BPM — bass will mask the kick/low transient.
- Leaving reverb tails unmanaged — muddy low end kills perceived energy. High-pass reverb tails.
- Too many high-frequency elements constantly: brightness should be earned; otherwise sections blur.
- Long static sections with no micro-variation — program small percussion drops, velocity changes, and roll transitions every 8–16 bars.
- Mid/Side Processing: use `EQ Eight` in Mid/Side mode on the Drum Bus. Boost mids around 100–300 Hz for punch, carve sides above 5 kHz for shimmer. Keep sub mono.
- Distort the mid/top of the bass only: split bass into 2 chains and apply `Saturator` only on the top chain. This keeps the sub clean and adds aggression.
- Add harmonic sub boost: duplicate your sub, shift the duplicate up an octave, low-pass at 1–2 kHz and heavily low-pass, then mix in subtly to add bite.
- Use `Redux` lightly (downsample/bit reduction) on percussion percussion layer to add grit. Mix at 10–30% dry/wet.
- Use short, filtered reverb tails for snare/crash (decay 0.2–0.6s) and high-pass those tails above 400–600 Hz to prevent muddiness.
- For jungle chops: use quick pitch down/up automations in `Simpler` (warp OFF) and add a `Grain Delay` wet at 10–20% with small grain size for metallic edge.
- Half-time breakdown trick: switch drums to half-time (or route to a new lane at 87 BPM feel), lightly filter bass and automate a subtle tempo-synced `Auto Filter` wobble at 1/8 for tension.
- Use short silence (1/4–1/2 bar) before a big drop — silence in DnB is devastatingly effective.
- Energy in DnB = spectral brightness + rhythmic density + sub/punch control + space. Control all four to make your arrangement move.
- Build an Energy Macro Rack to control multiple parameters at once (Utility, Auto Filter, Saturator, Send levels).
- Use sidechain, split bass chains, and careful drum bus processing for punch and clarity.
- Arrange with intention: intro → build → drop → breakdown → re-entry. Use filter sweeps, density changes, reverb/delay send automation, and short silences to maximize impact.
- For darker/heavier DnB: process the mids for aggression, keep sub mono and clean, add tasteful distortion on top layers, and use halftime contrast.
Tone: intermediate — you should know Live’s Session/Arrangement views, Clip/Device automation, and basic routing.
Let’s get into it 🚀
---
2. What you will build
A usable arrangement blueprint and a reusable “Energy Macro” system inside Ableton that controls:
Result: a 90–120s sketch (intro → build → drop → halftime breakdown → re-entry → outro) that maps energy from low → high → low → high with smooth, musical transitions.
Tools used (stock Ableton Live devices):
---
3. Step-by-step walkthrough
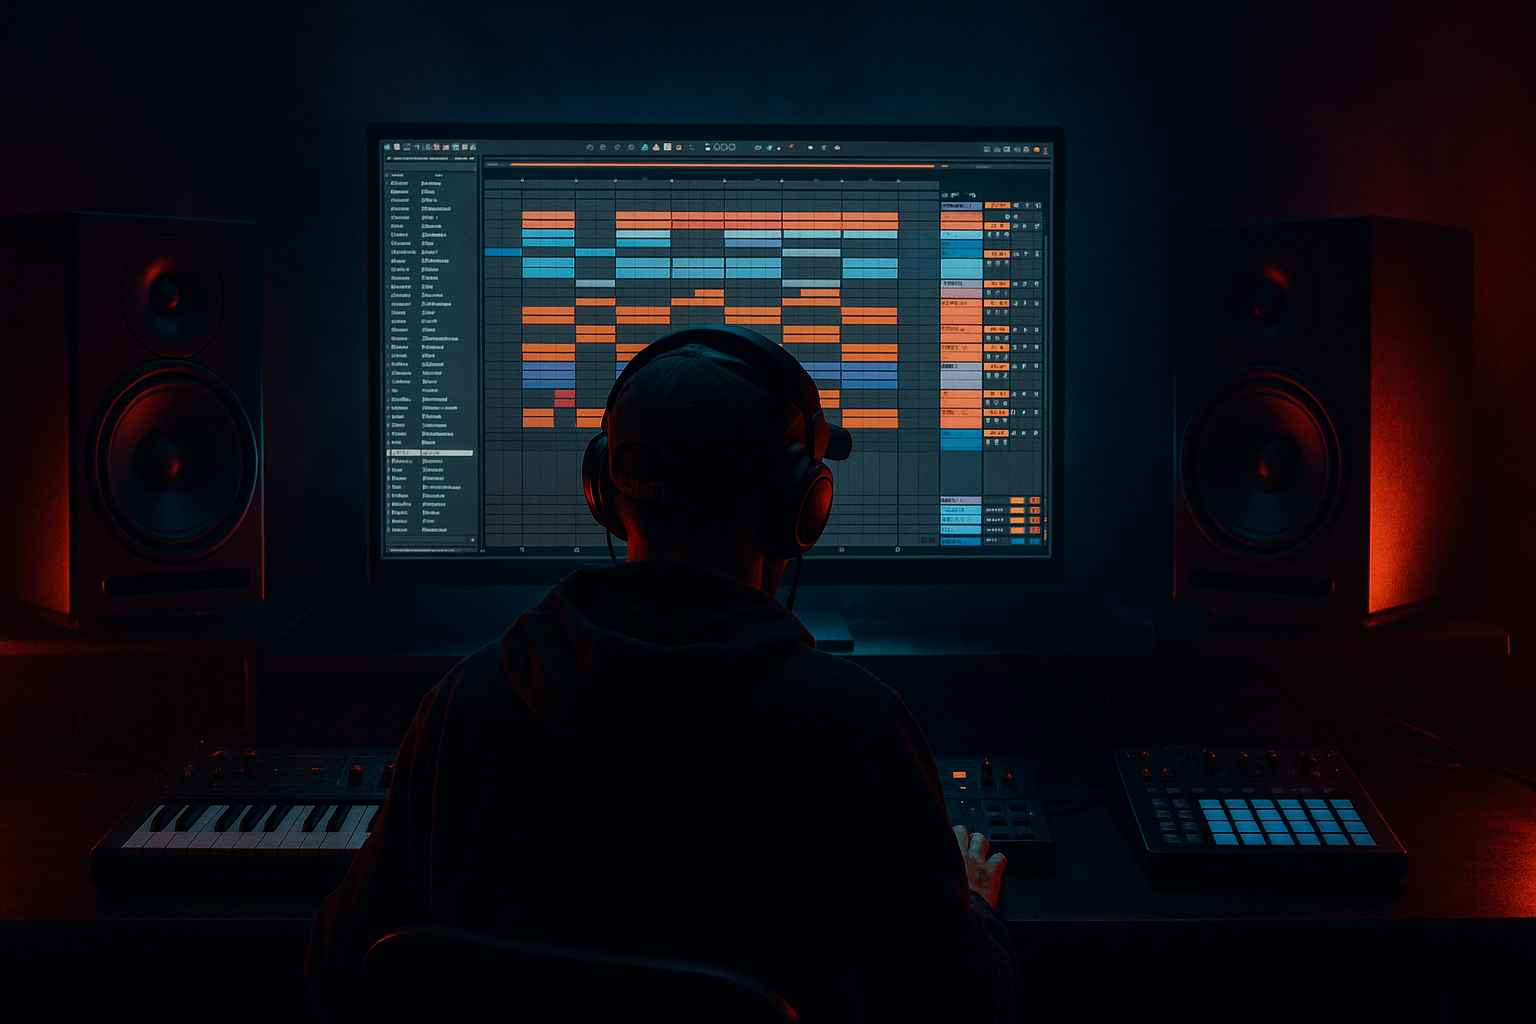
Prereqs: set your Set tempo to 174 BPM (or 170/175 if you prefer). Create these tracks: Drum Rack (DRUMS), Bass (BASS), Keys/Pad (ATMOS), FX (FX), Returns: Reverb (A), Delay (B). Create a Group Track named “Energy Map” or “Master Control” for macro mapping if you like.
Step A — Build a loop (2–4 bars) that you will use as a motif
1. Create a 4-bar loop in Arrangement or Session. Start with a rolling drum loop: kick on 1, snares on 2 & 4 (or halftime snare if going liquid), and a classic 16th/32nd shuffled breaktop for jungle feel.
- Use `Drum Rack` with quality samples. Duplicate and tune if needed.
2. Add a bassline in `Wavetable` or `Operator`: one voice for sub (pure sine) + an upper layer for grit (detune/hard sync or FM).
- Sub oscillator: sine, lowpass 100 Hz for body.
- Top layer: saw + mild detune, filter cutoff ~800 Hz, envelope with short decay.
3. Program a rolling hi-hat/ride pattern to introduce rhythmic density. Add ghost snares or percussion for groove.
Step B — Drum processing chain (per track + bus)
- `EQ Eight`: high-pass < 30 Hz (cut at 20–30 Hz), slight boost 50–80 Hz if needed.
- `Glue Compressor`: ratio 4:1, attack 1–3 ms, release 80–120 ms, makeup gain to taste.
- `Saturator`: Drive 3–6, Soft Clip on; Dry/Wet 30–50% for grit.
- Duplicate snare to create body+crack: one with short `Reverb` (decay 0.4–0.8s, pre-delay 10ms) and one dry.
- Parallel compress: Send to a compressed return: `Compressor` ratio 8:1, threshold -15 to -8 dB, attack 1–5 ms, release 60–120 ms.
- `EQ Eight`: tame 200–400 Hz to reduce mud, slight boost around 2–6 kHz for snap.
- `Drum Buss`: Distortion 2–4, Boom 1–2, Transient set to taste.
- `Glue Compressor`: 2–4 dB gain reduction as glue.
- `Utility` for group width or gain automation.
Step C — Bass chain with sidechain (essential for DnB)
Sub chain:
- `EQ Eight`: lowpass around 220–300 Hz, boost 40–60 Hz for weight if needed.
- `Compressor` for gentle leveling.
Top chain (for texture/presence):
- `Saturator`: Drive 3–8, Dry/Wet 40–60%.
- `EQ Eight`: cut below 80 Hz to avoid doubling sub.
- `Multiband Dynamics`: compress mids/highs to taste for presence.
- Put a `Compressor` after the top chain (or on the combined bass track).
- Enable Sidechain → Audio From: Kick (or Kick + Snare Drum Buss).
- Settings: Ratio 3–6:1, Threshold -18 to -12 dB (adjust until gain reduction 3–8 dB on hits), Attack 1 ms, Release 60–120 ms. Use look-ahead or adjust release to keep groove.
Step D — Create Return tracks for space and tension
- `Reverb` (or Hybrid Reverb): Decay 0.8–1.5s for pads, pre-delay 10–30ms, high-cut 6–8 kHz to keep top end clean.
- Place `EQ Eight` after reverb to high-pass at 300–600 Hz for reverb-only tails that won’t muddy bass.
- `Ping Pong Delay` or `Echo`: Time set to dotted 1/16–1/8 for rhythmic echoes synced to 174 BPM; feedback 20–40%; filter out low with HP filter at 250–400 Hz.
Step E — Create an Energy Macro Rack
1. Make an empty `Audio Effect Rack` on a new MIDI track called `Energy Macro` (or place on a Control track).
2. Create 1–4 Macros:
- Macro 1: “Global Energy” — map to `Utility (Master)` Gain range -6 dB → +3 dB.
- Macro 2: “Brightness” — map to `Auto Filter` cutoff on ATMOS/Pad & to Bass Top Filter cutoff (range 200 Hz → 6 kHz).
- Macro 3: “Drum/Transients” — map to Drum Bus `Saturator` Drive (0 → 6) and Drum Bus `Glue` Compress Makeup (0 → +3 dB).
- Macro 4: “Space” — map to Return Reverb Send for keys/FX (0 → +8 dB) and Delay Send (0 → +6 dB).
3. Place `Energy Macro` on a track and draw automation in Arrangement for each Macro across the timeline. Link these Macros to the parameters described.
Practical mapping numbers:
Step F — Sketch an arrangement using the energy map
Use a 90–120s structure:
- Auto Filter cutoff ≈ 400 Hz, Utility -4 dB, drum density low (only kick + sparse hats).
- Macro Brightness: sweep 400 → 2.5kHz.
- Utility +1–+3 dB, sidechain on, Drum saturation +3.
- Macro Global Energy down to -6 dB, Auto Filter cutoff down to 250 Hz.
Step G — Micro-arrangement techniques (how to program energy)
Step H — Final polish and stems
---
4. Common mistakes
---
5. Pro tips for darker/heavier DnB 😈
---
6. Mini practice exercise (30–45 minutes)
Goal: Build one drop + one breakdown sketch and map energy macros.
1. Set tempo to 174 BPM. Create a 64-bar Arrangement skeleton (mark Locators at 0, 16, 32, 48, 64).
2. Make a 4-bar drum loop and place it for bars 17–32 as the main drop. Process drums with Drum Buss + Saturator as described.
3. Build a two-layer bass (sub + top). Sidechain bass to a kick with Compressor: Ratio 4:1, Attack 1 ms, Release 80 ms.
4. Create two return tracks: Reverb A (Dec 1.0s, HP at 300 Hz after reverb), Delay B (dotted 1/8, feedback 25%).
5. Create an `Audio Effect Rack` (Energy Rack) with at least 2 Macros: Global Gain and Brightness (map to Utility gain and Auto Filter cutoff on a pad).
6. Sketch arrangement:
- Bars 1–16: Intro (low energy)
- Bars 17–32: Drop (high energy)
- Bars 33–48: Breakdown (low)
- Bars 49–64: Re-entry (higher again)
7. Automate Macro “Brightness”: sweep from 400 Hz at bar 16 to 5 kHz at bar 17 (fast) and ramp down to 300 Hz at bar 33.
8. Automate Drum Saturator Macro to increase by +3 Drive at the drop.
9. Render an MP3/WAV export of bars 1–64 and listen for flow: does the drop hit? Is the breakdown a meaningful change?
If something feels flat: check low-end masking, check hi-hat density before/after the drop, and verify sidechain is giving space to kick transients.
---
7. Recap
Go create a 174 BPM sketch now — map your energy curve visually in Arrangement and then listen critically. Remember: the best arrangements make the listener forget tools and just move with the music. Let me know if you want a downloadable Ableton template (.als) layout for the Energy Macro Rack and starter chains — I can write one out step-by-step or provide an XML-style template guidance. 🔥🥁💥

