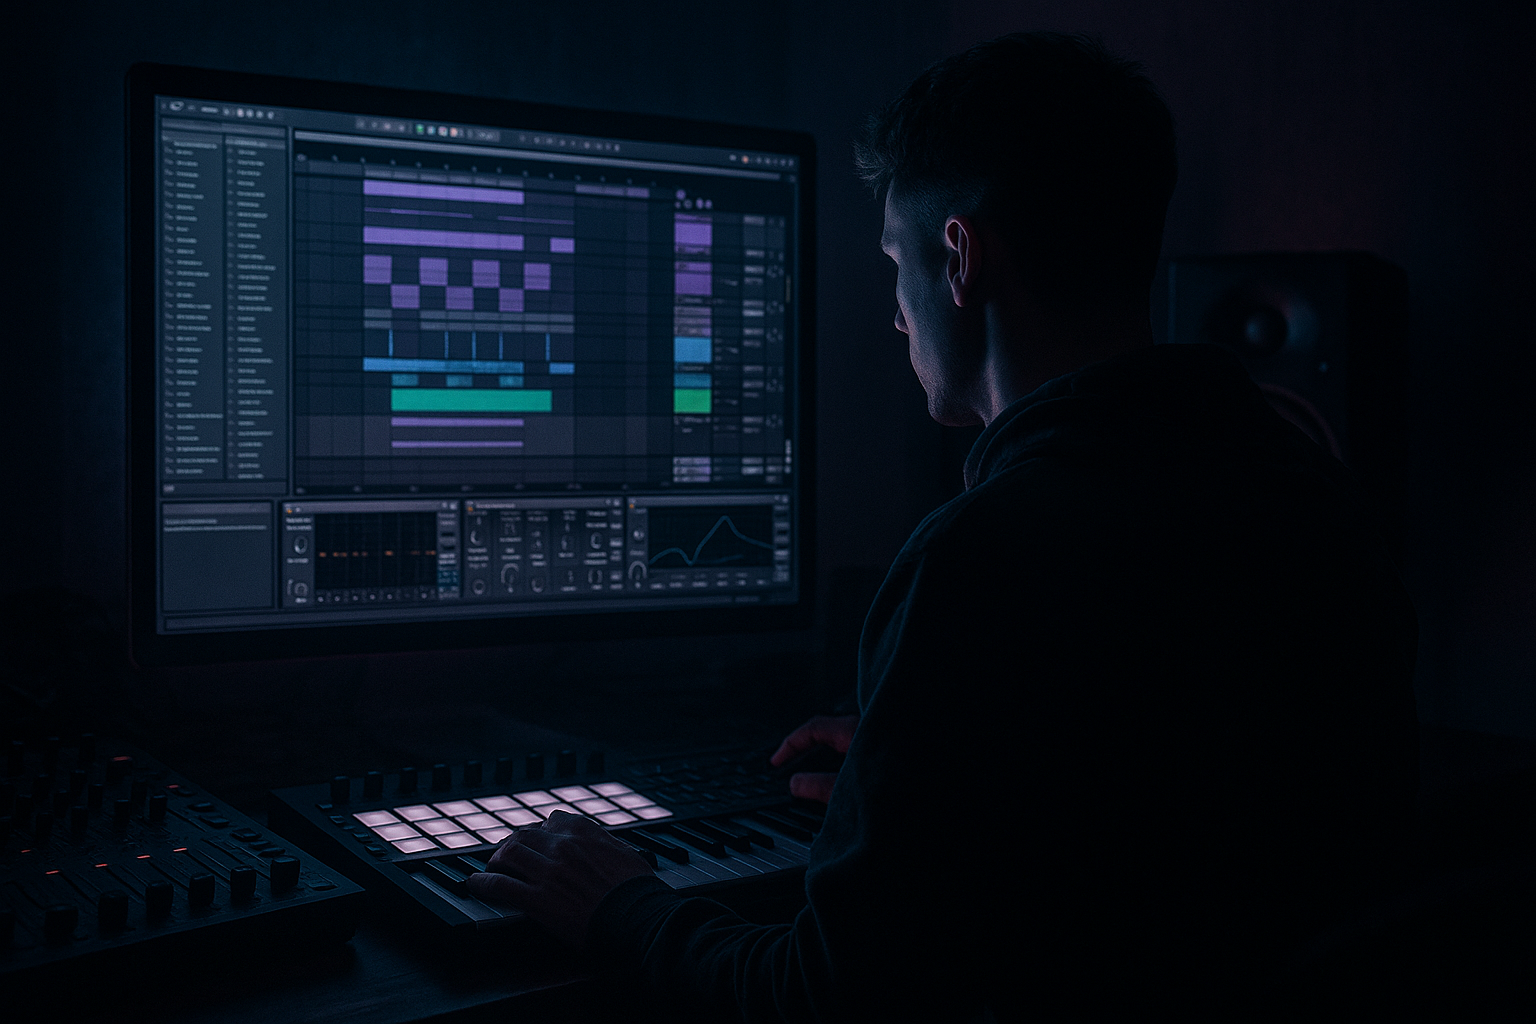
Main tutorial
```markdown
Auditioning Breaks in Tempo Context (DnB in Ableton Live) 🥁⚡️
1. Lesson overview
When you’re writing drum & bass, the fastest way to stay creative is to audition breaks in the same tempo, swing, and grid as your tune—not as random loops in the browser. In this lesson you’ll build a repeatable Ableton Live workflow to preview classic jungle/DnB breaks (Amen, Think, Funky Drummer, Hot Pants, etc.) in context at 170–176 BPM, aligned to your project, and ready to chop.
You’ll learn:
- How to set up a dedicated Break Audition track
- How to warp correctly for DnB energy (tight transient control)
- How to audition multiple candidates quickly without killing your vibe
- How to keep everything in key rhythmic relationship with your kick/bass grid
- A Break Audition Audio Track with a smart device chain (gain staging, transient shaping, quick filtering, glue)
- A workflow for dragging breaks from the Browser and having them:
- A method to A/B multiple breaks against your existing drums and bassline
- Beats mode = punch + snap (most common for breaks)
- Complex/Complex Pro = “gelled” loop vibe, but less crack
- Keep the break’s micro-groove (ghost notes)
- Tighten only the major anchors (kick/snare hits)
- Verses: tighter, filtered break roll
- Drops: full break + extra punch layers
- Fills: one-shot snare rushes, re-triggers, edits
- Auditioning breaks at the wrong tempo (previewing at original tempo and “imagining” it at 174). Don’t do it—warp and audition in-project.
- Over-warping every transient until the break loses its swing. Anchor the main hits; preserve the micro-groove.
- Ignoring gain staging: breaks are inconsistent in volume; always start with Utility -6 dB and adjust.
- Choosing breaks solo: a break that sounds huge alone may destroy your snare clarity in the mix.
- Using Complex Pro by default: it can blur drum transients; try Beats first for DnB.
- Parallel dirt on the break:
- Make it “overcast” with filtering automation:
- Transient focus for headroom:
- Mid/Side cleanup:
- Jungle-style “amen tension” edits:
- Auditioning breaks properly in DnB means in-tempo, in-context, in-loop.
- Build a `BREAK AUDITION` track with a clean but punchy chain (Utility → EQ Eight → Drum Buss → Glue → Filter).
- Use Beats warp mode first for transients and energy at 170–176.
- A/B breaks in Session View with 1-bar quantization for fast decision-making.
- When a break wins, Slice to Drum Rack and start writing like it’s an instrument.
---
2. What you will build
A small “audition rig” inside Ableton Live:
- auto-warped sensibly,
- snapped to 1–2 bars,
- and playing instantly in tempo with your project
---
3. Step-by-step walkthrough
Step 0 — Set the scene (tempo + reference grid) 🎛️
1. Set your project tempo to a standard DnB range: 174 BPM (great default).
2. Create a simple context loop:
- MIDI Track → Drum Rack: add a clean kick + snare (even placeholders).
- Program a basic 2-step: kick on 1, snare on 2 & 4 (or the DnB half-time feel if you prefer).
3. Loop 8 bars in Arrangement View.
Why 8? Enough time to feel roll, ghost notes, and groove without “audition fatigue.”
---
Step 1 — Build the dedicated “Break Audition” track 🧱
1. Create Audio Track and name it: `BREAK AUDITION`.
2. Drop these stock devices on it (in this order):
Device chain (fast + practical):
1. Utility
- Gain: start at -6 dB (breaks are often loud)
- Optional: Width 100% (leave it normal for now)
2. EQ Eight
- High-pass at 30–40 Hz (12 dB/oct) to remove rumble
- Optional gentle dip around 250–400 Hz if it’s boxy
3. Drum Buss
- Drive: 5–15% (taste)
- Crunch: 0–10%
- Boom: OFF (usually unnecessary for breaks in DnB; your sub does the work)
- Transients: +5 to +20 if you want attack
4. Glue Compressor
- Attack: 3 ms
- Release: Auto
- Ratio: 2:1
- Aim for 1–3 dB of gain reduction
5. Auto Filter (for quick auditioning)
- Set to Low-pass
- Map frequency to a Macro later if you’re using a Rack
Why this chain? It’s neutral but punchy—enough to hear how a break could sit in a rolling tune without committing.
---
Step 2 — Set Ableton to warp breaks the way you want ✅
This is huge for tempo-context auditioning.
1. Go to Preferences → Record/Warp/Launch
2. Under Warp:
- Turn Auto-Warp Long Samples = On
- Turn Auto-Warp Short Samples = On (optional; can be helpful)
3. Set the Default Warp Mode:
- For breaks, start with Beats mode.
- Beats settings you’ll commonly use:
- Preserve: Transients
- Envelope: 0–20 (lower = tighter/snappier)
- If the break is messy and you want smoother: try Complex Pro (but it can soften drums).
DnB rule of thumb:
---
Step 3 — Audition breaks from the Browser in true tempo context 🧭
There are two reliable ways:
#### Method A (fastest): Drag straight onto the Break Audition track
1. In the Browser, find your breaks folder (or Packs).
2. Preview with the blue headphone icon to pre-filter obvious misses.
3. Drag a break onto `BREAK AUDITION` in Arrangement View at bar 1.
4. Make sure the clip is Warp = On.
5. Set the clip Loop on, and set the loop length to 1 or 2 bars.
- Many classic breaks are 1 bar, but 2 bars often reveals better ghost note movement.
Now press play—your break is in time with the tune instantly.
#### Method B (A/B friendly): Use Session View clip slots
1. Switch to Session View.
2. Drag multiple breaks into different clip slots on `BREAK AUDITION`.
3. Set Global Quantization = 1 Bar (top middle of Live).
4. Launch clips while your groove plays to compare breaks without stopping.
This is incredible for jungle-style “which break drives harder” decisions.
---
Step 4 — Warp like a DnB producer (tight, not robotic) 🧠
When a break doesn’t hit right at 174, it’s usually warp markers.
1. Double-click the break clip to open the Clip View.
2. Find the true downbeat (usually the first kick transient).
3. Right-click that transient → Set 1.1.1 Here
4. Right-click again → Warp From Here (Straight)
5. Check bar alignment:
- Does the snare land cleanly on 2 and 4?
- If the groove drifts, add warp markers only where needed (don’t grid every hit unless you want a robotic break).
Recommended approach for rolling DnB:
---
Step 5 — Make break auditioning actually useful: compare to your drum bus 🥊
A break can sound sick solo but fail in a full mix.
1. Route your main drum elements (kick/snare/hats) to a DRUM BUS group.
2. Put `BREAK AUDITION` next to it and do quick checks:
- Low end conflict: mute your kick; does the break have too much thud?
- Snare relationship: does the break snare complement or smear your main snare?
- Hat density: does it add roll or just noise?
Quick check tool:
Add Spectrum (stock) after EQ Eight to visually confirm if the break is crowding 80–200 Hz (often where mud lives).
---
Step 6 — Instant “fit test”: slice the best break to a Drum Rack 🔪
Once a break passes the vibe test, get it playable fast.
1. Right-click the clip → Slice to New MIDI Track
2. Settings:
- Slice By: Transient
- Create one slice per: Transient
- Slicing preset: Built-in → Drum Rack
3. Now you can:
- Reprogram the groove,
- Layer with your clean one-shots,
- Or rearrange into a heavier roll.
DnB arrangement move:
Use the sliced break for:
---
4. Common mistakes 🚫
---
5. Pro tips for darker/heavier DnB 🕶️🔩
Duplicate `BREAK AUDITION`, on the duplicate use:
- Pedal (Drive 20–40%, Sub OFF or low)
- EQ Eight (high-pass ~120 Hz)
- Blend quietly under the clean break for grit.
Automate Auto Filter LP down during intros/breakdowns (e.g., 18k → 3k), then snap open at the drop.
Use Drum Buss Transients up a bit, then use Glue to control peaks—this keeps it aggressive without clipping.
On EQ Eight, use M/S mode:
- High-pass the Sides a bit higher (e.g., 120–200 Hz) to keep low end mono and weighty.
After slicing, pitch a few slices down -2 to -5 semitones (Clip Transpose) for menace, then pepper them as fills.
---
6. Mini practice exercise 🎯
Goal: Audition 10 breaks in 10 minutes and pick 2 winners.
1. Set project to 174 BPM, loop 8 bars with a basic kick/snare and a simple Reese bass note (even a placeholder).
2. Load 10 breaks into Session View clip slots on `BREAK AUDITION`.
3. For each break:
- Ensure Warp On, Beats mode, Preserve Transients
- Set loop to 2 bars
- Play for 8 bars, then switch on the next bar (Global Quantization = 1 Bar)
4. Choose your top 2:
- Winner A = “main groove”
- Winner B = “contrast/variation”
5. Slice Winner A to Drum Rack and program a 1-bar fill at the end of bar 8.
---
7. Recap ✅
If you want, tell me what style you’re writing (rollers, jungle, dancefloor, neuro) and I’ll suggest a tailored break audition chain + warp strategy for that substyle.
```

