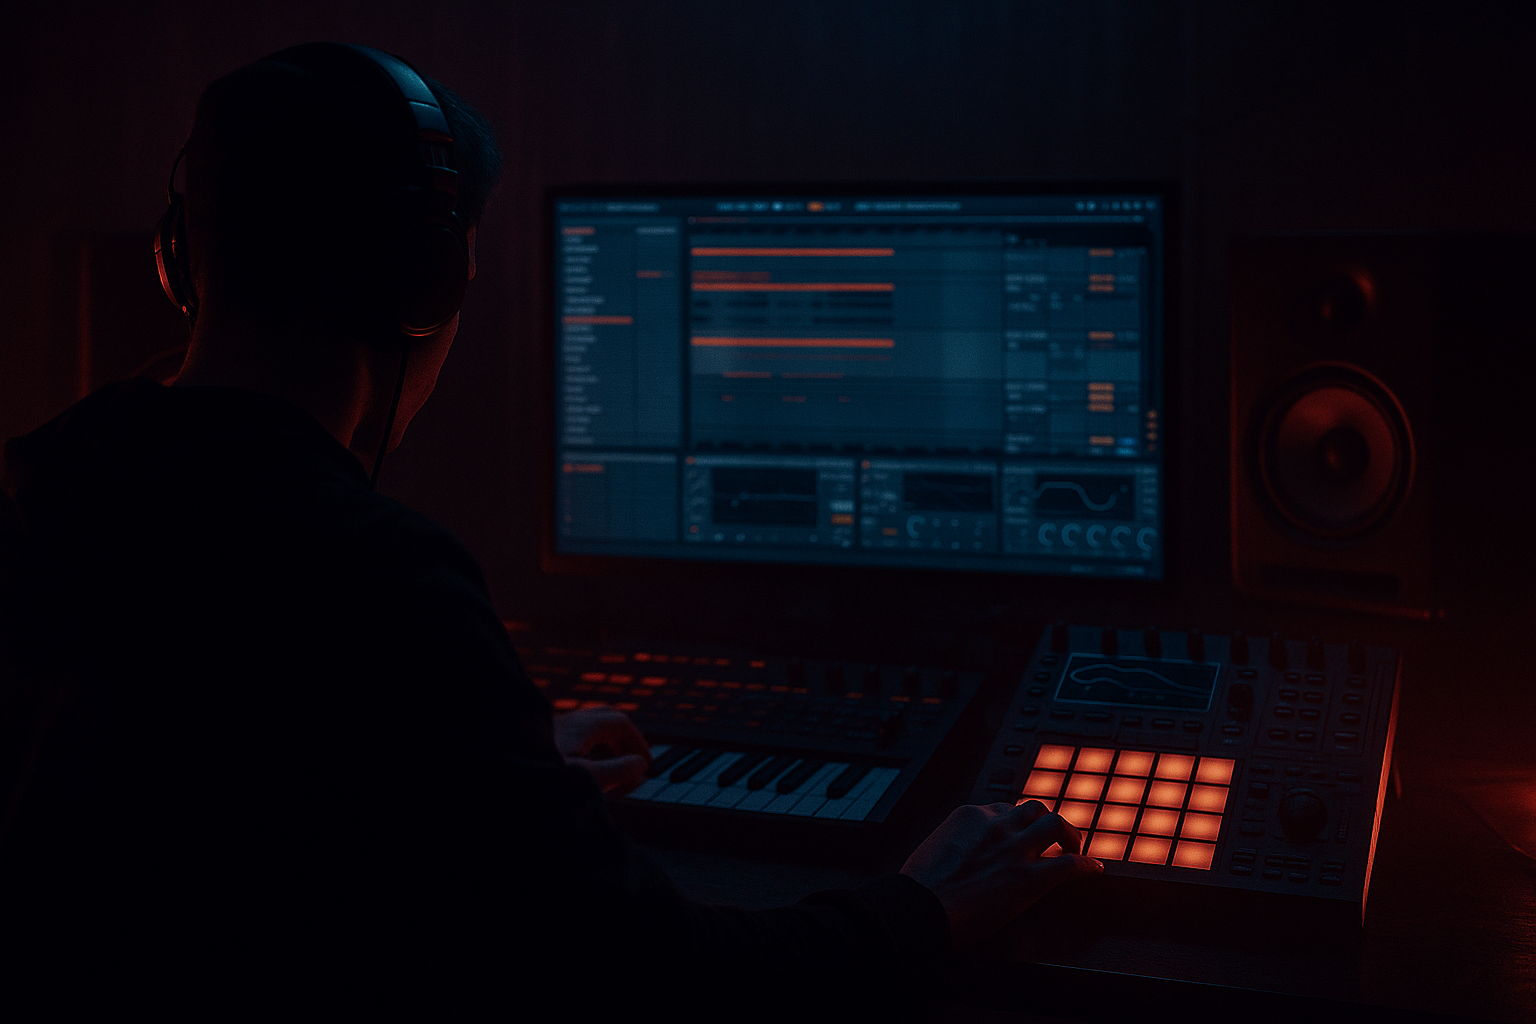
Main tutorial
```markdown
Auto Pan Rate Changes for Movement (DnB in Ableton Live) 🔄🎛️
1) Lesson overview
Auto Pan is one of the fastest ways to add motion, width, and “rolling” energy to drum & bass—especially when you change the rate over time. In DnB, static loops can feel flat; subtle, intentional movement helps parts evolve without adding clutter.
In this lesson you’ll learn how to:
- Automate Auto Pan Rate for build-ups, drops, fills, and transitions
- Keep the low-end mono while still getting wide movement
- Sync movement to DnB-friendly divisions (1/8, 1/16, dotted, triplets)
- Use Ableton stock devices + clean routing for professional results
- A drum bus (tops) with Auto Pan whose Rate changes per section
- A reese/bass mid layer that gains movement only in fills
- A riser/FX layer where Rate ramps from slow to fast into the drop
- Press A (Automation Mode)
- On the TOPS track, choose:
- Rate: 1/4 (slower drift, sets mood)
- Rate: Move from 1/4 → 1/8 over 4 bars
- Then 1/8 → 1/16 over the last 4 bars
- Keep at 1/8 most of the time (steady roll)
- Switch to 1/16 for 1 bar fills (e.g., bar 8 and bar 16)
- Pull back to 1/4 or even 1/2 to open space
- Use the Draw tool (B) for stepped changes (classic DnB “switch” feel)
- Or draw ramps for builds (more “riser” energy)
- Main: 1/8
- Quick variation: 1/8T (triplet) for 1 bar
- Back to: 1/16 for a fill, then reset
- On chopped breaks tops
- On ghost-perc groups
- On atmospheric layers behind the breaks
- Use movement as “threat” not “party”:
- Distorted tops + subtle pan = bigger than wide pan alone:
- Gate the movement for aggression:
- Make fills feel like the room is collapsing:
- Auto Pan becomes musical in DnB when you automate Rate with arrangement intent.
- Keep kick + sub stable/mono; move tops, atmos, and mid-bass layers.
- Use parallel movement + high-pass filtering to keep impact while adding width.
- DnB-ready Rate plan: slow in intro, ramp in builds, stable in drop, fast in fills.
- Map Rate/Amount to Rack macros for fast, performable automation.
---
2) What you will build
A mini DnB “movement system” using:
You’ll end up with automation that feels like it’s driving the groove, not just panning randomly.
---
3) Step-by-step walkthrough
A. Prep: Set the project up like a DnB session 🧱
1. Tempo: 172–175 BPM (typical DnB range)
2. Create these tracks (or use your existing session):
- Drums – KICK+SNARE (keep this mostly mono/center)
- Drums – TOPS (hats, rides, shakers, breaks tops)
- BASS – SUB (mono)
- BASS – MID/REESE
- FX / RISERS
Why: Auto Pan is most useful on tops, atmos, mids—not on kick/sub.
---
B. The core idea: Auto Pan with Rate automation (musical + controlled) 🎚️
We’ll start with the TOPS track.
1. On Drums – TOPS, add:
- Auto Pan (Audio Effects → Modulation → Auto Pan)
2. Set these initial values (good “rolling but safe” start):
- Amount: 20–35%
- Rate: 1/8 (click Rate so it’s synced, not Hz)
- Phase: 180° (classic left-right motion)
- Shape: Sine (smooth) to start
- Offset: 0°
3. Add Utility AFTER Auto Pan:
- Width: 120–140% (optional, subtle)
- This is also a great place to do safety moves later (more below)
DnB context: 1/8 on tops often feels like it “pushes” forward without turning into a gimmick.
---
C. Automate the Rate for arrangement movement 🧭
You’ll automate Rate so the motion evolves between intro → build → drop → break.
#### Step 1: Reveal automation lane
- Auto Pan → Rate
#### Step 2: Write DnB-friendly Rate changes
Here’s a practical map you can copy:
Intro (16 bars):
Build (8 bars before drop):
Drop (16 bars):
Break / halftime section:
How to draw it:
Pro workflow suggestion:
Use stepped automation for impact (like a DJ cutting energy), and ramps for tension-building.
---
D. Add “movement in fills” without ruining the groove (Amount automation) 🎯
Rate changes are powerful, but if Amount is too high during busy drum moments, you’ll lose punch.
1. Stay on TOPS track automation lanes:
- Also automate Auto Pan → Amount
2. Suggested automation:
- Drop main groove: Amount 15–25%
- Fill bars (end of 8/16): bump to 35–55%
- Breakdowns: can go 40–60% if drums are sparse
DnB logic: Keep the “meat” stable, and let the edges dance.
---
E. Keep low-end solid: Mid/Side safety method (stock only) 🛡️
If your tops or reese has important center energy, aggressive panning can smear impact.
Option 1 (simple): Don’t put Auto Pan on KICK+SNARE or SUB.
Option 2 (better control): Put Auto Pan on a return or parallel chain.
#### Parallel method (clean for DnB):
1. Create an Audio Effect Rack on TOPS
2. Make 2 chains:
- Dry
- Move
3. On Move chain add:
- Auto Pan (Amount 40–70%, Rate varies)
- EQ Eight: high-pass at 200–400 Hz (so only highs move)
4. Blend chains:
- Dry at 0 dB
- Move around -10 to -18 dB, taste
Result: Crisp stereo movement without hollowing the core groove.
---
F. Reese/mid-bass movement that doesn’t mess the sub 🐍
On BASS – MID/REESE (not the sub track):
1. Add Auto Pan
2. Starting settings:
- Amount: 10–20% (very subtle)
- Rate: 1/8 or 1/16 (depending on rhythm)
- Phase: 90–180° (try 90° for less extreme L/R)
3. Add EQ Eight BEFORE Auto Pan:
- High-pass at 120–180 Hz (so the sub fundamentals stay stable)
4. Automate Rate only in key moments:
- Pre-drop: ramp 1/8 → 1/16
- End-of-phrase fill: quick jump to 1/32 for 1/2 bar, then back
DnB tip: A tiny bit of moving mid-bass + stable sub = huge perceived width without losing weight.
---
G. Make it “jungle”: Rate flips + triplet spice 🌿
For jungle-leaning breaks, try rhythmic rate switches:
Where it shines:
---
H. Add macro control (so you can perform changes fast) 🎛️
If you want hands-on control instead of drawing every change:
1. Put Auto Pan inside an Audio Effect Rack
2. Map:
- Rate → Macro 1 (Rate)
- Amount → Macro 2 (Depth)
3. Record automation by moving macros during playback:
- Enable Automation Arm
- Move Macro 1 between 1/4, 1/8, 1/16, 1/32 in musical moments
Why this is DnB-friendly: You can “DJ” your movement like you’re working a mixer during transitions.
---
4) Common mistakes 🚫
1. Auto panning the sub or kick
- Your low-end will wobble in stereo and lose punch. Keep SUB mono.
2. Too much Amount on busy tops
- High hats can disappear or feel phasey. Use parallel movement and lower Amount.
3. Random Rate changes with no arrangement logic
- Rate automation should support sections: intro slow, build rising, drop stable, fills fast.
4. Ignoring phase/mono compatibility
- Check in mono (Utility → Width 0% temporarily). If hats vanish, reduce Amount or filter lows out of the moving chain.
---
5) Pro tips for darker/heavier DnB 🖤🔩
Slow Rate (1/2, 1/4) with higher Amount on atmos creates uneasy drift.
Put Saturator before Auto Pan on the Move chain:
- Drive 2–6 dB, Soft Clip on
Then keep Auto Pan Amount moderate.
After Auto Pan on Move chain, add Gate with sidechain from snare (optional).
Movement “breathes” around the snare hits = punchy, controlled chaos.
In the last half-bar before a drop, ramp:
- Rate: 1/8 → 1/16 → 1/32
- Amount: 20% → 50%
Then snap back to stable settings on the downbeat.
---
6) Mini practice exercise 🎯
Goal: Create a 32-bar loop with “movement storyline.”
1. Use a basic DnB drum pattern:
- Kick on 1 and the “&” of 2 (classic two-step variations)
- Snare on 2 and 4
- Hats rolling 1/16 with some swing
2. On TOPS, add Auto Pan + Utility (as above).
3. Automate Rate across 32 bars:
- Bars 1–16: 1/4
- Bars 17–24: ramp 1/4 → 1/8
- Bars 25–32: mostly 1/8, but bars 28 and 32 switch to 1/16
4. Automate Amount:
- 15–25% in main groove
- 40–55% in bars 28 and 32
5. Bounce a quick export and listen:
- Does the groove stay punchy?
- Do the fills feel more exciting without sounding messy?
- Check mono quickly (Utility Width 0% on the master temporarily)
---
7) Recap ✅
If you want, tell me what subgenre you’re aiming for (roller, jump-up, techstep, jungle) and what element you want to move (tops, reese, pads), and I’ll suggest a specific automation curve and device chain for your session.
```

