DNB COLLEGE

Drum & Bass Ableton Live 12 Tutorials

LESSON DETAIL

Automation for stereo motion (Intermediate)

An AI-generated intermediate Ableton lesson focused on Automation for stereo motion in the Automation area of drum and bass production.

Back to lessons
Automation for stereo motion (Intermediate) cover image

Narrated lesson audio

The voice track includes the tutorial plus extra teacher commentary.

Open audio file

Main tutorial

Automation for Stereo Motion (Drum & Bass — Ableton Live)

Teacher tone: energetic, clear, professional — let’s move air. 🎛️⚡

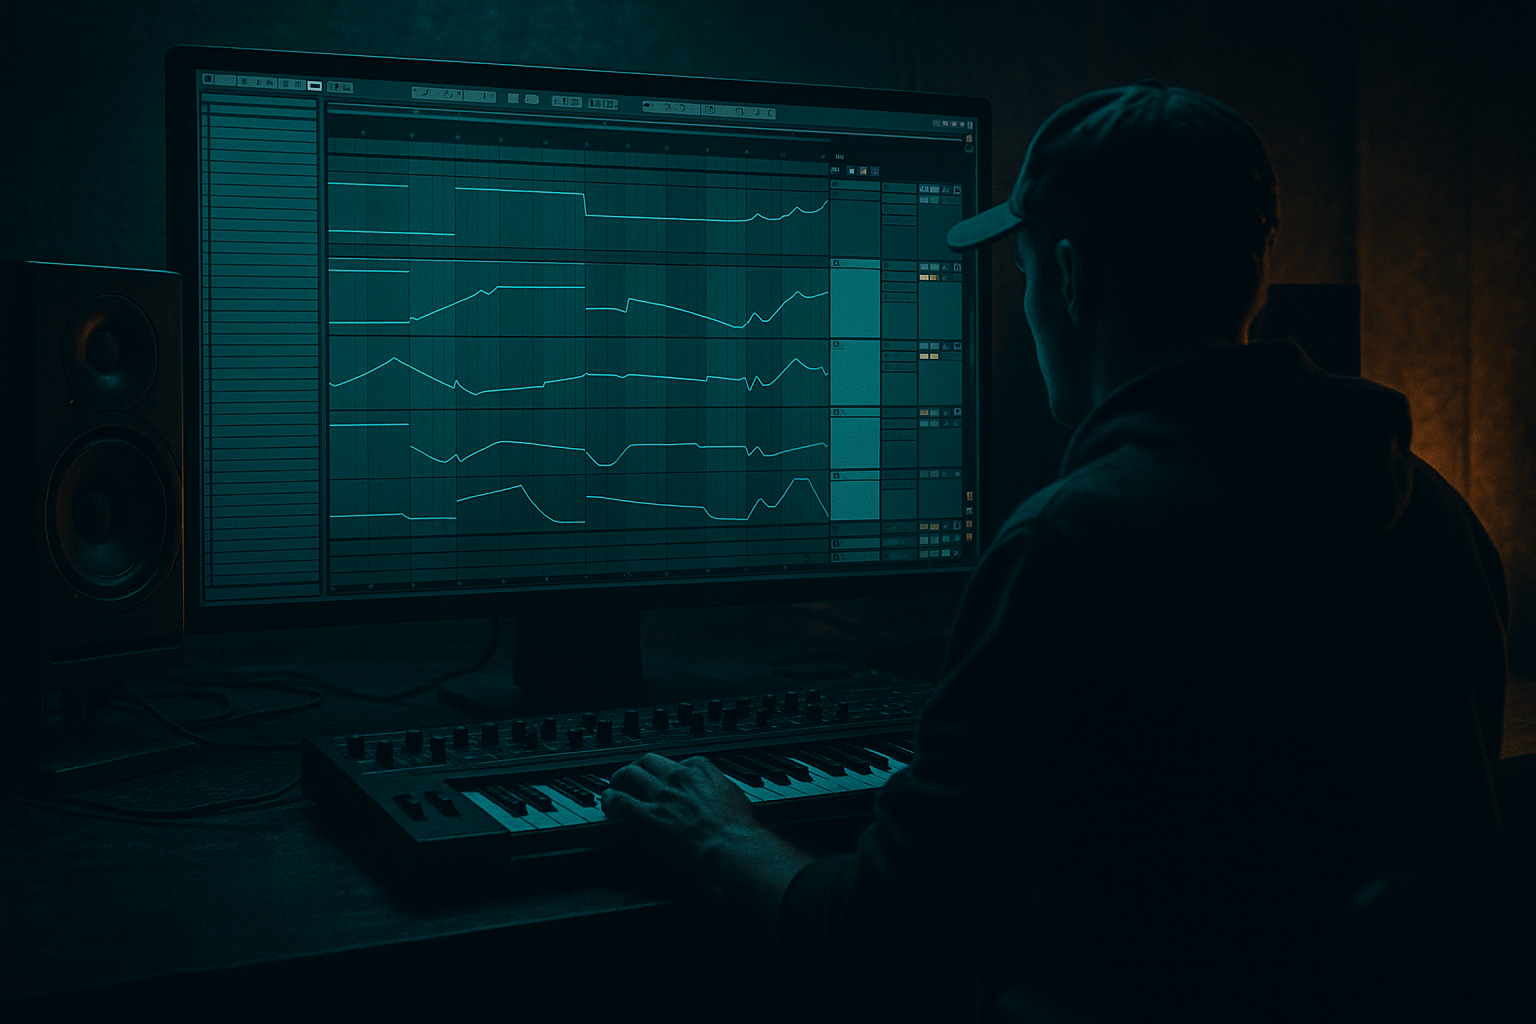
This intermediate lesson focuses on using Ableton Live’s automation and stock devices to create convincing, dynamic stereo motion for drum & bass / jungle / rolling bass tracks. Everything below is practical: device chains, exact settings, workflows, and arrangement ideas specific to DnB.

---

1. Lesson overview

What this lesson teaches you:

  • How to automate stereo movement in individual elements (hats, percussion, pads, vocals) and the mix-bus.
  • How to build device chains and Racks that give controllable, musical stereo motion.
  • How to keep the low-end tight & mono while making the rest wide and dynamic.
  • Arrangement tactics: when to widen, when to mono, and how to use motion to push energy into drops, rollers, and breakdowns.
  • Why this matters for DnB:

  • Stereo motion adds excitement to fast grooves and helps create space for heavy sub-bass.
  • Controlled automation keeps the track punchy and club-ready, while still sounding huge on headphones and systems.
  • ---

    2. What you will build

    A small stereo-motion toolkit you can drop into tracks:

  • Hat/percussion chain with tempo-synced auto-panning and delay sends automated for increasing width in breakdowns.
  • Pad/atmosphere Rack that morphs from narrow to wide via Macros (Auto-Pan, Grain Delay, Reverb).
  • A “stereo spread” Rack for synths and wobbles using split chains, short delay (Haas), and Frequency Shifter detune.
  • Master/Group automation workflow: send-automation, master-width automation via Utility, and M/S EQ automation to keep subs mono while widening highs.
  • Result: a 16–32-bar arrangement example that goes narrow → explode-wide for the drop → tighten for impact, with clear automation lanes ready to copy into your projects. 🥁🌪️

    ---

    3. Step-by-step walkthrough

    A. Prep: keep the sub solid (non-negotiable)

    1. On your bass/instrument group, place EQ Eight (stock).

    - Switch EQ Eight to Mid/Side mode (top-right menu).

    - On the Side channel, apply a high-pass at ~120 Hz (slope 12–24 dB/oct). This ensures only mids/sides above 120 Hz are widened.

    - On the Mid channel, leave the low-end untouched and optionally add a small boost around 60–120 Hz for body.

    2. Optional: place Utility after EQ Eight and set Width = 100% (default). We’ll automate this later on the group/master.

    Why: widening sub frequencies creates phase issues and weakens the low end. Keep sub mono.

    ---

    B. Hat/percussion chain (tight groove with motion)

    1. Use an audio or drum rack clip for hi-hats/ride/percs.

    2. Insert these devices (order matters):

    - EQ Eight: High-pass at 300–500 Hz (cleans mud).

    - Auto Pan (stock): Set Wave = Sine, Rate = 1/8 or 1/16 (tempo sync), Phase = 40–60%, Amount = 20–40%.

    - For rolling hats: try Rate = 1/16 dotted or 1/32 for subtle fast motion.

    - Utility: Width = 100% (automatable).

    - Send(s) to Return tracks (Delay and Reverb).

    3. Automation ideas:

    - Automate Auto Pan Amount: raise from 0% → 40% across a 4-bar riser or pre-drop to create increasing side motion.

    - Automate send send A (Ping Pong Delay) from 0 dB → -6 dB in the last 2 bars before the drop to create bouncing stereo tails.

    4. Ping Pong Delay (Return A) settings:

    - Delay Mode = Sync, Left = 1/16, Right = 1/16 dotted, Feedback = 20–35%, Dry/Wet = 20–30%, High cut ~6–8 kHz to avoid sibilance.

    Tip: use a high-pass on the return (EQ Eight on the Return) to remove low frequencies being delayed.

    ---

    C. Pad/Atmosphere Rack (Macro-controlled width)

    1. Create an Audio Effect Rack on your pad/atmo channel.

    2. Create 3 chains: Narrow, Wide1, Wide2.

    - Narrow chain: EQ Eight (HP 200 Hz), Utility Width = 90%, Reverb send low, Grain Delay off.

    - Wide1 chain: Auto Pan (Rate 1/8, Amount 30–50%, Phase 60%), Reverb (Decay 2–3s, High cut 6k), Utility Width = 130%.

    - Wide2 chain: Grain Delay (Mode: Sync, Spray 0–15%, Delay 3–10 ms left/right different), Reverb with larger Pre-Delay.

    3. Map Macro 1 to Chain Select (0–127) so Macro 1 morphs between Narrow → Wide1 → Wide2.

    4. Map Macro 2 to a global utility Width (or set Utility on the rack mapped to Macro 2).

    5. Automate Macro 1 in the arrangement: keep at 0 (Narrow) in intro, move towards 64 (Wide1) on pre-drop, and 127 (Wide2) for the drop build or breakdown.

    Settings example:

  • Grain Delay: Spray 7–10, Pitch 0, Grid 1/16 and choose random left/right offsets; Dry/Wet 25–35%.
  • Reverb (stock): Size 70–90%, Decay 2–3s, Low Cut ~400 Hz, High Cut ~6–8kHz; Dry/Wet 20–30% per chain.
  • Why use a Rack: you can automate one Macro to morph multiple parameters and chains, keeping lanes tidy and musical.

    ---

    D. Stereo spread Rack for synths/wobbles (Haas + detune)

    1. Create an Audio Effect Rack.

    2. Duplicate chain into two chains: L and R.

    - Chain L: Utility (Pan = -40), Delay (Simple Delay or Delay) — set Delay Left to 0 ms, Right to 8–12 ms (use Delay not Ping Pong; you’ll set different left-right).

    - Chain R: Utility (Pan = +40), Delay with Right/Left swapped; slight pitch offset with Frequency Shifter or Pitch (±0.5–3 cents).

    3. Map a Macro to the small pitch detune and to the delay time difference.

    4. Automate Macro to increase delay offset and detune during ride/fore statements.

    Haas settings (careful):

  • Use super-short delay (5–20 ms) to create spatial spread. For wobbles try 7–12 ms for subtlety. Longer creates echo and phase problems.
  • If you use Delay or Simple Delay: set feedback 0% and Dry/Wet 100% on chain, but ensure overall chain level is balanced.
  • Phase check: toggle Rack Macro off/on and listen in mono to ensure important elements remain audible. If they disappear, reduce delay or detune.

    ---

    E. Master/Bus automation (builds, drops, scene changes)

    1. Create a Group for drums & percussion and another for melodic elements.

    2. On the master or stem groups, use an Audio Effect Rack with:

    - Chain A: Clean (Utility Width 100%)

    - Chain B: Wide (Utility Width 140–160% + subtle Chorus or Frequency Shifter)

    - Map Chain Selector to a Macro.

    3. Automate the Macro to switch/stage width across the arrangement:

    - Intro (bars 1–16): Chain A (narrow)

    - Pre-drop (bars 17–24): blend towards Chain B (wider)

    - Drop hit (bar 25): instantly narrow to 100% for impact, then open back to 140% over 2 bars.

    4. Use a return track for Reverb/Delay and automate the return send levels (not just device Wet)—this is often more musical and easier to recall.

    - Example: Automate Send A to Ping-Pong Delay from -6 dB → -2 dB in last bar of pre-drop to add bouncing width.

    Utility on Master:

  • Automate Utility Width from 100 → 110–120% very subtly for “larger” drops. Be conservative: >140% on whole mix risks phase and mono compatibility. On stems, you can push higher because sub is dialed in as mono.
  • ---

    F. Workflow & Automation lanes

    1. Use a dedicated “Automation” track color/label to remind you which macros you automate.

    2. Right-click a device parameter (e.g., Auto Pan Amount) → Show Automation to create lanes. Keep automation lanes tidy: collapse envelopes you’re not editing.

    3. Use “Punch Automation” (draw ramps) to create smooth opening/closing width shapes; use breakpoints for stepped motion.

    4. Copy automation blocks between similar tracks (e.g., hats -> percussion) and vary the phase to create movement across the kit.

    ---

    G. Arrangement ideas for DnB / Jungle

  • Intro (8–16 bars): Narrow hats, sparse reverb tails. Keep bass mono.
  • Pre-drop roller (8 bars): automate hat Auto Pan Amount + increase send to Ping-Pong Delay; open pad Macro to wide.
  • Drop hit: enforce mono on kick & sub-bass (brief Utility Width = 100% on bass group) for maximum punch; widen melodic elements quickly after hit.
  • Breakdown (16 bars): Automate pad chain to Wide2 with long Grain Delay tails and slowly move Macro to morph across the section.
  • Fills/transition bars: automate extreme Auto Pan on small percussion and panning automation across multiple percussion tracks staggered by 1/16 to create rolling width.
  • ---

    4. Common mistakes

  • Widening the sub: automating Utility Width on full mix >120% or widening stems with sub content causes phase-cancellation and loses low end. Always HP the Side channel under ~120 Hz.
  • Overusing long Haas delays: delays >20 ms act like distinct echoes and can smear transients in fast DnB drums.
  • Applying wide reverb to everything: washes out clarity. Use high-cut filters on returns and pre-delay to keep transient punch.
  • Forgetting mono-checks: always check in Mono periodically. If elements disappear or get thin, dial back the stereo trick.
  • Too many independent automations: map common parameters to Macros and automate the macro to avoid automating multiple devices separately.
  • Neglecting CPU: Grain Delay + long reverbs on multiple tracks kills CPU; use resampling/printing if frozen.
  • ---

    5. Pro tips for darker/heavier DnB

  • Keep the low-end iron-tight: place Utility (Width 100%) on bass groups during drops, and use M/S EQ Eight to carve space for the kick/sub.
  • Stereo motion in highs only: automate Utility Width on an aux/high-band split. Use Multiband Dynamics or EQ Eight in M/S to target only 300 Hz+ for widening.
  • Use subtle distortion on side-channels: duplicate bass chain, apply light drive only to the Side chain (via M/S processing), then apply subtle pitch detune for grit without affecting the mono low end.
  • Use Frequency Shifter subtly: apply ±2–10 Hz shifts on one side to create sense of movement without clear pitch variation. Map to a Macro and automate for build intensity.
  • Automate reverb pre-delay and dry/wet: increasing pre-delay slightly during build keeps transients clear but makes reverb tails feel “big” — perfect for scary breakdowns.
  • Use short, modulated Grain Delay on vocals and nicked samples to create metallic wide textures that cut through heavy mixes.
  • Parallel processing: route a duplicate stem to an FX bus with heavier stereo spread, distortion, and reverb; automate the send so the heavy processing only appears in breaks or peaks.
  • ---

    6. Mini practice exercise (20–40 minutes) 🎯

    Goal: Create a 16-bar loop that goes narrow → wide in pre-drop → tight drop with quick widening after the hit.

    Steps:

    1. Make a simple DnB drum loop (kick + snare + hats) and a rolling sub bass.

    2. On hats:

    - Place Auto Pan (1/16), Amount 25%, Phase 50%.

    - Create a return with Ping Pong Delay (1/16 left, 1/16 dotted right, Feedback 25%).

    - Automate Auto Pan Amount from 0% (bars 1–8) to 40% (bars 9–12), then back to 10% on the drop bar.

    3. On a pad:

    - Build an Audio Effect Rack with Narrow/Wide chains (as above).

    - Map Chain Select to Macro 1.

    - Automate Macro 1: 0 (bars 1–8), 127 (bars 9–12), 64 (drop onwards).

    4. On the bass group:

    - Insert EQ Eight in M/S mode and HP the Side channel at 120 Hz.

    - Insert Utility after EQ and automate Width: 100% on the drop bar (instant), then 110% after 2 bars.

    5. Arrange 16 bars: Intro 8 bars (narrow), Pre-drop 4 bars (automations rising), Drop 4 bars (mono bass hit then open elements).

    Deliverable: Play the loop back and toggle Mono on the master. Adjust until transients remain strong in mono at the drop hit.

    ---

    7. Recap

  • Keep sub frequencies mono (EQ Eight in M/S + Utility).
  • Use Auto Pan, Grain Delay, Ping Pong Delay, Frequency Shifter, and short Haas delays to craft movement — but automate thoughtfully.
  • Use Audio Effect Racks + Macros to morph multiple parameters with single automation lanes.
  • Automate send levels to delay/reverb returns rather than wet/dry when you want natural tails and stereo bounce.
  • Always check in mono and on multiple playback systems; DnB demands punchy, club-ready low end.

Now go make the mix spin and the rollers breathe — automate with intention, and let the stereo motion push your next drop into the room. Need a project file walkthrough or a preset Rack I use? I can share a downloadable Rack and example Ableton set next. 🚀

Ask GPT about this lesson

Chat with the lesson tutor, get follow-up help, or use quick actions.

Bigup 👽 Ask me anything about this lesson and I’ll answer in context.

Narration script

Show spoken script
Hey — welcome. This lesson is called Automation for Stereo Motion, intermediate level, focused for drum and bass. I’ll walk you through practical Ableton device chains, exact settings, rack builds, and arrangement moves so your tracks breathe wide without losing the low-end punch. Keep your ears ready: we’ll move from mono-tight sub to wide, cinematic highs, and back again — all with controllable automation.

First, what you’ll learn and why it matters. You’ll learn how to automate stereo movement on individual elements like hats, percussion, pads and vocals, and how to control width at the bus or master level. You’ll build racks that morph between narrow and wide states, keep the sub locked in mono, and use automation to make pre-drops explode and drops land hard. For drum and bass, stereo motion adds excitement to fast grooves and creates space for heavy sub-bass. Controlled automation keeps things punchy for clubs but huge on headphones.

Let’s start with a non-negotiable prep step: keep the low end solid. On your bass or instrument group, insert EQ Eight and switch it to Mid/Side mode. On the Side, put a high-pass at around one-twenty hertz with a 12 to 24 dB per octave slope. That keeps anything under one-twenty mono. On the Mid channel, leave the low end alone or add a small boost around sixty to one-twenty for body. Optionally place a Utility after the EQ and keep Width at one hundred percent. We’ll automate that Utility later. Remember: widening sub frequencies creates phase issues — don’t do it.

Now we’ll build the hat and percussion chain: tight groove with motion. Use a Drum Rack or audio clip for hats and percs. Insert EQ Eight and high-pass around three-hundred to five-hundred hertz to clean mud. After that put Auto Pan. Set the Wave to Sine, Rate to one over eight or one over sixteen synced to tempo, Phase around forty to sixty percent, and Amount between twenty and forty percent. For rolling hats, try one over sixteen dotted or one over thirty-two for subtle fast motion. Add a Utility with Width at one hundred percent, and send to return tracks for Delay and Reverb.

Automation ideas here: automate the Auto Pan Amount from zero to about forty percent across a four-bar riser to create increasing side motion. Also automate send A, your Ping-Pong Delay send, from zero dB to minus six dB in the last two bars before the drop so you get bouncing stereo tails. On the Ping-Pong Delay return, use sync mode with left at one-sixteenth, right at one-sixteenth dotted, feedback around twenty to thirty-five percent, dry/wet around twenty to thirty percent, and a high cut near six to eight kilohertz to avoid sibilance. Always throw a high-pass on the return to remove low frequencies being delayed.

Next up: a Pad and Atmosphere Rack controlled by Macros so you can morph from narrow to wide. Create an Audio Effect Rack with three chains called Narrow, Wide One, and Wide Two. Narrow chain: EQ Eight with a high-pass at two-hundred hertz, Utility Width around ninety percent, light Reverb sends, Grain Delay off. Wide One chain: Auto Pan set to one over eight, Amount thirty to fifty percent, Phase sixty percent; Reverb with two to three second decay and a high cut around six kilohertz; Utility Width about one hundred thirty percent. Wide Two chain: Grain Delay in sync mode, Spray seven to ten, left/right delay three to ten milliseconds different, Dry/Wet around twenty-five to thirty-five percent, and a larger Reverb with longer pre-delay.

Map Macro One to Chain Select from zero to one hundred twenty-seven so the Macro morphs from Narrow to Wide One to Wide Two. Map Macro Two to the rack Utility Width so you can globally nudge width. Automate Macro One in the arrangement: keep it at zero in the intro, move it to around sixty-four in the pre-drop, and one-hundred twenty-seven for dramatic breakdown width. Grain Delay settings that work: spray around seven to ten, pitch zero, grid at one-sixteenth, and random left/right offsets. Reverb: size seventy to ninety percent, decay two to three seconds, low cut around four-hundred hertz, high cut six to eight kilohertz, dry/wet twenty to thirty percent per chain. The advantage here is you automate one Macro and multiple parameters change musically.

For synths and wobbles we’ll make a Stereo Spread Rack using a Haas-style trick plus tiny detune. Create an Audio Effect Rack, duplicate the chain into L and R. On the left chain pan about minus forty, and put a delay where the left delay is zero milliseconds and the right delay is eight to twelve milliseconds. On the right chain do the opposite. Add a tiny Frequency Shifter or pitch device on one chain with a detune of roughly plus or minus zero point five to three cents. Map one Macro to the pitch detune and to the delay-time difference, and automate that Macro to increase offset during rides or highlighted phrases.

A note on Haas: keep delays super short — five to twenty milliseconds. For wobbles, seven to twelve ms is subtle and safer. Anything longer becomes an echo and can smear transients and cause phase issues. Always check in mono: toggle the Macro and listen. If important elements disappear in mono, reduce delay or detune.

Now master and group automation so your arrangement breathes. Create a group for drums, another for melodic elements, and on each put an Audio Effect Rack with two chains: Clean with Utility Width one hundred, and Wide with Utility Width one hundred forty to one hundred sixty percent plus a subtle Chorus or Frequency Shifter. Map Chain Selector to a Macro. Automate that Macro to place your sections: narrow in the intro, blend toward wide in the pre-drop, snap to narrow for the drop hit for maximum impact, then open back to wide over two bars. That quick narrowing before a drop increases perceived punch.

For returns and sends: automate return send levels, not just device Wet knobs. Automating send gain sounds more natural and is easier to recall. Example: automate Send A to Ping-Pong Delay from minus six to minus two dB in the last bar of the pre-drop. On the Master, you can very subtly automate Utility Width from one hundred to one hundred ten or one hundred twenty percent for larger drops, but be conservative — pushing the whole mix above one hundred forty percent risks phase problems. On stems you can push harder because you’ve already locked the subs to mono.

Workflow tips for automation lanes: color an “Automation” group in your project so it’s obvious which macros you’ll automate. Right-click the parameter and choose Show Automation to create lanes. Keep lanes tidy and collapse envelopes you’re not editing. Use curved ramps, not naive linear jumps — S-curves and eased ramps sound more musical. Draw ramps with the pen tool and apply the curve modifier if you want a natural-sounding open or close. Use copy-and-paste between similar tracks, then vary the phase to create movement across the kit.

Quick arrangement ideas specific to DnB: keep the intro narrow for eight to sixteen bars with sparse tails. For an eight-bar pre-drop roller, automate hat Auto Pan Amount and increase the delay send. On the drop, enforce mono on kick and sub with a Utility Width of one hundred percent for the hit, then widen melodic elements quickly after the hit. For a long breakdown, morph pad chains into Wide Two and let Grain Delay tails evolve slowly. For fills, automate short extreme Auto Pan bursts on small percussion and stagger panning by a sixteenth for rolling width.

Common mistakes to avoid: widening the sub. If you automate Utility Width on the full mix above one hundred twenty percent or widen stems containing sub content, you’ll cause phase cancellation and lose low end. Overusing long Haas delays: anything over twenty milliseconds is likely to act as an echo and smear drums. Throw high-cuts on reverbs and use pre-delay to keep transient clarity. Always check in mono — if an element disappears or gets thin, pull back intensity, move the effect up in frequency, or render it to audio and fix it that way. Keep automations consolidated into Macros to avoid a thousand tiny lanes, and watch CPU when you use many Grain Delays and long reverbs; freeze or resample when necessary.

Some pro tips for darker, heavier DnB: keep the low end iron-tight and use an M/S EQ to carve space for kick and sub. Use stereo motion only in highs by splitting an aux into a high bus above about three hundred hertz and applying heavy stereo processing there. Try subtle side-only saturation: duplicate the bass chain, route only the Side content through a light drive and a tiny detune, then blend back in. Frequency Shifter is great for micro-motion — try shifts of two to ten hertz on one side and map that to a Macro for builds. Automate reverb pre-delay during builds: longer pre-delay keeps transients clear but makes tails feel huge — good for scary breakdowns. For vocals, short modulated Grain Delay creates metallic textures that cut through heavy mixes.

A quick coach note: always listen with intent. Pick two reference points while you automate — one for impact, which is how the drop hits in mono, and one for space, which is how the wide parts breathe on headphones. A/B constantly. Shape curves, don’t just jump. Preserve transients: if widening blunts the attack, use parallel routing or a transient shaper before the stereo processing to bring the attack back. Keep gain staging healthy: widening raises perceived loudness, so use gain compensation after width moves so your drop hit doesn’t suddenly change loudness. Do mono checks throughout, not just at the end.

A few advanced variations if you want to experiment: build a frequency-split widening bus with a LowBus and HighBus and apply heavy stereo processing only on the HighBus. Do side-dynamics ducking by extracting the Side channel, compressing it keyed by the kick, so the wide material breathes around the beat. Use a rhythmic Chain-Selector LFO on a multi-chain rack to get per-step stereo changes on hats — sync to one-sixteenth or one-thirty-second. Or try per-band Haas by splitting into low, mid, and high bands and applying different millisecond offsets for each band to maintain low solidity and sparkle up top.

Sound design extras: once you dial a sweet stereo morph, resample it to audio and chop or pitch it to make new textures that are stable in the mix. Extract Side content, add soft saturation of one to three dB, and blend back for perceived width and air without muddying the center. For granular textures, resample a pad, throw Grain Delay on it, freeze, resample again, then slice into Simpler — you get ready-made wide stabs. Micro-modulate Grain Delay Spray with a tiny LFO so the grains evolve slowly and keep long breakdowns interesting.

Mini practice exercise — set a 20 to 40 minute timer and do this:
Make a simple DnB 16-bar loop: kick, snare, hats, rolling sub. On the hats, place Auto Pan at one-sixteenth with Amount twenty-five percent and Phase fifty percent. Create a Ping-Pong Delay return with left at one-sixteenth and right at one-sixteenth dotted and Feedback twenty-five percent. Automate Auto Pan Amount from zero in bars one to eight up to forty percent in bars nine to twelve and back to ten percent on the drop bar. On a pad, build the Narrow/Wide rack and map Chain Select to Macro One. Automate Macro One from zero to one-hundred twenty-seven across the pre-drop. On the bass group, set EQ Eight to M/S and high-pass the Sides at one-twenty hertz, then put Utility after it and automate Width to one hundred percent for the drop bar and one hundred ten percent two bars later. Arrange intro for eight bars narrow, pre-drop four bars rising, drop four bars mono-hit then open. When you play it back, toggle Mono on the master and make sure the transients and low end remain strong at the drop.

Homework challenge for the ambitious: build a 32-bar sketch — eight bars narrow intro, eight bars increasing motion, eight bars drop tightened for impact, eight bars wide breakdown. Technical rules: frequencies below one-hundred twenty hertz must be centered at all times. Use at least two distinct stereo techniques, include a short mono cut right before the drop, and export stereo and mono masters plus a stem labeled WideElements. Timebox ninety minutes, and when you’re done, send the exports and I’ll give three actionable fixes.

Before I wrap up, final practical reminders. Use Macros and Chain Select to keep automation lanes tidy and musical. Automate sends rather than wet knobs for natural tails. Use S-curves for opens and closes. Perform frequent mono checks. If something collapses, either reduce delay, push the width up in frequency, or resample and manually fix the result. And always keep the sub locked in place with M/S EQ Eight and a Utility.

That’s it — go make your mix spin and your rollers breathe. Automate with intention. If you want, I can share an example Ableton Rack and a small project file so you can load these chains and start tweaking immediately. Send me a message and I’ll attach the rack and a demo set. Let’s hear the results.

mickeybeam

Go to drumbasscd.com for +100 drum and bass YouTube channels all in one place - tune in!

Generating PDF preview…