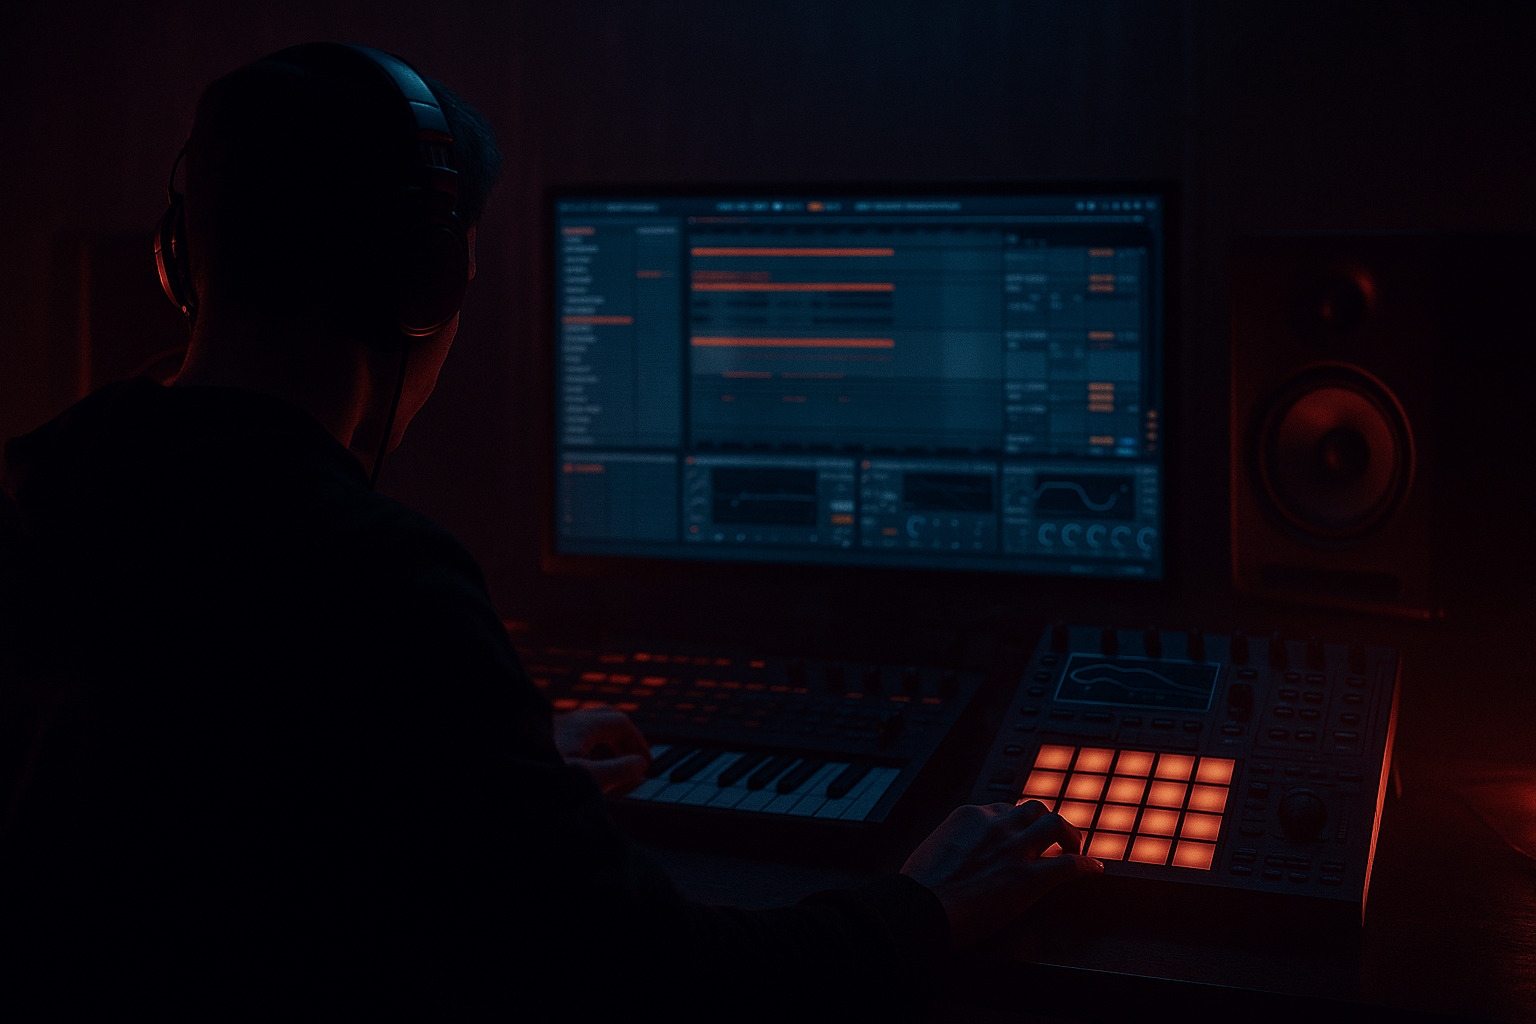
Main tutorial
```markdown
Automation Lane Cleanup from Scratch (Stock Ableton Only) — DnB Edition 🥁⚡️
1) Lesson overview
In drum & bass, automation is where the “lift” lives: filter sweeps into drops, bass movement, drum tension, FX throws, and micro-edits that make a loop feel alive.
But advanced sessions often end up with 30–100 automation lanes that are messy, conflicting, and hard to debug.
This lesson shows a from-scratch, systematic workflow to clean up automation lanes in Ableton Live using only stock devices and tools—with examples rooted in rolling DnB / jungle / darker neuro-ish energy. You’ll end up with:
- Cleaner, more readable lanes
- Fewer automation conflicts
- Automation grouped into “macros” you can tweak fast
- A reliable structure for drops, fills, and transitions
- “Automation Hub” return tracks for shared movement (reverb/delay throws)
- Macro-based control using Audio Effect Rack / Instrument Rack
- A single-lane approach where possible (macro lane > 8 separate lanes)
- A tidy arrangement workflow:
- Drum bus drive / transient punch automation
- Bass filter / FM amount / distortion movement automation
- FX throw automation without lane chaos
- Mute/clip gain problems that cause “why is this not hitting?” moments
- Clip envelopes (in Session or Arrangement)
- Modulation vs automation
- Multiple lanes on the same parameter
- Automation written on the track AND inside a rack device parameter
- Auto Filter Frequency
- Auto Filter Resonance
- Saturator Drive
- Utility Gain
- Compressor Threshold
- Macro 1: “Bass LP Sweep” → Auto Filter Frequency (set sensible min/max)
- Macro 2: “Bite” → Saturator Drive (e.g., `3–9 dB`)
- Macro 3: “Air Kill” → Utility Gain or Auto Filter Frequency upper range for builds
- Macro 4: “Crunch” → Redux Downsample (subtle range)
- Build: gradually raise “Bass LP Sweep” from `~200 Hz → 8 kHz`
- Drop: snap it back down to `~1–3 kHz` so the bass is heavy but controlled
- Add micro ramps every 2 bars for rolling phrasing
- Reverb:
- EQ Three after Reverb:
- Optional: Saturator (light) to thicken
- Echo:
- Utility after Echo to manage return level
- Instead of automating “Reverb Dry/Wet” on 12 tracks, automate:
- Drum Buss
- Glue Compressor
- EQ Eight
- Utility (gain trim)
- Drum Buss Drive (or Drum Buss “Amount”)
- Glue Threshold (subtle for builds)
- Utility Gain (if you need drop impact control)
- Build: slowly increase Glue compression (lower threshold slightly)
- Drop: release it (less compression) so drums punch harder
- Use clip editing (split + delete) for hard silences
- Use Utility Gain automation for controlled fades
- Avoid automating track volume constantly unless it’s a deliberate mix move
- Cut the drum clips for 1 beat
- Let only a reverb tail/impact remain
- Automating track volume for everything → hard to mix later, hard to debug.
- Conflicting sources (clip envelope + arrangement automation + macro) → unpredictable results.
- Too many nodes → you can’t read your own intentions.
- Automating device on/off rapidly → clicks/pops; use Utility fades or crossfades instead.
- Over-automating sub bass filters → weak drops. Keep sub stable; automate harmonics instead.
- Automate distortion in parallel, not in series:
- Use Auto Filter MS2 resonance automation for nasty mid growl movement—but keep resonance under control (avoid whistling peaks).
- For tension: automate high-pass on returns (Reverb/Echo HP rising in builds). Keeps it dark but lifts energy.
- For neuro-ish punch: micro-automate Saturator Drive on bass every 1/2 bar with tiny moves (like +0.5 to +1.5 dB). Subtle = massive.
- Use Utility Width automation on atmos/FX only:
- Choose one source of truth for automation (usually Arrangement for arrangement moves).
- Rack + Macros turn 8 lanes into 1–2 lanes with clearer intent.
- Use Returns for throws and bus automation for drums to avoid lane sprawl.
- Clean shapes: fewer points, curved ramps, musical grids.
- For heavy DnB: keep subs stable, automate harmonics, and commit via resampling when needed.
---
2) What you will build
You’ll take a typical DnB project (drums + bass + atmos + FX) and build a clean automation architecture:
- Intro (16) → Build (16) → Drop (32) → Break (16) → Drop 2 (32)
We’ll specifically clean up:
---
3) Step-by-step walkthrough
Step 0 — Pre-flight: set up your session for automation clarity ✅
1. Set a DnB tempo: `172–176 BPM` (use 174 as baseline).
2. In Arrangement View:
- Turn on Automation Mode (`A`).
- Turn on Fixed Grid and set to `1/8` or `1/16` for most DnB moves.
3. Create locators for structure:
- `Intro 1–17`, `Build 17–33`, `Drop 33–65`, `Break 65–81`, `Drop2 81–113`
Why: Automation cleanup gets 10x easier when musical sections are clearly labeled.
---
Step 1 — Identify and eliminate hidden conflicts (the #1 cause of “broken” automation)
DnB projects often have automation fighting between:
Checklist:
1. Check if any clips contain automation (Clip View → Envelopes).
- If you’re using Arrangement workflow, consider moving clip envelopes into Arrangement automation for global visibility.
2. Right-click the parameter you’re automating (e.g., Auto Filter Frequency):
- If you see “Re-Enable Automation” lit up at top, you’ve overridden it.
- Click Re-Enable Automation to restore.
3. Find duplicates fast:
- Click the device parameter, then use `Show Automation in New Lane`.
- If you see multiple lanes for the same parameter, you likely have overlapping edits.
Cleanup action: Pick one “source of truth” per parameter. In DnB, I recommend Arrangement automation for arrangement moves, and LFO/modulation devices for internal movement.
---
Step 2 — Convert messy parameter automation into a single Macro lane (Rack strategy) 🎛️
If you have automation lanes like:
…you can often reduce this to 1–3 macro lanes.
#### Example: Bass “Movement Macro” (Stock only)
On your bass channel (Wavetable / Operator / Sampler / external resample), create this chain:
Audio Effect Rack (Cmd/Ctrl+G) with:
1. Auto Filter
- Type: `LP24` (or `MS2` for nasty resonance)
- Drive: `0–20%` (MS2 can go hard)
2. Saturator
- Mode: `Analog Clip`
- Drive: `3–8 dB` (DnB sweet zone)
- Soft Clip: `On`
3. Redux (optional for grit)
- Downsample: `2–8` (tasteful; automate lightly)
4. Utility
- Bass Mono: `On` (keep subs solid)
- Gain: `0 dB` baseline
Map these to Macros:
- Min: `80–120 Hz` (don’t choke sub unless you mean it)
- Max: `6–12 kHz`
Now, instead of 5+ lanes, you automate Macro 1–2 for most arrangement movement.
DnB arrangement idea:
---
Step 3 — Clean automation shapes: reduce points, keep intention ✂️
Advanced cleanup is about removing unnecessary nodes and making curves readable.
1. Click an automation lane.
2. Box-select messy clusters of points and hit `Delete`.
3. Rebuild with fewer anchor points:
- For DnB, aim for 2–6 points per phrase unless you’re doing glitch detail.
4. Use curved automation:
- Hold `Alt` (Windows) / `Option` (Mac) while dragging a segment to curve it.
- Great for risers, filter sweeps, and tension ramps.
DnB tip:
For builds, use an exponential curve (slow then fast). For drops, use fast then settle (quick snap then slight glide).
---
Step 4 — Replace “too many lanes” with shared movement via Return tracks 🌫️➡️
DnB mixes get messy when every track has its own reverb/delay automation. Clean this up with Return throws.
#### Build two key Returns:
Return A — “Dark Verb”
- Size: `35–60%`
- Decay Time: `2.5–5.5 s`
- Predelay: `10–25 ms`
- Low Cut: `200–400 Hz` (keep low-end clean)
- Cut Low if it builds mud
Return B — “Ping Throw”
- Time: `1/8 D` or `1/4`
- Feedback: `25–45%`
- Filter: HP around `250–500 Hz`, LP around `5–8 kHz`
Automation cleanup strategy:
- Each track’s Send A/B (simple)
- Or even better: automate one group send (Drum Group send, Vocal/FX group send)
DnB move:
On the last snare before the drop, automate Send B (Echo) from `-inf → -6 dB` for just that hit, then back down immediately. Clean lane, huge impact 💥
---
Step 5 — Group tracks and automate at the bus level (Drum Bus discipline) 🧱
When your drums are layered (breaks, tops, rides, ghost snares), automate the Drum Group instead of 10 child tracks.
Create Drum Group chain:
- Drive: `5–20%`
- Crunch: `0–20%` (use sparingly)
- Boom: `0–15%` tuned to `~50–60 Hz` only if it helps
- Attack: `10 ms`
- Release: `Auto` (or `0.1–0.3 s`)
- Ratio: `2:1`
- GR: aim `1–3 dB` on loudest sections
- HP: `25–35 Hz`
- Optional small dip `200–400 Hz` if boxy
Automation lanes to keep (minimal but powerful):
DnB arrangement idea:
---
Step 6 — Tidy “mutes” and create clean drop-outs
Messy automation often comes from volume curves used as mutes.
Best practice:
DnB fill trick:
In bar 31–32 (pre-drop), do a 1-beat drum mute:
This avoids drawing complicated volume automation and looks clean.
---
Step 7 — Standardize automation naming and visibility (so future-you wins) 🧠
Ableton can get visually overwhelming fast.
Workflow:
1. Color-code groups:
- Drums: warm color
- Bass: dark green/blue
- FX/Atmos: purple/grey
2. Rename key macro lanes:
- `BASS - Sweep`
- `BASS - Bite`
- `DRUM BUS - Drive`
- `FX - Throw`
3. Keep automation lanes collapsed unless you’re editing them.
4. Use one “featured automation” per section:
- Example: Build focuses on Bass Sweep + FX Throw
- Drop focuses on Drum Bus Drive + Bass Bite micro-moves
---
Step 8 — Resample to commit and reduce automation overload (stock-friendly) 🎚️
If a bass has 15 lanes of motion, consider printing it.
Resampling workflow:
1. Create a new Audio track: `BASS PRINT`
2. Set input to `Resampling`
3. Solo bass group, record 8–16 bars
4. Now you can:
- Disable the heavy synth chain
- Keep only a few automation lanes on the printed audio (filter, volume, FX sends)
DnB advantage: You can do clean audio stutters and reverse tails without re-opening 20 automation lanes.
---
4) Common mistakes
---
5) Pro tips for darker/heavier DnB 🖤
- Create an Audio Effect Rack with two chains:
- Clean chain: EQ/Utility
- Dirty chain: Saturator → Amp → EQ Eight (HP at 150–250)
- Macro-map chain volumes to a single “Dirt Blend” automation lane.
- Build: widen (`120–160%`)
- Drop: narrow (`80–110%`) so the center hits harder
---
6) Mini practice exercise (15–25 minutes) 🧪
Goal: Reduce a messy DnB drop section to 5 automation lanes total while keeping the same musical impact.
1. Pick an 16-bar drop with lots of automation.
2. Create:
- Drum Group bus chain (Drum Buss + Glue + EQ + Utility)
- Bass Rack with 2 macros: `Sweep` + `Bite`
- Return A (Dark Verb) + Return B (Ping Throw)
3. Delete or disable all automation except:
- Drum Bus Drive
- Drum Bus Glue Threshold (optional)
- Bass Sweep macro
- Bass Bite macro
- One Send automation lane (group send or key track send)
4. Rebuild the section using clean curves:
- Build into drop: Sweep rises + Send throw on last snare
- Drop: Bite pulses every 2 bars + Drum Drive bumps on bar 1 and bar 9
Pass condition: You can understand the entire movement by looking at lanes for 10 seconds.
---
7) Recap
If you want, paste a screenshot of your Arrangement View automation mess (or describe your track groups), and I’ll suggest a specific macro map + return structure tailored to your project.
```

