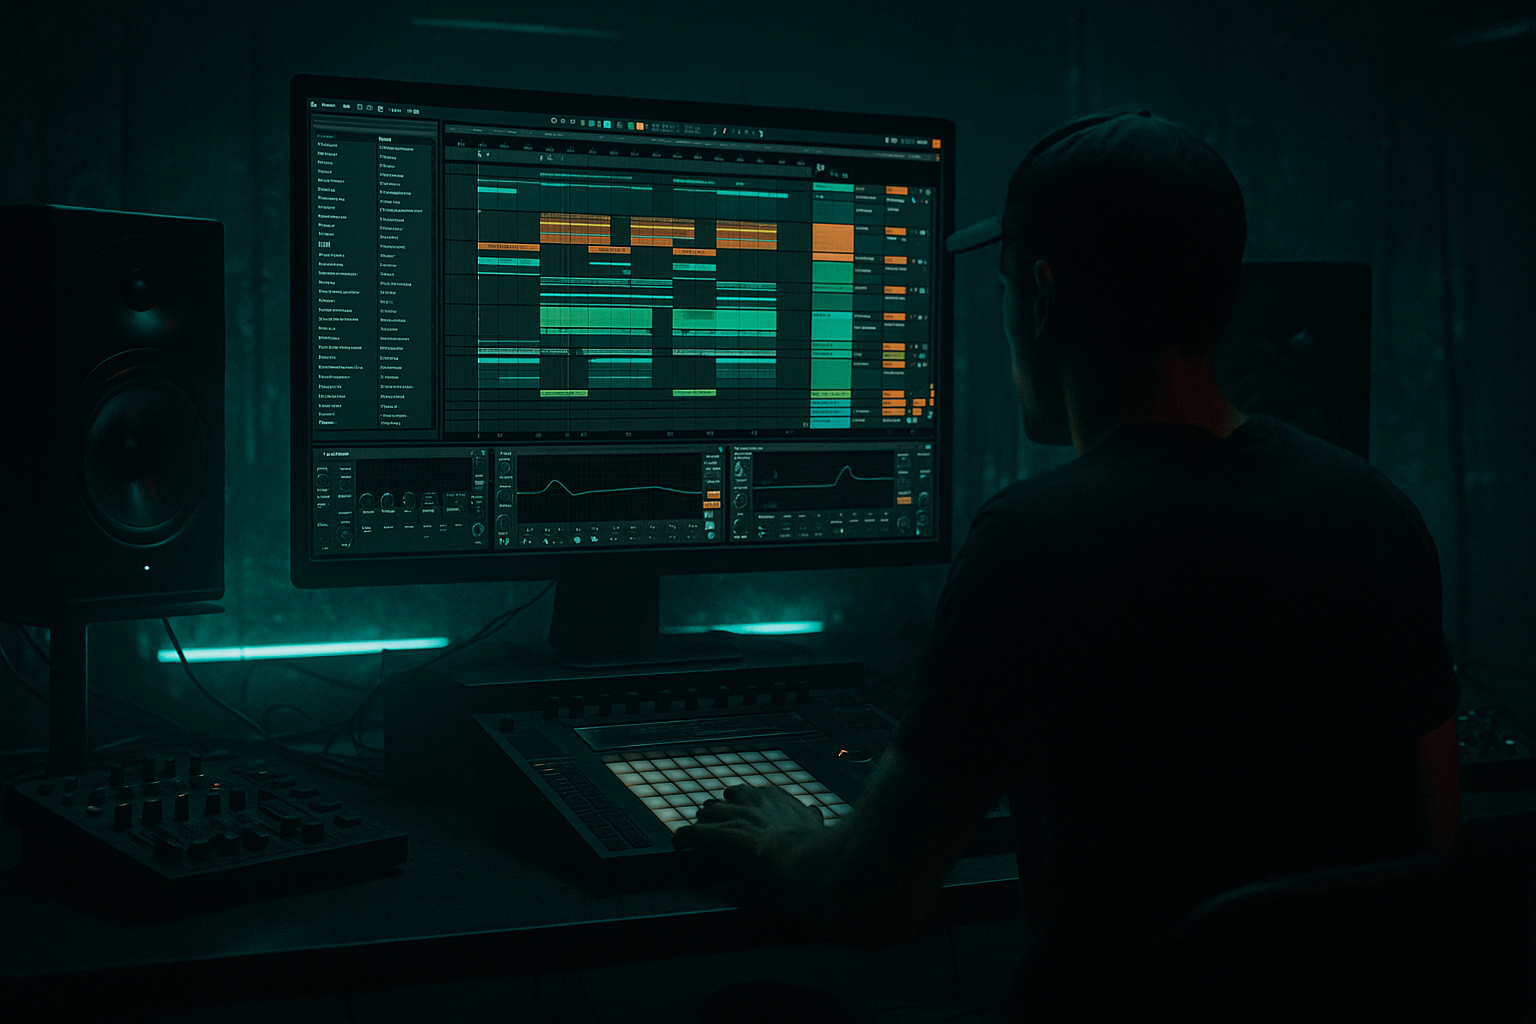
Main tutorial
```markdown
B‑Section Contrast Writing (From Scratch) with Clean Routing — Drum & Bass in Ableton Live 🥁⚡
1. Lesson overview
In drum & bass, a strong A section (main drop idea) is only half the story. The B section is where you refresh the listener’s brain while keeping the track undeniably “the same tune.”
This lesson walks you through writing a contrasting B section from scratch in Ableton Live, with clean routing that scales to a full production: drum groups, bass buses, FX returns, sidechain, and arrangement workflow.
You’ll learn:
- How to design B‑section contrast without killing momentum
- A routing template that keeps mixing fast and tidy
- Practical DnB arrangement moves (8/16/32 bar thinking)
- Device chains using mostly stock Ableton tools ✅
- A working A → B section (e.g., 32 bars A + 32 bars B) in a rolling DnB style
- Clean routing:
- A B section that contrasts via:
- Inside DRUMS group: your kick, snare, hats, break, percussion.
- On the DRUMS group channel, add:
- Inside BASS group: separate SUB and MID tracks (or racks).
- On BASS group channel:
- Create a Ghost Kick MIDI track (no audio to master):
- Use this Ghost Kick as the sidechain input for:
- Kick: 2-step DnB feel (typical: on 1 and the “and” of 3)
- Snare/Clap: on 2 and 4
- Add a break layer (classic jungle energy) but tucked under.
- Track 1: Punchy kick (one-shot)
- Track 2: Snare (one-shot)
- Track 3: Closed hat 1/16 with small velocity groove
- Track 4: Shuffled percussion loop (low in mix)
- Track 5: Break slice (HP filtered)
- EQ Eight: HP at 140–220 Hz
- Auto Filter: tiny movement at 8–12% LFO amount for life
- SUB: simple pattern locking with kick gaps
- MID bass: “Reese-ish” or growl layer
- Keep the sub pattern recognizable
- Change the mid bass rhythm + drum top loop
- Label:
- Make B section 16 or 32 bars.
- A1 (16) + A2 (16) then B1 (16) + B2 (16)
- Auto Pan (used as tremolo) on a hat bus:
- Convert your continuous reese to short stabs
- Leave space for drums/FX
- Add Delay sends for the gaps (PingDelay return)
- If A is syncopated, make B more straight (or vice versa)
- Use fewer notes, stronger accents
- A: mid focused 200–800 Hz
- B: move tonal emphasis to 800 Hz–2.5 kHz (brighter/snarlier) while keeping low end consistent
- Hybrid Reverb (or Reverb)
- EQ Eight after reverb:
- Delay (or Echo)
- Add Utility after delay to reduce width if it gets messy
- Drum Buss
- Glue Compressor
- Blend using Send amounts (start tiny: –20 to –12 dB send equivalent)
- Add a noise sweep (Operator noise or sample) that rises into bar 1 of B
- Add reverb throws on the last snare of every 4/8 bars
- Use Filter automation on a pad/atmos track:
- Same core drum identity: snare tone still feels like the track
- Sub is consistent: sub notes feel related (same motif or rhythm family)
- B has a headline change: you can name what changed (e.g., “stab bass + rides”)
- “Oh nice, new angle”
- “Wait, what track is this?”
- Add a 1-bar drum fill:
- Remove the kick for 1/2 bar (classic tension)
- Add a tape-stop style moment (subtle) using Pitch automation on a resampled drum hit
- Reintroduce the A signature element:
- Use silence as aggression: In B, try deliberate gaps in the mid bass while the drums keep rolling.
- Distortion staging: Instead of one huge distortion, stack:
- Top-end control: Heavy tunes often die from harsh 6–10 kHz buildup. Use:
- Rumble management: If your kick/bass relationship gets nasty, try:
- Parallel drum smash is your friend: Send snare + break more than the kick to keep low end clean but drums angry.
- A great B section in DnB is contrast + continuity: keep an anchor (snare/sub/hook), change a few big levers (drum density, bass rhythm/tone, space).
- Clean routing makes composition decisions fast: groups + returns + ghost kick sidechain = control and clarity.
- Build B in passes: arrangement markers → drum contrast → bass rewrite → atmosphere/FX → transitions.
- Use stock Ableton devices confidently: EQ Eight, Glue Compressor, Saturator, Drum Buss, Hybrid Reverb, Delay/Echo, Auto Filter, Utility.
---
2. What you will build
By the end you’ll have:
- Drum Group → Drum Bus
- Bass Group → Bass Bus
- Music/Synth Group → Music Bus
- Master Pre‑FX (utility/limiting staging)
- Return tracks for Reverb, Delay, and Parallel Drum Smash
- Drum density & fill logic
- Bass movement & mid/low focus shift
- Atmosphere and FX
- Harmonic/melodic variation (without writing a new song)
---
3. Step-by-step walkthrough
Step 0 — Project setup (fast and DnB‑friendly)
1. Tempo: set 172–176 BPM (pick 174 BPM if unsure).
2. Warp mode: leave default, but for any sampled breaks later, you’ll likely use Beats or Complex Pro depending on content.
3. Create Groups (Cmd/Ctrl+G):
- DRUMS
- BASS
- MUSIC
- FX
4. Create Return tracks (Sends):
- A: ShortVerb
- B: PingDelay
- C: DrumSmash (parallel)
Why: You’ll write faster when your sound sources route predictably, and you can “turn the B section” with 3–4 faders instead of 40 track edits. 🎛️
---
Step 1 — Clean routing template (do this before writing the B)
#### 1) Drum bus routing
1. EQ Eight
- HP filter: 30 Hz (24 dB/oct)
- Small dip if boxy: 250–400 Hz (–2 to –4 dB, Q ~1.2)
2. Glue Compressor (gentle)
- Attack: 10 ms
- Release: Auto
- Ratio: 2:1
- Aim: 1–2 dB gain reduction on peaks
3. Saturator (soft glue)
- Mode: Soft Sine
- Drive: 1–3 dB
- Soft Clip: On
#### 2) Bass bus routing
1. Utility
- Bass mono: Width 0% below 120 Hz (use Utility’s Bass Mono if available; otherwise keep sub track mono)
2. EQ Eight
- Ensure sub is clean; avoid mud in 200–350 Hz if needed
3. (Optional) Glue Compressor for control
- Attack 3 ms, Release Auto, Ratio 2:1, 1–2 dB GR
#### 3) Sidechain “control signal” (clean method)
- Load Drum Rack with a tight kick sample or Operator click.
- Route Audio To: Sends Only (or set output to “No Output” depending on your Live version/routing preference).
- Bass (sub + mid)
- Reverb return (optional for clarity)
Ableton stock device: Compressor with Sidechain enabled is perfect here.
---
Step 2 — Build a solid A section (quick scaffold)
You can’t write a B section without a clear A. Keep it simple but definitive.
#### Drums (A section)
Practical drum layer idea:
On break track:
#### Bass (A section)
- Instrument: Operator
- Osc: Sine
- Amp envelope: short-ish release (but not clicky)
- Add Saturator (Drive 2 dB) if needed to translate
- Instrument: Wavetable (or Operator + noise)
- Use Unison lightly, keep it controlled
- Automate a filter a bit in A to establish motion
Key goal: A section should feel like the “home base.”
---
Step 3 — Decide your B‑section contrast strategy (choose 2–3 levers)
B sections work best when you change a few big things rather than everything.
Pick 2–3:
1. Drum density: half-time hats, remove break, add ride, switch ghost notes
2. Bass role swap: sub stays similar, mid changes rhythm or tone (or vice versa)
3. Harmonic shift: same key, different chord tone emphasis (e.g., move from i to ♭VI feel)
4. Space/atmos: wetter, darker, more negative space
5. Call & response: A = continuous phrase, B = punctuated phrases with gaps
For rolling DnB, a reliable move is:
---
Step 4 — Write the B section (from scratch) in 3 passes
#### Pass 1: Arrangement markers (so you don’t wander)
In Arrangement View:
- Drop A: 33–65
- Drop B: 65–97 (or wherever)
DnB often works well as:
---
#### Pass 2: Drum contrast (swap energy without losing the engine)
Inside DRUMS, duplicate the A section drum clips into B section as a starting point, then edit.
B section drum edits (practical recipe):
1. Break layer change
- In A: break present more consistently
- In B: thin it out (mute every other bar, or only use fills)
2. Hat pattern shift
- A: 1/16 hats with light shuffle
- B: swap to a more “steppy” pattern:
- Remove every 2nd hat hit (creates breath)
- Add open hat on the off-beat every 2 bars
3. Add a ride or noisy top
- Add a new track “Ride/Noise Top”
- Use Auto Filter band-pass around 6–10 kHz
- Sidechain it lightly to ghost kick so it pumps subtly
Device suggestion for movement:
- Rate: 1/8 or 1/16
- Amount: 10–25%
- Phase: 0° (this makes it amplitude modulation, not stereo spin)
---
#### Pass 3: Bass contrast (change the mid, keep the identity)
Keep SUB mostly stable (maybe a small rhythm variation every 4 bars), but rewrite the MID.
Three proven B‑section mid-bass approaches:
A) “Stab & gap” mid bass
B) “Reverse the groove”
C) “Register flip”
Ableton chain for mid bass B (stock):
1. Wavetable
2. Saturator
- Drive 3–6 dB, Soft Clip On
3. Amp (or Overdrive) for bite
4. EQ Eight
- HP at 90–130 Hz (mid layer only)
- Presence boost 1–2.5 kHz if needed
5. Compressor sidechained to Ghost Kick
- Ratio 4:1
- Attack 3–10 ms
- Release 80–140 ms
- Aim: 2–5 dB GR (depends on how pumpy you want it)
---
Step 5 — B section atmosphere + FX (make it feel like a “new room”)
Now you’ve got rhythmic and tonal contrast. Add environment contrast.
#### Returns setup (stock devices)
Return A: ShortVerb
- Type: Room/Plate
- Decay: 0.6–1.2 s
- Pre-delay: 10–25 ms
- HP: 200–350 Hz
- LP: 8–10 kHz (keeps it clean)
Return B: PingDelay
- Time: 1/8 dotted or 1/4
- Feedback: 20–35%
- Filter: HP 250 Hz, LP 6–8 kHz
Return C: DrumSmash (parallel)
- Drive: 5–20 (taste)
- Crunch: 10–30%
- Boom: OFF or very low (Boom can wreck sub clarity)
- Ratio 4:1
- Attack 0.3 ms
- Release Auto
- GR 5–10 dB (parallel, so it can be extreme)
#### B section FX moves (quick wins)
- Auto Filter: open from 400 Hz → 2 kHz over 8 bars
---
Step 6 — “Contrast but continuity” checks ✅
Before you move on, verify:
A great B section should feel like:
not
---
Step 7 — Final polish: transitions A→B and B→A
A→B (bar before B starts):
- Snare flam or tom hit
- A short break chop
B→A return:
- The full break layer
- The original mid bass rhythm
- The main hook FX
---
4. Common mistakes
1. Changing too many variables at once
Result: B feels like a different song. Keep 1–2 anchors (snare, sub motif, or main FX identity).
2. B section loses low-end authority
Often caused by changing sub notes randomly or stacking too many boomy layers. Keep sub intentional and clean.
3. Messy routing / random sidechains
If every track sidechains differently, your groove collapses. Use a Ghost Kick and route consistently.
4. Over-wetting B with reverb
Atmosphere is great, but reverb mud is real. Always HP the reverb return.
5. No arrangement punctuation
DnB needs signposts: fills, mutes, pickups, and 2/4/8 bar moments.
---
5. Pro tips for darker/heavier DnB 🖤
- Saturator (light) → Amp (bite) → EQ (clean)
This keeps heaviness without fizz.
- Multiband Dynamics (gentle) or
- EQ Eight dynamic-style moves (manual automation) on noisy elements
- A tiny notch at the kick fundamental in the bass (or vice versa)
---
6. Mini practice exercise (15–25 minutes) ⏱️
1. Make an 8‑bar A loop:
- Kick/snare + hats + simple sub + mid reese
2. Duplicate it to create an 8‑bar B loop, but you may only change:
- One drum element
- One bass element
- One atmosphere/FX element
3. Use your clean routing:
- All drums through DRUMS group
- All bass through BASS group
- Use at least one Return (verb or delay)
4. Bounce a quick listen:
- Can you tell A vs B instantly?
- Does it still sound like one track?
Bonus: Make bar 8 a transition fill back to A.
---
7. Recap
If you want, tell me what sub style you’re using (pure sine, distorted, 808-ish) and what vibe (liquid, rollers, neuro, jungle), and I’ll suggest a specific B‑section recipe for that sub + drum palette.
```

