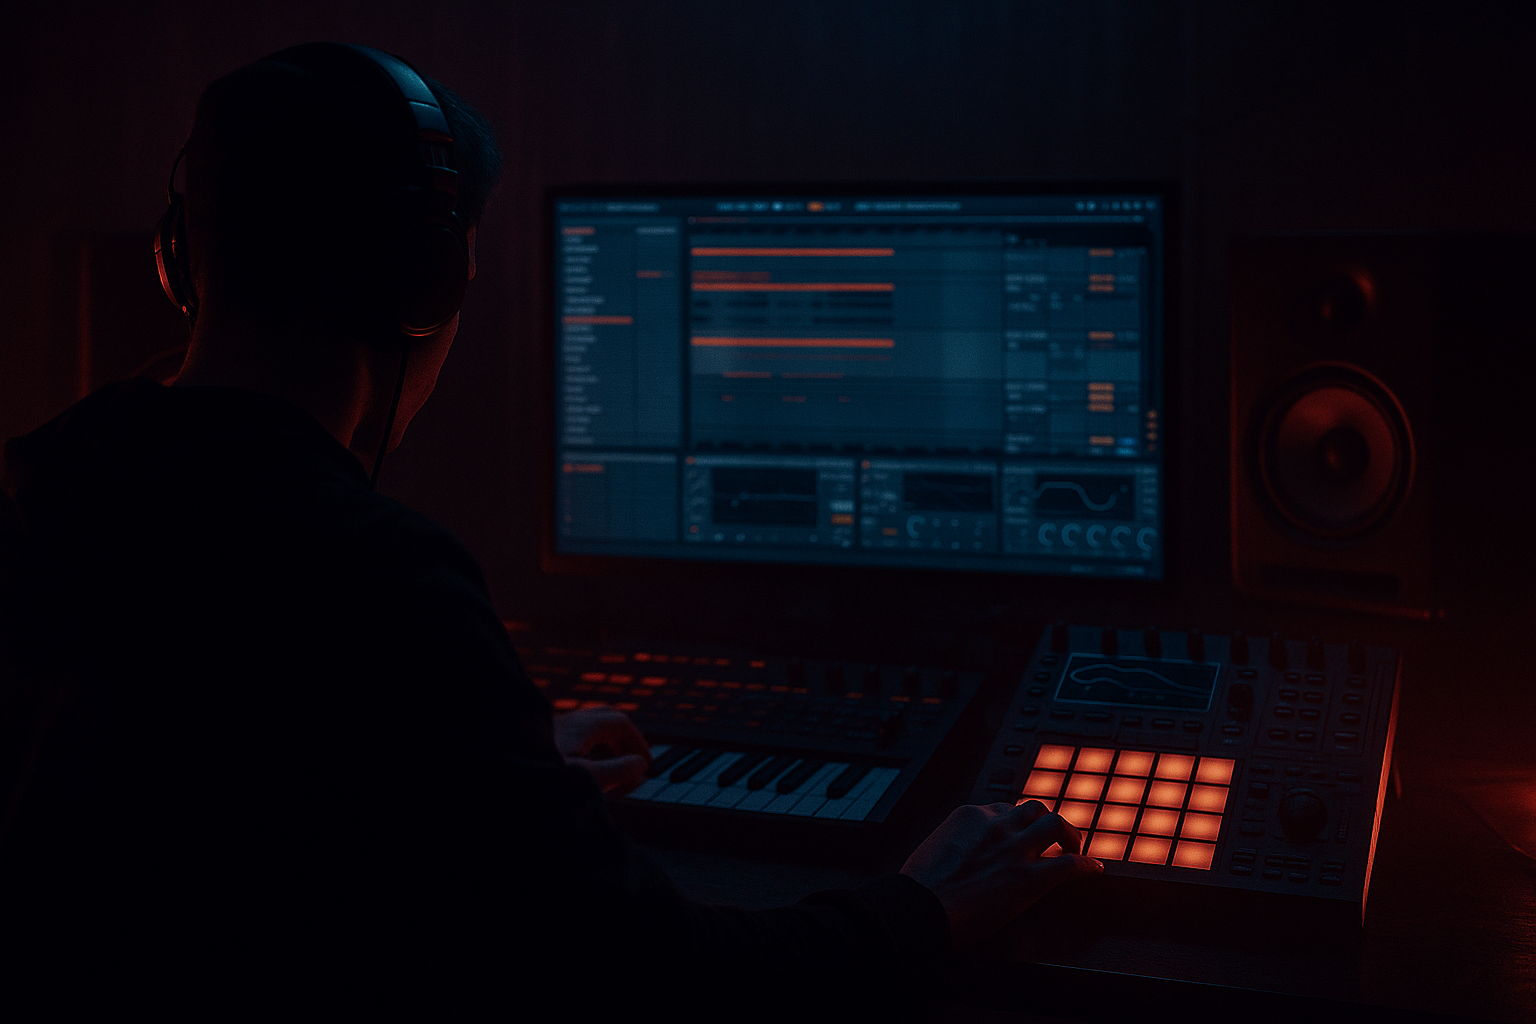
Main tutorial
```markdown
B-Section Contrast Writing Masterclass (170 BPM) — Drum & Bass in Ableton Live 🥁⚡
1. Lesson overview
In drum & bass, the B-section is where you prove the tune has legs: it keeps the listener locked in while flipping the energy, harmony, rhythm, or sound palette—without losing the main identity. At 170 BPM, contrast needs to be clear and immediate, but also mix-safe and DJ-friendly.
In this masterclass you’ll learn a practical, repeatable workflow to write a B-section that:
- Hits like a new chapter (contrast ✅)
- Still feels like the same track (continuity ✅)
- Is arranged for club impact and mixing (functionality ✅)
- A-drop (reference): 32 bars, rolling drums, main bass hook, main lead motif
- B-section (new): 16–32 bars, new “angle”:
- DRUMS (Kick, Snare, Hats, Break)
- BASS (Sub, Mid Bass, Bass FX)
- MUSIC (Pads, Stabs, Leads)
- FX / ATMOS
- BUSSES (Drum Bus, Bass Bus, Mix Bus)
- Bars 1–8: Introduce new idea (tease)
- Bars 9–16: Confirm it (full B groove)
- Bars 17–24: Escalate (variation + fills)
- Bars 25–32: Transition back (strip elements + riser + pre-return)
- Keep hats moving at 170 (or 1/16s), but make the snare feel halftime.
- On `SNARE B`, add Drum Buss
- Add EQ Eight
- Group break + drums → `DRUMS BUS`
- On bus: Glue Compressor
- If A-section bass is 1/8 notes, make B-section bass more syncopated:
- Natural minor → Phrygian flavor (flatten 2)
- Minor → Harmonic minor (raise 7 for tension)
- Minor → Dorian (raise 6 for a lift)
- Chord stab rack:
- Add an ATMOS return (send/return track):
- One-shot foghorn hit (shortened)
- Metallic neuro stab
- Vocal chop “call” on bar 1 and bar 9
- Reverse cymbal into snare on bar 8/16
- Operator (FM, bright ratio)
- Corpus (Tube/Plate, tune to key)
- Saturator (soft clip)
- EQ Eight (tame harsh 3–5 kHz)
- Noise riser:
- Drum fill:
- Master-safe impact:
- Tension notes: In the B, emphasize b2 (phrygian), tritone, or raised 7 (harmonic minor) in stabs—sparingly.
- Reese management: Layer two mids:
- Parallel smash on drums bus (stock):
- Micro-edits: In B, add 1/16 or 1/32 edits only at phrase ends (bars 8/16/24/32). That’s where DJs expect movement.
- Filter choreography: Automate Auto Filter cutoff on the bass bus in B to create “breathing,” but keep sub stable.
- Negative space hits harder: Drop hats for half a bar before a snare impact—silence = weight.
- Last 4 bars of A → 16 bars B → first 4 bars of return
- A strong B-section uses intentional contrast (pick 2 axes) with one identity anchor.
- Lock your arrangement to 16/32-bar phrasing with audible changes every 8.
- The fastest contrast wins in DnB are:
- Write the return transition early so the B feels purposeful.
We’ll do this specifically inside Ableton Live using stock devices and DnB/jungle-informed composition moves.
---
2. What you will build
You’ll build a 16–32 bar B-section for a rolling/heavy DnB track at 170 BPM, derived from an existing A-section drop.
Target outcome:
- harmonic twist (minor → phrygian-ish / modal flavor), or
- rhythmic twist (half-time illusion / drum switch), or
- sound design flip (reese → neuro-ish, clean → distorted), or
- space/width flip (dry → wide + atmospheric)
We’ll build it so a DJ can mix it cleanly: clear phrase boundaries and impact points every 8/16 bars.
---
3. Step-by-step walkthrough
Step 0 — Set the B-section brief (2 minutes)
Before touching anything, decide what kind of contrast you’re writing. Pick 2 contrast axes (more than that often feels like a different tune).
Contrast axis menu (pick two):
1. Harmony: chord/mode swap, bass note shift, alternate progression
2. Rhythm: drum pattern switch, halftime illusion, shuffle change
3. Timbre: different bass engine, distortion character, filter topology
4. Space: dry vs wet, mono vs wide, atmospheric density
5. Register: move motif up/down an octave, bass emphasis vs mid emphasis
Rule of thumb:
Keep one identity anchor unchanged (e.g., the drum kit, the main motif rhythm, or a signature FX). That’s your glue 🧠
---
Step 1 — Duplicate your A-drop to create a safe sandbox
1. In Arrangement View, select your A-drop region (e.g., Bars 33–65).
2. Duplicate Time (`Cmd/Ctrl + Shift + D`) to create space for the B.
3. Label sections in Locators:
- `DROP A`
- `B SECTION`
- `RETURN / DROP A2`
Workflow tip:
Group your core tracks:
This makes big contrast moves faster.
---
Step 2 — Keep phrase math tight (DnB arrangement discipline)
At 170, DnB phrases are usually 16 or 32 bars.
Blueprint (example):
Practical Ableton move:
Drop locators every 8 bars in the B-section and commit to audible change at each.
---
Step 3 — Create contrast via drums (fastest win) 🥁
You don’t need a totally new drum kit—often the best B-section is a pattern switch.
#### Option A: “Half-time illusion” without losing 170 energy
How:
1. Duplicate your snare track to `SNARE B`.
2. Move snare hits from typical DnB (on 2 & 4) to a halftime feel:
- Put the main snare only on beat 3 (bar grid: 1.3).
3. Keep ghost notes on the original positions quietly.
Ableton devices:
- Drive: 5–15%
- Crunch: 0–10
- Boom: 0–20 (tune to track key or ~50–70 Hz if it suits)
- HPF at 120–200 Hz
- Gentle presence boost 3–6 kHz if it needs snap
Result: The groove “drops back” while speed remains. Great for darker tunes.
#### Option B: Jungle switch (break emphasis)
1. Add/feature a break layer (e.g., an Amen-style break or your own chopped break).
2. In Ableton, use:
- Simpler (Slice Mode → Transients)
- Warp: Beats or Complex Pro depending on material
3. Program new break chop pattern for the B.
Glue it:
- Attack: 3 ms
- Release: Auto
- Ratio: 2:1
- Aim: 1–2 dB GR for cohesion
---
Step 4 — Build contrast via bass (the “new chapter” moment) 🔊
This is where advanced DnB tracks separate themselves.
#### Keep the sub consistent, change the mid
Continuity anchor: keep your sub MIDI pattern the same (or mostly the same).
Contrast move: redesign the mid bass or apply a new articulation.
Device chain (stock-friendly mid bass):
1. Wavetable
- Osc 1: Saw (or Basic Shapes)
- Unison: 2–4
- Detune: low (avoid chorus soup)
2. Auto Filter
- Mode: LP24 or MS2
- Envelope amount: moderate
- Map cutoff to a Macro (call it `Bite`)
3. Saturator
- Mode: Analog Clip
- Drive: 3–9 dB
- Soft Clip: On
4. Amp (optional, for edge)
- Type: Rock or Heavy
- Drive to taste
5. EQ Eight
- Cut 200–400 Hz if boxy
- Control 2–5 kHz if harsh
6. Limiter (safety only)
#### Add rhythmic contrast: re-articulate the bass
- Add rests
- Use triplet nudges (tastefully)
- Add 1/16 pick-up notes before snare hits
Ableton tool:
Use Groove Pool with a subtle swing (e.g., MPC-style) on hats and bass MIDI, but keep the kick/snare mostly straight for punch.
---
Step 5 — Harmonic twist (advanced, but huge payoff) 🎹
A great B-section often feels “darker” by shifting mode while staying in the same root.
Examples (root stays the same):
#### Practical Ableton method
1. Take your A-section chord stab MIDI (or pad notes).
2. Duplicate clip into B-section.
3. Apply a controlled mutation:
- Change one scale degree across the progression.
4. Use MIDI Scale (Live 12 has improved scale workflows; otherwise do it manually).
5. Keep the stab sound, but change the voicing:
- Move top note up an octave for brightness or drop it for weight.
Sound shaping for the B harmony layer:
- Instrument: Operator (sine + a bit of saw)
- Redux (very light, 2–4 bits or mild downsample)
- Auto Filter (band-pass with envelope for “wah” movement)
- Hybrid Reverb (short plate or chamber)
- Decay: 0.8–1.6 s
- Pre-delay: 15–30 ms
- High Cut: 6–10 kHz
Keep it present but not dominant—bass and drums still run the show.
---
Step 6 — Contrast through space: “dry A / wide B” trick 🌌
A classic move: A-drop is tight/mono-forward, B-section blooms wider with atmospheres.
#### Ableton practicals
- Hybrid Reverb
- Algorithm: Hall / Shimmer off (unless you want cinematic)
- Size: moderate
- Low Cut: 200–400 Hz
- Echo
- Time: dotted 1/8 or 1/4
- Filter: HP around 300 Hz, LP around 6–10 kHz
- Auto Pan
- Rate: very slow (0.08–0.20 Hz)
- Amount: 20–40%
- Phase: 180° for width
Send selected elements in the B only (e.g., stabs, FX, a high pad), not your main drums.
DnB mix discipline:
Keep kick, snare, sub mostly mono. Let width come from tops/atmos.
---
Step 7 — Add B-section signature ear candy (fast identity)
Give the B its own “tag” sound that appears 2–4 times.
Ideas rooted in rolling/heavy DnB:
Stock chain idea (metallic stab):
---
Step 8 — Write the transition back to A (the secret sauce) 🔄
The best B-sections don’t just exist—they set up the return.
Return setup options (choose one):
1. Strip & slam: remove bass last 2 bars → massive return impact
2. Riser + drum fill: 1-bar tom/snare fill + noise lift
3. Harmonic “resolve”: bring back A’s key note or motif in final 2 bars
Ableton tools:
- Wavetable noise oscillator → Auto Filter rising cutoff → Utility gain automation
- Take your snare, create 1-bar roll with velocity ramp
- Add Reverb (short) and automate dry/wet up at the end
Put a Limiter on Master (ceiling -0.8 dB) while you’re building. Don’t rely on it long-term, but it prevents surprise overs.
---
4. Common mistakes
1. Changing everything at once → B feels like a different track. Keep an anchor.
2. No clear downbeat statement → B starts weak. Make bar 1 hit with a new idea immediately.
3. B-section too long without development → If it’s 32 bars, it needs a midpoint variation at bar 17.
4. Over-wide low end → widening bass/sub collapses in mono and kills punch. Use Utility to mono below ~120 Hz.
5. Overcomplicated drum switch → new break + new kit + new groove can smear the drop. Switch one major rhythmic layer, not all.
6. No transition planning → B ends awkwardly. Write the last 2 bars early.
---
5. Pro tips for darker/heavier DnB 😈
- Mid A (cleaner) for note definition
- Mid B (distorted) for aggression
Crossfade them between A and B with automation.
- Create return `DRUM SMASH` with Drum Buss + Saturator + Glue Compressor
- Send snares/breaks more than kick
- Blend until it feels dangerous but not papery
---
6. Mini practice exercise (20–30 minutes) 🎯
Goal: Write a 16-bar B-section that contrasts via drums + bass articulation, while keeping sub pattern consistent.
1. Duplicate your 32-bar A-drop.
2. In bars 1–16 of the duplicate:
- Keep SUB MIDI identical.
- Change MID BASS rhythm (more syncopation; add rests).
3. Switch drums using one method:
- halftime snare illusion or
- break emphasis (Simpler slice)
4. Add one B-only signature sound (2–4 hits total).
5. Add an 8-bar locator structure and ensure:
- Bar 1: new statement
- Bar 9: variation
- Bar 16: clear transition cue (fill/riser/strip)
Deliverable: Bounce a quick loop of:
Listen for: “Does this feel like the same tune, but a new scene?”
---
7. Recap ✅
- drum pattern switch (half-time illusion or break focus)
- mid bass redesign/re-articulation (keep sub stable)
- harmonic/mode twist (one scale-degree change can be enough)
- space flip (dry vs wide atmos) without wrecking mono low end
If you want, tell me what sub pattern + main bass vibe you’re using (rolling reese, neuro growl, foghorn, etc.), and I’ll suggest three specific B-section contrast recipes with bar-by-bar automation targets.
```

