Main tutorial
```markdown
B‑Section Contrast Writing Masterclass (DJ‑Friendly DnB Sets) 🎛️⚡
Skill level: Advanced
Category: Composition (Ableton Live)
---
1. Lesson overview
A “B‑section” in drum & bass is the part that changes the conversation without changing the genre. It’s the section that keeps DJs and dancers locked in by introducing contrast—new hooks, altered bass posture, drum variation, or harmonic shift—while still being mix-friendly (phrase-aligned, energy-stable, and not arrangement-chaotic).
In this masterclass you’ll learn to write B‑sections that:
- Hit with freshness (new idea) while keeping continuity (same record).
- Are DJ-friendly (8/16/32-bar phrasing, predictable impact points, usable in blends).
- Work in modern rolling DnB / jungle-informed production (reese/rollers, tight breaks, layered tops).
- A‑Drop (16 or 32 bars): primary hook + main bass patch + core drum groove.
- B‑Section (16 bars): a contrasting “second drop” feel:
- A’ Return (8–16 bars): your original hook returns with a twist, so the track feels “resolved” not looped.
- Kick: short, punchy
- Snare: 2 and 4 with layered body + crack
- Tops: hats/shakers/ride
- Optional break layer (quiet, for movement)
- Drum Buss on the Drum Group
- Glue Compressor (optional) on Drum Group
- Sub lane: clean sine/triangle (Mono)
- Mid lane: reese/warp/growl (Stereo-controlled)
- Use Instrument Rack with chains:
- Bass + Drums (classic “second drop” energy)
- Bass + Atmos (keeps drums mixable)
- Drums + Hook (keeps bass consistent for blends)
- A snare = tight/crack
- B snare layer = longer tail / noise body
- Rhythm density (more syncopation or more sustained notes)
- Formant / filter movement (darker vs talking)
- Register (move mid focus up an octave while sub stays consistent)
- Stereo width (mid wider/narrower)
- Hybrid Reverb
- EQ Eight
- Compressor (sidechain from kick)
- Maintain kick/snare and sub pattern.
- Introduce new bass tone gradually (filter opens).
- Break layer comes in lightly.
- Full new bass riff.
- Break layer up.
- Add hook stab/vocal chop.
- End with a fill that clearly points back to A’.
- Break layer volume
- Auto Filter cutoff on mid bass
- Reverb send on stabs
- Utility width (mid bass widen in bars 9–16)
- A subtle ride or shaker layer
- A tiny pitch-down one-shot (Impact) on bar 1
- Slightly more saturation on drum bus (+1–2%)
- Phrygian flavor without harmonic clutter:
- Mid bass “bark” layer for B only:
- Kick perception boost without more sub:
- Tight, scary space:
- Controlled noise movement:
- A great B-section is contrast with continuity—not a genre swap.
- Keep DJ-friendliness: 16-bar phrasing, clear impact points, and blend-safe early bars.
- Best results come from posture changes: bass rhythm/tone/register + drum layer swaps.
- Ableton stock devices that shine here:
We’ll do this with practical Ableton workflows, stock devices, and arrangement templates you can reuse.
---
2. What you will build
You’ll build a full A→B→A’ structure for a DnB drop, where:
- Bass changes shape (e.g., from sub‑led roll to mid‑range call‑and‑response).
- Drums gain or swap a break layer.
- Atmos shifts (new pad/texture, short vocal or stab).
- Still mixes cleanly: the first 4–8 bars are blend-safe.
Target tempo: 172–175 BPM.
---
3. Step-by-step walkthrough
Step 0 — Session setup for DJ-friendly phrasing 🧭
1. Tempo: 174 BPM (good default).
2. In Arrangement View, drop Locators:
- `Drop A Start`
- `Drop A Bar 17` (or 33)
- `B Start`
- `A’ Return`
3. Set your grid to 1 Bar and count in 16-bar phrases.
DnB DJs live on phrase confidence.
Rule: if you do something “surprising,” do it at bar 1 or bar 9 of a 16.
---
Step 1 — Build your A-section “identity” (so B has something to contrast)
You need a strong A identity first: drums, bass posture, signature motif.
A Drums (Group):
Ableton chain suggestions (stock):
- Drive: 5–15%
- Boom: 0–20% (careful in DnB; sub gets crowded)
- Damp: 5–20%
- Attack: 3–10 ms
- Release: Auto or 0.1–0.3 s
- Ratio: 2:1
- Aim: 1–2 dB GR max
A Bass (two-lane concept):
Stock tool idea:
- Chain 1: Operator (Sub) → EQ Eight (lowpass ~120 Hz) → Utility (Mono)
- Chain 2: Wavetable/Operator (Mid) → Saturator → EQ Eight (highpass ~120 Hz)
Now write a clear A riff (8 bars looped). Keep it rolling and mix-stable.
---
Step 2 — Define the B-section contrast type (pick 2, not 6) ✅
A B-section works best when it’s a controlled pivot. Choose two contrast levers:
1. Bass contrast (tone/rhythm/register)
2. Drum contrast (breaks, swing, snare pattern, ghosting)
3. Harmonic contrast (1–2 chord tones shift, minor→phrygian color, etc.)
4. Texture contrast (atmos, noise beds, fills)
5. Call/response contrast (space then answer)
For DJ-friendly DnB, the strongest combos are:
We’ll do: Bass + Drum contrast (most effective for rollers).
---
Step 3 — B-section drum contrast that stays mixable 🥁
Goal: Make B feel like “new gear engaged” without destroying the groove.
#### Option A: Break layer swap (DJ-safe)
1. Add a breakbeat loop (Amen-ish, think jungle texture).
2. Warp mode: Complex Pro (or Beats if you want crunch).
3. Highpass it with EQ Eight around 180–300 Hz.
4. Sidechain it to the kick/snare (subtle) using Compressor:
- Sidechain from kick (or a “Kick Ghost” track)
- Ratio: 2:1
- Attack: 1–5 ms
- Release: 50–120 ms
- GR: 1–3 dB
B trick: In B section, bring break up +2 to +4 dB, and reduce clean hats slightly. That’s instant contrast.
#### Option B: Snare character switch (still DJ-friendly)
Layer in a second snare for B only:
Fade it in at B bar 1 and remove at A’.
Use Drum Rack with two snares and automate Chain Volume (or track volume).
---
Step 4 — B-section bass contrast: “posture change” not random new patch 🔥
This is where most advanced producers either win big or lose the dancefloor.
#### The posture change concept
Keep the same bass family but change:
#### Practical Ableton method: Duplicate + re-amp the mid layer
1. Duplicate your Mid Bass track → rename to `Mid Bass B`.
2. On `Mid Bass B` add this stock chain:
Device chain (Mid Bass B):
1. Auto Filter
- Type: LP24
- Frequency: start around 600–1.5kHz
- Drive: 5–20%
- Envelope: small (optional)
2. Saturator
- Mode: Analog Clip
- Drive: 3–8 dB
- Soft Clip: On
3. Redux (tiny amount for edge, optional)
- Downsample: 1.2–1.8
- Bit Reduction: 0–2
4. EQ Eight
- Dip harshness around 2.5–4.5 kHz if needed
- Control low mids 200–400 Hz
5. Utility
- Width: 80–120%
- Bass Mono: On (set to ~120 Hz)
3. Write a B riff that answers A:
- If A is busy (16ths), make B more half-time “stabs”.
- If A is sparse, make B a rolling syncopated variation.
DJ-friendly rule: Keep the sub pattern consistent (or simplified).
Let mids do the talking; sub keeps the blend stable.
---
Step 5 — Make the B-section “announce itself” in 1 bar (without a full breakdown) 🚦
You want DJs to feel a new section even mid-mix.
At the end of A (last 1 bar before B), do two of these:
1. Drum fill (micro)
- 1/16 snare rush or tom fill, keep it short.
2. Reverb throw on a snare hit
- Use Return Track with Hybrid Reverb
- Automate send up just for the hit.
3. Bass mute gap (1/8 or 1/4)
- Silence creates “drop gravity.”
Ableton technique:
Create a `FX Throw` Return:
- Algorithmic
- Decay: 1.2–2.5s
- High Cut: 6–10 kHz
- Highpass 200–400 Hz
- GR: 2–5 dB for pumping tail that stays out of the way
---
Step 6 — Arrange B for DJ blending (the “first 8 bars are safe” rule) 🎚️
A common pro approach is to make B a 16-bar block with internal function:
B bars 1–8: Mix-friendly / stable
B bars 9–16: Statement / payoff
Ableton workflow tip:
Use Arrangement automation lanes for:
---
Step 7 — Return to A’ (make it feel like a “win,” not a loop) 🏁
When you return, keep A recognizable but improved.
Three effective A’ strategies:
1. A + B drums (A bass returns but with B’s break energy)
2. A bass with B’s new countermotif (call/response)
3. A bass but altered tail (different last 2 bars → pushes into outro)
Practical move:
At A’ start, keep your original A hook but add:
---
4. Common mistakes
1. B-section is a new song
New key, new bass, new drums, new vibe = DJs lose the blend. Keep 1–2 identity anchors.
2. No phrase discipline
Random 12-bar B sections or changes at bar 6. In DnB, predictability is power.
3. Sub changes too much
The crowd may not “hear” it, but they feel instability. Keep sub consistent or simplify it.
4. Over-filling the drums
If every 2 bars has a fill, nothing feels special. Save fills for transitions.
5. Width wars in the low mids
Wide 200–500 Hz reese + busy break = mush. Control with EQ and Utility.
---
5. Pro tips for darker/heavier DnB 🖤
Add a single b2 note in a stab or pad (e.g., in F: use Gb briefly). Instant menace.
Duplicate mid bass → distort harder → bandpass around 700 Hz–2.2 kHz → automate in B bars 9–16.
Use Saturator on kick (or Drum Buss “Drive”) to add harmonics so it reads on big systems.
Use short rooms (Hybrid Reverb early reflections) instead of long tails. Dark doesn’t mean washed-out.
Add a noise bed (Operator noise or sample) → Auto Pan (slow) → Auto Filter (slow) → keep it low.
This gives the B-section a different “air pressure.”
---
6. Mini practice exercise (20–30 minutes) ⏱️
1. Take an existing 32-bar drop loop you have (A-section).
2. Create a 16-bar B-section immediately after it.
3. Pick exactly two contrast levers:
- (A) Add break layer + snare switch, OR
- (B) Bass posture change + texture change
4. Constraints:
- Keep sub pattern identical for first 8 bars of B.
- Add one transition fill into B and one into A’.
- B must be 16 bars, A’ must be 8 bars.
5. Bounce a quick reference:
- Export 1: `A→B→A’` only (no intro/outro).
- Listen like a DJ: does the B telegraph itself at bar 1?
---
7. Recap ✅
- Auto Filter (movement and posture)
- Saturator / Drum Buss (weight and aggression)
- Hybrid Reverb (throws + controlled space)
- Utility (width discipline, mono safety)
- EQ Eight (stop the low-mid wars)
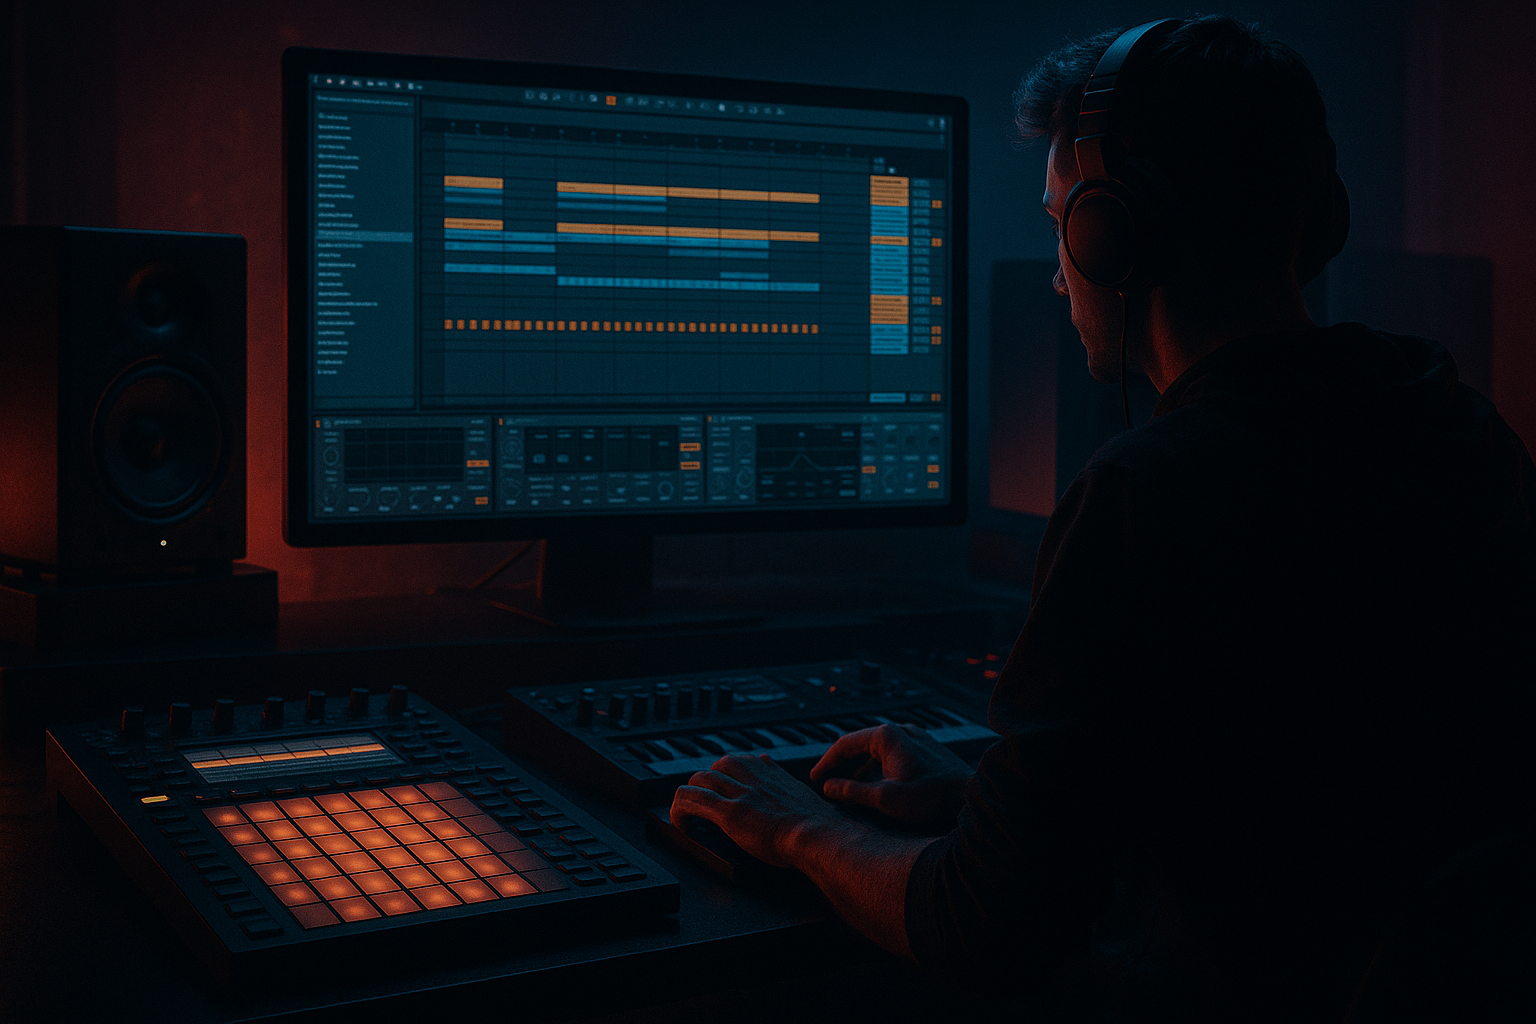
If you want, share a screenshot of your Arrangement View around the drop and I’ll suggest exact bar-by-bar B-section moves (what to automate, what to mute, where to fill) for your specific track. 🎚️
```

