Main tutorial
🎶 Balancing Dense Percussion for Clean Mixes in Drum and Bass
1. Lesson Overview
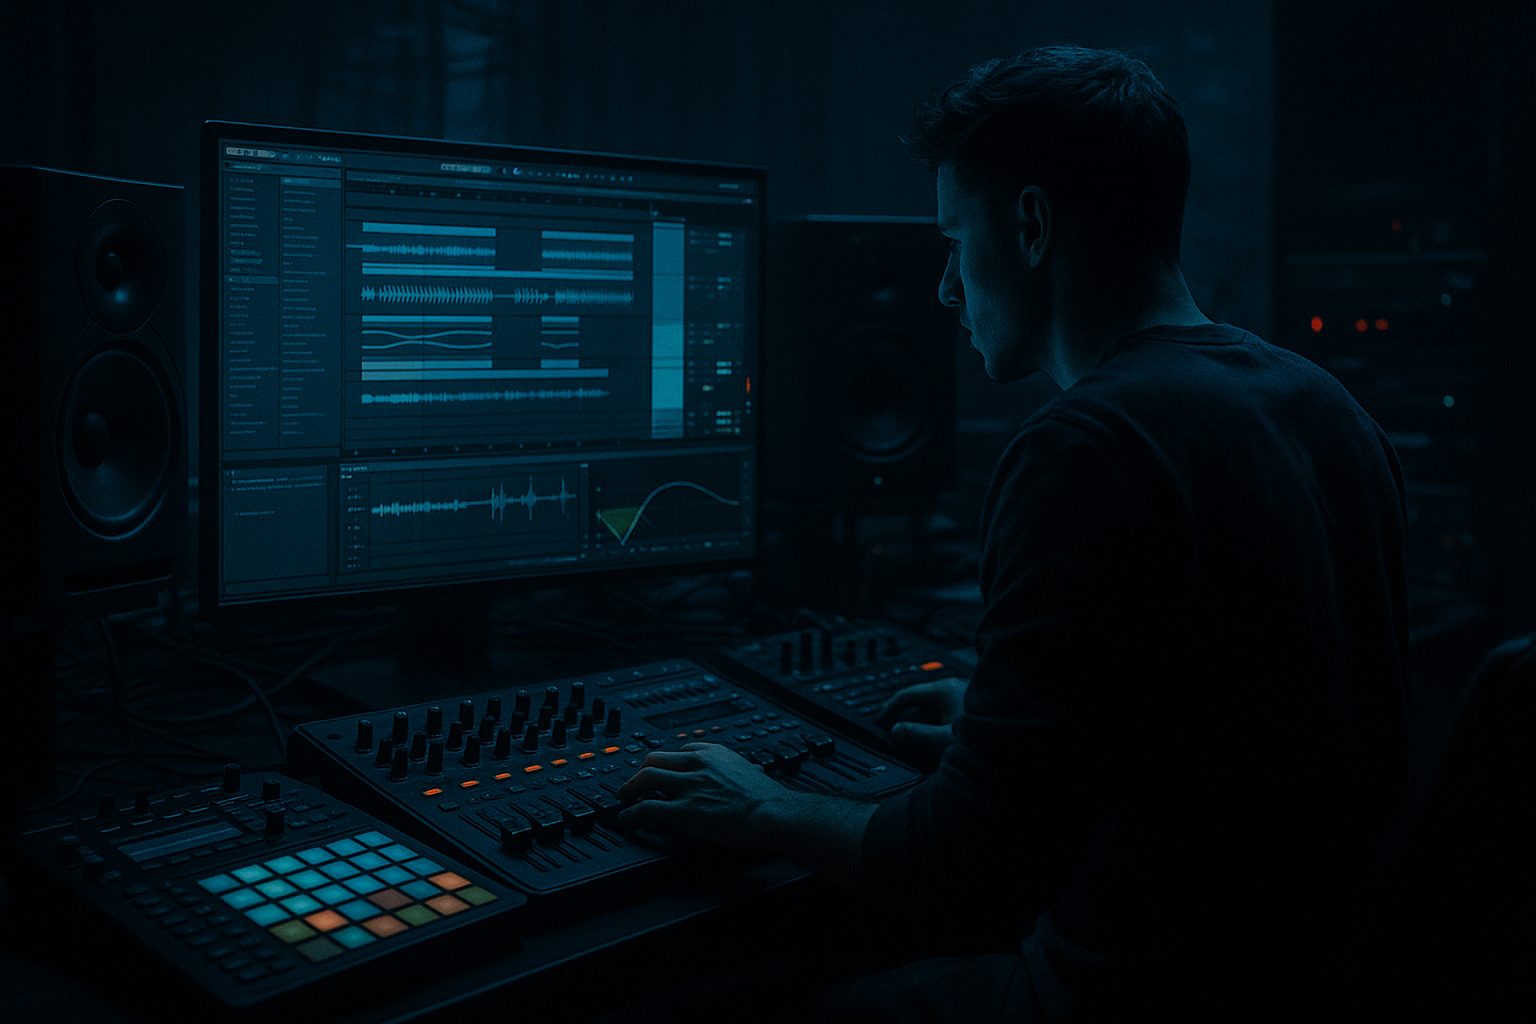
Welcome to this tutorial on balancing dense percussion in drum and bass! If you’re an intermediate producer looking to sharpen your mixing skills, you’re in the right place. Achieving a clean mix while maintaining energy is essential in the DnB genre, and we'll cover practical techniques using Ableton Live.
2. What You Will Build
By the end of this lesson, you’ll create a dynamic drum and bass mix featuring a solid kick, snappy snares, and layered percussion. You'll learn techniques to achieve clarity, punch, and groove—a foundation that will help elevate your tracks to the next level! 🙌
3. Step-by-Step Walkthrough
Step 1: Set Up Your Project
1. Create a New Ableton Live Project:
- Set your BPM to around 170-175, typical for DnB.
- Create 4-5 audio or MIDI tracks for your percussion elements.
Step 2: Lay Down Your Kick and Snare
1. Choose Your Sounds:
- Use the Alesis SR-16 or BFD3 drum kits for classic kicks and snares.
- Import your kick sample to Track 1 and a snare sound to Track 2.
2. MIDI Programming:
- Create a simple MIDI clip for your kick hitting on every downbeat.
- For your snare, create a clip that plays on the 2 and 4 count of a 4/4 measure.
Step 3: Add Percussion Layers
1. Layering Percussion:
- On Tracks 3 and 4, add high-hats, shakers, or cymbals. Aim for a combination of open and closed hats to add texture.
- Make use of Ableton’s Drum Racks for layering different percussive elements quickly.
2. Create Groove:
- Enhance your percussion’s groove with the Groove Pool (available under the "Clip" section). Drag in groove templates you find that fit the DnB style, like "Swing 16".
Step 4: Use EQ and Compression
1. EQ:
- Insert Ableton’s EQ Eight on your kick. Cut frequencies below 30Hz to eliminate muddiness.
- On your snare, consider boosting around 200Hz for warmth and use a high shelf around 10kHz for brightness.
2. Compression:
- Add Ableton's Compressor to your snare track. Set the ratio to 4:1 and adjust the attack and release to taste, aiming for punchy snare hits.
Step 5: Panning and Levels
1. Pan Percussion Elements:
- Slightly pan your hi-hats (10-20% left/right) to create a wider soundstage.
- Keep your kick and snare centered to maximize impact.
2. Level Balancing:
- Raise the snare and kick to around -6dB in your mixer.
- Balance your percussion layers so they sit well without overshadowing each other: keep your most prominent elements (kick/snare) at the forefront.
Step 6: Add Effects
1. Reverb and Delay:
- Use Ableton’s Reverb sparingly on your snare—don't overdo it! A small room setting can add depth without losing clarity.
- Apply a subtle delay on your percussion layers to create syncopation; try Ableton's Simple Delay.
Step 7: Final Touches
1. Bus Processing:
- Route all your percussion tracks to a bus (create a return track).
- Add a Compressor and a slight touch of Saturation (use Saturator) to glue your percussion layers together.
4. Common Mistakes
- Over-compression: Be careful not to squash your sound. You want punchy without lifeless.
- Ignoring Frequency Conflicts: Always check for overlapping frequencies between kick and bass. Use a spectrum analyzer to help visualize conflicts.
- Too Much Reverb: It can muddy your percussion. Use it tastefully.
- Use Dissonance: Introduce dissonant percussion elements (cymbals, noise) for tension.
- Distorted Percussion: Consider distorting your kick or snares slightly using a subtle Saturator to add warmth and aggression.
- Layered Vocals or Samples: Incorporate vocal snippets with effects; they can add an atmospheric layer to your percussion and enhance the overall dark vibe.
5. Pro Tips for Darker/Heavier DnB
6. Mini Practice Exercise
1. Create a simple 4-bar drum loop with kick, snare, and at least two percussive elements.
2. Apply EQ to carve out frequencies for each element, ensuring no two overlap significantly.
3. Adjust levels and apply compression. Then, send all your percussion elements to a return track for bus processing.
4. Experiment with adding a vocal sample—process it in a way that complements your percussion.
7. Recap
Today, you’ve built a powerful DnB percussion mix using clear steps in Ableton Live. You've learned how to layer, EQ, and compress your sounds to achieve a balanced and dynamic rhythm section that shines through in your mixes. Remember, practice is key, so take these techniques and refine your skills further! Keep producing, and enjoy the journey! 🎹✨
---
Happy mixing! Don’t hesitate to reach out if you have any questions. 🥁

