Main tutorial
```markdown
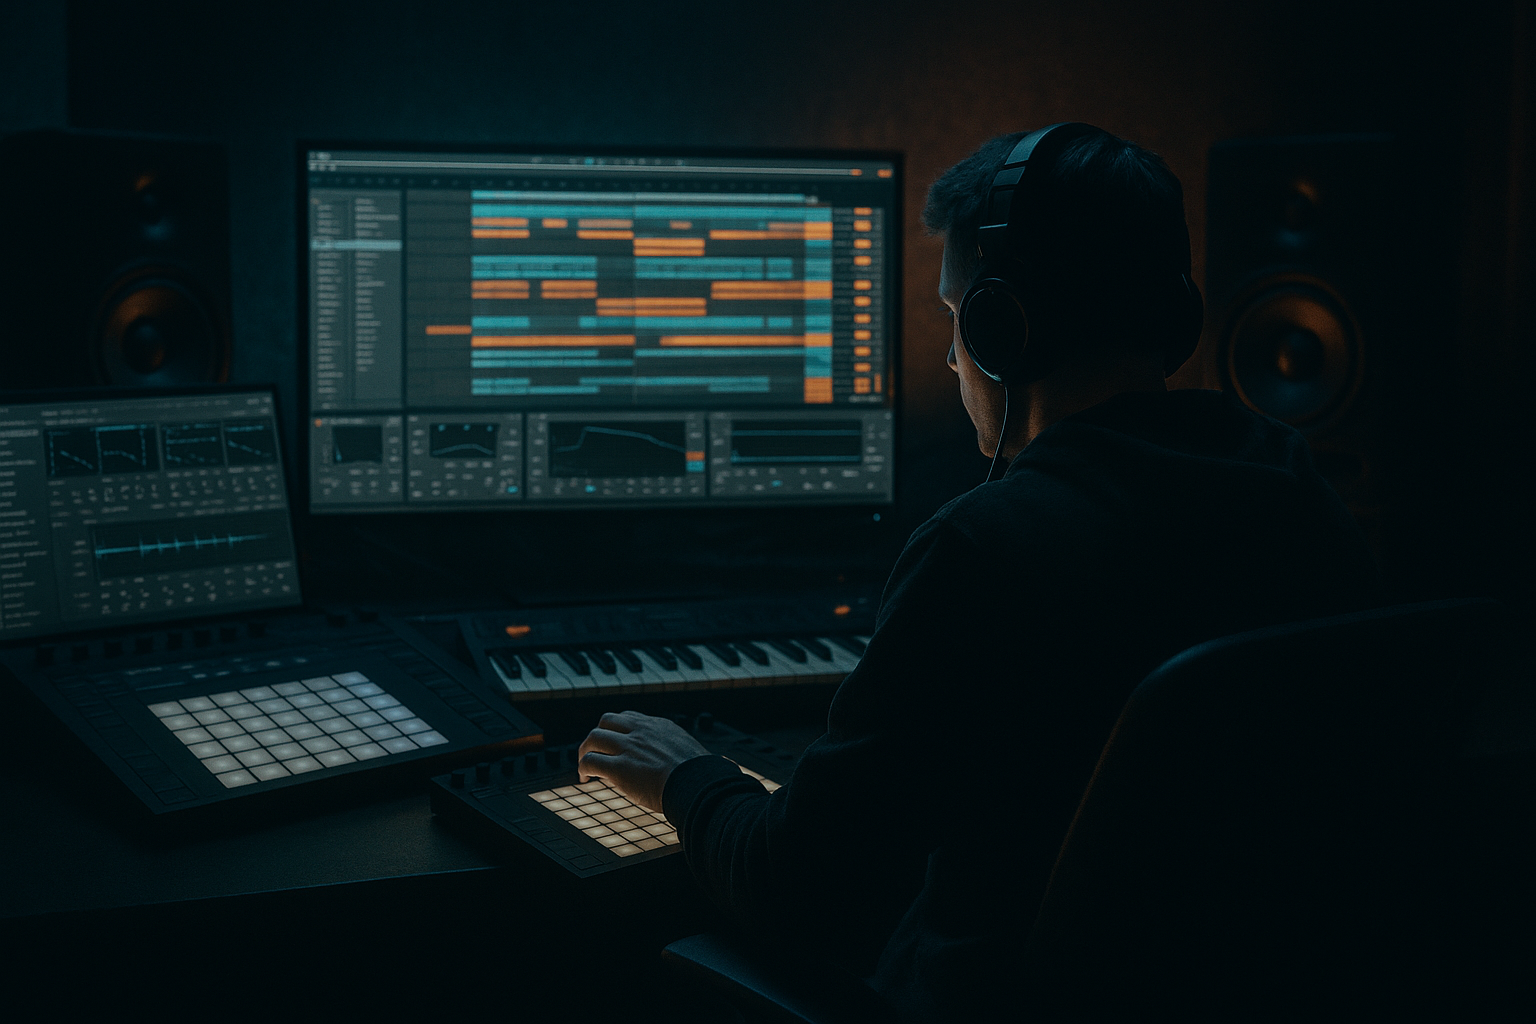
Bass and Stab Conversation: Using Session View (Ableton Live, Advanced DnB Composition)
1) Lesson overview
In rolling drum & bass, the bassline and stabs shouldn’t just “stack” — they should talk. Session View is perfect for this because you can rapidly audition call-and-response patterns, switch variations on the fly, and record the best dialogue straight into Arrangement. 🎛️
This lesson focuses on building a bass + stab conversation system using:
- Session View clips as “phrases”
- Follow Actions + clip variations for evolving patterns
- Dummy clips / automation to change tone and space per phrase
- A workflow that keeps your groove tight while staying musical
- Bass Group: 4–8 bass phrase clips (A/B/C/D) with micro-variations
- Stab Group: 4–8 stab phrase clips that answer the bass (syncopated, offbeat, or halftime)
- FX / Space Control: dummy clips that automate reverb throws, filter sweeps, and saturation pushes per phrase
- A recorded take into Arrangement that already sounds like a structured drop (with movement)
- Create a separate Sub track (Operator/Sine) if you want surgical sub control.
- Keep the “Call” bass more about mid-bass movement, not just low sine.
- BASS A (1 bar): rolling 1/8 or 1/16 pattern with rests (space matters)
- BASS B (1 bar): variation (change last 2 hits, or add a pickup)
- BASS C (2 bars): a longer phrase with a turnaround at bar 2
- BASS D (1 bar): “fill” phrase (more active, but shorter notes)
- Use note length deliberately:
- Add velocity shaping:
- Micro-timing: nudge a few bass notes slightly late (a couple ms) if it helps the roll.
- STAB A (1 bar): offbeat stab (classic) but with syncopated gaps
- STAB B (1 bar): answer on the second half of the bar (late response)
- STAB C (2 bars): a “question” phrase (rising filter or chord inversion)
- STAB D (1 bar): minimal stab (one hit only) — important for dynamics
- Keep bass root stable for 4–8 bars while stabs imply movement via inversions or upper extensions.
- For darker DnB, try minor + b2 tension stabs lightly (Phrygian flavor), but don’t let it sound like a wrong note — make it a deliberate “sting.”
- Use Follow Action: Other with longer times (1–2 bars)
- Include a “rest” clip (empty MIDI) so the stabs sometimes shut up (huge for groove).
- SPACE THROW
- FILTER DOWN
- DIST PUSH
- HP CLEAN
- Stab reverb throw only at phrase endings (Dry/Wet spikes briefly)
- Bass Auto Filter cutoff to open slightly on “Call” fill bars
- Saturator drive up 1–2 dB on heavier responses
- Utility width:
- Keep Global Quantization at 1 Bar
- Occasionally set a single clip’s quantization to None for instant fills (use carefully).
- Stabs constantly firing: if stabs play every bar, it stops being a conversation. Add rest clips.
- Bass and stabs share the same frequency real estate: carve with EQ Eight; don’t rely on volume alone.
- No phrasing: if every 1-bar clip feels identical, the drop feels looped. Add 2-bar turnaround clips.
- Reverb everywhere: throws should be intentional. Too much wash kills roll and punch.
- Over-random Follow Actions: “Random” is fun, but DnB needs identity. Keep controlled variation.
- Mid-bass movement with sub stability: keep sub mostly steady (Operator sine), let mid-bass do the talking (Wavetable + Saturator).
- Parallel distortion bus:
- Ghost stabs: add a very low-velocity stab right before a main response to create “pull.”
- Short, ugly room on stabs (in a good way):
- Automate resonance carefully: a tiny resonance bump on Auto Filter can sound menacing; too much screams “EDM filter sweep.”
- Mono discipline: keep everything below ~120 Hz mono (Utility on groups). Wider low end = weak club translation.
- Session View clips are phrases, not loops.
- Build a Call (bass) and Response (stabs) system with variations.
- Use Follow Actions for controlled evolution.
- Add dummy clips to automate tone and space like a performer.
- Record into Arrangement and edit into a structured DnB drop. 🔥
---
2) What you will build
A Session View performance grid that generates an evolving 16–32 bar DnB “conversation,” including:
Target vibe: rolling / techy / darker DnB, with a hint of jungle phrasing.
---
3) Step-by-step walkthrough
Step 0 — Session & groove setup (tight foundations)
1. Tempo: 172–176 BPM (start at 174).
2. Global Quantization: set to 1 Bar (top-left).
- You’ll launch phrases cleanly.
3. Add a Drum groove reference:
- Either a simple DnB loop or your own drums.
- Put a Groove on your drum bus (Groove Pool):
- Try Swing 16-65 style grooves lightly (amount 10–25%) for “roll” without wobble.
> You want the bass/stabs to lock to your drum pocket, not a metronome.
---
Step 1 — Build the Bass “Call” instrument rack (stock-friendly)
Create a MIDI track: BASS (CALL) and load:
Instrument chain (example using stock devices):
1. Wavetable
- Osc 1: Basic Shapes / Saw or Square (depending on grit)
- Osc 2: Sine (low reinforcement) or another shape lightly mixed
- Unison: Classic, Amount 20–40, Detune low
2. Amp Envelope (in Wavetable)
- Attack: 0–5 ms
- Decay: 150–350 ms
- Sustain: -inf to -12 dB (depends on pluck vs hold)
- Release: 50–120 ms (avoid tail smear)
3. Saturator
- Mode: Analog Clip
- Drive: 2–8 dB
- Soft Clip: On
4. Auto Filter
- Type: LP24 (or MS2/PRD for character)
- Cutoff: mapped (more on this later)
- Envelope: subtle for “note bite”
5. EQ Eight
- HP: 25–35 Hz (gentle)
- Control low-mid mud around 200–350 Hz if needed
6. Compressor (optional)
- Light control, or sidechain from kick (if your kick is strong)
Key routing tip:
---
Step 2 — Build the Stab “Response” instrument (classic DnB vibe)
Create another MIDI track: STAB (RESPONSE). Two solid approaches:
#### Option A: Stock “Rave stab” style (fast and effective)
1. Simpler (Classic mode)
- Drop in a short chord stab sample (or resample your own chord hit)
2. Filter in Simpler:
- LP/HP to fit around the bass
3. Amp
- Short decay (100–250 ms), short release
4. Redux (optional)
- Light downsample for edge (don’t obliterate)
5. Hybrid Reverb
- Use Convolution small room/plate for weight + Algorithmic tail for vibe
- Keep it short; automate throws later
#### Option B: Synthesize a stab with stock devices
1. Analog (or Wavetable)
- Two saws, slight detune
2. Chord device before the instrument (great for quick harmonic stacks)
- Example: +0, +3, +7 for a minor triad
3. Auto Filter for shape + movement
4. Saturator for density
5. Reverb (or Hybrid Reverb), short default
Stab rule for conversation: stabs should occupy upper mids and “answer” rhythmically, not compete for sub.
---
Step 3 — Create the conversation grid in Session View (clips as phrases)
We’ll build 1-bar and 2-bar “phrases” you can chain.
#### 3.1 Bass clips (Call)
Create 4 clips on BASS track (start simple):
Practical note programming tips:
- Short notes = punch + groove
- A few longer holds = authority
- Ghost some mid-bass notes at 60–90 velocity
- Keep accents on the “talking” notes at 100–127
#### 3.2 Stab clips (Response)
Create 4 clips on STAB track:
Harmonic tip (advanced):
---
Step 4 — Use Follow Actions to generate evolving dialogue 🔁
This is where Session View becomes a composition engine.
1. For each bass clip, open Launch box (Clip View) → Follow Action.
2. Set bass clips to:
- Follow Action time: 1 Bar (for 1-bar clips) or 2 Bars (for 2-bar clips)
- Action: Next or Other
- Chance weighting:
- Example: 70% Next, 30% Other (keeps structure but adds surprise)
Do similar for stabs, but make them less constant:
Result: bass stays consistent enough to roll; stabs come and go like a conversation instead of constant chatter.
---
Step 5 — Add “tone change” dummy clips (automation as performance)
Create an AUDIO track called DUMMIES / FX (or use a MIDI track if you prefer).
Add empty clips named:
Inside each dummy clip, automate parameters on your bass and stab tracks. How:
1. Enable Automation Arm.
2. Click a parameter (e.g., Hybrid Reverb Dry/Wet on STAB return, Auto Filter cutoff on BASS).
3. Draw automation in the dummy clip.
Useful automations for conversation:
- Bass: keep mono (Width 0–20% if needed)
- Stab: widen a touch (120–160%) but watch mono compatibility
This gives you “phrases” not just in MIDI notes but in sonics, which is where advanced DnB really lives.
---
Step 6 — Grouping + Scene design (compose like a DJ)
1. Group your tracks:
- BASS GROUP (sub + mid)
- MUSIC GROUP (stabs, pads, atmos)
2. Create Scenes:
- Drop A1: Bass A + Stab A (tight)
- Drop A2: Bass B + Stab B (more syncopation)
- Drop Turn: Bass C (2 bars) + Stab D (minimal)
- Drop Fill: Bass D + Space Throw dummy
Scene Launch Mode:
---
Step 7 — Record the performance into Arrangement (capture the magic)
1. Hit Session Record (top bar).
2. Launch scenes/clips like you’re performing a drop:
- Build: minimal stabs → introduce responses → add throws → pull back → fill → repeat
3. Stop recording, switch to Arrangement.
4. Edit lightly:
- Consolidate the best 16–32 bars
- Remove any “over-talking” sections (too many stabs)
- Create a clear 8-bar question / 8-bar answer macro-structure
This method usually yields a more “alive” drop than drawing everything in Arrangement from scratch.
---
4) Common mistakes
---
5) Pro tips for darker/heavier DnB 🖤
- Send bass mids to a return with Overdrive → Saturator → EQ Eight
- Blend subtly for aggression without losing transient shape.
- Hybrid Reverb small rooms can add that gritty “warehouse” stamp.
---
6) Mini practice exercise (15 minutes)
1. Make 3 bass clips (A/B/C) and 3 stab clips (A/B/REST).
2. Add Follow Actions:
- Bass: 1 bar, Next (mostly)
- Stab: 1 bar, Other + include REST at high probability
3. Create 2 dummy clips:
- SPACE THROW (stab reverb throw at bar end)
- DIST PUSH (bass drive +1.5 dB during fills)
4. Perform and record 32 bars.
5. In Arrangement, highlight:
- Where the stab answers feel best
- Where silence improves the groove
- One “signature” turnaround (make it repeat every 16)
Goal: a drop that evolves while still sounding like one idea.
---
7) Recap
If you want, tell me your sub style (pure sine, reese-layered, or 808-ish) and your stab vibe (rave, techno, cinematic), and I’ll propose a specific 8-clip grid with exact note rhythms and automation targets.
```

