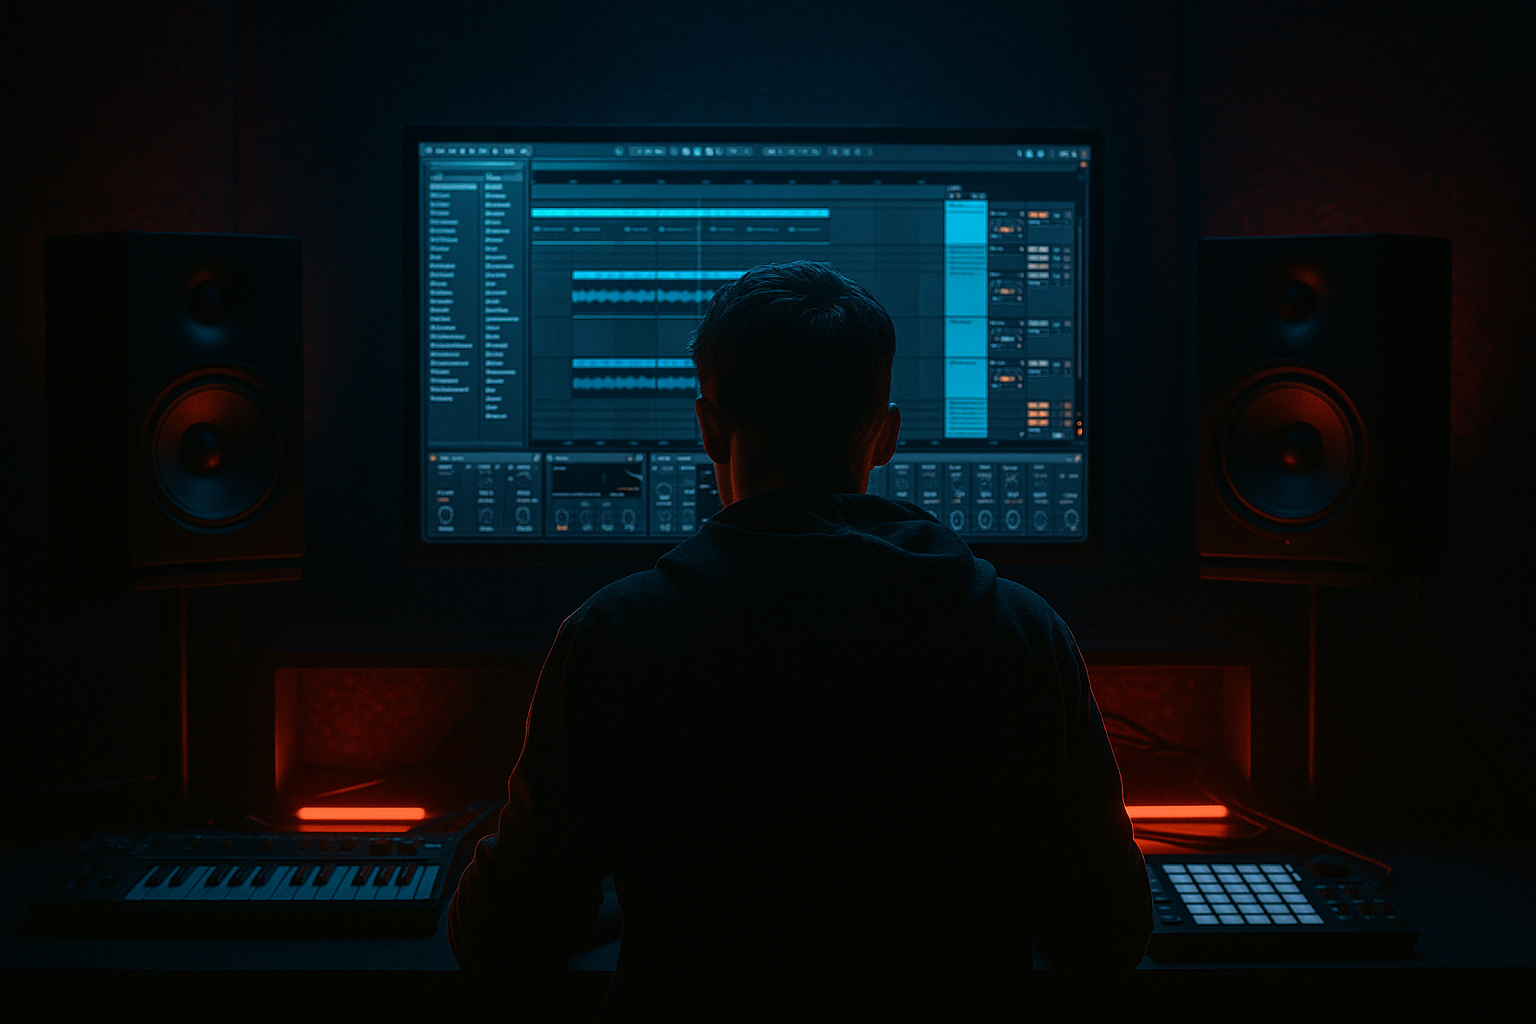
Main tutorial
```markdown
Bass Wobble in Ableton Live 12: Blend It for Deep Jungle Atmosphere 🥷🌫️
Skill level: Beginner
Category: Sampling (with a simple synth layer option)
Goal: Make a wobble bass that sits behind your breakbeat—deep, warm, and rolling—classic jungle/DnB vibe.
---
1. Lesson overview 🎛️
In jungle and rolling DnB, the wobble isn’t always a front-and-center “brostep” thing—often it’s a blended movement layer that adds atmosphere and momentum while the sub stays solid.
In this lesson you’ll:
- Build a two-layer bass (Sub + Wobble/Character)
- Create wobble movement using Auto Filter + LFO
- Use sampling workflows (Resampling + Simpler) to lock in groove and texture
- Blend the bass into your mix so it supports breaks, pads, and stabs
- SUB track (clean sine/triangle, mono, consistent)
- WOBBLE track (mid-bass movement + texture, filtered + modulated)
- BASS BUS group (glue + saturation + sidechain)
- Add Utility after Operator:
- Bar 1–2: 1/8
- Bar 3: 1/16 (more energy)
- Bar 4: 1/8T (jungle shuffle)
- Saturator
- Glue Compressor (optional but useful)
- Add Compressor on the `BASS BUS`
- Add Echo
- Add Reverb (subtle)
- Utility
- Add EQ Eight after Utility and check lows aren’t widening:
- Bars 1–8: Drums + Atmos + SUB only (no wobble yet)
- Bars 9–16: Introduce WOBBLE quietly (filtered low amount)
- Bars 17–24 (Drop): Wobble louder + faster LFO moments
- Bars 25–32: Pull wobble back, add a fill, tease next section
- Auto Filter Frequency (wobble intensity)
- Auto Filter LFO Amount
- Echo Mix (for transitions)
- Saturator Drive (tiny increases at drops)
- Add controlled grit with Roar (stock in Live 12)
- Layer a quiet “texture top”
- Use Drum Buss on the BASS BUS (carefully)
- Resample variations
- Build SUB + WOBBLE as separate roles
- Use Resampling + Simpler to keep wobble design beginner-friendly and controllable
- Create movement with Auto Filter LFO (sync rate changes = DnB vibe)
- Protect the mix with EQ split + mono sub + sidechain
- Blend atmosphere with subtle Echo/Reverb on wobble only
---
2. What you will build 🧱
A bass group with this structure:
Sound target: Think deep 90s jungle pressure—rolling low end, subtle vowel-ish motion, slightly gritty edges, not overpowering the drums.
---
3. Step-by-step walkthrough ✅
Step 0 — Set the project for DnB
1. Set tempo to 170–174 BPM
2. Load a breakbeat (Amen/Think-style) on an audio track
3. Add a basic 2-step kick/snare if you want extra reference
Arrangement tip: Start with an 8-bar loop while you design the bass.
---
Step 1 — Create the SUB (foundation)
1. Create a MIDI track → name it `SUB`
2. Add Instrument: Operator
3. Set Operator like this:
- Algorithm: A only
- Oscillator A: Sine
- Envelope:
- Attack 0 ms
- Decay ~200 ms
- Sustain -inf dB (or keep sustain up if you want legato notes)
- Release 80–150 ms
4. Add MIDI notes: classic rolling pattern (try in F or G minor)
Example (1 bar):
- F1 (1/2 bar) → F1 (1/4) → G1 (1/4)
Keep it simple; movement comes later.
Utility (important):
- Width: 0% (mono)
- Gain: adjust so sub hits around -12 to -9 dB peak on the track
Why: In DnB, the sub must be stable and mono so the wobble can dance around it.
---
Step 2 — Create the WOBBLE layer using sampling (Beginner-friendly)
We’ll make a wobble from a resampled bass tone, then shape it in Simpler.
#### 2A) Make a raw mid-bass tone (quick)
1. Create a MIDI track → name it `WOBBLE SOURCE`
2. Add Wavetable (or Operator if you prefer)
- Wavetable:
- Osc 1: Basic Shapes
- Shape: Saw-ish (around 70–90%)
- Unison: Off (keep it stable for now)
3. Add Saturator:
- Drive: 3–6 dB
- Soft Clip: On
4. Add Auto Filter:
- Filter Type: Lowpass 24 dB
- Frequency: ~200–600 Hz (we’ll modulate soon)
- Resonance: 10–20%
#### 2B) Resample it into audio (this is the “Sampling” part)
1. Create a new Audio track named `RESAMPLE`
2. Set its input to Resampling
3. Arm `RESAMPLE`
4. Play a few sustained notes (F1, G1, Ab1) for 4–8 bars
5. Stop recording → you now have a bass audio clip
#### 2C) Put it into Simpler (classic Ableton workflow)
1. Drag the recorded audio clip into a new MIDI track
2. Live will create Simpler
3. In Simpler:
- Mode: Classic
- Warp: Off (usually best for bass one-shots)
- Loop: On
- Set loop to a stable section (avoid clicks)
- Fade: tiny 2–10 ms if needed
Now you’ve got a “sample-based” mid-bass you can wobble cleanly.
---
Step 3 — Create wobble movement with Auto Filter LFO 🎚️🌀
On the `WOBBLE` (Simpler) track:
1. Add Auto Filter after Simpler:
- Filter Type: Lowpass 12 or 24 dB
- Frequency: start 250–450 Hz
- Resonance: 15–30%
2. Enable LFO in Auto Filter:
- Amount: start 25–45%
- Rate: set to Sync
- Try rates: 1/8, 1/8T, 1/16, 1/4
Jungle tip: alternating 1/8 and 1/8T gives that shuffly swing.
3. Choose LFO shape:
- Sine = smooth roll
- Triangle = slightly more motion
- Saw = more “yoy” / aggressive
DnB groove trick: Automate the LFO rate per bar:
Repeat / vary every 4 or 8 bars.
---
Step 4 — Split sub and mid so the wobble doesn’t wreck your low end
On the `WOBBLE` track:
1. Add EQ Eight:
- High-pass filter at ~90–120 Hz (24 dB slope if needed)
- Small dip around 200–350 Hz if it gets boxy
On the `SUB` track:
1. Add EQ Eight:
- Low-pass around 90–120 Hz (gentle 12 dB slope)
Result: Sub owns the floor; wobble lives above it.
---
Step 5 — Group and glue: the BASS BUS
1. Select `SUB` and `WOBBLE` tracks → Group them (`Cmd/Ctrl + G`)
2. Name the group `BASS BUS`
Add these devices on the group:
#### 5A) Saturation / density
- Drive: 1–3 dB
- Soft Clip: On
- Keep it subtle—this is glue, not destruction.
#### 5B) Control dynamics a bit
- Attack: 3 ms
- Release: Auto
- Ratio: 2:1
- Aim for 1–2 dB gain reduction on peaks
#### 5C) Sidechain to the kick (essential in DnB) 🥁
- Sidechain: On
- Input: your Kick track (or Drum Group)
- Ratio: 4:1
- Attack: 0.5–3 ms
- Release: 60–120 ms
- Lower threshold until the kick punches through cleanly
(You should feel the bass breathe, not vanish.)
---
Step 6 — Make it “deep jungle atmosphere” (blending techniques)
This is where most beginners go wrong: they make the wobble too loud. We’ll blend it like atmosphere.
#### 6A) Put space on the wobble only (not the sub)
On the `WOBBLE` track (NOT on SUB):
- Time: 1/8 or 1/8D
- Feedback: 10–25%
- Filter: roll off low end in Echo (keep it airy)
- Mix: 5–12% (tiny!)
- Decay: 0.8–1.8 s
- Size: small/medium
- High-pass the reverb input (if available) or use EQ after it
- Mix: 4–10%
#### 6B) Add gentle movement in stereo (only above ~200 Hz)
On the `WOBBLE` track:
- Width: 110–140%
- High-pass at ~120 Hz stays in place
---
Step 7 — Arrangement ideas (DnB/jungle rooted) 🧠
Try this 32-bar structure:
Automation lanes to use:
---
4. Common mistakes ⚠️
1. Wobble fighting the sub
Fix: high-pass wobble at 90–120 Hz and keep SUB mono.
2. Too much resonance = whistling tone
Fix: keep Auto Filter resonance around 15–30% for deep jungle; push higher only for special moments.
3. Over-widening low frequencies
Fix: widen only the wobble layer; keep sub Width 0%.
4. No sidechain = kick gets buried
Fix: sidechain on the BASS BUS so the groove stays punchy.
5. Constant wobble rate = boring
Fix: automate rate changes every 4–8 bars (classic DnB energy control).
---
5. Pro tips for darker/heavier DnB 🖤
Put Roar on the WOBBLE layer:
- Drive low, Mix 10–30%
- Use filtering inside Roar to keep lows clean
Duplicate WOBBLE → high-pass at 400–800 Hz, distort more, keep super low in volume.
- Drive: 1–5
- Boom: Off (sub already handled)
Print 8 bars of wobble with automation, then slice it in Simpler (Slice mode) for jungle-style edits.
---
6. Mini practice exercise 🧪
Make a 16-bar rolling loop:
1. Drums: breakbeat + kick/snare support
2. SUB: 2-note pattern (F1 → G1)
3. WOBBLE: Auto Filter LFO at 1/8, then automate:
- Bars 1–4: LFO Amount 20%
- Bars 5–8: LFO Amount 35%
- Bars 9–12: Rate 1/16
- Bars 13–16: Rate 1/8T, add Echo Mix +3%
Goal check: When you mute the WOBBLE, the track should still work. When you unmute it, the loop should feel deeper and more alive.
---
7. Recap 🔁
If you want, tell me what style you’re aiming for (classic jungle, liquid roller, techstep, neuro-ish), and I’ll suggest a wobble rate pattern + bass note rhythm that fits your drum groove.
```

