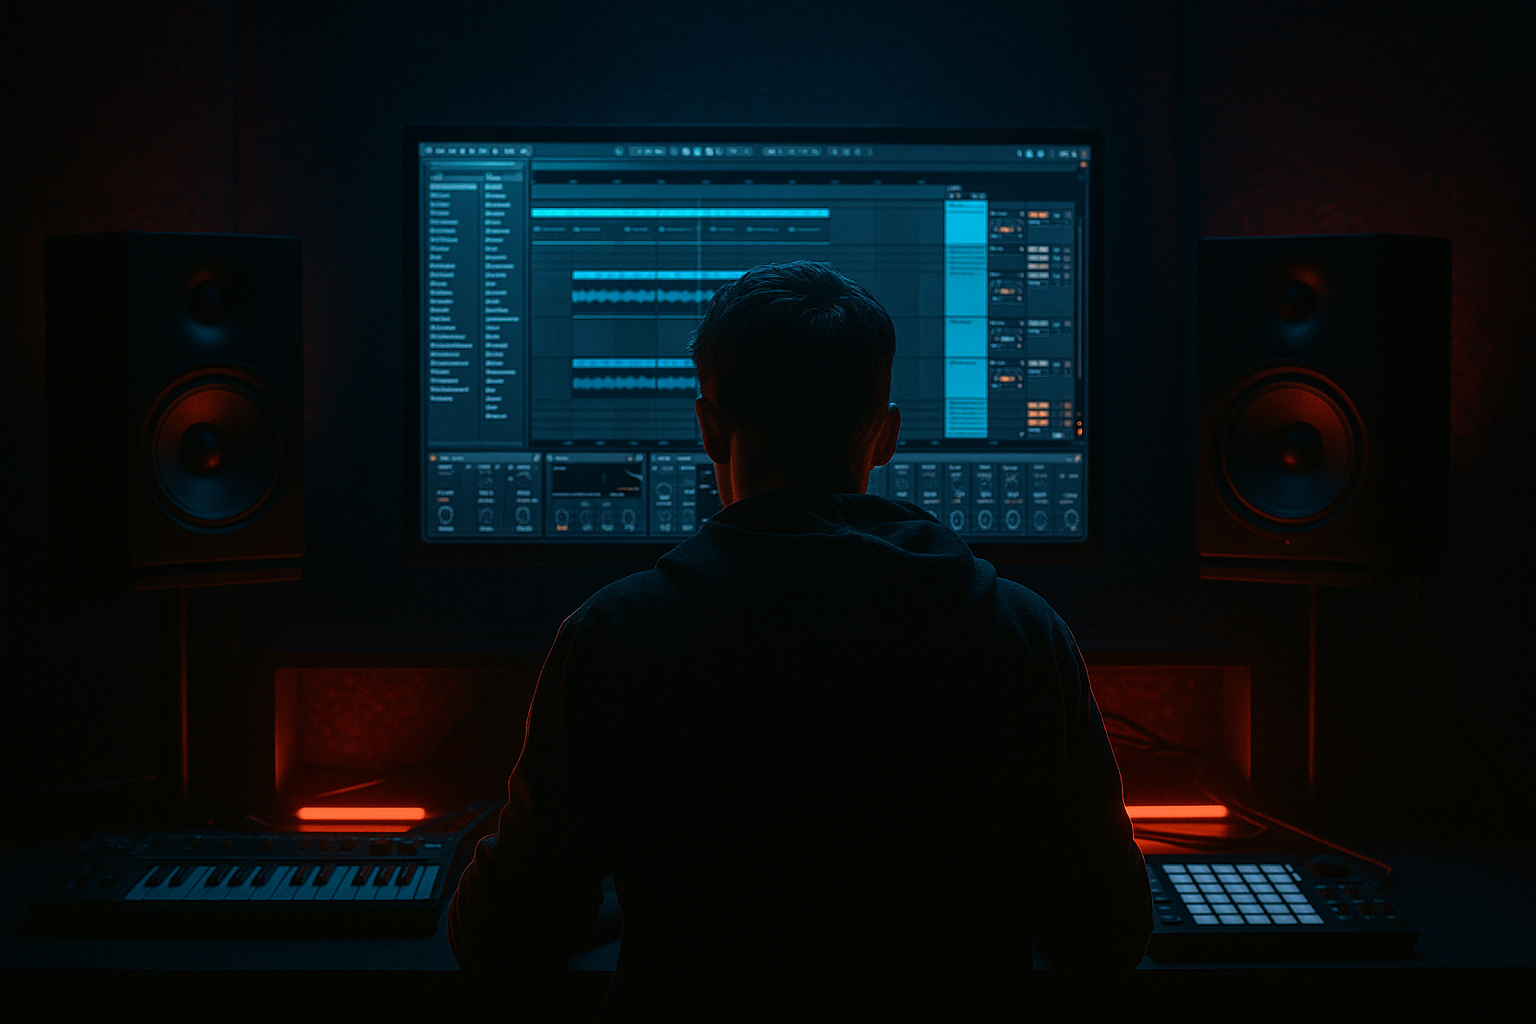
DNB COLLEGE

AI Drum & Bass Ableton Tutorials

LESSON DETAIL

Bass wobble in Ableton Live 12: ghost it with modern punch and vintage soul for jungle oldskool DnB vibes (Beginner)

An AI-generated beginner Ableton lesson focused on Bass wobble in Ableton Live 12: ghost it with modern punch and vintage soul for jungle oldskool DnB vibes in the Ragga Elements area of drum and bass production.

Free plan: 0 of 1 lesson views left today. Premium unlocks unlimited access.

Bass wobble in Ableton Live 12: ghost it with modern punch and vintage soul for jungle oldskool DnB vibes (Beginner) cover image

Narrated lesson audio

The voice track includes the tutorial plus extra teacher commentary.

Open audio file

Main tutorial

```markdown

Bass Wobble in Ableton Live 12: “Ghost It” with Modern Punch + Vintage Soul (Oldskool Jungle / Ragga DnB) 🔊🌀

1. Lesson overview

In this lesson you’ll make a classic jungle/DnB wobble bass that has:

  • Modern punch (tight sub, controlled dynamics, clean mono low end)
  • Vintage soul (movement, grit, tape-ish warmth, dubby wobble feel)
  • A “ghost” layer technique: a quiet, filtered wobble that sits behind the main bass to create motion you feel more than hear — perfect for ragga/oldskool vibes.
  • Everything is Ableton Live 12 stock (no plugins needed). Beginner-friendly, but very “real world”.

    ---

    2. What you will build

    A bass rack with three layers:

    1. SUB (Clean + mono): steady weight under your track

    2. MID (Wobble character): the audible “wah-wah” movement

    3. GHOST (Vintage wobble haze): subtle wobble + grit + space that makes the bass feel alive without cluttering the mix

    Plus:

  • Sidechain to the kick (and optionally snare)
  • A simple jungle arrangement pattern (8–16 bars) with call/response
  • A workflow that fits rolling ragga DnB at 165–175 BPM
  • ---

    3. Step-by-step walkthrough

    Step 0 — Session setup (DnB-friendly)

    1. Set tempo to 170 BPM.

    2. Make a basic drum loop (even a placeholder):

    - Kick on 1 and (sometimes) 11 (classic DnB spacing)

    - Snare on 5 and 13

    - Hats/shuffles optional

    > You want drums running while building bass so you hear groove decisions instantly.

    ---

    Step 1 — Create your bass MIDI clip (the “rolling” foundation)

    1. Create a MIDI Track → name it `BASS - Wobble`.

    2. Create a 1-bar or 2-bar loop.

    3. In the MIDI clip:

    - Key suggestion: F minor or G minor (easy jungle vibe)

    - Write a simple root-heavy pattern, like:

    - Notes: F1 (or G1)

    - Rhythm idea (1 bar):

    - Hit on 1.1, 1.2.3, 1.3, 1.4.2

    - Keep notes short/medium (not all legato)

    Beginner tip: Keep it mostly one note at first. Jungle basslines often live on the root; movement comes from wobble + arrangement.

    ---

    Step 2 — Build the bass with an Instrument Rack (3 layers)

    1. Drop an Instrument Rack on the bass track.

    2. Create 3 chains inside the rack:

    - `SUB`

    - `MID`

    - `GHOST`

    We’ll build each chain with stock instruments.

    ---

    SUB chain (clean weight, no wobble drama)

    Step 2A — SUB instrument + tuning

    1. On `SUB`, add Operator.

    2. Operator settings:

    - Oscillator A: Sine

    - Level: ~0 dB (adjust later)

    - Voices: 1 (mono)

    3. Add Glide/Portamento (optional):

    - If your MIDI has overlapping notes, a tiny glide gives that liquid roll.

    - Set Glide Time around 30–60 ms (taste)

    Step 2B — SUB processing (tight + mono)

    Add devices after Operator:

    1. EQ Eight

    - Low-cut? No (it’s the sub)

    - Make sure nothing crazy above:

    - Add a gentle dip around 200–400 Hz if it starts to “box” later.

    2. Saturator

    - Mode: Analog Clip

    - Drive: 2–5 dB

    - Keep it subtle; you want sub to translate, not fuzz out.

    3. Utility

    - Bass Mono: enable (or set Width 0%)

    - Gain: adjust so sub is strong but not clipping

    Goal: Sub is steady and doesn’t wobble too much. The wobble is mainly MID/GHOST.

    ---

    MID chain (the main wobble “wah” you hear)

    Step 2C — MID instrument

    1. On `MID`, add Wavetable (super easy for modern + vintage blend).

    2. Wavetable settings:

    - Osc 1: something warm like Basic Shapes (start on a saw-ish shape)

    - Unison: 2–4 (tiny)

    - Voices: 1 (keep mono-ish)

    3. Filter:

    - Type: LP24

    - Drive: a little (adds character)

    - Set cutoff around 150–400 Hz to start

    Step 2D — Make the wobble (LFO to filter)

    1. In Wavetable, enable LFO 1.

    2. Assign LFO 1 to Filter Cutoff.

    3. Settings:

    - LFO Rate: try 1/8 (classic wobble speed)

    - Amount: adjust until you hear “wah” clearly

    - Shape: start sine for smooth; try triangle for more bite

    - Sync: On

    DnB move: Automate LFO rate later (1/8 → 1/16 → 1/8) for fills.

    Step 2E — MID processing (punch + control)

    Add devices after Wavetable:

    1. EQ Eight

    - High-pass around 80–120 Hz (let SUB handle the deep)

    - Small dip around 250–350 Hz if muddy

    2. Drum Buss (yes, on bass—works great)

    - Drive: 5–15

    - Crunch: 0–10 (careful)

    - Boom: 0 (don’t fight sub)

    3. Auto Filter (optional extra movement)

    - LP12 or BP

    - Very slight modulation (we’ll keep the main wobble in Wavetable)

    ---

    GHOST chain (the secret sauce “vintage soul” wobble)

    This layer is quiet, filtered, gritty, sometimes slightly stereo above the sub zone. It creates the feeling of old hardware + dubby air behind the bass.

    Step 2F — GHOST instrument (simple source)

    1. On `GHOST`, add Analog (great for vintage).

    2. Analog settings:

    - Osc 1: Saw

    - Osc 2: Square (low level, like -12 dB)

    - Slight detune Osc 2: 5–12 cents

    3. Filter:

    - LP filter, cutoff fairly low (200–600 Hz)

    Step 2G — Ghost wobble + “behind the curtain” tone

    Add devices after Analog:

    1. Auto Filter

    - Mode: Band-Pass (BP) for “radio/dub” feel

    - Frequency: start around 400–1.2k

    - Resonance: 20–40%

    - Add LFO:

    - Rate: 1/8 or 1/16

    - Amount: small (you want movement, not obvious wah)

    2. Redux (for oldskool grit)

    - Downsample: 2–8 (subtle!)

    - Bit reduction: 0–2 (just a touch)

    3. Saturator

    - Drive: 3–8 dB

    4. EQ Eight

    - High-pass 150–250 Hz (important: keep low end clean)

    - Low-pass 4–8 kHz (keep it vintage)

    5. Utility

    - Width: 120–160% (only because we high-passed it)

    - Gain: pull it down so it’s felt more than heard (-12 to -24 dB range is normal)

    Why this works: MID gives the clear wobble. GHOST adds motion texture that makes the bass feel like it’s breathing through an old desk/tape/dub chain.

    ---

    Step 3 — Group control: glue the layers + macro them

    1. On the Instrument Rack, map useful controls to Macros:

    - Macro 1: `Wobble Rate` (MID LFO rate + GHOST Auto Filter rate)

    - Macro 2: `Wobble Depth` (LFO amounts)

    - Macro 3: `Tone` (MID filter cutoff + GHOST band-pass frequency)

    - Macro 4: `Grit` (GHOST Redux + Saturator drive)

    - Macro 5: `Sub Level` (SUB chain volume)

    - Macro 6: `Mid Level` (MID chain volume)

    - Macro 7: `Ghost Level` (GHOST chain volume)

    Now you can perform the bass like an instrument. 🎛️

    ---

    Step 4 — Sidechain it to the kick (and optionally snare)

    Classic DnB needs the kick to pop cleanly.

    1. Add Compressor at the end of the bass track (after the rack).

    2. Turn on Sidechain.

    3. Sidechain input: your Kick track.

    4. Start settings:

    - Ratio: 4:1

    - Attack: 2–10 ms

    - Release: 60–120 ms (set to groove)

    - Threshold: lower until you see 2–6 dB gain reduction

    Optional: If your snare needs more space, duplicate the compressor and sidechain to snare lightly (1–3 dB GR).

    ---

    Step 5 — Add “oldskool bounce” with subtle groove

    1. Add Groove Pool groove (like an MPC-ish shuffle) to your bass clip:

    - Start around 10–25% groove amount

    2. Or manually nudge a few bass notes slightly late (tiny!) to sit behind the drums.

    Jungle swing is about feel, not perfectly straight grids.

    ---

    Step 6 — Arrangement idea (8–16 bars, ragga friendly)

    Here’s a reliable oldskool DnB arrangement approach:

    Bars 1–4:

  • SUB + MID only, wobble rate 1/8, simple pattern
  • Bars 5–8:

  • Bring in the GHOST layer quietly
  • Slightly increase grit
  • Add a tiny automation bump on wobble depth for excitement
  • Bars 9–12 (call/response):

  • Drop MID wobble depth for 1 bar (“call”)
  • Then hit a deeper wobble bar (“response”)
  • Great under ragga vocals or toasting phrases 🎤
  • Bars 13–16 (fill):

  • Switch wobble rate to 1/16 for the last half-bar
  • Add a quick filter sweep down before the loop resets
  • ---

    4. Common mistakes

    1. Wobbling the sub too hard

    Keep SUB steady/controlled. Let MID/GHOST do the talking.

    2. Too much distortion too early

    Heavy drive can erase note definition. Build tone in layers.

    3. No high-pass on the GHOST layer

    If GHOST has low end, your mix will feel “wide but weak”.

    4. Sidechain pumping out of time

    If release is wrong, the bass ducks awkwardly and kills roll.

    5. Over-resonant filters

    Big resonance peaks can sound cool solo but harsh in the full mix.

    ---

    5. Pro tips for darker/heavier DnB 🖤

  • Add a controlled “reese shadow”:
  • In the GHOST chain, use a slightly detuned saw pair, then low-pass + saturate—keep it quiet, but it adds menace.

  • Use Multiband Dynamics as a “not-too-messy” thickener:
  • On MID chain (or whole rack), very gentle settings—don’t squash it.

  • Create contrast with automation, not constant aggression:
  • Dark DnB hits harder when the wobble rate/depth changes sparingly.

  • Mono-check your lows:
  • Put Utility on the master temporarily: Width 0% and make sure the bass still feels strong.

  • Darker vibe EQ move:
  • Slight dip around 2–4 kHz on the MID if it sounds “plastic”, then add grit lower (200–1k) instead.

    ---

    6. Mini practice exercise (10–15 minutes) 🧪

    1. Use the rack you built and create two 2-bar bass loops:

    - Loop A: wobble rate 1/8

    - Loop B: wobble rate 1/16 with slightly less depth

    2. Arrange them into an 8-bar phrase:

    - Bars 1–4: A

    - Bars 5–7: A

    - Bar 8: B (as a fill)

    3. Automate Ghost Level:

    - Keep it low in bars 1–4

    - Bring it up slightly in bars 5–8

    4. Export a quick bounce and listen on low volume:

    - Can you still feel the bass movement without it being too loud?

    ---

    7. Recap ✅

  • You built a 3-layer wobble bass rack: SUB (clean), MID (main wobble), GHOST (vintage motion).
  • You used LFO-to-filter for the wobble, plus a ghosted layer for soul and depth.
  • You tightened it with EQ Eight, Saturator/Drum Buss, Utility, and sidechain compression.
  • You learned a simple oldskool jungle arrangement that rolls and leaves space for ragga elements.

If you want, tell me your BPM and key (and whether you’re using vocal/toasts), and I’ll suggest a specific 16-bar bassline + automation plan to match your drum pattern.

```

Ask GPT about this lesson

Chat with the lesson tutor, get follow-up help, or use quick actions.

Bigup 👽 Ask me anything about this lesson and I’ll answer in context.

Narration script

Show spoken script
Title: Bass wobble in Ableton Live 12: ghost it with modern punch and vintage soul for jungle oldskool DnB vibes (Beginner)

Alright, let’s build a proper oldskool jungle wobble bass in Ableton Live 12, using only stock devices. We’re going for two things at the same time: modern punch, meaning tight sub and clean low-end control… and vintage soul, meaning that slightly gritty, breathing, dubby motion you hear in ragga and early jungle.

And the special trick today is the “ghost” layer: a super quiet, filtered wobble that sits behind the main bass. You don’t really notice it as a separate sound… but when you mute it, the track suddenly feels flatter. That’s the whole point.

Before we touch synths, let’s set the vibe.

Step zero: session setup.

Set your tempo to 170 BPM. That’s a sweet spot for jungle and oldskool DnB. Now throw together a basic drum loop, even if it’s temporary. Kick on beat one, snare on beat two and four in the bar… in Ableton terms, that’s snare on 1.2 and 1.4 if you’re thinking in quarters, or 5 and 13 if you’re thinking 16th steps. Hats and shuffles can come later.

The reason we start with drums running is simple: you make better bass decisions when you can feel how it locks with the groove. Jungle is all about drum-and-bass as one unit, not two separate things.

Now step one: the bass MIDI clip.

Create a new MIDI track and name it BASS – Wobble. Make a one-bar or two-bar loop. For a beginner-friendly jungle key, go with F minor or G minor. And here’s a big tip: don’t overcomplicate the notes. A lot of classic jungle basslines live on the root note and get their movement from modulation and arrangement.

So start with one note, like F1, and program a rolling rhythm. Try hits on the downbeat, then a couple syncopated placements. Keep the notes short to medium, not all legato. The bounce comes from the space between notes as much as the notes themselves.

Cool. Now step two: build the bass as three layers inside an Instrument Rack.

Drop an Instrument Rack onto the bass track. Open the chains, and make three chains. Name them SUB, MID, and GHOST.

Think of it like this:
SUB is the weight. It should be steady and centered.
MID is the “wah-wah” you actually hear.
GHOST is the secret haze that makes it feel alive and vintage, without cluttering.

Let’s do the SUB chain first.

On SUB, add Operator. Set oscillator A to a sine wave. Keep it mono, so one voice. If your MIDI notes overlap and you want that liquid roll, add a little glide. Something like 30 to 60 milliseconds is enough to feel, but not so much that it turns into a slidey mess.

After Operator, add EQ Eight. Don’t high-pass the sub. This is the sub. But later, if things feel boxy, you can dip a little around 200 to 400 hertz. For now, just keep it clean.

Then add Saturator. Analog Clip mode is great. Drive it gently, like two to five dB. You’re not trying to fuzz out the sub. You’re trying to make it translate on systems and feel solid.

Then add Utility. Make the low end mono. You can either set width to zero on the chain, or use Bass Mono behavior if you prefer. The goal is simple: the deepest energy stays dead center.

Now the MID chain, where the main wobble lives.

Add Wavetable. For the wavetable, start with Basic Shapes and lean toward a saw-ish shape. Keep it mostly mono: one voice, and if you use unison, keep it subtle, like two to four, just a little thickness.

Turn on the filter in Wavetable. Choose an LP24 filter. Add a touch of filter drive, because that gives you character without needing third-party distortion. Start the cutoff somewhere in the 150 to 400 hertz range. Don’t stress about the exact number yet. We’ll tune it by ear with the drums.

Now the wobble: enable LFO 1 and map it to the filter cutoff. Put LFO sync on, and start with a rate of one-eighth. That’s the classic wobble speed that sits nicely at 170 BPM. Use a sine shape for smooth motion, or triangle if you want a slightly edgier bite. Turn up the LFO amount until you hear that “wah” clearly.

Important teacher note here: filter wobble can become volume wobble. As you sweep cutoff, especially with resonance or drive, the sound can feel like it gets louder and quieter in an uneven way. If that happens, you’re not crazy. It’s normal. You can solve it by adding a gentle compressor inside the MID chain. Not sidechain, just a normal compressor. Ratio around 2 to 1, medium attack, medium release, just to level the moving tone so it feels consistent.

Now MID processing.

Add EQ Eight after Wavetable. High-pass the MID around 80 to 120 hertz. This is a key move: you’re setting the handover point between SUB and MID. As a beginner rule, let SUB own roughly 30 to 90 hertz, and let MID start mattering from around 90 to 120 and up. If the layers fight, increase the slope on the MID high-pass to 24 or even 48 dB per octave. That cleaner split instantly makes your bass feel more “pro.”

Then add Drum Buss. Yes, on bass. It’s great. Drive around 5 to 15, and keep Crunch low at first, like zero to five, maybe ten if you’re careful. And set Boom to zero, because we don’t want the MID chain trying to act like a subwoofer.

Optional: add Auto Filter after that if you want extra movement, but keep the main wobble in Wavetable for clarity.

Now the GHOST chain. This is where we get that vintage soul.

Add Analog. Set Osc 1 to saw, Osc 2 to square, but pull Osc 2 down a lot, like minus 12 dB. Detune Osc 2 slightly, maybe 5 to 12 cents. That little detune is a big part of the “older hardware” feel.

Set Analog’s filter to low-pass and keep cutoff fairly low, maybe 200 to 600 hertz. But we’re going to shape it more with effects.

After Analog, add Auto Filter. Set it to band-pass mode. This is the “radio dub” trick. Put the frequency somewhere like 400 hertz up to 1.2k. Add a bit of resonance, like 20 to 40 percent. Now turn on Auto Filter’s LFO. Set it to one-eighth or one-sixteenth rate, and keep the amount small. This is crucial: the ghost wobble should be felt more than heard. If it sounds like a second main bassline, it’s too loud or too wide in frequency.

Next add Redux. This is your oldskool grit. Downsample maybe 2 to 8, keep it subtle. Bit reduction barely any, like zero to two. The goal is that dusty edge, not total destruction.

Then add Saturator. Drive around three to eight dB, again depending how rude you want it.

Then EQ Eight. This part is non-negotiable: high-pass the ghost layer around 150 to 250 hertz. You must keep low end clean and mono. Then low-pass around 4 to 8k so it stays vintage and doesn’t start fizzing on top.

Then Utility. Since we high-passed it, we’re allowed to make it wider. Set width to maybe 120 to 160 percent. And then pull the gain down a lot. Seriously. Minus 12 to minus 24 dB is normal.

Here’s the placement test: play the full drums and bass. Mute the ghost chain. Unmute it. What you want is this: muted sounds flatter, unmuted sounds more animated. But you should not suddenly “hear a new instrument.” If you do, turn it down or narrow the band-pass.

Now step three: glue and macro control.

Go back to the Instrument Rack macros. Map the fun stuff so you can perform this bass like an instrument.

Map a macro called Wobble Rate to the MID LFO rate in Wavetable, and also to the Auto Filter LFO rate in the ghost chain. Now one knob can shift the whole bass between slow roll and faster chatter.

Map Wobble Depth to the LFO amounts.

Map Tone to the MID filter cutoff and the ghost band-pass frequency.

Map Grit to the ghost Redux amount and saturator drive.

And then map Sub Level, Mid Level, and Ghost Level to the chain volumes.

This is a huge workflow upgrade because now arrangement becomes performance. You’re not stuck in tiny device settings all day.

Step four: sidechain to the kick.

Add a Compressor after the rack on the bass track. Turn on Sidechain, pick your kick track as the input.

Start with ratio 4 to 1. Attack around 2 to 10 milliseconds. Release around 60 to 120 milliseconds. Then lower the threshold until you see about 2 to 6 dB of gain reduction.

Listen for the “breathing” to match the groove. If release is too long, the bass never recovers and the roll dies. If it’s too short, it can click and feel nervous. Adjust while the drums loop.

Optional move: if your snare needs more room, you can add a second compressor and sidechain it lightly to the snare, like one to three dB of reduction. But don’t overdo it or the whole bassline will feel like it’s flinching.

Quick advanced-but-beginner-friendly idea: instead of sidechaining the whole rack the same way, you can sidechain SUB only to kick with a shorter release, and sidechain MID plus GHOST a bit more gently with a longer release. That keeps low end tight while the character layer breathes. But save that for after you get the basic version working.

Step five: oldskool bounce.

Jungle swing is feel, not perfect grid. Use the Groove Pool and drop on an MPC-style shuffle, very lightly. Start with 10 to 25 percent groove amount. Or manually nudge a couple bass notes a tiny bit late. Tiny is the keyword. If you can obviously hear the timing shift, you probably pushed it too far.

Now step six: arrangement for ragga-friendly energy.

Think in 8 to 16 bars with call and response. Here’s a simple plan:

Bars 1 to 4: just SUB and MID. Wobble rate on one-eighth. Keep it simple and strong.

Bars 5 to 8: bring in the ghost layer quietly. Add a little grit. Maybe a small bump in wobble depth so it lifts.

Bars 9 to 12: do call and response without changing notes. For one bar, pull MID wobble depth down so it’s more “note” than “wah.” That’s the call. Next bar, push wobble depth deeper for the response. This leaves space for ragga vocals or toasts, because the bass isn’t constantly shouting.

Bars 13 to 16: add a fill. Switch wobble rate to one-sixteenth for the last half-bar, and do a quick filter sweep down right before the loop resets. Classic hype moment.

If you want an extra oldskool trick, automate to one-eighth triplet, just for the last beat or two of a phrase. That triplet flick screams ragga energy without rewriting your bassline.

Common mistakes to avoid while you tweak.

First: wobbling the sub. Don’t. Keep SUB steady. Let MID and GHOST provide the movement.

Second: too much distortion too early. If you destroy it with drive before it’s balanced, you lose note definition and it turns into a blurry roar.

Third: forgetting to high-pass the ghost layer. If the ghost has low frequencies and stereo width, your mix becomes wide but weak. The center disappears.

Fourth: sidechain out of time. Release time is everything for DnB roll.

Fifth: overly resonant filters. They can sound sick solo, but in a full mix they become harsh fast.

Now a quick “coach” mix check that will save you hours.

Put a Spectrum device after the rack, just to see what’s happening. If you’ve got a massive mountain below 40 Hz, you’re probably wasting headroom. Sometimes the bass feels bigger when you gently trim the useless ultra-low. Even the sub can benefit from a very gentle roll-off below about 25 to 30 Hz. That’s not removing the punch; that’s removing the rumble you can’t really hear but your limiter definitely can.

Also do the small-speaker test: sub vanishes on phones. So make sure the MID chain has enough harmonics that the bass “speaks” even when the sub is quiet. A tiny bit of saturator on the MID, even one to three dB of drive, often helps translation more than turning up the SUB level.

Mini practice exercise to lock this in.

Make two different two-bar loops using the same notes. Loop A uses wobble rate one-eighth. Loop B uses one-sixteenth but slightly less depth so it doesn’t get too noisy.

Arrange an eight-bar phrase: bars 1 to 7 use loop A, bar 8 uses loop B as a fill.

Then automate ghost level: keep it lower in the first four bars, bring it up slightly in bars five to eight.

Finally, export a quick bounce and listen at very low volume. If you can still sense motion and groove, while kick and snare stay in front, you nailed it.

Recap.

You built a three-layer wobble bass rack. SUB is clean, mono, and steady. MID is the main wobble you hear, driven by LFO to filter. GHOST is the quiet, high-passed, gritty, band-passed motion layer that adds vintage soul and dubby animation.

You mapped macros so the bass is playable. You sidechained to the kick for that DnB punch. And you used arrangement and automation to create hype without writing complicated melodies.

If you tell me your key, like F minor or G minor, and whether your drums are more steppy or breaky, I can suggest a bar-by-bar 16-bar automation map for wobble rate, depth, tone, and ghost level that will fit your exact groove.

Background music

Premium Unlimted Access £14.99

Any 1 Tutorial FREE Everyday
Tutorial Explain
Generating PDF preview…