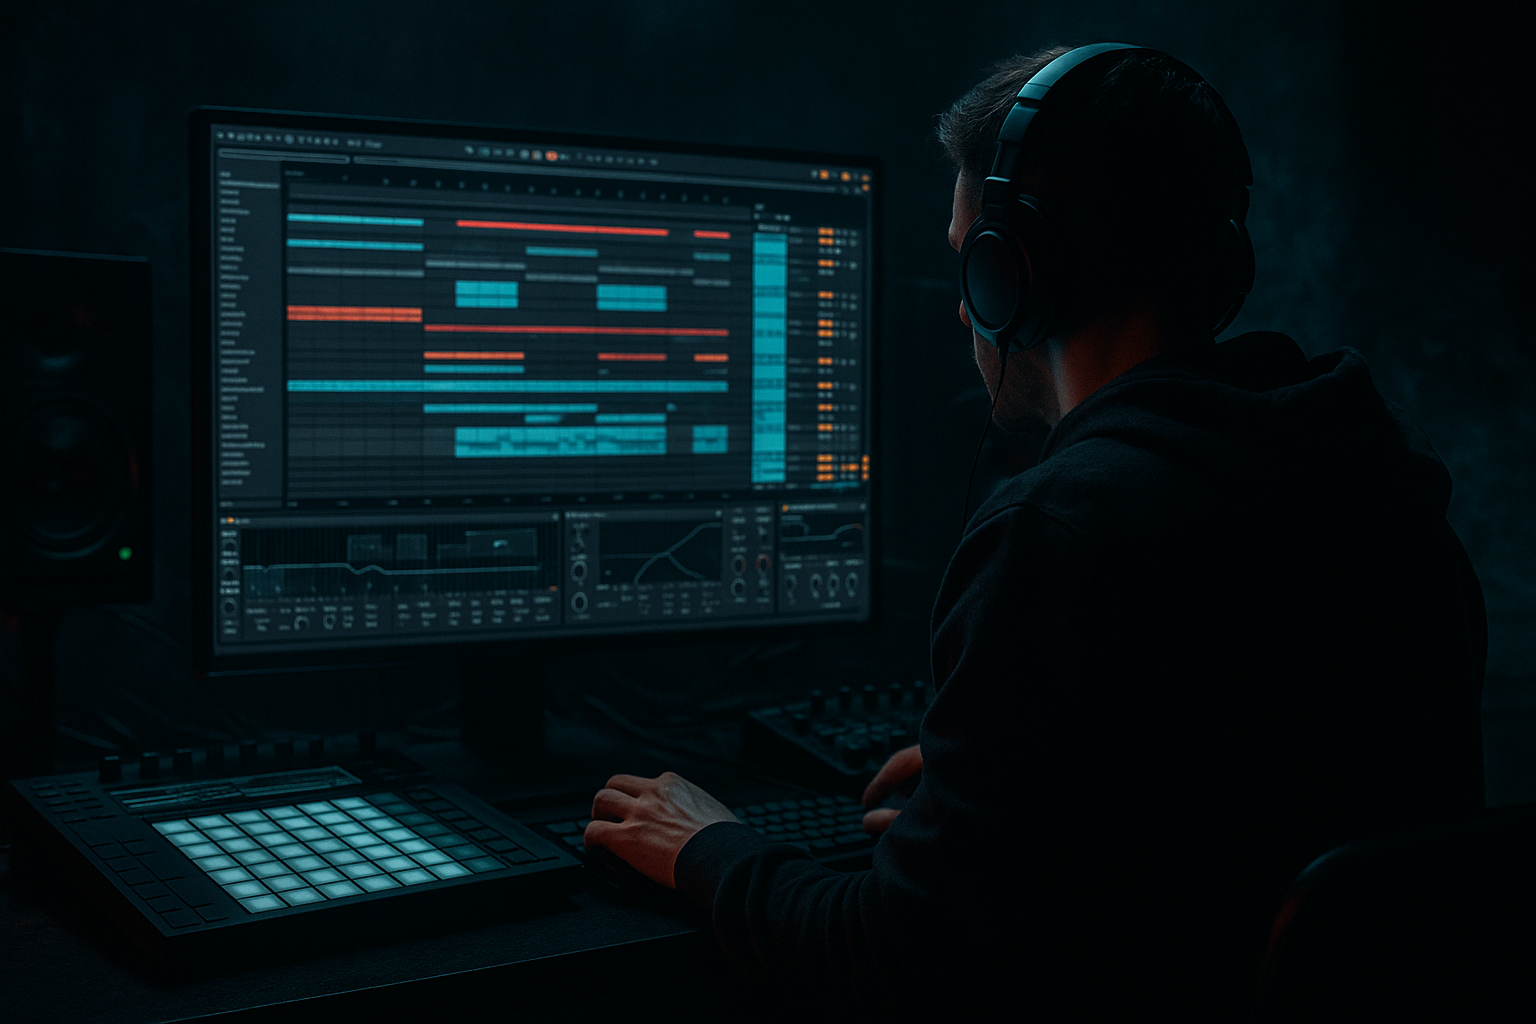
Main tutorial
```markdown
Bassline Bounce at 170 BPM for DJ‑Friendly Drum & Bass Sets (Ableton Live) 🎛️🔊
1) Lesson overview
In rolling DnB, the bassline doesn’t just “play notes”—it dances with the kick/snare and leaves space for DJs to mix. In this lesson you’ll learn how to create bounce at 170 BPM using:
- Rhythm + swing (micro-timing + note lengths)
- Sidechain + pocket (space for drums)
- DJ-friendly arrangement (clean intros/outros, stable low end)
- Works at 170 BPM
- Has a 2-step / roller bounce
- Sits cleanly under drums
- Is arranged into a DJ-friendly 64-bar intro → drop → 64-bar outro structure
- A playable MIDI bass pattern
- A solid Ableton device chain
- A reliable arrangement template for mixing in sets 🎚️
- Drop in a clean 170 DnB drum loop (2-step/roller).
- Drum Rack (stock)
- Choose samples: Kick, Snare, Closed Hat, Ride/shaker (any pack)
- Kick: 1.1
- Snare: 1.2 and 1.4
- Hats: 1/8 notes (or 1/16 with lower velocity)
- Use Velocity MIDI effect on hats: Random 10–18%, Out Hi around 90–105.
- F minor, G minor, or D minor are great starting points.
- Your safest sub notes: F1 (43.65 Hz), G1, Ab1, C2.
- Algorithm: A only
- Osc A: Sine
- Osc A Level: 0 dB
- Envelope (Amp):
- Add Utility after Operator:
- Set clip loop to 2 bars
- Use 1/16 grid
- Place F1 on:
- Same rhythm, but change one note for movement:
- Make most notes 1/16 to 1/8 long.
- Leave tiny gaps before the snare hits to make the groove breathe.
- Nudge some offbeat notes slightly late (a few ms), not the downbeats.
- Sidechain: On
- Audio From: DRUMS (or just kick track if separated)
- EQ in sidechain: enable, filter so it reacts mostly to kick (HP off, or band around low end)
- Ratio: 4:1
- Attack: 3–10 ms
- Release: 80–140 ms (tempo-dependent; adjust by ear)
- Threshold: lower until you get 3–6 dB gain reduction on kicks
- Kick feels clearer
- Bass “breathes” in time
- Groove feels like it’s pushing forward
- Osc 1: Saw (or Basic Shapes → saw-like)
- Unison: 2–4 voices, Amount low
- Filter: LP24
- Amp Envelope:
- Add Compressor with same sidechain, slightly less ducking (2–4 dB).
- If your kick is heavy at ~55–65 Hz, slightly dip sub there (1–2 dB).
- If your sub is F1 (~43.6 Hz), protect that fundamental:
- If the kick is too subby and masks bass, trim a touch at 40–50 Hz or tighten the kick sample.
- Bars 1–16: drums + hats only (no bass)
- Bars 17–32: add a filtered hint of bass mid (high-passed) or a simple “tone”
- Bars 33–48: add full drums + a teaser bass rhythm (still lighter)
- Bars 49–64: build with snare rolls / riser (keep sub minimal)
- Bars 65–128: full bass + drums
- Make 8-bar phrases with tiny variations:
- Reverse the intro approach:
- Auto Filter on MID BASS during intro (automate cutoff)
- Utility for quick -inf “mutes” / gain dips
- Reverb (small) on snare rolls only (don’t wash the sub)
- Add controlled distortion on MID only
- Neuro-ish movement without losing roll
- Reese bite (stock-only approach)
- Ghost notes for menace
- Keep the “DJ mix zones” clean
- Bounce at 170 comes from note length + gaps + sidechain, not constant bass notes.
- Build a clean sine sub (Operator) and keep it mono.
- Add a high-passed mid layer for presence and grit.
- Use subtle swing and let hats carry most groove.
- Arrange with 64-bar intros/outros so your track is DJ-friendly 🎧
This is beginner-friendly, but we’ll do it the way modern DnB/jungle producers actually work in Ableton Live.
---
2) What you will build
You’ll build a classic rolling bassline (sub + mid layer) that:
You’ll end with:
---
3) Step-by-step walkthrough
Step 0 — Project setup (fast + correct)
1. Set tempo to 170 BPM.
2. Set time signature 4/4.
3. Create 3 MIDI tracks:
- DRUMS (we’ll use a simple loop)
- SUB BASS
- MID BASS (optional but recommended)
4. On the Master:
- Add Limiter (temporary safety): Ceiling -0.3 dB, lookahead default.
> Goal: build the bass to a stable drum grid and keep headroom while learning.
---
Step 1 — Start with a simple “roller” drum foundation 🥁
Bounce is easiest when the drums are consistent.
Option A: Use a loop
Option B: Build a basic pattern (recommended for learning)
On DRUMS, load:
1-bar pattern (classic 2-step)
Add a little movement:
> Keep drums simple. The bass will provide the “roll”.
---
Step 2 — Choose a key + write a DJ-friendly bass note set 🎼
Pick a key that’s common in DnB and easy for subs:
For this lesson: F minor.
> DJ-friendly tip: Avoid wild key changes every 8 bars. Keep the drop harmonically consistent so it blends in a set.
---
Step 3 — Build the SUB BASS (clean + punchy) using stock devices
On SUB BASS, load Operator (stock).
Operator settings (simple, clean sub):
- Attack: 0–5 ms
- Decay: 300–600 ms
- Sustain: -inf (or very low)
- Release: 60–120 ms
This gives a “note-shaped” sub that can bounce.
Add a utility safety:
- Bass Mono: On (if you have this option)
- Width: 0% (keep sub mono)
- Gain: adjust later
---
Step 4 — Program the bounce pattern (the core of the lesson) 🏃♂️💨
Create a 2-bar MIDI clip on SUB BASS.
Grid settings
#### The “roller bounce” rhythm (easy version)
Use mostly F1 (root), with occasional G1/Ab1 as passing notes.
Bar 1 (suggested hit points):
- 1.1.1 (short)
- 1.1.3 (short)
- 1.2.3 (short, after snare)
- 1.3.1 (slightly longer)
- 1.3.3 (short)
- 1.4.3 (short)
Bar 2:
- Replace one F1 (e.g. 2.3.1) with Ab1 (short) then back to F1
#### Note length = bounce
Golden rule:
If the bass note overlaps the snare too much, the roller loses “lift”.
---
Step 5 — Add swing the right way (subtle, not sloppy) 🕺
DnB swing is often subtle and comes from micro-timing and note lengths, not huge groove amounts.
Option 1: Groove Pool (recommended)
1. Open Groove Pool
2. Add a groove like Swing 16-XX (start around 16-45 style)
3. Apply to the SUB clip:
- Timing: 10–25%
- Random: 2–6%
- Velocity: 0–10%
4. Commit only if needed (you can keep it live).
Option 2: Manual micro-shifts
> Keep sub tight. Let hats/shakers carry most of the swing.
---
Step 6 — Sidechain to the kick (and optionally snare) for clean punch
On SUB BASS, add Compressor after Utility.
Compressor settings (classic DnB sidechain):
What to listen for
> If the bass “ducks” too long, shorten release. If it clicks, increase attack slightly.
---
Step 7 — Add a MID BASS layer for presence (still DJ-friendly)
This layer gives audibility on smaller systems while keeping the sub pure.
On MID BASS, load Wavetable (stock) or Operator.
Wavetable quick settings (simple reese-ish presence):
- Cutoff: 200–600 Hz (start ~350)
- Drive: light
- Attack: 0–10 ms
- Decay: 200–400 ms
- Sustain: low-mid
- Release: 50–120 ms
MID processing chain (stock):
1. EQ Eight
- High-pass at 120–180 Hz (keep this layer out of sub)
- Small dip around 250–400 Hz if boxy
2. Saturator
- Drive: 2–6 dB
- Soft Clip: On
3. Chorus-Ensemble (optional)
- Keep it subtle; you want width above 200 Hz only
4. Utility
- Width: 120–160% (but only because you high-passed it)
Copy the same MIDI clip from SUB to MID.
Sidechain MID too
---
Step 8 — Lock the bass to the drums with “pocket EQ”
You want kick + sub to coexist, not fight.
On SUB BASS: EQ Eight
- Don’t cut too much at 40–50 Hz.
On DRUMS: EQ Eight
> DJ-friendly = stable low end that translates in clubs.
---
Step 9 — Make it DJ-friendly: arrangement template (intro/outro that mixes cleanly) 🎚️
A very usable structure:
#### Intro (64 bars)
#### Drop (64 bars)
- remove 1 bass hit every 8 bars
- add a passing note in bar 8
- add a short stop in bar 16 (1 beat break) for impact
#### Outro (64 bars)
- pull bass out first
- keep drums clean for mixing
Ableton devices for transitions
---
4) Common mistakes (and how to fix them)
1. Bass notes too long
- Fix: shorten to 1/16–1/8, leave gaps before snares.
2. Sidechain too extreme
- Fix: aim for 3–6 dB GR on sub; adjust release so it recovers before next hit.
3. Sub not mono
- Fix: Utility width 0% on SUB track.
4. MID layer stealing the low end
- Fix: high-pass MID at 120–180 Hz minimum.
5. No phrase variation
- Fix: every 8 bars, change one thing (note, rest, filter automation).
6. Trying to swing the sub too much
- Fix: keep sub tight; swing hats/shakers more than sub.
---
5) Pro tips for darker/heavier DnB 🖤
- Saturator with Soft Clip and drive until it speaks on small speakers.
- Put Auto Filter on MID with subtle LFO:
- Rate: 1/8 or 1/4
- Amount small
- Keep sub clean and steady underneath.
- Wavetable: saw + slight detune + low-pass
- Add Amp (device) for grit, then EQ.
- Very quiet extra sub hits right after snare (low velocity / shorter).
- In intros/outros: avoid huge sub and avoid complex fills every bar.
---
6) Mini practice exercise (15–25 minutes) ✅
1. Make a 2-bar SUB pattern using only F1 and one passing note (Ab1).
2. Create three versions:
- A: straight timing, short notes
- B: add Groove Pool swing (Timing 15–20%)
- C: same as B, but remove one bass hit every 2 bars (space = bounce)
3. Arrange:
- 16 bars intro drums only
- 16 bars intro with filtered MID
- 32 bars drop with full bass
4. Export a quick test mix and listen on:
- headphones
- phone speaker (check MID layer audibility)
---
7) Recap
If you want, tell me what vibe you’re aiming for (liquid roller, jungle steppers, dark minimal, foghorn-ish) and I’ll give you a bass MIDI pattern + device rack tailored to it.
```

