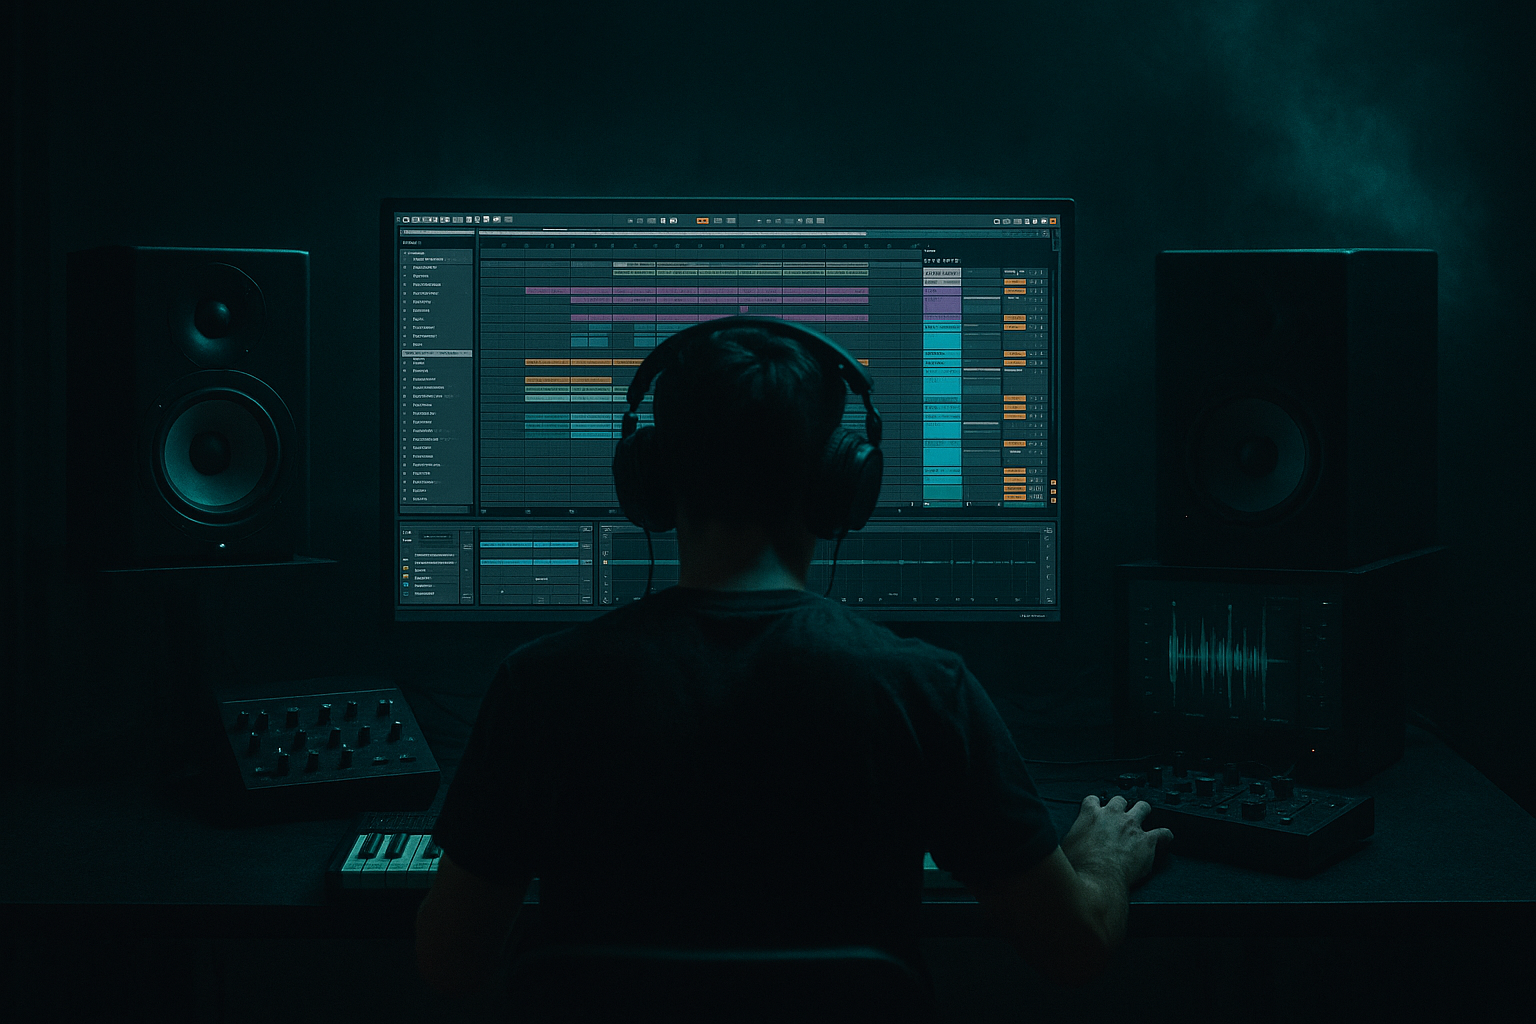
Main tutorial
Bassline Theory Blueprint: Riser Shape in Ableton Live 12 (Oldskool Jungle / DnB) 🚀
1. Lesson overview
In oldskool jungle and early DnB, the bassline often doesn’t just “sit there.” It rises in perceived energy over 4–16 bars—sometimes subtly, sometimes aggressively—using pitch movement, filter opening, harmonic brightening, distortion, and rhythmic density. This “riser shape” is a bassline arrangement technique, not just a sound-design trick.
In this lesson you’ll build a classic rolling jungle bass that ramps into a drop or into a more intense phrase—using stock Ableton Live 12 devices, clean automation workflows, and arrangement-first thinking.
---
2. What you will build
A 16-bar bass phrase with a clear riser arc:
- Bars 1–8: stable, dubby, warm low-end (foundation)
- Bars 9–12: subtle lift (more midrange and motion)
- Bars 13–16: peak intensity (brighter, louder perceived energy, more rhythm)
- Optional: 1-bar “pre-drop” push (classic jungle hype)
- A MIDI bass part (oldskool movement)
- A device chain that supports the riser shape
- Automation lanes that create a controlled, mix-safe build
- Notes: F1 (short), F1 (short), C2 (short), F1 (short)
- Rhythm: mostly offbeat 8ths with a couple of 16th nudges
- Use Groove Pool: try MPC 16 Swing 55–60% lightly.
- Or use MIDI Velocity variation: keep ghost notes ~60–80 velocity.
- Wavetable
- Osc A: Sine
- Osc B: Sine (1 octave up, very low level for subtle harmonic)
- Filter: LP24
- Add Saturator & Auto Filter as above
- Osc A: Sine
- Pitch: F0–F1 range depending on your track (watch your system)
- Filter: off or very gentle LP
- Remove extra rhythmic chatter if it makes the sub unstable.
- Keep sub notes slightly longer and more consistent.
- Automate Filter Frequency
- In Arrangement View, press `A` to show automation.
- Draw a gentle exponential curve (not linear) so it feels like it “wakes up” late.
- Bars 1–8: 2–3 dB
- Bars 9–12: 3–5 dB
- Bars 13–16: 5–8 dB (then trim output!)
- Extra 16th-note pickups before key hits
- A “double-hit” on the offbeat
- A short turnaround fill in bar 16 (classic pre-drop behavior)
- Bar 16 beats 3–4: add a quick F–G–Ab–A (or F–Gb–G) run (keep it short, don’t turn it into a solo)
- LFO: Sine
- Rate: 0.10–0.30 Hz (slow)
- Amount: very small (2–8 cents)
- Automate LFO amount to increase slightly towards bars 13–16.
- Amount low, Rate slow
- High-pass in the device if available / or EQ after it
- Intro (16–32 bars): drums + atmosphere, bass minimal
- Drop A (32 bars): bass steady for 8 bars → riser shape 8 bars
- Drop B / Variation: bring in new bass rhythm or higher harmonic layer
- Break: strip sub, keep filtered MID bass as teaser, then drop again
- Opening the filter on the SUB: your low-end starts “moving” and the mix collapses.
- Turning up volume instead of increasing harmonics: you get louder, not more exciting.
- Too much unison/detune: sounds wide but becomes blurry and weak in mono.
- Over-automating everything: the riser shape should feel like one arc, not 12 random changes.
- Ignoring sidechain timing: if the bass doesn’t breathe with the kick, it won’t roll.
- Parallel distortion for aggression (stock):
- Use Roar’s filtering + drive as the riser itself:
- Transient discipline:
- Keep the sub boring on purpose:
- The riser shape is an arrangement blueprint: foundation → lift → peak.
- For jungle/DnB, the clean approach is SUB stable + MID evolves.
- Use filter opening + harmonic drive + rhythmic density as your main energy tools.
- Automate with intention: one arc, controlled with EQ, sidechain, and limiting.
- Stock Ableton devices (Wavetable/Operator, EQ Eight, Saturator, Auto Filter, Compressor, Roar) are more than enough to get legit oldskool rolling pressure. 🔥
You’ll end with:
---
3. Step-by-step walkthrough
Step 0 — Session setup (so the bass actually behaves)
1. Tempo: 160–170 BPM (try 165 BPM).
2. Time signature: 4/4.
3. Create tracks:
- `BASS (MID)` (main bass synth)
- `SUB (CLEAN)` (optional but recommended for tight low-end)
- `DRUM BUS` (so you can sidechain properly)
Why split SUB/MID? Jungle bass movement often lives in the mids, while the sub stays consistent and mix-safe.
---
Step 1 — Write the bassline skeleton (the “oldskool brain”)
Key choice: F minor or G minor are classic. Try F minor.
1. Create a 16-bar MIDI clip on `BASS (MID)`.
2. Keep it simple and repetitive, then evolve it.
3. Use a two-note call/response idea (very jungle):
- Root (F) + Fifth (C) or Root (F) + Flat 7 (Eb)
Pattern suggestion (1-bar loop to start):
Practical Ableton tip (groove):
> Goal: a bassline that can loop, but has room for automation to “riser” it.
---
Step 2 — Build the bass sound (stock devices, jungle-ready)
#### Option A: Classic “reese-ish but controlled” with Wavetable
On `BASS (MID)` load:
- Osc 1: Saw (or “Basic Shapes” Saw)
- Osc 2: Saw, detune slightly
- Unison: 2–4 voices (don’t go crazy)
- Detune: 5–12% (taste)
- Filter: LP24
- Filter Freq: start around 200–400 Hz (we’ll automate)
Then add devices after Wavetable:
Device chain (recommended):
1. EQ Eight
- HP (12 dB/oct) around 80–120 Hz (because SUB track will handle true low-end)
- Gentle dip if muddy: 250–400 Hz (1–3 dB)
2. Saturator
- Mode: Soft Sine or Analog Clip
- Drive: 2–6 dB
- Output: trim to match
3. Auto Filter (yes, another filter—this is for macro shaping)
- LP24, clean
- Envelope off (manual automation)
4. Compressor (sidechain from drums)
- Sidechain: `DRUM BUS` (or Kick)
- Ratio: 3:1–5:1
- Attack: 10–30 ms (let some bite through)
- Release: 60–120 ms (pump to groove)
#### Option B: More oldskool “dub bass” with Operator
---
Step 3 — Add a clean SUB (simple but powerful)
On `SUB (CLEAN)` load Operator:
Then:
1. EQ Eight
- Low-pass around 90–120 Hz (keep it clean)
2. Compressor sidechained to kick/drum bus
- Ratio 4:1
- Fast attack 1–5 ms
- Release 80–140 ms
Copy the same MIDI notes from your bassline, but:
---
Step 4 — Create the Riser Shape (the actual blueprint) 📈
We’re going to build intensity across 16 bars using 3 main lanes:
#### Lane A: Filter opening (classic and effective)
On your `BASS (MID)` Auto Filter (or Wavetable filter):
- Bars 1–8: ~200–500 Hz (dubby, contained)
- Bars 9–12: rise to ~800 Hz–1.2 kHz
- Bars 13–16: rise to ~1.5–3 kHz (depends on how bright you want it)
Ableton workflow:
#### Lane B: Harmonic intensity (perceived loudness without just turning up)
Automate Saturator Drive on `BASS (MID)`:
Optional: automate Saturator Dry/Wet (if you’re being careful with tone).
#### Lane C: Rhythmic density (jungle energy move)
In bars 13–16, add:
Example move:
This works because jungle “rises” are often rhythmic hype, not just synth pitch.
---
Step 5 — Add micro pitch motion (the “oldskool tape-warble” vibe) 🎛️
Instead of pitching the whole bass up (which can kill sub authority), do subtle pitch or phase motion in the MID layer only.
Option 1: Wavetable LFO → Fine pitch
Option 2 (stock): Add Chorus-Ensemble (very gentle)
Keep chorus out of the sub.
---
Step 6 — Add the “riser clamp” so it stays mix-safe
A riser shape can easily get harsh, loud, or messy. Control it:
1. On `BASS (MID)`, add Limiter last:
- Ceiling: -0.3 dB
- It should only catch occasional peaks (1–2 dB gain reduction).
2. Add EQ Eight near the end for automation-based cleanup:
- Automate a small dip around 2–4 kHz if it gets stabby in the peak section.
- Consider a dynamic cut using Multiband Dynamics (gentle) if needed:
- Tame high-mid band when the filter opens.
---
Step 7 — Arrangement placement: where the riser shape actually shines
Use the 16-bar phrase in classic jungle structure:
Oldskool trick: During the last 2 bars, mute SUB, keep only MID (filtered), then slam SUB back at the drop. Instant impact.
---
4. Common mistakes
---
5. Pro tips for darker/heavier DnB 🖤
- Create a return track `BASS GRIT` with Roar (or Saturator if you want simpler).
- High-pass the return at 200–400 Hz so only mids get destroyed.
- Send more into the return during bars 13–16 only.
- Automate Roar’s filter cutoff + drive together for a “pressure build.”
- If your bass clicks on note starts, use Envelope in synth amp or a tiny attack (2–8 ms).
- Let drums own the transient; let bass own the sustain.
- Heavy DnB = consistent sub with evolving mids. That’s the cheat code.
---
6. Mini practice exercise (15–25 minutes) ✅
1. Make a 4-bar bass loop (MID + SUB).
2. Duplicate it to 16 bars.
3. Add only two automation lanes:
- Filter cutoff (MID)
- Saturator drive (MID)
4. In bars 13–16, add one rhythmic density change (no more).
5. Export a quick bounce and listen on low volume:
- Does it feel like it “leans forward” into bar 16 without getting harsh?
Bonus: Make a second version where the riser is mostly rhythm, not filter.
---

