Main tutorial
Lesson Overview
In this lesson, you’ll learn how to build a jungle-swing bassline in Ableton Live 12 that feels alive, syncopated, and ready to sit under chopped breaks in a proper Drum & Bass arrangement. The focus is not just on sound design, but on how bass phrasing, swing, and FX automation interact with the drums so the groove feels like DnB rather than a looped MIDI pattern.
This sits right at the heart of a track’s main drop section, but the same ideas also work in breakdowns, 16-bar switch-ups, and DJ-friendly intros where you want the bass motif to hint at the drop without giving everything away. In jungle, rollers, darker neuro-influenced DnB, and modern half-step / breakbeat hybrids, the bassline often does more than hold low end: it becomes a rhythmic instrument that converses with the drums.
Why this matters: in DnB, a bassline that is technically “good” but rhythmically stiff will flatten the energy of the break. A bassline with swing, micro-rests, and controlled movement can make the whole drop feel deeper, heavier, and more expensive. The FX layer is what helps the pattern evolve across 16s and 32s so it doesn’t sound like a static loop. 🎛️
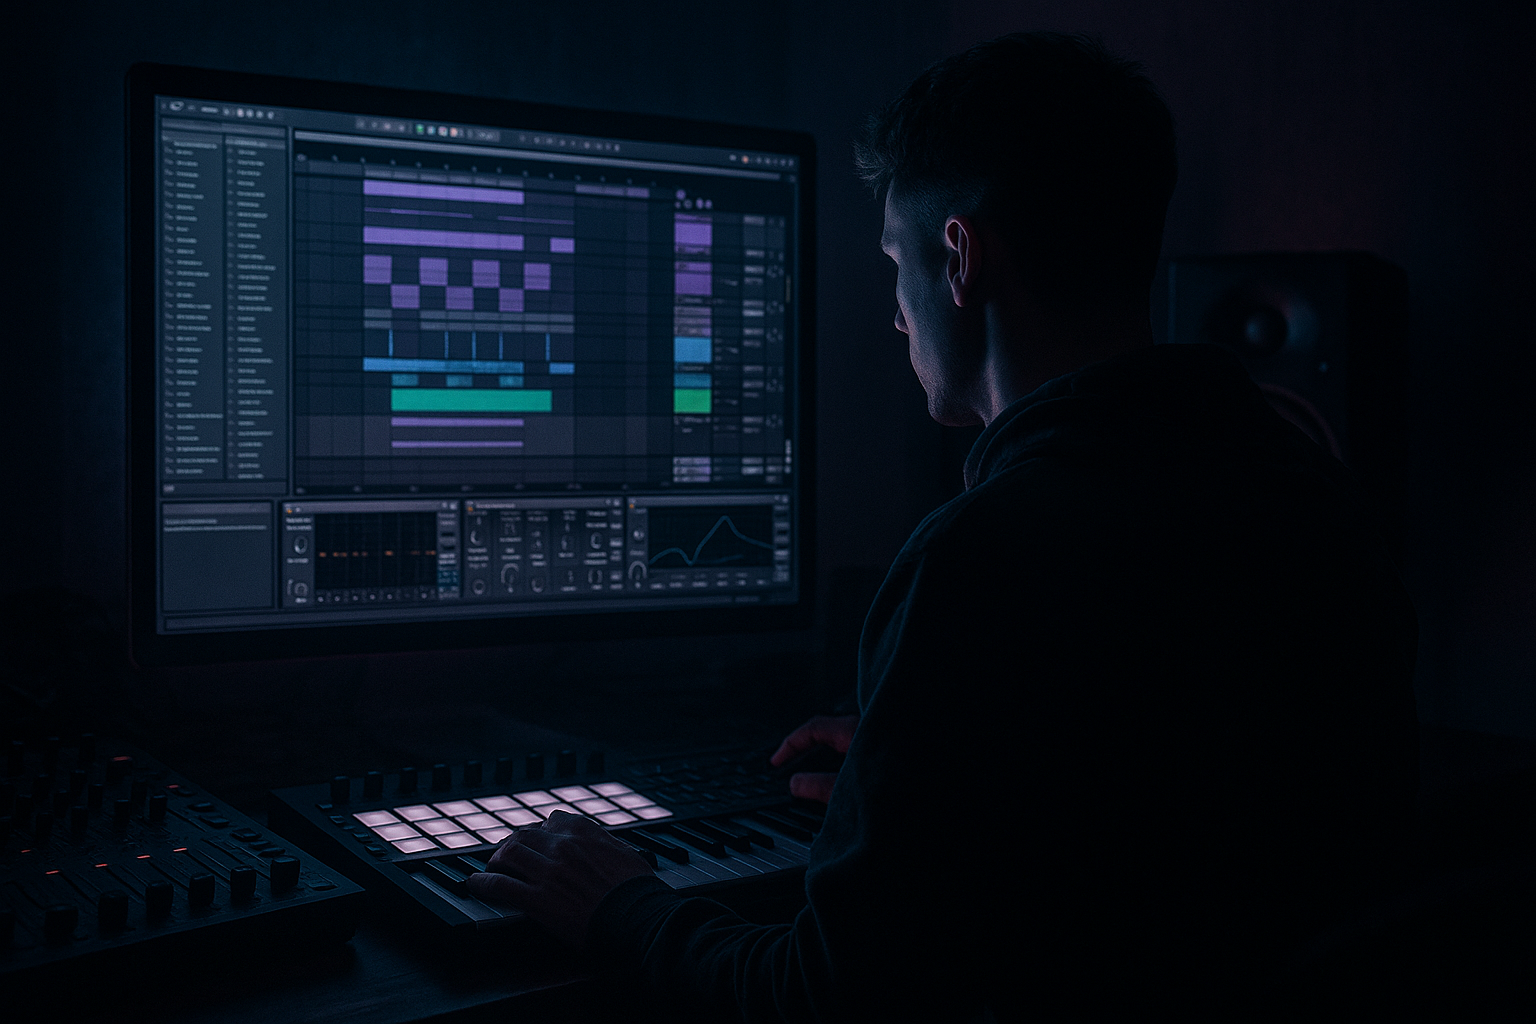
You’ll use Ableton Live 12 stock tools to:
- shape a bassline with sub + mid reese layers
- give it jungle-style swing
- arrange call-and-response phrasing
- automate filters, distortion, width, and transitions
- keep the low end tight, mono-safe, and mix-ready
- a solid sub foundation with short, deliberate notes
- a midrange reese layer that adds aggression and motion
- a syncopated, off-grid rhythmic feel that locks into chopped breaks
- a bassline that answers the drums, leaving space for ghost notes and snare accents
- automation-driven FX that create tension, movement, and drop-to-drop variation
- Making the bassline too busy
- Putting wide stereo processing on the sub
- Using too much swing on every element
- Ignoring drum/bass interaction
- Overusing distortion
- No variation over 8 or 16 bars
- Letting FX smear the low end
- Layer a very quiet distorted mid under the bass using Saturator + EQ Eight to add audible presence on small speakers without touching sub weight.
- Use frequency-appropriate movement: keep sub static, move the mids. That gives energy without destabilizing the low end.
- Automate micro-filter shifts of just a few percent on the reese layer during phrase endings. Small changes feel expensive in darker DnB.
- Resample the bass and chop tiny gaps before snare hits. This can create a nasty, broken-jungle edge without rewriting the whole MIDI pattern.
- Use Echo throws sparingly on the last note of a section with low feedback and filtered repeats. It adds space while keeping the drop ruthless.
- Create tension with silence: a half-beat of no bass before a phrase reset often feels heavier than a huge fill.
- Keep the drum bus and bass bus separate until you’re confident. Clean routing helps you make sharper decisions.
- Try call-and-response with registers: one phrase in the lower mid, the response a fifth or octave above, while the sub remains anchored.
- build from a clean mono sub
- add a controlled mid-bass/reese layer
- use jungle swing, micro-rests, and note length to shape groove
- automate filter, drive, width, and FX sends for evolution
- arrange bass in phrases, not endless loops
- keep the low end tight, mono-safe, and drum-aware
What You Will Build
By the end of this lesson, you’ll have a 2-bar jungle-swing bass pattern that can be expanded into a full 16-bar DnB drop.
Musically, the result will feel like:
Think of it like this: the drums are the engine, and the bass is the steering wheel. The rhythm decides where the energy turns.
Step-by-Step Walkthrough
1. Set up the drop loop and choose a working tempo
Start with a tempo in the typical DnB range: 170–174 BPM for rollers and jungle swing, or 172–176 BPM if you want a sharper, more urgent feel. Drop an 8-bar loop into Arrangement View or Session View so you can hear the bass against full drums, not in isolation.
Build a simple reference drum foundation:
- kick on 1 and occasional syncopations
- snare on 2 and 4
- chopped break loop or edited break layer
- hi-hat/ride pattern if needed for time feel
Why this works in DnB: bassline swing only makes sense in context. The break gives the groove its “push-pull,” and the bassline should occupy pockets around the snare and ghost notes instead of fighting the grid.
Keep your return tracks ready now:
- one short dub delay return
- one reverb return for atmos
- optionally one parallel distortion/saturation return for FX moments
2. Program a sub-first bass MIDI pattern
Create a new MIDI track and load Operator or Wavetable. For an intermediate workflow, it’s often faster to start with a clean sub and then layer tone on top.
In Operator:
- use a sine wave or very clean triangle-style source
- turn off unneeded modulation
- keep the amplitude envelope tight:
- Attack: 0–5 ms
- Decay: short or medium depending on note length
- Sustain: around 0 dB for held sub notes, or lower if you want pluckier phrasing
- Release: 20–80 ms
Write a 2-bar phrase with only 4–6 notes. Keep the rhythm spacious:
- place one note before the snare as a pickup
- leave at least one bar with a gap in the low end
- use a mix of short notes and one or two longer notes
- try a note on the “and” of 3 or the “e” of 4 for jungle tension
A good starting point:
- root note on bar 1 beat 1
- a syncopated note before beat 2
- a rest under the snare
- a short answering note in bar 2
- a longer tail into the turnaround
Keep the sub mono and centered.
3. Build the reese or mid-bass layer above the sub
Duplicate the MIDI track or create a second bass track using Wavetable or Analog. This layer is where the movement lives.
For a classic darker DnB reese-style tone in Wavetable:
- choose a detuned saw or saw-based wavetable
- use two voices only if the sound stays controlled
- add subtle unison, not huge stereo spread
- low-pass filter around 120–400 Hz depending on how much mid content you want
Suggested starting settings:
- Filter cutoff: around 180–300 Hz
- Resonance: 10–25%
- Oscillator detune: subtle, around 5–15 cents
- Unison: 2–4 voices at most for a focused roller feel
Then process it with stock Ableton devices:
- Saturator: Drive around 2–6 dB, Soft Clip on
- Auto Filter: modulate for motion
- Chorus-Ensemble: very subtle if you need width, but keep it restrained
- EQ Eight: high-pass the mids if the layer competes with sub
Group the sub and mid layer into a Bass Group so you can control them together.
4. Add jungle swing with groove, note placement, and micro-rests
In Ableton Live 12, the groove system is your best friend for this type of bass phrasing. Open the Groove Pool and try a swing template that matches your drum feel. If you don’t want to overdo it, use a groove amount around 10–30%.
Important: don’t swing every note equally. Instead:
- keep anchor notes tight on the grid
- push answer notes slightly late
- use short rests before the snare to create pocket
- avoid filling every 16th note
For a jungle-swing feel, the bassline should “lean” into the break instead of marching evenly through it. Try this rhythmic idea:
- note 1: downbeat anchor
- note 2: delayed response
- note 3: small rest
- note 4: pickup into the snare
- note 5: longer note to hold energy
- note 6: silence for drum impact
If the bass feels too rigid, use MIDI Velocity variation and shorten a few note lengths manually. In DnB, tiny timing and length changes matter more than people think.
5. Shape the bass movement with FX, not extra notes
This is where the lesson becomes more than a bassline exercise. Use FX automation to make a simple rhythm feel arranged.
On the mid-bass track, add:
- Auto Filter
- Saturator
- Redux very lightly if you want grit
- Utility for mono control and width checks
Now automate:
- Filter cutoff: open slightly on pickup notes, close after the phrase
- Saturator drive: increase by 1–3 dB in the second half of the 8-bar phrase
- Auto Filter envelope amount or LFO for subtle wobble on longer notes
- Utility width: narrow in the drop, widen only for fills or transition moments
A very effective move is to map a macro in an Audio Effect Rack:
- Macro 1: Filter Cutoff
- Macro 2: Drive
- Macro 3: Width
- Macro 4: Reverb Send
Then automate the macro movement across 8 or 16 bars. This keeps the bassline evolving without rewriting MIDI every time.
6. Arrange the bassline like a DnB phrase, not a loop
In proper DnB arrangement, your bassline should have call-and-response and phrase variation. A 16-bar drop is usually not 16 bars of identical bass.
Try this arrangement structure:
- Bars 1–4: main bass motif, restrained and tight
- Bars 5–8: add one extra note or a small pickup
- Bars 9–12: introduce a filter-open variation or distortion lift
- Bars 13–16: drop a drum/bass gap, fill, or reverse effect
A practical example:
- In bars 1–4, the bass answers the snare with short phrases.
- In bars 5–8, a second note gets added before the snare to create tension.
- In bars 9–12, the reese layer opens slightly, making the drop feel wider.
- In bars 13–16, remove the sub for half a bar and use a riser/downlifter into the next section.
This keeps the listener engaged and gives DJs clean phrasing for mixing. It also makes the drop feel like it’s progressing, which is essential in rollers and darker styles where the energy is often about pressure, not constant density.
7. Use drum-and-bass interplay to create movement
Now go beyond bass soloing. Duplicate your break or add ghost-note percussion and adjust the bass pattern around it.
Useful workflow:
- solo drums and bass together
- identify where the snare crack and ghost notes land
- move bass notes so they leave space for important drum transients
- if needed, shorten bass notes that blur into kick or snare hits
You can reinforce rhythmic contrast with:
- a small bass stab just after a break fill
- a silent gap before a snare accent
- a pitch bend or glide on the last note of a phrase
- a delay throw on one transitional note only
If using Legato or portamento in your bass synth, keep glide subtle:
- Glide time: roughly 30–80 ms
- Use it on phrase-ending notes or transitions, not every note
The bassline should feel like it’s reacting to the break, not masking it.
8. Add transition FX for section changes and impact
For FX-heavy DnB arrangement, keep your transitions functional. The goal is to move between 8-bar blocks with energy.
Use stock Ableton FX:
- Reverb on a send for short tails on fills
- Echo or Delay for one-shot throws
- Auto Filter for build-ups and breakdown pullbacks
- Reverse cymbal or reversed bass texture bounced to audio for lift
- Impacts made from resampled bass noise or drum hits
Good automation ideas:
- open the bass filter slightly in the last 2 beats of bar 8
- send the final note to reverb, then cut the dry signal
- automate a brief delay throw on the last bass hit before a drop repeat
- mute the sub for 1/2 bar before the next phrase to create impact
For a darker, underground feel, keep transition FX tight and understated. Too much white-noise build-up can make a DnB drop feel generic.
9. Resample and refine the character
When the loop is working, resample the bass group to audio. This is especially useful in DnB because you can edit the waveform like an arrangement element.
After resampling:
- cut awkward tails
- add tiny fades to avoid clicks
- warp only if necessary
- reverse a tail for a fill
- place a tiny slice before a snare to create a pickup
You can also layer the resampled bass with a transient-rich version:
- keep the original MIDI bass for control
- use the audio resample to create fills, impacts, or one-shot stabs
This is a classic DnB workflow because it turns your bass from a static instrument into a malleable arrangement asset.
10. Check mix discipline: mono, headroom, and low-end separation
The low end must stay controlled, especially if you are using a wide reese layer.
Use Utility:
- keep the sub track mono
- narrow the mid-bass if it starts smearing the mix
- check phase by listening in mono periodically
Use EQ Eight:
- high-pass the mid layer where needed
- remove harshness around 2–5 kHz if the reese grates too hard
- avoid boosting the sub too much; let the kick and sub share space intentionally
Aim for headroom so the drop can breathe. If the bass sounds exciting only when it is too loud, it is not ready yet. In darker DnB, clarity is part of the weight.
Common Mistakes
Fix: remove notes until the groove breathes. In DnB, space often hits harder than constant movement.
Fix: keep the sub mono with Utility and reserve width for mids and FX layers.
Fix: swing the pattern selectively. Let some notes stay tight so the groove has contrast.
Fix: edit bass around snare accents and ghost notes, not just around the grid.
Fix: use Saturator or Drive in smaller amounts and automate intensity instead of leaving it maxed out.
Fix: add a phrase change, filter move, or fill every 4 or 8 bars so the arrangement progresses.
Fix: send only higher harmonics or short transitional notes to reverb and delay, not the full sub.
Pro Tips for Darker / Heavier DnB
Mini Practice Exercise
Spend 10–20 minutes building a mini drop loop:
1. Set Ableton to 172 BPM.
2. Program an 8-bar drum loop with a chopped break, kick, and snare.
3. Write a 2-bar sub pattern in Operator with only 4–6 notes.
4. Add a Wavetable reese layer and process it with Saturator, Auto Filter, and EQ Eight.
5. Apply groove lightly from the Groove Pool at 10–25%.
6. Make one phrase variation in bars 5–8 by adding:
- one extra pickup note, or
- one filter automation move, or
- one delay throw on the last bass hit
7. Bounce the bass to audio and cut one small fill or reverse tail.
8. Check the whole loop in mono for low-end stability.
Goal: make the bass feel like it is dancing with the break, not just sitting under it.
Recap
The core idea is simple: in DnB, a bassline becomes powerful when rhythm, movement, and arrangement work together.
Remember these takeaways:
If your bassline feels alive against the break, leaves space for the snare, and evolves every 8 bars, you’re on the right path. That’s the sound of a proper DnB drop.

