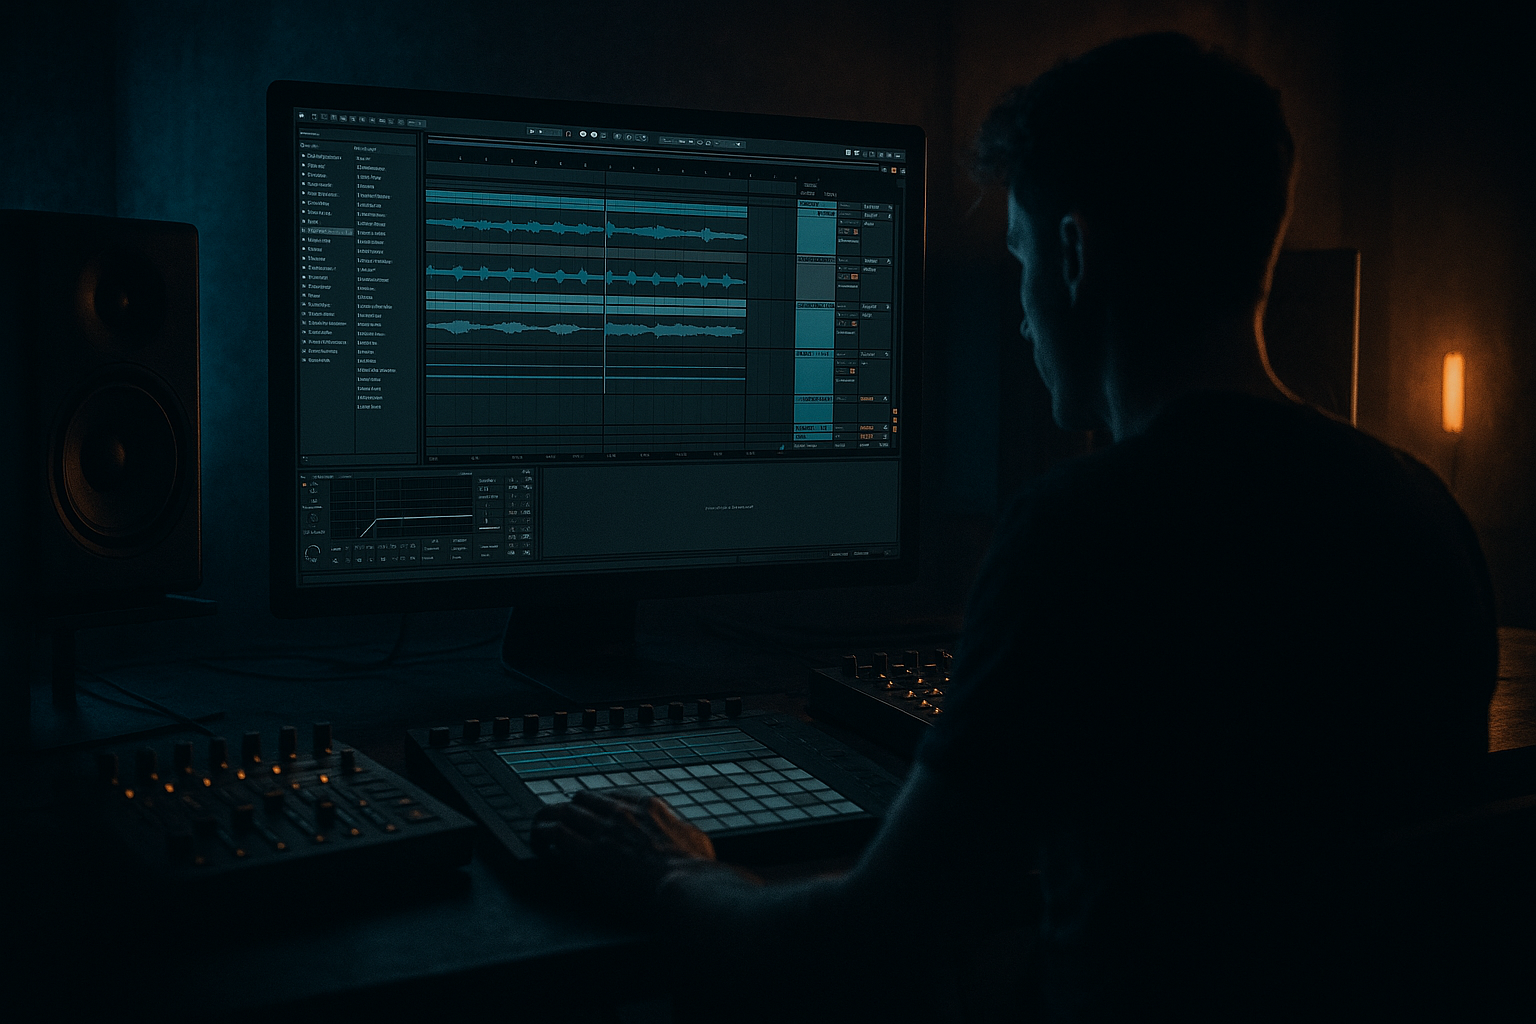
Main tutorial
Lesson Overview
A reese patch is one of the most important bassline tools in jungle and oldskool Drum & Bass because it can carry both weight and movement at the same time. In an Ableton Live 12 session, the goal here is not just to make a “big bass,” but to build a sampling-friendly reese workflow you can resample, slice, and reshape into a full DnB arrangement.
This lesson focuses on making a reese from scratch, widening it in a controlled way, and then turning it into a track-ready bassline that works with chopped breaks, sub reinforcement, and DJ-friendly phrasing. In authentic DnB, the bass doesn’t exist alone: it has to lock with the kick/snare/break pattern, leave room for the sub, and create tension against the drums.
Why this matters:
- Oldskool jungle and rollers often rely on a reese that feels alive, but still sits under the break
- Wider bass design helps create energy in the midrange, while the low end stays solid and centered
- Sampling and resampling let you “perform” the bass rather than overdesign it forever
- The best reese basses usually come from a simple source plus strong processing decisions, not from overcomplicated synthesis
- A mono-compatible sub foundation
- A detuned, moving mid-bass layer with reese character
- A stereo widen strategy that keeps the low end disciplined
- A resampled audio version you can slice into phrases or automate for drop variation
- A 4 or 8 bar bassline pattern that calls and responds with chopped breaks
- Optional gritty saturation and band-limited movement for darker jungle vibes
- A rolling, nasty low-mid bass sitting under an Amen-style or breaks-driven groove
- A bass that can hit hard on the downbeat, then “talk back” with movement in the off-beats
- Something that can work in a 94–170 BPM jungle context, especially with fast break edits and classic tension/release phrasing
- Making the bass too wide everywhere
- Overdetuning the reese
- Letting the bass fight the break
- Adding too much saturation too early
- Ignoring the sub/mid relationship
- Forgetting the arrangement
- Use band-limited distortion: distort the midrange more than the sub so the bass stays solid but aggressive
- Try Auto Filter with a slowly moving cutoff to create a living “breathing” reese
- Resample a bar of bass with the break playing, then reverse or slice tiny pieces for fills
- Use Simpler to turn your own resampled bass into a new playable instrument
- Add a very short Echo throw on only the last bass hit before a drop, then cut it hard
- If the bass needs more menace, reduce the brightness and push more 200–600 Hz harmonics
- For neuro-leaning darkness, automate tiny changes in filter and FM depth rather than huge sweeps
- Check the tune in mono regularly with Utility to catch width problems before mastering
- If the bass feels big but weak on systems, increase harmonic density around the low mids, not just the sub
- Use call-and-response between the reese and a chopped break fill for classic jungle urgency
- Build the reese from a clean sub + detuned mid chain
- Keep the low end mono and the upper harmonics wide
- Shape the envelope for DnB rhythm, not just sustain
- Saturation and resampling are essential for authentic jungle character
- Make the bass interact with the break through phrasing, not just sound design
- Automate movement across sections so the tune feels arranged, not looped
By the end, you’ll have a patch that can move from raw mono core → widened mid bass → resampled texture → arrangement-ready phrase in a way that feels very DnB.
What You Will Build
You’ll build a classic DnB reese bass chain in Ableton Live 12 that includes:
Musically, the result should feel like:
Step-by-Step Walkthrough
1. Start with a clean Ableton rack structure for the bass
Create a new MIDI track and load an Instrument Rack so your bass design stays organized. Inside the rack, build two chains:
- Sub chain
- Reese/mid chain
On the Sub chain, use Operator or Wavetable with a sine wave:
- Oscillator: sine
- Mono: on
- Glide: very short or off for classic oldskool firmness
- Low-pass everything above the sub if needed, but keep it simple
On the Reese chain, use Wavetable or Analog:
- Start with saw waves
- Detune slightly
- Keep this chain focused on the low-mid and midrange, not sub
Put an EQ Eight after each chain if needed. High-pass the Reese chain around 90–140 Hz so the sub remains clean and centered. This is a key DnB move: the sub should be strong, but the stereo motion should live higher up.
2. Design the reese source with controlled detune and phase movement
In Wavetable, choose a saw-based table or a simple analog-style saw shape. Use two oscillators if needed:
- Osc 1: saw
- Osc 2: saw, detuned by a small amount
- Detune range: start around 5–14 cents
- Unison voices: 2–4 max at first
- Spread: moderate, not extreme
For movement, add subtle modulation:
- LFO to wavetable position if using a more complex table
- LFO to filter cutoff with a slow rate
- Try an LFO rate around 1/4, 1/8, or synced triplets depending on how frantic you want the movement
Use a filter to focus the sound:
- Low-pass or band-pass depending on vibe
- Cutoff range often works around 150 Hz to 1.5 kHz
- Add a little resonance only if it helps the growl; too much will sound thin or nasal
Why this works in DnB: the reese is powerful because detuned harmonics create beat frequencies and constant motion, which feel alive under fast drums. The movement gives your bassline energy without needing tons of notes.
3. Build the stereo width the right way: wide midrange, mono low end
DnB bass width must be managed carefully. The low end should stay stable, while the midrange can widen and shimmer. Use Ableton stock tools to control that split.
On the Reese chain, after the synth:
- Add Saturator with Drive around 2–6 dB
- Add Auto Filter or EQ Eight to shape the harmonics
- Add Utility and reduce Width in the low band if needed by splitting the chain processing
A very effective Live workflow is to use an Audio Effect Rack on the Reese chain and create two parallel bands:
- Low-mid band: mono or narrow
- High-mid band: widened with Utility Width at 120–160%
If you want a quick stereo enhancement, use Chorus-Ensemble very lightly:
- Amount low
- Rate slow
- Mix subtle, around 10–25%
Avoid widening the actual sub. Keep the sub chain pure mono. The job of the width is to make the bass speak on smaller speakers and feel huge in the drop, not to smear the kick and sub relationship.
4. Shape the envelope so the bass punches in a DnB phrase
DnB reese bass usually needs a fast front edge and controlled sustain. In Wavetable or Analog, set the amp envelope like this:
- Attack: 0–10 ms
- Decay: 150–500 ms
- Sustain: moderate to high for rollers, lower for more articulated stabs
- Release: 50–180 ms
For a more classic jungle feel, shorter notes often work better than long held notes. Program a pattern with:
- A note on the downbeat
- A response on the “&” after the snare
- Occasional syncopated pushes into the next bar
Example musical context:
- In a 170 BPM jungle drop, let the bass hit on beat 1, then answer the chopped break on beat 3 or the offbeat after the snare
- In a roller, use a repeated 1-bar phrase with one note change every 2 bars for tension
This gives the bassline theory side more importance than just sound design. The reese should “phrase” with the drums, not sit as a static drone.
5. Add saturation and controlled dirt to create oldskool character
The classic reese often sounds aggressive because it has harmonic dirt, not because it is simply loud. Use Saturator, Drum Buss, or Overdrive carefully:
- Saturator: Drive 2–8 dB, Soft Clip on if needed
- Drum Buss: Drive lightly; use Boom sparingly on the sub chain only if the low end needs extra weight
- Overdrive: Filter around the mids and keep it subtle for nasty character
For darker jungle vibes, a great move is to resample the reese after saturation:
- Record or freeze/render the bass to audio
- Listen for the harmonic texture
- Then slice or warp it into new shapes
Use Resampling or consolidate the audio, then edit in Arrangement View. This helps you commit to a tone instead of endlessly tweaking the synth. Sampling is central here: many strong DnB basslines are built by treating sound design as a source for further manipulation, not the final destination.
6. Resample the reese and build variations from audio
Once the patch feels good, create an audio track and set the input to Resampling. Record 4 or 8 bars of the bassline while automating a few key moves:
- Filter cutoff opening slightly into the drop
- Saturator Drive increasing on the second phrase
- Width expanding during a fill
- LFO depth changing between sections
Then:
- Consolidate the best take
- Slice it to a new MIDI track or keep it as audio for arrangement
- Use Warp only if needed for timing corrections
- Duplicate and reverse tiny fragments for transitions
This is very powerful in jungle and darker DnB because the bass becomes an editable sample. You can chop it around break edits, create call-and-response hits, or stretch one note into a tension bed before the drop.
7. Lock the bassline to the drums and ghost notes
Now place the bass against your break or programmed drum pattern. In DnB, bass and drums must feel like a single system. Build a loop with:
- A main kick/snare anchor
- A chopped break with ghost notes
- The bass hitting around the gaps in the break
In practice:
- Let the bass avoid the strongest snare transient
- Use short notes when the break is busy
- Use longer bass notes when the drums simplify
Add Drum Buss or Glue Compressor on the drum bus only if needed, not directly on the bass chain unless you’re intentionally shaping the whole low-end pocket. If the bass and break fight, reduce bass sustain first before compressing harder.
Arrangement idea:
- Bars 1–8: filtered intro with bass hints
- Bars 9–16: full drop with reese and break
- Bars 17–24: switch-up with a different bass rhythm or filter state
- Bars 25–32: return with more width or extra distortion
8. Automate tension, call-and-response, and section changes
The best DnB basslines don’t stay static. Automate changes between sections so the bass feels like it is evolving with the tune.
Useful automations in Ableton:
- Filter cutoff: narrow and dark in the intro, open in the drop
- Utility width: slightly narrower in buildup, wider on drop
- Saturator drive: a few dB more in heavier sections
- Reese detune amount: increase slightly for a second phrase
- Send to reverb or delay: use sparingly on selected bass hits only
A nice oldskool move is to automate a “half-time” style bass response for one bar before returning to the main rhythm. Even though the BPM is fast, that brief rhythmic contrast can make the next drop hit harder.
Keep the arrangement DJ-friendly:
- Intro with drums and filtered bass hints
- Clear 8/16 bar blocks
- Outro that strips the bass down enough for mixing
Common Mistakes
- Fix: keep sub mono, widen only upper harmonics
- Fix: back off detune until you hear motion, not wobble
- Fix: shorten bass notes or move note placement away from busy snare fills
- Fix: build tone in stages; use resampling to commit only when the core is right
- Fix: split the chains and treat them differently
- Fix: make sure the bass evolves across 8-bar blocks instead of looping unchanged
Pro Tips for Darker / Heavier DnB
Mini Practice Exercise
Spend 15 minutes building this:
1. Create a two-chain Instrument Rack with a sine sub and a detuned saw reese.
2. Write a 4-bar bassline at 170 BPM using only 2–3 notes.
3. Program the notes so they answer a chopped break pattern rather than sitting on top of it.
4. Add Saturator, EQ Eight, and Utility to control tone and width.
5. Resample 4 bars of the result.
6. Slice the resampled audio and create one fill, one transition hit, and one alternate ending for bar 4.
7. Automate filter cutoff and width so the second half of the loop feels wider and more intense.
Goal: by the end, you should have one bass sound, one resampled version, and one evolving 4-bar phrase that feels ready for a drop.

