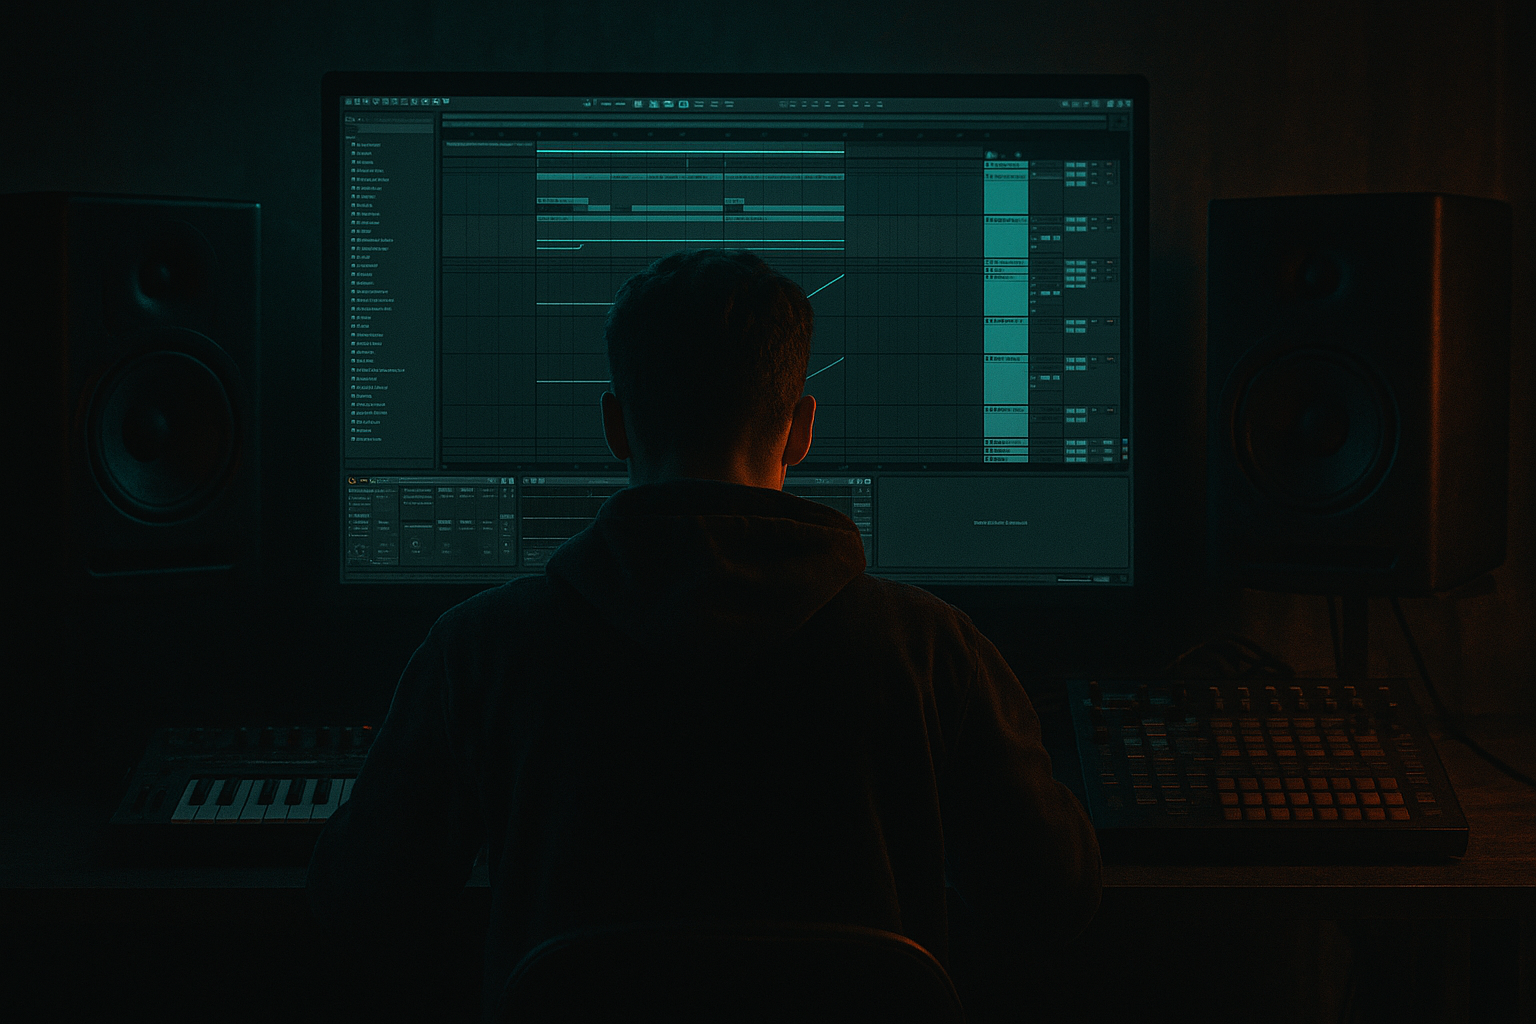
Main tutorial
Bassline Theory Workflow: Ride Groove Stretch in Ableton Live 12 (Jungle / Oldskool DnB) 🥁🔊
1. Lesson overview
In jungle and oldskool DnB, the bassline doesn’t just “play notes” — it locks to the drum swing and stretches with the groove. This lesson teaches a beginner-friendly workflow in Ableton Live 12 to:
- Build a classic rolling/subby bass
- Add ride-style syncopation (that skippy forward motion)
- Use Groove Pool + timing/velocity to “stretch” the bass feel without messing up the notes
- Arrange it so it breathes like real jungle
- Drum break (or break-style kit) swinging around 165–175 BPM
- A 2-bar bass motif that rides the groove (syncopation + ghost notes)
- Groove-applied timing so the bass feels rolled, shuffled, and alive
- A simple arrangement: intro → drop → variation → switch/turnaround
- Find a 2-bar break (Amen-ish, Think-ish, Hot Pants-ish).
- Loop it for 8 bars.
- Add a tight kick + snare layer to modernize:
- Use Drum Rack with: kick, snare, hats, ride.
- Basic DnB pattern:
- Add Drum Buss on the Drum Group:
- Add Auto Filter (HP) on breaks if muddy:
- Osc 1: Sine (clean sub)
- Osc 2: Triangle or Sine (optional, -12 to -24 dB)
- Unison: Off (keep mono)
- Voices: 1
- Algorithm: A only
- Osc A: Sine
- Add a tiny bit of saturation later for harmonics.
- Root note often F, F#, G (classic DnB zones).
- Start with F1 to F2 region (sub lives nicely there).
- Emphasizes offbeats (the “and” of the beat)
- Uses short notes + ghost notes
- Repeats a motif with tiny variations every 2 bars
- Clip length: 2 bars
- Grid: 1/16
- Turn on Fold in MIDI editor (helps keep it readable)
- F (root) most of the time
- Eb (b7) for dark jungle flavor
- C (5th) for stability
- Put short F notes on:
- Add one longer note at the end of bar 2 to “reset” the loop.
- Main notes: velocity 90–110
- Ghost notes: velocity 40–70
- Drums:
- Bass:
- If your line is more spacious, try 1/8.
- If it gets messy, reduce timing % or move Base back to 1/16.
- Drums: high-passed break (Auto Filter HP at 150–300 Hz)
- Bass: OFF or filtered (LP at 120–200 Hz)
- Add atmosphere: Reverb on a pad/FX return
- Bring in full break layers (snare/kick)
- Add a bass call: sparse notes, less groove amount
- Full drums + full bass
- Bass groove amount slightly higher (e.g., 35–45%)
- Change 1–2 bass notes (e.g., swap to Eb for darkness)
- Add a 1-bar break fill (cut drums on bar 16 beat 4)
- Optional: automate Saturator Drive +1–2 dB for hype
- Right-click your clip → Commit Groove
- Duplicate the bass clip first:
- Grooving the bass too hard (Timing 60–100%): it’ll feel late and messy. Keep bass tighter than drums.
- No velocity contrast: ghost notes won’t ghost, and the groove won’t speak.
- Sub too clean to hear: pure sine needs harmonics. Add light saturation so it translates on smaller speakers.
- Sidechain too extreme: jungle wants roll, not EDM pumping (unless that’s your intent).
- Over-quantizing after grooving: if you quantize again, you erase the whole pocket.
- Add a mid layer (parallel):
- Pitch envelopes for “donk” (classic feel):
- Auto Filter “talk” (subtle):
- Darker notes: try b7 and b6 movements (e.g., in F: Eb and Db) for menace.
- Break/bass glue: light Glue Compressor on Drum Group (1–2 dB GR) helps the bass feel like it belongs with the break.
- Jungle/DnB basslines feel right when they ride the drum groove, not when they’re perfectly straight.
- In Ableton Live 12, your best friend is Groove Pool: apply the same groove to drums + bass, but with less timing amount on bass.
- Use velocity + short notes to create “ride” motion and ghost energy.
- Lock it in with light saturation + controlled sidechain, then arrange with small variations every 8–16 bars.
We’ll keep it stock-device friendly and focused on practical steps. ✅
---
2. What you will build
A 16-bar oldskool DnB loop with:
Target vibe: 90s jungle / early DnB rolling bass with modern tightness. 🧨
---
3. Step-by-step walkthrough
Step 0 — Project setup (tempo + warp)
1. Set tempo to 170 BPM (good middle ground).
2. Create these tracks:
- Drums (Audio or MIDI)
- Bass (MIDI)
- Bass Resample/Print (Audio, optional but recommended)
3. If using an audio break:
- Drop it into Drums track.
- In Clip View: turn Warp ON
- Warp Mode:
- For full break loops: Complex Pro (safest)
- For tighter transient breaks: Beats (Preserve: Transients, try 50–100)
Goal: Drums must loop cleanly for 2 bars with correct timing.
---
Step 1 — Build a “jungle pocket” drum foundation 🥁
Option A: Using a break
- Add a Drum Rack on a new MIDI track (or on same group).
- Place kick on 1 (and maybe a ghost kick before 3).
- Place snare on 2 and 4.
Option B: All MIDI drums
- Kick: 1, and maybe 1.3.3 (depending on grid)
- Snare: 2 and 4
- Hats: 1/8 or 1/16 with velocity variation
Quick drum polish (stock):
- Drive: 5–15%
- Boom: 10–25% (tune to ~50–70 Hz)
- Crunch: 0–10% (careful)
- High-pass around 30–50 Hz
---
Step 2 — Create a solid, simple bass sound (stock chain) 🔊
On Bass MIDI track:
#### Instrument (choose one)
Simplest: Wavetable
OR Operator
#### MIDI note range
#### Add a practical stock bass chain
1. Saturator
- Mode: Soft Sine or Analog Clip
- Drive: 2–6 dB
- Output: adjust to match level (don’t just make it louder)
2. EQ Eight
- HP at 25–30 Hz (gentle)
- If boxy: small cut around 200–350 Hz
- If you need presence: small boost 700 Hz–1.5 kHz (only if bass has harmonics)
3. Compressor (optional)
- Ratio: 2:1
- Attack: 10–30 ms
- Release: 60–120 ms
- Aim: 1–3 dB gain reduction
Important: Keep bass mono. If you add width later, do it above ~150 Hz.
---
Step 3 — Write a 2-bar “ride groove” bassline (the theory + practical pattern)
Oldskool rolling bass often:
#### Set your MIDI grid
#### Start with a classic skeleton
In F (example), try this note pool:
#### Example rhythm idea (2 bars)
You’re aiming for “ride-like” syncopation—little pushes between snares.
- 1.1.2 (just after the downbeat)
- 1.2.4 (before snare)
- 1.3.2 (after snare)
- 1.4.3 (late in bar)
Keep notes short (1/16–1/8) except your occasional anchor note.
#### Velocity = groove
This matters a lot once we apply groove.
---
Step 4 — The “Groove Stretch” workflow (core of the lesson) 🧲
This is where Ableton makes your bass sit in the break pocket.
#### 4A) Choose a groove that matches jungle swing
1. Open Groove Pool (bottom left button, or search “Groove Pool”).
2. Drag in a groove from the Browser:
- Try Swing 16-55 or Swing 16-57
- Also try MPC-style grooves if available (varies by pack)
#### 4B) Apply groove to BOTH drums and bass (but not equally)
1. Select your drum clip → in Clip View, choose the groove → Commit? Not yet.
2. Select your bass clip → choose the SAME groove.
Now the key part: different amounts per element.
Suggested starting settings (in Groove Pool):
- Timing: 40–70%
- Velocity: 10–30%
- Random: 0–5%
- Timing: 20–45% (less than drums so it stays solid)
- Velocity: 20–40% (helps ghost notes “breathe”)
- Random: 0–8% (tiny randomness adds life)
#### 4C) Use “Base” correctly
In Groove Pool, set Base = 1/16 for most jungle bass.
#### 4D) “Stretch” without wrecking the groove
Think of “stretch” as how much the bass participates in the drum shuffle.
Workflow:
1. Start Bass Timing at 20%.
2. Loop the 2 bars.
3. Increase to 30%, then 40%.
4. Stop when the bass feels like it’s “leaning” with the break — but before it sounds late/sloppy.
🎯 Jungle target: It should feel like the bass is dancing around the snare, not tripping over it.
---
Step 5 — Tighten the relationship with sidechain (clean + classic) 🔥
Even in oldskool styles, modern mixes benefit from controlled low-end.
On the Bass track:
1. Add Compressor
2. Enable Sidechain
3. Input: Kick (or Drum Group if you must)
4. Settings:
- Ratio: 4:1
- Attack: 1–5 ms
- Release: 60–140 ms (time it to the groove)
- Threshold: adjust until you see 2–6 dB reduction
Tip: If the bass is too “pumpy,” lengthen release or reduce threshold.
---
Step 6 — Arrange like a jungle tune (16 bars that feel real) 🧱
Take your 2-bar drum + 2-bar bass loop and build:
#### Bars 1–4: Intro tease
#### Bars 5–8: Pre-drop lift
#### Bars 9–12: Drop
#### Bars 13–16: Variation / turnaround
---
Step 7 — Commit the groove (when you’re happy) ✅
Once it feels right:
This bakes the timing/velocity into the MIDI, making your groove consistent even if you change global settings later.
Pro workflow:
- One version: uncommitted (safety)
- One version: committed (for arranging)
---
4. Common mistakes
---
5. Pro tips for darker/heavier DnB 🖤
Duplicate bass track:
- Track A = Sub (low-pass around 120 Hz)
- Track B = Mids (high-pass around 120 Hz, add Saturator + Auto Filter movement)
Keep both mono-ish below 150 Hz.
In Operator/Wavetable, add slight pitch envelope:
- Amount: subtle (a few semitones max)
- Decay: 50–120 ms
Auto Filter on mids layer:
- LP 12 or 24 dB
- Envelope amount small
- Map cutoff to a Macro, automate in arrangement
---
6. Mini practice exercise (15 minutes) ⏱️
1. Make a 2-bar break loop at 170 BPM.
2. Write a bassline using only F + Eb.
3. Add ghost notes (velocity 40–70).
4. Apply Swing 16-57:
- Drums Timing 60%
- Bass Timing 30%
5. A/B test bass Timing at 20 / 30 / 40% and pick the tightest pocket.
6. Commit groove and arrange into 8 bars:
- Bars 1–4 filtered intro
- Bars 5–8 drop
Deliverable: an 8-bar clip that rolls and swings without sounding late.
---
7. Recap
If you want, tell me your tempo and whether you’re using a break (Amen/Think/etc.), and I’ll suggest a specific 2-bar bass MIDI pattern and groove settings to match that exact vibe.

