Main tutorial
```markdown
Beat Repeat Automation for Fills (DnB in Ableton Live) 🎛️🥁
1) Lesson overview
Beat Repeat is one of the fastest ways to create classic drum & bass fill energy: stutters, tape-stop-ish repeats, micro-rolls, and last-2-beats “panic edits” that launch you into the next phrase. In this lesson you’ll learn how to automate Beat Repeat so it only hits when and where you want—without ruining your groove.
We’ll focus on arrangement automation (not just playing with knobs live), and we’ll build a repeat “fill lane” you can reuse across a whole track.
---
2) What you will build
You’ll create a reliable DnB fill system that:
- Adds 1/16 and 1/32 stutter fills on the last half-beat or last bar before transitions
- Lets you switch between subtle ghost repeats and full glitch breakdowns
- Stays locked to the grid and doesn’t flam your drums
- Works on:
- A Drum Bus chain with Beat Repeat + safety devices
- A set of automation moves you can copy/paste every 8/16/32 bars
- Grid: `1/16`
- Interval: `1 Bar` (we’ll automate this later sometimes)
- Offset: `0` (keep it tight)
- Gate: `1/16` or `1/8` (shorter = tighter stutters)
- Repeat: `2` to `4` (classic quick fill)
- Variation: `0%` (we want predictable fills first)
- Chance: `0%` (IMPORTANT—so it never randomly fires)
- Mode: `Insert` (most “fill-like”)
- Filter: ON
- Pitch: `0` (we’ll automate for “falling fills” later)
- Volume: around `-3 to -6 dB` (prevents jumps)
- For most of the song: Chance = 0%
- Right before a transition (last 1/2 bar or last 1 bar): pop it to 100%
- Then back to 0% right after the fill
- Every 16 bars, do a fill in the last 2 beats (beats 3–4)
- Every 32 bars, do a “bigger” fill that lasts a full bar
- `Beat Repeat → Grid`
- `Beat Repeat → Repeat`
- Beat 3: Grid `1/16`, Repeat `2`
- Beat 4: Grid `1/32`, Repeat `4`
- Turn on grid snapping: right-click timeline → Fixed Grid
- Use 1/16 grid for drawing, then switch to 1/32 for micro edits
- Put Beat Repeat directly on the break channel, not the Drum Bus.
- Same automation concept (Chance 0 → 100 at fills).
- This can sound more consistent than Chance-based triggering, and it’s 100% deterministic.
- Automate `Filter Freq` downward during the fill (e.g., 6 kHz → 800 Hz)
- This creates a “closing down” feel before the drop
- Automate `Pitch` from `0` to `-12` (or `-24` for extreme)
- Keep it short (1/4–1/2 bar) to avoid sounding gimmicky
- Leaving Chance > 0% during the main groove
- Repeating full low-end drums (kick/sub) without control
- Too long fills too often
- Grid too tiny with no level management (`1/64` + hot signal)
- Not resetting after the fill
- Parallel the fill: Use an Audio Effect Rack so the fill is blended, not replacing the groove. Keep the dry chain dominant for weight.
- Distort the repeats, not the whole drum bus:
- Gate the fill with transient control:
- Make fills “answer” the bass:
- Jungle flavor: repeat the break layer only, then automate a tape-stop feel with Pitch down + low-pass.
- Chance (or Fill Macro): ON for last 2 beats
- Grid: `1/16`
- Repeat: `2`
- Filter: slight down sweep
- ON for last 1 bar
- Grid: `1/16` → `1/32` in the last 2 beats
- Repeat: `2` → `4`
- Add tiny Saturator drive increase (+1–2 dB)
- ON for last 1/2 bar
- Filter sweep down hard
- Pitch: `0` → `-12`
- Hard cut back to normal at the drop (automation returns instantly)
- Use Beat Repeat as a controlled fill tool by automating Chance (0→100) or an Effect Rack Fill Macro.
- For DnB, automate Grid + Repeat for that ramping stutter intensity.
- Keep your low end tight: use EQ Eight, consider repeating only the break, and add a Limiter for safety.
- Add character with filter sweeps, pitch dips, and distortion—preferably on a parallel “fill chain.”
- Place fills at phrase endings (every 16/32 bars) to keep the rolling momentum.
- a full drum bus (for “whole-kit” stutters), and
- a break layer only (for jungle-style fills)
You’ll end with:
---
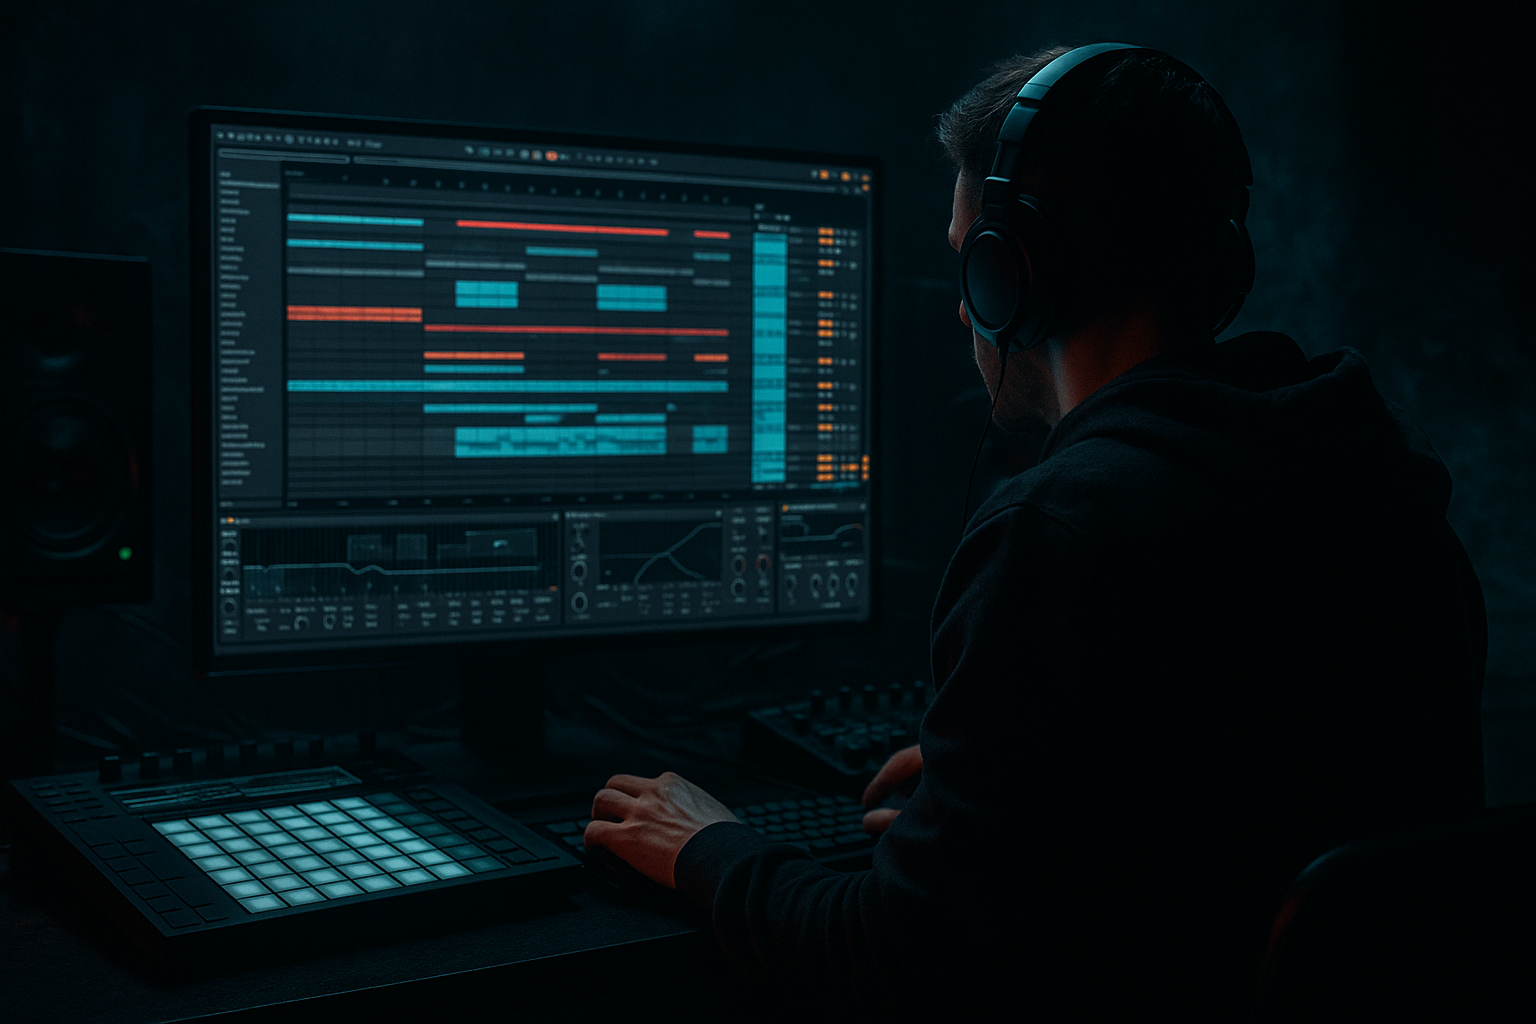
3) Step-by-step walkthrough
Step 1 — Prep a solid DnB drum loop (context matters) 🔥
1. Set tempo: 172–176 BPM (we’ll assume 174 BPM).
2. Build a drum group with two layers:
- Punchy one-shots (Kick/Snare/hat)
- Break layer (Amen-style or tight jungle break)
3. Route both into a Drum Bus:
- Group your drum tracks: select → Cmd/Ctrl + G
- Name it: `DRUM BUS`
Why: Beat Repeat on the bus gives that “everything is being chopped” fill, which is super DnB. But we’ll also set up a way to target only the break later.
---
Step 2 — Insert a “Fill Rack” device chain on the Drum Bus 🧱
On `DRUM BUS`, add devices in this order:
1. EQ Eight
- High-pass around 25–35 Hz (gentle) to keep sub stable
2. Beat Repeat (the star)
3. Saturator (optional but great for weight)
- Drive 1–4 dB, Soft Clip ON
4. Limiter (safety)
- Ceiling -0.3 dB, just catching spikes
Why this order: EQ before repeat keeps low-end junk from being repeated, and Limiter prevents “repeat explosions” when you crank Grid tiny.
---
Step 3 — Dial in Beat Repeat for DnB fills (base preset)
Open Beat Repeat and set these as a starting point:
Core timing
How it triggers
- Use `Gate` if you want it to feel like a momentary “hold” instead of inserting
Tone shaping inside Beat Repeat
- For a safe start: set it to a band-pass-ish vibe:
- Frequency around 1.5–4 kHz
- Moderate resonance
✅ At this point: Beat Repeat is armed but not firing because Chance is 0.
---
Step 4 — The key trick: automate “Chance” as your Fill On/Off switch 🎚️
You want Beat Repeat to be silent until the fill moment.
1. Go to Arrangement View
2. Press A to show automation lanes
3. On `DRUM BUS`, choose automation for:
- `Beat Repeat → Chance`
Now draw automation like this:
DnB arrangement idea:
This gives that rolling “phrase punctuation” used in jump-up, rollers, and jungle.
---
Step 5 — Make the fill feel intentional: automate “Repeat” and “Grid” together
Just turning Chance on can feel static. The movement comes from changing repeat density.
Automate these parameters (one lane at a time):
Example fill (last 2 beats of bar 16):
How to draw it cleanly:
This makes the fill ramp up like a mini build without adding extra samples.
---
Step 6 — Control “how much of the kit” gets shredded (Drum Bus vs Break only)
For jungle authenticity, you often want the break to glitch, but keep kick/snare one-shots stable.
Option A: Duplicate Beat Repeat on the break track only
Option B (Cleaner): Use an Audio Effect Rack on Drum Bus
1. Select Beat Repeat + Saturator (optional) → Cmd/Ctrl + G to rack it
2. Create 2 chains:
- `DRY` chain: no Beat Repeat
- `FILL` chain: Beat Repeat (and maybe Saturator)
3. Map Chain Selector to a Macro called `FILL ON`
4. Set chain zones so:
- Macro 0 = DRY only
- Macro 127 = FILL only
Now automate the Macro instead of Chance.
Workflow tip: Macro automation is super copy/paste friendly across your arrangement.
---
Step 7 — Add “DnB finish”: filter + pitch dives for darker fills 🌑
Two automations that instantly sound like pro DnB editing:
1) Filter sweep inside Beat Repeat
2) Pitch drop
Pair this with a quick Reverb send spike on the snare (stock Reverb or Hybrid Reverb) for that end-of-phrase wash—then cut it dead at the drop.
---
Step 8 — Make transitions hit: freeze the fill then slam back 🔁
A classic rolling DnB trick is “repeat + hard cut.”
1. Put a Utility after Beat Repeat
2. Automate Utility Gain:
- During fill: normal
- At the drop: very quick return + maybe a tiny -1 dB dip right before impact (micro-dynamics)
Optional: Add Auto Filter after Beat Repeat and automate a high-pass during the fill so the sub doesn’t smear.
---
4) Common mistakes 🚫
You’ll get random stutters that feel like timing errors.
Your drop loses punch and the limiter starts doing ugly work.
DnB thrives on momentum. If every 8 bars is a full-bar glitch, the track feels stop-start.
Transient stacking = clipping and harshness fast.
You must return parameters (Chance/Macro/Filter/Pitch) to default immediately after.
---
5) Pro tips for darker/heavier DnB 🖤
Put Saturator / Overdrive / Pedal inside the fill chain only. Dirty repeats, clean main drums = heavy + clear.
Put Drum Buss after Beat Repeat (fill chain) with:
- Drive low
- Transients slightly up/down depending on how clicky it gets
If your bass does a phrase-ending note, automate the fill filter to carve space:
- Beat Repeat filter down, or
- Post-EQ dip around the bass growl focus (often 150–400 Hz or 1–2 kHz depending on patch)
---
6) Mini practice exercise 🎯
Goal: Create three fill types you can drop into any 16-bar DnB phrase.
1. Choose one 16-bar section before a drop.
2. Create three 1-bar regions at bars 16, 32, 48 (or wherever phrases end).
3. For each region, automate:
Fill A (Subtle roller)
Fill B (Energy ramp)
Fill C (Dark cutdown)
Export a bounce and listen: do the fills feel like they push forward, or do they feel like they interrupt? Adjust length until they feel propulsive.
---
7) Recap ✅
If you want, tell me your subgenre (rollers / jump-up / jungle / neuro) and whether you’re using break-heavy drums or clean one-shots, and I’ll suggest a fill automation “template” tailored to your vibe.
```

