Main tutorial
Lesson Overview
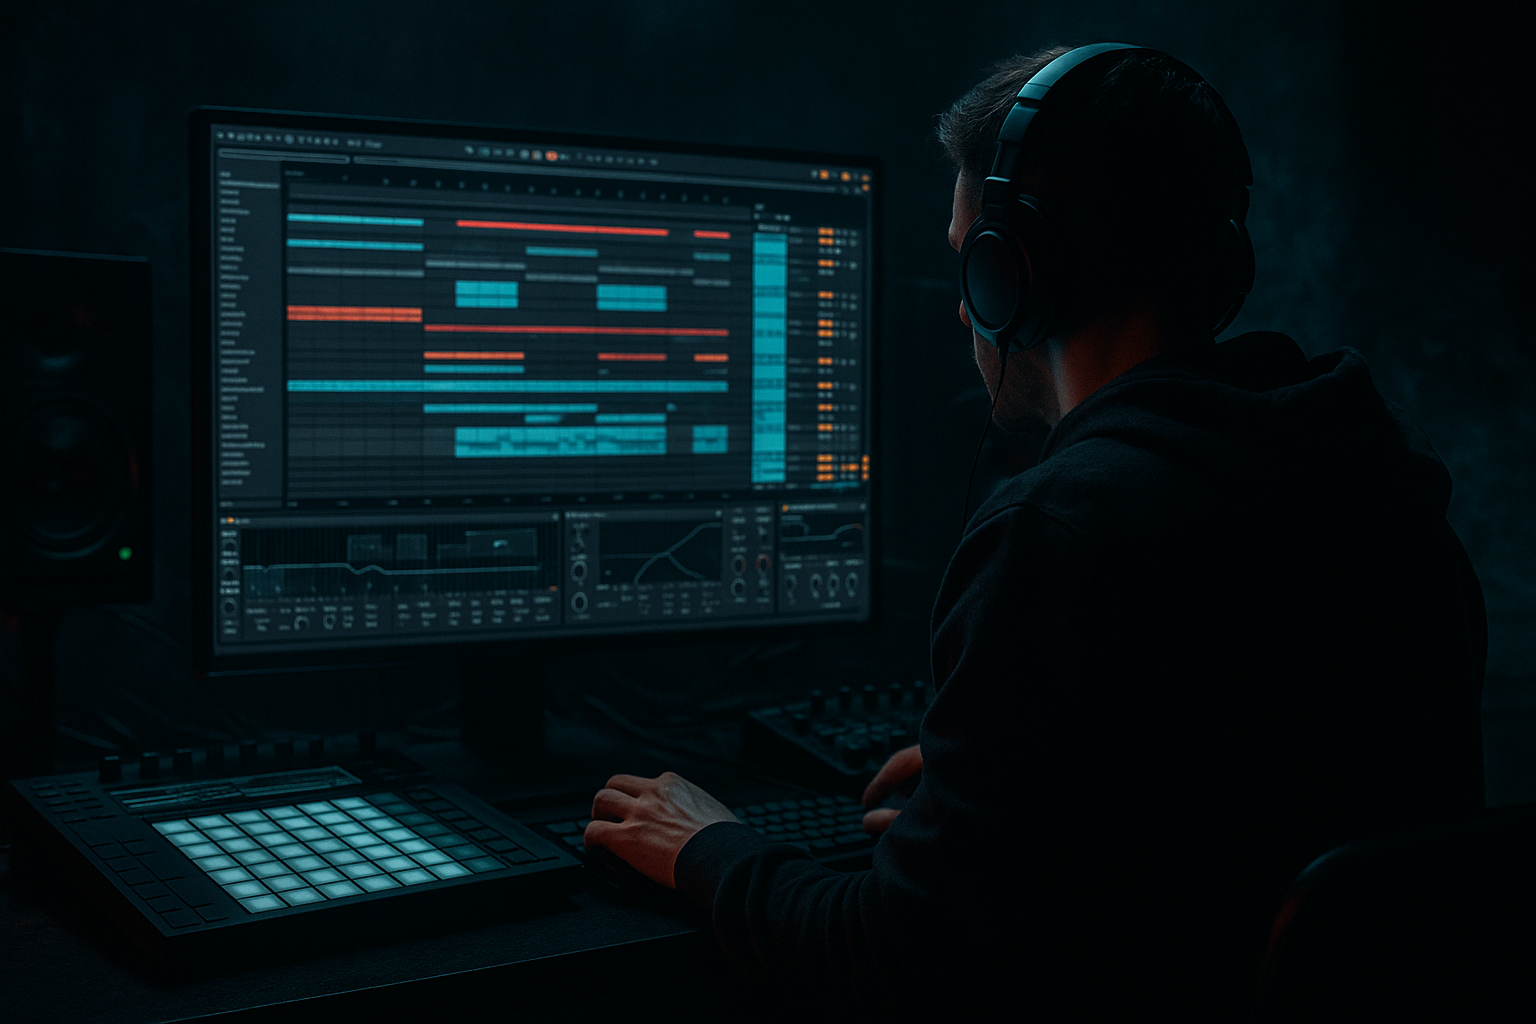
A classic jungle break can already bring energy, but when you blend in an Amen-style ride groove with a bit of VHS-rave color, the whole loop starts to feel like a lost tape from 1994 playing inside a modern DnB set. This lesson shows you how to build that vibe in Ableton Live 12 using stock tools only, with a beginner-friendly workflow that still sounds authentic.
This technique sits right at the intersection of drums, FX, and arrangement. In DnB, especially rollers, jungle-leaning cuts, and darker club tracks, you often need more than a solid break. You need a secondary motion layer that makes the groove feel alive in the midrange without cluttering the kick and sub. That’s where a ride-based texture comes in: it adds shimmer, forward motion, and a slightly lo-fi rave glow that helps the drums feel bigger on smaller systems.
Why it matters:
- It gives your break loop a more human, swinging feel
- It adds high-frequency movement without needing more hats
- It creates that old VHS rave / warehouse tape character that works especially well in intro-to-drop transitions
- It helps your drum loop feel less static when repeated over 8, 16, or 32 bars
- an Amen-style break
- a ride pattern or ride texture
- light tape-style color
- subtle groove swing
- drum bus processing for cohesion
- a jungle-inflected loop for an intro
- a roller groove that feels slightly unstable and dusty
- a “VHS cassette” top layer that makes the break feel wider and more hyped without turning harsh
- in the first 16 bars of a DJ-friendly intro
- under a filtered breakdown before the drop
- as a drop variation in bar 9 or bar 17 to keep the loop evolving
- Making the ride too loud
- Using a bright ride with no filtering
- Over-processing with too much distortion
- Putting too much delay on the ride
- Ignoring the snare
- Applying heavy swing to everything
- Not testing in the full mix
- Layer a very quiet noisy top behind the ride
- Use resampling for character
- Automate the filter for tension
- Make the ride answer the snare
- Keep the sub mono, keep the ride narrow
- Add tiny pitch drift for tape feel
- Use contrast
- Automate the ride filter opening over the last 2 bars into a drop
- Resample the result and chop the best 1-bar version back into the project
- Blend the ride as a texture, not as the main drum element
- Use EQ Eight to keep it bright but controlled
- Add subtle saturation or Drum Buss for VHS-rave color
- Use Groove Pool lightly for movement and feel
- Automate tone, delay, and volume across the arrangement
- Always check the ride against the break, snare, and bass together
Why this works in DnB: the genre lives or dies on groove perception. Even when the bass is heavy and the drums are aggressive, the top end is what makes the loop feel urgent and “in motion.” A blended ride groove can create that urgency while staying subtle enough to leave room for the sub and snare.
What You Will Build
You’ll build a layered drum FX groove in Ableton Live 12 that combines:
The result should sound like a rough, energetic DnB drum loop with a ghostly rave shimmer on top. Think:
Musically, this is the kind of texture you could use:
Step-by-Step Walkthrough
1. Start with a clean drum group
In Ableton Live, create a Drum Rack or load your existing Amen break onto an audio track. If you already have a break chopped, great — keep it simple. If not, use a clean Amen-style break sample and place it on the grid so it loops tightly.
Basic starting point:
- Set the project tempo around 170–174 BPM
- Keep the loop to 1 or 2 bars
- Make sure the break has a clear snare on 2 and 4 or a strong backbeat feel
If you’re working from a single audio clip, use Warp carefully:
- Set Warp on
- Choose Beats mode for punchy break material
- Use transient markers only if needed
- Avoid over-tightening; a little human drift helps jungle-style movement
The goal is not to “perfect” the break. The goal is to keep the groove alive and leave space for the ride layer to add motion.
2. Create a separate ride layer instead of crowding the break
Make a new MIDI track or audio track for the ride groove. Use a simple ride sample, a short cymbal, or a ride hit with a clear metallic tail. Keep it separate from the main break so you can mix it like an FX layer.
Good beginner-friendly choices:
- A clean ride one-shot from a drum rack
- A looped ride pattern from your library
- A short cymbal with a slightly noisy tail
Keep the ride layer simple at first:
- Try offbeat hits on the “ands”
- Or place short ride hits around the snare gap to add propulsion
- Use a pattern that feels like it “pushes” the groove forward, not like a full house-style pattern
For authentic DnB, you usually want the ride to support the break, not replace it. The break is the engine; the ride is the glare on the windshield.
3. Shape the ride into a VHS-rave tone with EQ Eight
Drop EQ Eight on the ride track first. This is one of the most important steps because the ride has to sit above the break without becoming brittle.
Try these starter settings:
- High-pass around 300–600 Hz
- Gentle dip around 3–5 kHz if the ride is too sharp
- Small high shelf boost around 9–12 kHz if it needs more shine
For a more taped, lo-fi rave color:
- Cut a little of the extreme top above 14 kHz
- Don’t overdo it; you want “old tape brightness,” not dead cymbals
This helps the ride feel like a texture, not a main drum element. In DnB, that’s important because the snare crack and bass harmonics already occupy a lot of attention.
4. Add controlled grit with Drum Buss or Saturator
To get that VHS-rave edge, use Drum Buss or Saturator on the ride layer. Keep it subtle — the point is harmonic character, not obvious distortion.
Option A: Drum Buss
- Drive: start around 5–15%
- Boom: usually off or very low for ride layers
- Crunch: low to moderate for bite
- Damp: use carefully if the ride gets too fizzy
Option B: Saturator
- Drive: 2–6 dB
- Soft Clip: on if needed
- Use the Analog Clip style if you want a more tape-like edge
If the ride starts sounding harsh, back off the drive before you start cutting EQ. Often a small amount of saturation plus a high-pass is enough to give the “worn cassette tape” vibe.
Why this works in DnB: breaks and rides often live in the same high-mid space. A bit of saturation makes the ride feel glued to the break, so it sounds like one drum performance instead of separate samples fighting each other.
5. Build swing with Groove Pool, not random timing
Open Ableton’s Groove Pool and apply a groove that feels close to an Amen break swing. If you already have a break groove you like, use that. If not, choose a subtle swing groove and apply it to the ride layer only, or to both layers in different amounts.
Good workflow:
- Drag a groove into the Groove Pool
- Set Timing around 20–50%
- Set Random very low, around 0–5%
- Set Velocity around 10–30% if the ride is too even
For beginner use, don’t go extreme. The goal is a little looseness, not sloppy timing. The ride should feel like it’s dancing around the break, not landing late in a distracting way.
If your break already has enough swing, keep the ride tighter and use groove more for velocity variation than timing movement.
6. Use Echo or Delay for subtle tape-space, not a big effect
Add Echo on the ride track or, better, send it to a return track for more control. This can create the “VHS-rave space” without washing out the whole drum groove.
Simple starting settings in Echo:
- Time: 1/8 or 1/16 dotted
- Feedback: 10–25%
- Filter: high-pass the repeats so the low end stays clean
- Add a bit of modulation if you want slight wobble
If you want the delay to feel more like old tape playback:
- Use a small amount of Wobble
- Roll off some top end in the feedback path
- Keep dry/wet low, around 5–15% on the insert or use a send
This is especially useful before a drop or during an 8-bar build. A slightly smeared ride tail can make the transition feel more dangerous and less digital.
7. Sidechain the ride slightly to the kick and snare space
You don’t need the ride pumping hard, but a little ducking keeps it out of the way. Use Compressor or Glue Compressor on the ride group if needed, or sidechain from the kick if your kick is strong and busy.
Beginner-friendly settings:
- Ratio: 2:1 to 4:1
- Attack: 1–10 ms
- Release: 50–120 ms
- Aim for just a few dB of gain reduction
If the ride is filling up the snare hits too much, you can also automate volume down slightly on beat 2 and 4. That keeps the backbeat crisp, which is vital in DnB.
A useful rule: if you notice the ride more than the snare, it’s too loud.
8. Automate tone changes across 8 or 16 bars
This is where the “save-worthy” part happens. A loop becomes a track when it changes over time.
Try these automation ideas:
- Automate EQ Eight high-pass a little higher in the intro, then lower it at the drop
- Automate Saturator Drive up by 1–2 dB during a build
- Automate Echo dry/wet to rise in the last 2 bars before the drop
- Automate ride track volume down slightly on the first bar of the drop, then back up on bar 3 or 5 for variation
Arrangement example:
- Bars 1–8: filtered break + very quiet ride texture
- Bars 9–16: ride opens up, saturation increases, delay fades in
- Drop: ride either returns cleaner or gets chopped into a more aggressive variation
This is a very DnB-friendly approach because it gives DJs and listeners a clear sense of progression without changing the core rhythm too much.
9. Bus the drums together for glue
Route the break and ride into a Drum Group. On the group, use light processing to make everything feel like one performance.
Useful stock chain:
- EQ Eight: tiny low-cut if necessary, or a small cut in muddy low-mids
- Glue Compressor: very light compression, just enough to bond elements
- Drum Buss: subtle drive if the group feels too clean
Group settings to try:
- Glue Compressor Ratio: 2:1
- Attack: 10–30 ms
- Release: Auto or 0.1–0.3 s
- Gain reduction: keep it modest, about 1–2 dB
This makes the Amen break and ride groove feel like one layered kit instead of separate samples. In darker DnB, that cohesion is what makes the drums hit with authority.
10. Check the loop in context with bass and keep the low end clear
Once the ride groove is working, test it against a sub or bassline. Even a simple rolling sub note can reveal problems fast.
Check:
- Is the ride making the snare feel smaller?
- Is there too much top-end energy competing with bass harmonics?
- Does the drum loop still feel strong in mono?
Practical fixes:
- Reduce ride volume before touching the break
- Use Utility on the ride track and turn down width if needed
- High-pass the ride more aggressively if the cymbal sample has low junk
- If the bassline is busy, simplify the ride pattern
A good beginner goal is clarity first, vibe second. In DnB, if the kick, snare, and sub are strong, the FX layer can be small and still feel huge.
Common Mistakes
- Fix: lower it until you miss it when muted, not when soloed.
- Fix: high-pass it and tame the harsh top with EQ Eight.
- Fix: use light saturation first. If the ride becomes white-noise-like, back off.
- Fix: keep Echo subtle and preferably on a send.
- Fix: if the ride steals attention from the backbeat, reduce the ride in the snare zones.
- Fix: use groove in moderation. Too much timing shift can make the loop feel drunk instead of old-school.
- Fix: always audition the ride with bass and main drums, not soloed.
Pro Tips for Darker / Heavier DnB
- Use a tiny amount of white-noise-style cymbal or a brushed top layer and filter it heavily. This can add VHS hiss without taking over.
- Record the ride-and-break group to audio, then chop the best bar back into your set. This is a great beginner way to “commit” to a vibe and move faster.
- Use Auto Filter on the ride group and slowly open it over 8 bars. Great for intro builds and switch-ups.
- In darker rollers, a ride hit right after the snare can create a call-and-response effect that feels urgent and underground.
- Use Utility to keep the low end centered and avoid wide cymbals fighting the mix.
- If you resample the ride, tiny Warp or clip variation can make it feel more “found footage” and less polished.
- A very clean sub under a dusty, saturated ride is often more powerful than making everything gritty.
Mini Practice Exercise
Spend 10–20 minutes making three variations of the same Amen-style ride groove.
1. Build a 1-bar loop with your Amen break.
2. Add a ride layer using one simple pattern.
3. Make three versions:
- Version A: clean and subtle
- Version B: with saturation and slight delay
- Version C: filtered, more lo-fi, and more swung
4. Loop each version for 4 bars.
5. Compare them with a sub bass playing a simple root note.
6. Pick the version that keeps the groove strongest while adding the most atmosphere.
Bonus challenge:
The goal is to train your ear to hear how much ride is enough.
Recap
If you get this right, your DnB loop gains that dusty, energetic, late-night club character that feels both classic and modern — exactly the kind of detail that makes a track replayable.

