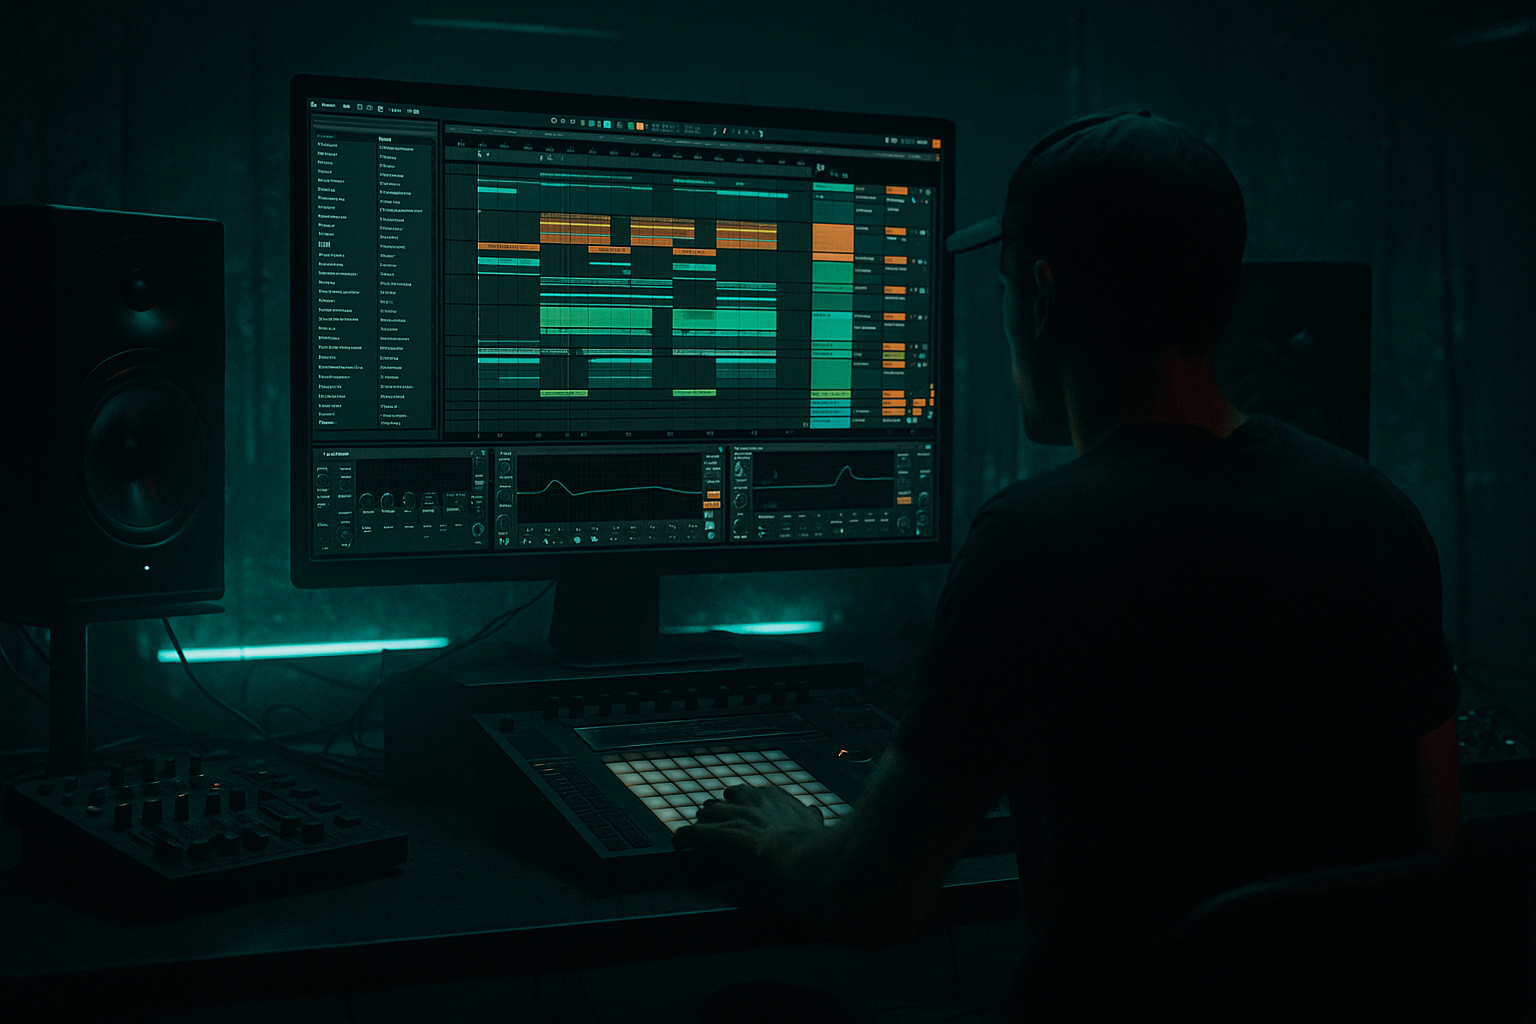
Main tutorial
Lesson Overview
An air horn hit is one of those ragga-jungle and DnB punctuation marks that can turn a clean loop into a proper system-bothering moment. In an advanced Ableton Live 12 context, the goal is not just “make it loud and shouty” — it’s to build a tight, musical, arrangement-ready horn stab that works as a bassline accent, a call-and-response hook, or a drop switch weapon inside rollers, jungle edits, neuro-leaning sections, and darker dancefloor tracks.
Why it matters: in DnB, your bassline often does the emotional heavy lifting, but the air horn hit gives you identity and attitude. It creates contrast against sub-heavy sections, adds ragga flavour without crowding the low end, and helps you design phrases that feel like a sound system conversation. Done right, it can reinforce the groove, mark transitions, and make a drop feel more alive without needing a full melody.
This lesson focuses on a practical blueprint inside Ableton Live 12: building a horn hit from a simple source, shaping it with stock devices, controlling the transient and stereo image, and then placing it rhythmically so it feels like part of the bassline ecosystem rather than a random sample slapped on top 🎛️
What You Will Build
You’ll build a layered air horn hit that has:
- a hard, forward midrange bark
- a controlled sub-support layer or low-mid weight when needed
- a slightly unstable, detuned movement for ragga chaos
- short, aggressive envelope shaping so it punches without washing out the drop
- rack-based FX control for filter, distortion, width, and reverb send
- a call-and-response arrangement role that can sit over a reese, wobble, or break-driven bassline
- a 1-bar response after a bassline phrase in a roller
- a pre-drop tag in a jungle rewrite
- a drop switch hit that lands on bar 9 or bar 17
- a mid-drop turnaround that resets energy before the next bass phrase
- Too much low end in the horn
- Making it wide but phasey
- Overlong decay
- Harshness around 3–5 kHz
- No relationship to the bassline
- Too many effects at once
- Ignoring mono
- Use a second muted layer an octave down very quietly, just for body. High-pass it aggressively so it doesn’t step on the sub.
- Resample the horn through your drum bus chain for a more integrated, “in the record” feel. Subtle compression and saturation can make it sit like part of the track rather than an overlay.
- Automate micro pitch drift using Wavetable or clip envelopes for a more unstable, ravey edge.
- Pair the horn with break fills so the ear reads it as a transition cue, not just a sound effect.
- Use call-and-response with the bassline: horn answers the last note of a reese phrase, then the bass comes back heavier on the next bar.
- Dirty the tail, not the attack: keep the front punchy and add grit to the sustain/reverb return for a more controlled mix.
- Use short gated ambience on a send for a warehouse-style smear without washing out the drop.
- Keep the sub separate: if your bassline is already carrying the weight, the horn should live above it and complement the groove, not compete with it.
- Use A for bar 1
- Use B for the phrase turnaround
- Use C as a drop transition or fill-end cue
- Build the horn as a fast, controlled accent with strong midrange character.
- Keep the sub and low end under control so it doesn’t fight the bassline.
- Use Ableton stock devices like Simpler, Wavetable, EQ Eight, Saturator, Drum Buss, Auto Filter, Echo, Reverb, Utility, and Compressor.
- Phrase the horn as a bassline response and arrangement marker, not a random SFX.
- Use automation, layering, and mono discipline to make it hit hard in a real DnB mix.
Musically, this could be used as:
The end result should feel like a sampled reggae horn being re-amped through a rave system, but with enough precision to survive a proper DnB mix.
Step-by-Step Walkthrough
1. Choose the source and decide the role before designing
Start by deciding what kind of air horn you need in the track:
- If the drop is sub-heavy and minimal: make the horn mostly midrange, leaving the low end to the bassline and kick.
- If you want a rude call-and-response: let the horn overlap the tail of the bass phrase, but keep the actual sub momentarily simplified.
- If you’re building jungle chaos: the horn can be more sample-like, less tuned, more distorted.
In Ableton Live, create a new audio track and drop in either:
- a raw air horn sample from your library, or
- a simple synth approximation using Wavetable or Operator if you want full control.
For a synth-based approach, start in Wavetable:
- Osc 1: saw or pulse
- Osc 2: saw, detuned slightly
- Unison: 2–4 voices
- Filter: low-pass with moderate resonance
- Amp envelope: attack 0–5 ms, decay short, sustain low, release 100–250 ms
The point here is not realism. It’s attitude and usable frequency content. In DnB, a horn that sits well in the mix is often more useful than a “perfect” horn that eats the whole top end.
2. Shape the raw hit with an amp envelope and pitch gesture
Air horn hits work because they have an almost vocal quality. To get that, add pitch movement and a very controlled envelope.
If using a sample, load it into Simpler in Classic or One-Shot mode:
- Turn on Warp only if the timing needs locking
- Trim the start to remove dead air
- Use the sample start position to keep the transient sharp
- If the sample is too long, shorten the end with volume envelope or clip gain
If using Wavetable or Operator:
- Add Pitch Envelope with a fast rise or downward fall
- Try a pitch drop of -3 to -7 semitones over 40–120 ms for a classic rude stab
- For a more euphoric ragga lift, try a quick rise into the note, then a short decay
Concrete starting point:
- Attack: 0 ms
- Decay: 120–220 ms
- Sustain: 0–15%
- Release: 50–180 ms
Why this works in DnB: the horn needs to speak fast. Fast envelope design leaves room for drums and bass while still creating a strong rhythmic cue. DnB arrangements are dense; any hit that hangs around too long starts fighting the groove.
3. Build a tone stack: mid bark first, then controlled weight
The horn should cut through the mix without wrecking the low end. Use a layered rack or at least a careful device chain.
Recommended Ableton chain:
- EQ Eight
- Saturator
- Drum Buss or Roar if you want more aggression
- Optional Auto Filter
- Utility
Start with EQ Eight:
- High-pass around 120–180 Hz if the horn is purely a top/mid accent
- If you want a heavier, chesty hit, leave some low-mid body around 180–350 Hz
- Cut harshness if needed around 2.5–5 kHz
- Add a small presence lift around 800 Hz–1.5 kHz if it’s disappearing in the drop
Then add Saturator:
- Drive: 2–8 dB
- Enable Soft Clip if the hit is peaky
- Use Analog Clip if you want a more rounded, rude edge
If the horn needs extra aggression, use Drum Buss:
- Drive: 5–20%
- Transients: use sparingly; too much can make it clicky
- Boom: usually low or off for a horn, unless you intentionally want a chesty low-mid shove
For a more modern neuro-adjacent grimey edge, Roar can add complex saturation and motion, but keep it subtle. The hit still needs to feel like a punctuated musical event, not a noisy slab.
4. Create movement with modulation, but keep it readable
Ragga-infused chaos comes from movement, not just loudness. Add motion with a controlled dose of modulation.
Use Auto Filter:
- Filter type: Band-Pass or High-Pass
- Envelope amount: moderate
- LFO rate: sync to 1/8 or 1/16
- Keep resonance controlled; too much makes the horn whistle instead of hit
Or use Wavetable’s Macro assignments if you built the sound from synth:
- Macro 1: Filter cutoff
- Macro 2: Unison detune
- Macro 3: Drive
- Macro 4: Reverb send or delay amount
Good parameter ranges:
- Cutoff movement: about 300 Hz to 4 kHz depending on the source
- LFO depth: 5–20%
- Detune: tiny; just enough to feel unstable
You can also automate sample start in Simpler for a slightly different attack on repeated hits. That makes the repeated horn feel less static in a long drop.
Advanced workflow tip: record or resample a few versions of the horn with different macro positions. Then treat those as phrase variations rather than trying to force one sound to do everything.
5. Make it behave like a bassline accent, not a random SFX
Since this is a basslines lesson, the horn should interact with your bassline phrasing. Place it as a rhythmic response to the bass or drums.
Try these musical contexts:
- In a roller, place the horn on the “and” of 2 or the last 16th before bar 1 of a phrase turnaround.
- In a jungle edit, trigger it after a chopped break fill to mimic a MC call.
- In a neuro-leaning drop, use it on a 1/2-bar gap in the bassline, creating negative space before the next mutation.
Practical arrangement move:
- Duplicate your bassline MIDI clip
- Remove one or two notes where the horn will answer
- Put the horn hit there so it complements, not clashes
If the bassline is a reese with moving harmonics:
- Keep the horn more mid-focused
- Avoid overlapping the most active bass movement unless you want deliberate aggression
- Use mono for the horn’s core if the bass is already wide
This is where the track starts sounding intentional. In DnB, the best “effects” often behave like part of the groove architecture.
6. Sidechain and duck the horn for mix clarity
Even a short horn can fight the kick, snare, or bass movement if it lands in the wrong place. Use compression and volume shaping to make it sit.
Options in Ableton:
- Compressor with sidechain from kick or snare
- Gate if you want a hard chop effect
- Utility automation for manual horn level rides
- Volume Shaper-style automation via clip gain or envelope using the clip envelope lane
Suggested Compressor settings:
- Sidechain input: kick or full drum bus
- Ratio: 2:1 to 4:1
- Attack: 1–10 ms
- Release: 50–120 ms
- Threshold: set for 2–4 dB gain reduction on the hit
If the horn needs to punch and then vanish fast, automate volume so it peaks immediately and gets out of the way before the next snare. This is especially important in fast DnB where the horn can otherwise smear into the next 1/2 bar.
Why this works in DnB: the mix is built around transient hierarchy. Kick, snare, sub, and bassline all compete for attention. A horn hit can dominate the emotional moment, but it still has to respect the drum grid and low-end ownership.
7. Add spatial FX, but keep the center clean
Air horn hits usually need some space, but in DnB the center of the mix is sacred. Use FX to expand the top while preserving mono compatibility.
Good Ableton stock choices:
- Echo
- Reverb
- Hybrid Reverb if you want more tonal control
- Utility for mono checks
- Delay on a return track for repeatable ambience
Recommended approach:
- Put the dry horn mostly center
- Send a small amount to a short room or plate
- Add a very short stereo delay on a return if you want width without washing the transient
Concrete starting points:
- Reverb decay: 0.5–1.2 s
- Pre-delay: 10–30 ms
- High-cut in reverb: 5–8 kHz
- Low-cut in reverb: 200–500 Hz
For a rude dubwise touch, automate a tiny delay throw on the final hit of a phrase. In Ableton’s Echo, try:
- Time: 1/8 or 1/16
- Feedback: 10–25%
- Filter: roll off lows heavily
- Modulation: minimal
Keep checking with Utility in mono. If the horn disappears or gets phasey, reduce stereo widening and rely more on harmonic content than width tricks.
8. Turn it into a rack and automate it like an instrument
The advanced move is not just designing one horn — it’s building a performance-ready rack.
Use an Audio Effect Rack or Instrument Rack with Macros assigned to:
- Filter cutoff
- Saturation drive
- Reverb send
- Delay amount
- Output level
- Stereo width via Utility
Then map these to performance-friendly controls so you can automate phrases quickly in Arrangement View or record in real time.
Suggested macro behavior:
- Macro 1: “Bark” — opens filter and adds upper mids
- Macro 2: “Rude” — increases drive and clip amount
- Macro 3: “Space” — increases reverb/delay send
- Macro 4: “Chaos” — adds detune or subtle pitch drift
This turns the horn into something you can play across sections:
- tight and dry in the first drop
- wider and more delayed in the second drop
- filtered and distant in the intro
- overdriven for the final switch-up
For arrangement flow, place the horn:
- at the end of 8-bar phrases
- before a drum fill
- after a bass drop-out
- as a response to vocal chops or amen edits
This keeps the track DJ-friendly while still giving you proper hype moments.
Common Mistakes
- Fix: high-pass around 120–180 Hz unless the low-mid body is intentional.
- Fix: keep the dry signal mono-ish and use width only on sends or duplicated high-frequency layers.
- Fix: shorten the amp envelope and reverb tail. DnB needs fast punctuation.
- Fix: use EQ Eight with a narrow cut or soften with Saturator/Drum Buss instead of just turning it down.
- Fix: phrase the horn as an answer to a bass motif, not a separate event.
- Fix: choose one primary character trait — bark, width, dirt, or space — and let the others support it.
- Fix: check Utility in mono, especially if the horn is layered over a very wide reese.
Pro Tips for Darker / Heavier DnB
Mini Practice Exercise
Spend 10–20 minutes making three horn variations in Ableton Live:
1. Variation A: Dry rude hit
- Build a short horn with Simpler or Wavetable.
- High-pass it.
- Add Saturator and keep it mostly mono.
2. Variation B: Ragga chaos hit
- Add pitch movement and a small amount of distortion.
- Automate filter cutoff for a rising or falling gesture.
3. Variation C: Dubwise spacious hit
- Send it to Reverb and Echo.
- Keep the dry sound short and centered.
- Make the FX tail only appear on the last hit of an 8-bar phrase.
Then place all three in a 16-bar drum-and-bass loop:
After that, mute the horns and check whether the bassline and drums still feel strong. If the horn arrangement only works when it’s loud, redesign the phrasing and envelope.
Recap
If you get the balance right, the air horn stops being a gimmick and becomes a proper part of the track’s language — rude, musical, and deadly effective.

