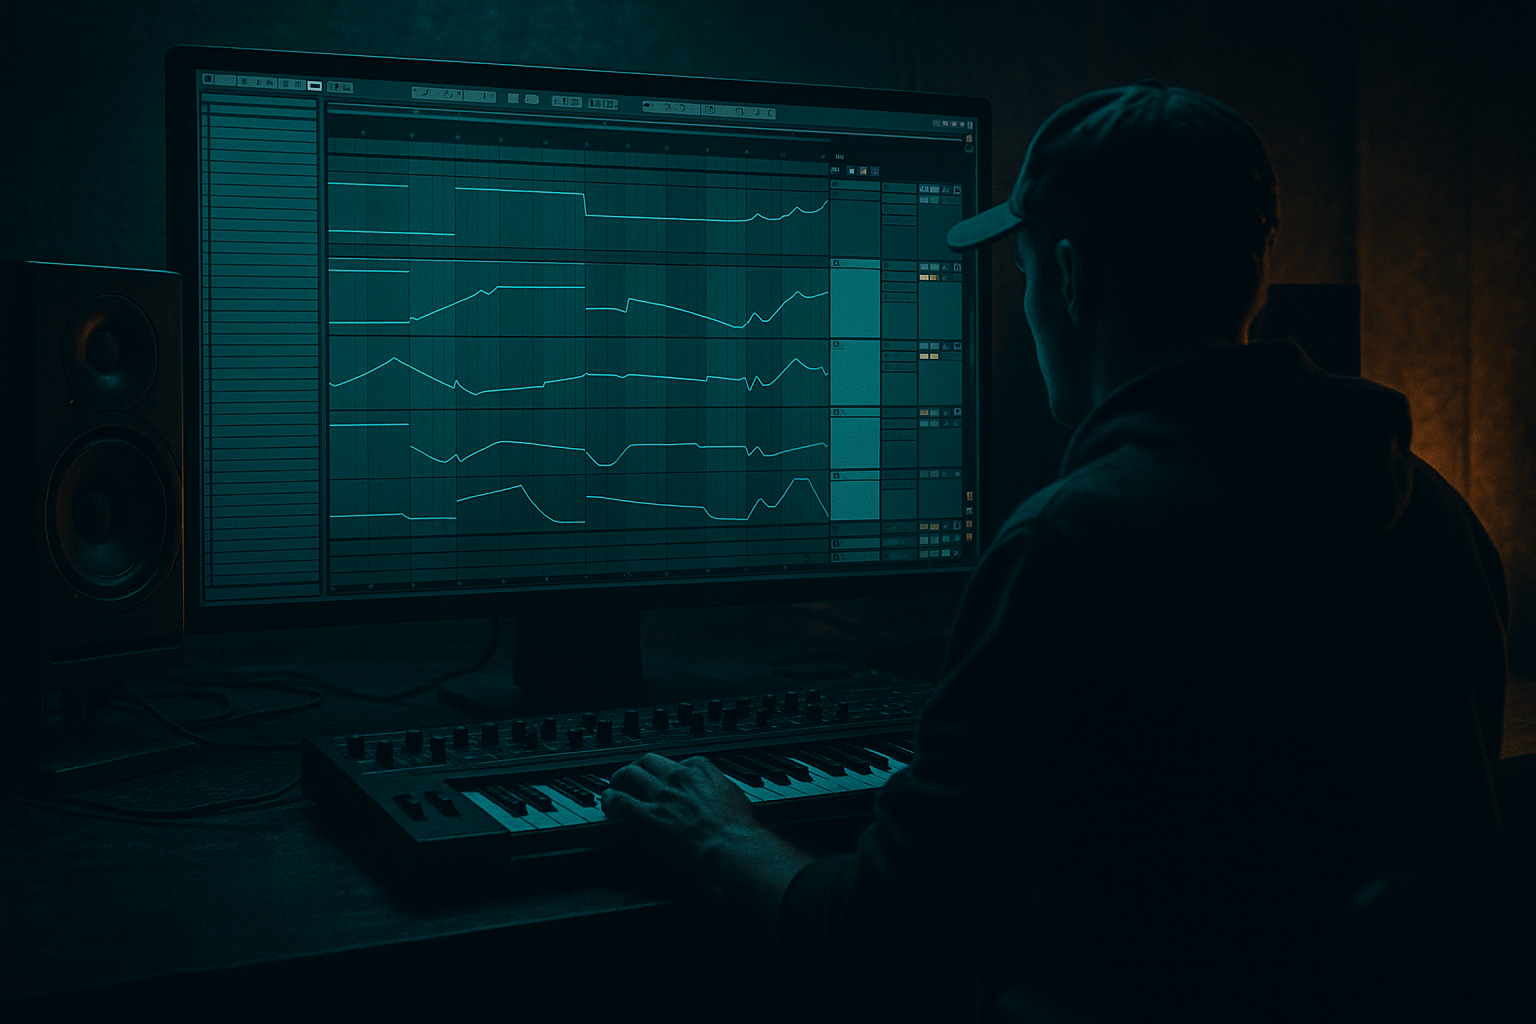
Main tutorial
Lesson Overview
Oldskool rave pressure in Drum & Bass is all about making a fill feel like a hard pivot in the groove without breaking the tune’s momentum. In Ableton Live 12, the goal isn’t just “add a drum fill” — it’s to build a pressure valve: a short burst of motion, attitude, and tension that feels rooted in jungle, rave, and heavy rollers culture.
This technique matters because DnB fills do more than decorate the arrangement. They:
- mark phrase changes every 8, 16, or 32 bars,
- reset energy before a drop or switch-up,
- create the oldskool “whoa, here we go” feeling,
- and keep loop-based sections from becoming static.
- a 1-bar and 2-bar fill version,
- using edited break hits, a reese or sub stab, and a rave-style impact,
- with filter automation, reverb throws, and delay cuts,
- designed to land before a drop, after an 8-bar phrase, or as a switch-up in a roller,
- and kept clean enough to sit inside a mix without trashing the low end.
- a chopped break that accelerates tension,
- a bass movement that answers the drums,
- and a short, nasty “pressure burst” that sounds intentional, not random.
- drums ask the question,
- bass/stab answers,
- FX frame the transition,
- and the next section lands harder because the fill did the job.
- Overfilling the fill
- Letting sub frequencies stack up
- Using long reverb tails on every hit
- Ignoring phrase length
- Making the fill too loud
- Bad stereo discipline
- Resample the fill and re-cut it
- Use reverse breathers
- Layer a ghost tom under the break edit
- Push saturation before EQ, then clean after
- Automate bass note length, not just pitch
- Use silence as part of the fill
- Blend rave stab and reese carefully
- 1 main break idea,
- 1 bass response,
- 1 FX move.
- a chopped break edit,
- a short bass or stab response,
- focused automation,
- and clean arrangement timing.
- separate the fill into its own group,
- keep the sub disciplined,
- use filter and send automation for movement,
- and design fills around phrase changes.
For intermediate producers, this is where workflow becomes a huge advantage. If you can build a reusable fill blueprint in Ableton, you stop reinventing the wheel every time. You can sketch fills fast, resample them, and shape them to fit jungle breaks, darker rollers, neuro tension, or ravey half-step moments.
The core idea of this lesson: build a fill that combines break edits + rave stabs + pitch movement + FX automation, then make it repeatable across your track structure. 🚀
What You Will Build
By the end of this lesson, you’ll have a tight Ableton Live 12 fill blueprint that sounds like it belongs in an oldskool DnB or jungle-inspired tune, but still works in modern darker bass music.
Specifically, you’ll build:
Musically, the result should feel like:
Think of it as a call-and-response fill:
Step-by-Step Walkthrough
1. Set up a dedicated fill rack in Session or Arrangement view
Start by making a new group called FILL BLUEPRINT and keep everything related to your fill inside it. This is a workflow move that speeds up decisions and keeps your arrangement clean.
Build 3 lanes inside the group:
- Break layer
- Bass/stab layer
- FX layer
Use stock Ableton devices only:
- For the break layer: Simpler or Drum Rack
- For the bass layer: Wavetable, Operator, or an audio resample lane
- For the FX layer: Analog, Sampler, or processed audio clips
Why this works in DnB: fills get messy fast, and if you separate duties early, you can control low-end, transient punch, and atmosphere independently. That matters a lot in fast tempos where every 1/16th note counts.
2. Choose a fill slot in the arrangement and map the phrase
Oldskool pressure works best when the fill lands at a structural point:
- last 1 bar before a drop,
- last 2 bars before a switch,
- or the final bar of a 16-bar phrase.
In DnB, a classic context is:
- bars 1–8: groove settles,
- bar 9–15: variation and build,
- bar 16: fill and drop reset.
Place a locator at the fill start and another at the drop. This keeps you honest about phrasing. If the track is a roller, a 1-bar fill often hits harder. If it’s jungle or darker rave pressure, 2 bars can give you space for break manipulation and bass commentary.
Workflow tip: duplicate your main drum loop to a new lane and mangle only the last bar first. Don’t build the whole fill from scratch.
3. Build the break edit first: chop for swing, not clutter
Load a classic break or your own drum loop into Simpler in Slice mode, or drop the break straight into audio and use split points. Keep the edit focused on the last 1–2 bars.
Try these practical moves:
- Slice the last bar into 1/8 or 1/16 chunks
- Offset a couple of ghost hits slightly late for human feel
- Use Clip Gain or Gain Automation to make the last two hits punchier
- Leave at least one obvious gap so the fill breathes
Good starting drum choices:
- a snappy snare from the break,
- a ghost kick or low tom,
- a hi-hat tail or ride tick,
- and one chopped break reversal or stutter.
If using Drum Rack, layer:
- kick layer at the start of the fill,
- snare/clap on the turn,
- and a small hat or rim hit on the last 1/16.
Parameter suggestions:
- In Simpler, set Filter to low-pass around 8–12 kHz if the break is too sharp.
- Set Transient slightly up if you want more bite, or down if the break is too spiky.
- Use Warp only if needed; keep timing natural where possible.
Why this works in DnB: break edits are the language of jungle and oldskool rave pressure. A chopped fill feels authentic because it sounds like the drum loop is being “played” rather than pasted.
4. Add a rave stab or bass reply to create call-and-response
Now give the fill a signature reply. This can be a short rave stab, a Reese fragment, or a sub-bass punctuation note.
Good stock-device options:
- Wavetable for a sharp stab with movement,
- Operator for a clean sine/sub accent,
- Analog for a more acidic or analog-feeling stab,
- or resample a bass note and process it as audio.
Make a short MIDI clip with 1–3 notes only. Don’t overplay it. The fill should feel like a statement, not a melody.
Practical settings:
- For a stab in Wavetable, use a brighter wavetable with short envelope decay: 150–350 ms
- Add Filter Drive around 5–15%
- Use Unison 2–4 voices only if you high-pass the sound afterward
- Keep the sub layer mono and tucked under -10 to -14 dB relative to the main drum energy
For an oldskool feel, try a stab on the offbeat of the fill, then drop a short low note on the final hit. That creates a classic rave tension/release moment.
Musical example: if your main tune is in F minor, use an F or C note for the bass reply, and let the stab hit a minor 3rd or 5th for tension without clashing. Keep it simple and aggressive.
5. Shape the movement with filter automation and returns
This is where the fill starts to feel engineered instead of edited.
Put Auto Filter on the bass/stab bus and automate a fast sweep over the fill:
- start with the cutoff around 150–300 Hz if you want a muffled opening,
- then open to 2–8 kHz by the final hit,
- use a 24 dB low-pass for a dramatic turn,
- or a band-pass if you want a ravey narrow throw.
On the return tracks, keep it classic:
- Reverb: short-to-medium decay, around 1.2–2.2 s
- Delay: 1/8 or dotted 1/8 for bounce
- automate a send only on the final stab or snare hit
Good workflow move: automate send amount rather than piling more reverb on the source sound. This keeps the fill punchy and mix-friendly.
For a more oldskool rave texture, automate a quick Echo throw on the last hit:
- feedback: 15–35%
- filter on delay return: cut lows under 300 Hz
- mod rate: subtle, just enough to smear the tail
Why this works in DnB: the filter sweep creates perceived acceleration. Even if the BPM doesn’t change, the ear feels the energy ramping up.
6. Use rack macros so the fill can be reused fast
Group your bass/stab processing into an Audio Effect Rack or Instrument Rack and map key controls to macros. This is one of the best intermediate workflow habits in Ableton Live 12.
Suggested macros:
- Macro 1: Cutoff
- Macro 2: Drive
- Macro 3: Reverb Send
- Macro 4: Delay Send
- Macro 5: Width
- Macro 6: Tone/High Cut
If you’re using a resampled fill clip, also map:
- start point adjustment in Sampler/Simpler if applicable,
- or clip transposition for alternate versions.
Make at least two saved versions:
- Version A: 1-bar pressure fill
- Version B: 2-bar tension fill
Then duplicate and tweak per section instead of rebuilding every time. That’s how you stay fast when arranging a full tune.
7. Add transient shaping and bus glue without flattening the impact
Route the fill group into a dedicated FILL BUS and process lightly. The goal is cohesion, not squashing.
Useful stock devices:
- Drum Buss for weight and drive,
- Glue Compressor for glue,
- Saturator for edge,
- EQ Eight for cleanup.
Suggested settings:
- Drum Buss: Drive around 5–15%, Boom low or off unless you need extra thump
- Glue Compressor: ratio 2:1, attack 10–30 ms, release Auto or 0.3–0.6 s
- Saturator: Drive 2–6 dB, Soft Clip on if needed
- EQ Eight: high-pass the FX layer around 150–250 Hz so it doesn’t fight the bass
Keep the drums and bass moving together, but do not crush the transient. A fill needs a sharp front edge so the drop feels bigger by comparison.
8. Automate the arrangement around the fill, not just the fill itself
The fill becomes much more effective when the surrounding bars change too.
Try these arrangement moves:
- pull out the kick for the first half of the fill,
- mute the main bass a beat early,
- leave hats rolling while the snare edit takes over,
- or strip everything except a sub pulse and FX in the final half-bar.
For an oldskool rave pressure moment, automate:
- a high-pass filter on the master of a pad or atmos layer,
- a sudden drop in drum width before the fill,
- and then widen the stereo field again on the post-drop layer.
Context example: in a 174 BPM roller, you might remove the main bass at bar 15.3, let the break chop and stab do the talking through bar 16, then slam the full groove back in on the one. That tiny gap creates way more impact than adding more notes.
Common Mistakes
Too many chops, hits, and FX make the section lose identity. Fix: keep one dominant rhythmic idea and one supporting idea.
If the break edit, bass stab, and FX all contain low end, the fill turns muddy. Fix: high-pass non-bass layers and check mono.
This blurs the groove and kills impact. Fix: use reverb sends only on selected notes or the final hit.
A fill that ignores the 8/16-bar structure feels random. Fix: place fills on bar lines, not just wherever the loop feels empty.
If the fill jumps out more than the drop, the arrangement balance gets weird. Fix: compare against the drop and trim gain until it supports, not dominates.
Wide bass in the fill can wreck the low end. Fix: keep the sub mono, widen only upper harmonics or FX.
Pro Tips for Darker / Heavier DnB
Bounce your fill to audio, then slice it again. That gives you grime, unpredictability, and better arrangement speed.
Reverse a snare tail or crash into the final hit. Keep it short and filtered, so it feels like suction rather than a wash.
A low tom around the final 1/8 of the fill can add tribal pressure without sounding cheesy.
A little Saturator or Drum Buss drive before EQ Eight can create nasty harmonics that still sit in the mix once cleaned.
Shorten the final bass reply note for a punchy stop, or extend it slightly into the downbeat if you want a draggy neuro-style tension release.
A half-beat gap before the drop can hit harder than another snare. In darker DnB, negative space is tension.
If both are too mid-heavy, the mix hardens in the wrong way. Cut the stab low end and give the reese a narrow focus around the midrange.
Mini Practice Exercise
Set a 15-minute timer and build a fill blueprint from scratch in Ableton Live 12.
1. Pick an 8-bar loop in your DnB project.
2. Duplicate the last bar into a new group called FILL BLUEPRINT.
3. Create a break edit using Simpler or audio slicing.
4. Add one bass reply using Wavetable or Operator with only 1–2 notes.
5. Automate Auto Filter cutoff across the bar.
6. Add one send throw to Reverb or Echo on the final hit only.
7. Route everything through Drum Buss or Glue Compressor lightly.
8. Bounce the fill to audio and listen back in context.
Limit yourself to:
If it starts sounding busy, remove something instead of adding more. The goal is to make the fill feel powerful in a real arrangement, not impressive in solo.
Recap
The best oldskool rave pressure fill in DnB is built from a few strong elements:
In Ableton Live, the fastest workflow is:
If it sounds like a controlled burst of energy that sets up the drop, you’ve got it. Keep it tight, keep it nasty, and let the pressure do the talking.

