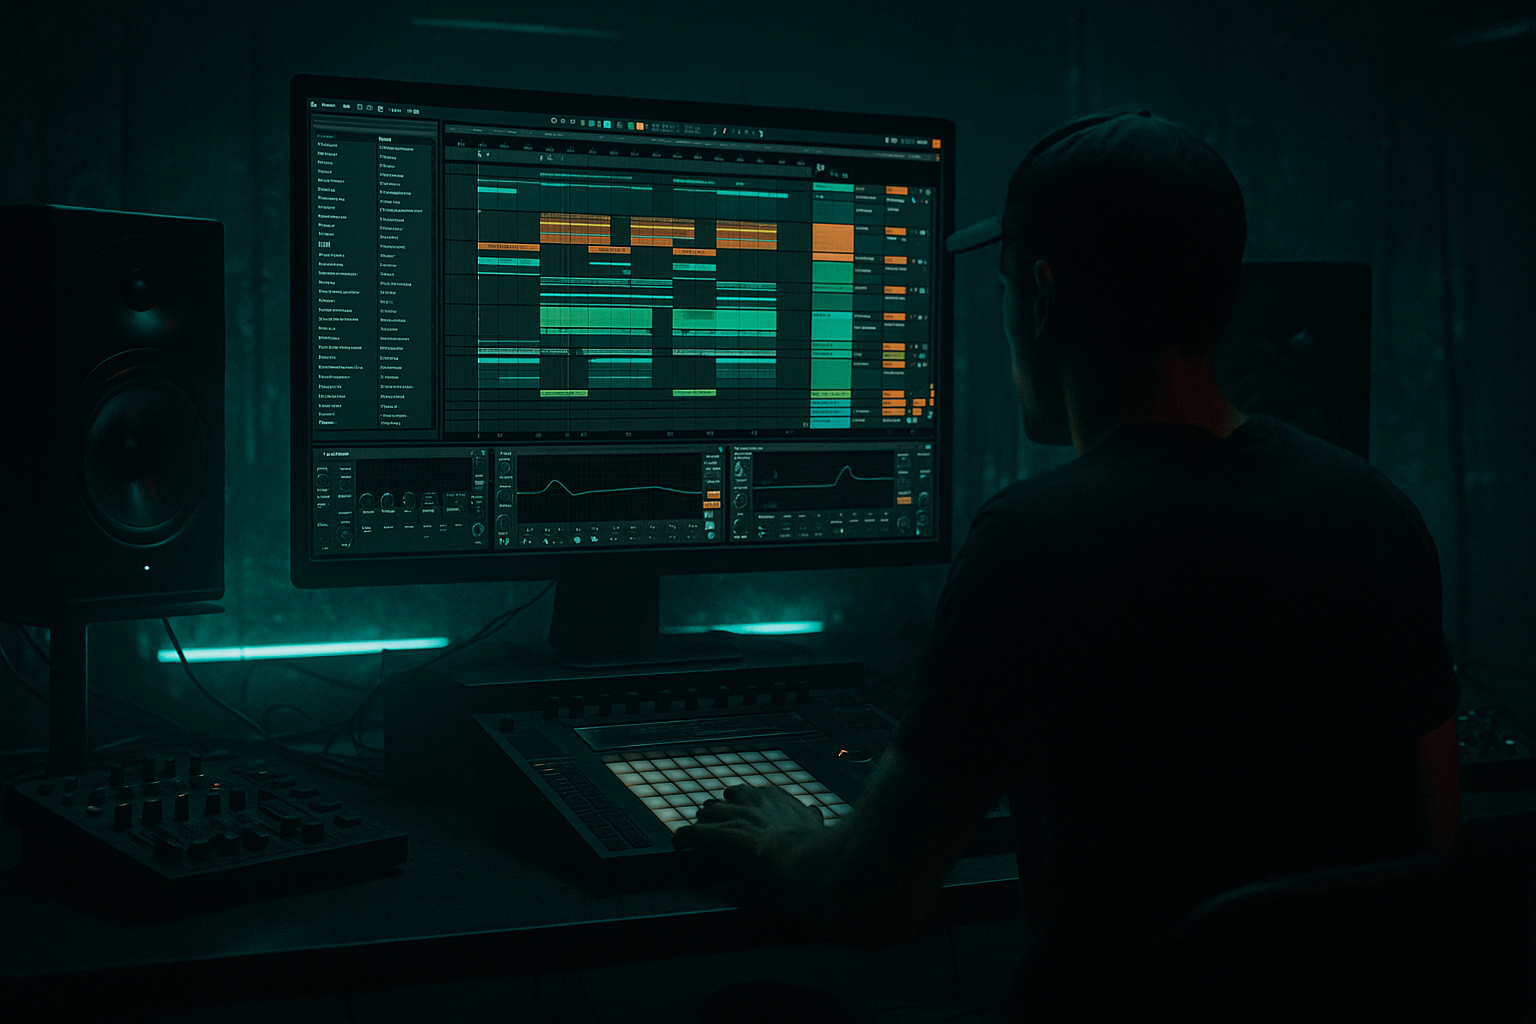
Main tutorial
Lesson Overview
In this lesson, you’ll build a timeless roller-style riser blueprint for oldskool jungle / DnB momentum inside Ableton Live 12, with an advanced, edit-focused approach. The goal is not just “make a rise before the drop” — it’s to create a musical tension system that feels like classic DnB: urgent, gritty, hypnotic, and perfectly set up for a rolling groove drop.
This matters because in Drum & Bass, the transition into the drop is often where the whole tune gets its identity. A strong riser isn’t about modern festival-cheese. For jungle, rollers, and darker DnB, the best risers feel like they’re pulled forward by rhythm, harmonic pressure, and arrangement edits, not just white noise going up. Done right, your riser becomes part of the track’s groove language: it hints at the break, teases the bassline, and makes the drop feel inevitable.
We’ll focus on an edits mindset: chopping audio, resampling, reversing, stretching, filtering, and automating layers so the build feels handcrafted and DJ-friendly. The result should sound like it belongs in a proper DnB arrangement — not a generic EDM build. 🔥
What You Will Build
You’ll build a 4- to 8-bar riser system that combines:
- a pitched noise lift
- a resampled break edit
- a reese/bass tension layer
- a reverse impact tail
- subtle stereo narrowing into mono focus
- automated filter, distortion, reverb, and pitch movement
- oldskool amen-driven jungle
- roller bassline sections
- darker halftime-to-fulltime transitions
- neuro-influenced tension moments
- DJ-friendly arrangement phrasing
- Over-bright risers
- Too much stereo width too early
- No relationship to the drums
- Builds that are only noise
- Clashing low end
- Automation that’s too linear
- Reverb washing out the drop
- Use Saturator or Overdrive on the riser bus with moderate drive, then tame peaks with Glue Compressor if needed. A little harmonic compression makes the transition feel denser.
- Put Utility on the riser bus and automate Width to tighten the last bar. That mono-focused snap is huge for heavyweight drops.
- Try a Frequency Shifter on the reversed break layer only, not the whole build. Small metallic offsets create anxiety without clutter.
- For deeper jungle character, layer a resampled amen tail under the tonal riser and filter it hard. It adds history and movement.
- Use groove extraction from your break edits if the build needs a less rigid feel. Slight swing can keep the riser alive in a roller context.
- If the tune is dark and sub-heavy, avoid huge pitch climbs. A slower, lower riser with evolving texture often feels more dangerous than a flashy one.
- Consider automating filter resonance only in the last 2 bars. That last bit of whistling tension can make the drop feel like it’s being sucked through a tunnel.
- For neuro-leaning weight, resample the build and make tiny cuts between hits. Micro-edits can create a mechanized, breathing tension that still works in DnB.
- Always check the build in mono. If the riser disappears when collapsed, it may be too dependent on width and not enough on harmonic or rhythmic content.
- Build risers in DnB phrasing, usually 4 or 8 bars.
- Combine tonal lift, break edits, reverse motion, and low-end tension.
- Use Ableton stock devices like Wavetable, Operator, Auto Filter, Saturator, Frequency Shifter, Utility, Reverb, Hybrid Reverb, and Echo.
- Resample and edit the transition so it feels like part of the track’s drum language.
- Shape the last bar carefully: narrow width, remove clutter, leave space.
- The best risers in jungle and rollers don’t just rise — they pull the listener into the drop with groove, pressure, and controlled chaos.
Musically, the riser will work as a pre-drop momentum tool in a roller or jungle tune, especially after a breakdown, 16-bar switch-up, or 8-bar drum edit. Think of it as the transition that pulls the listener from a stripped-back section into a weighty looped drop. It should feel compatible with:
The final result should be able to sit before a full drum-and-bass drop at 170–174 BPM, with enough grit and motion to feel authentic, but controlled enough to leave space for the kick, snare, and sub when the drop lands.
Step-by-Step Walkthrough
1. Set up the transition in 8-bar phrasing
Start by deciding where the riser lives in the arrangement. In DnB, this is usually the last 4 or 8 bars before the drop. For a timeless roller, an 8-bar build works well if you want space for drum edits and a teasing bass return; a 4-bar build works better if the tune needs to stay lean and efficient.
In Ableton Live 12, place a locator at the start of the build and another at the drop. Then map out the tension curve:
- Bars 1–2: minimal movement, establish expectation
- Bars 3–4: introduce rise in pitch/filter energy
- Bars 5–6: add break edit activity and bass tension
- Bars 7–8: peak and strip down for the drop
For a jungle-flavoured arrangement, this often works best after a drum break cut or bass dropout, where the riser replaces groove momentum rather than fighting it. That’s a classic DnB move: the ear hears missing rhythm and wants the drop back immediately.
2. Build the main tonal source using Wavetable or Analog
Create a MIDI track and load Wavetable or Analog. You want a source that can be shaped into a dark, moving riser rather than a bright synth lead.
Good starting settings:
- Oscillator 1: saw or square blend
- Oscillator 2: detuned saw, lower in level
- Unison/voices: 2–4 voices max for controlled width
- Detune: subtle, around 5–12%
- Filter: low-pass with resonance around 20–35%
- Amp envelope: short attack, medium sustain, slightly longer release
Then automate the filter cutoff from dark to brighter across the riser. For a roller, keep the top end under control until the final bar; you want tension, not instant release. If you want more oldskool character, modulate a very slight pitch drift or oscillator detune movement rather than huge supersaw width.
Why this works in DnB: the listener is constantly tracking frequency upward motion and harmonic opening, which mirrors the forward drive of the breakbeats and bassline. The tension feels musical, not just noisy.
3. Layer a reversed break edit for rhythmic identity
This is where the lesson becomes properly edits-driven. Drag in an amen, break, or hat/snare fragment and use Clip Transpose / Warp / Reverse to create a reversed phrase that leans into the drop. You’re not making a full break edit here — just a tension layer that references the drum language of the tune.
Practical workflow:
- Slice a 1-bar or 2-bar break phrase to a new MIDI track using Slice to New MIDI Track
- Choose slicing by transient for precise editing
- Rearrange a few hits so the last half of the riser includes snare ghosts, hat pickups, or kick fragments
- Reverse selected clips or audio regions for a suction effect into the drop
Keep the edit sparse enough that it feels intentional. A useful approach is:
- early build: just one reversed snare tail
- mid build: add a chopped hat pattern
- final bar: reverse a short break swell or crash
This makes the riser feel like part of the drum arrangement rather than a separate FX layer.
4. Create movement with Auto Filter, Frequency Shifter, and Saturator
Put the tonal source and break edit through an Audio Effect Rack or a grouped bus so you can shape the whole riser together. Start with:
- Auto Filter for a low-pass to band-pass sweep
- Saturator to introduce harmonic pressure
- Frequency Shifter for subtle metallic tension
- optional Overdrive for bite
Suggested ranges:
- Auto Filter cutoff: start around 180–400 Hz, end around 6–10 kHz depending on brightness
- Resonance: 0.20–0.45
- Saturator drive: 2–6 dB
- Soft Clip: on if the layer gets peaky
- Frequency Shifter fine tune: very small movement, often 0.10–1.50 Hz or a few cents-style motion depending on mode, kept subtle
The key is motion, not punishment. If the riser gets too busy, the drop won’t hit with enough space. A tasteful amount of saturation helps the build feel like it’s being “pushed” by the system, which is very on-brand for darker DnB.
5. Add a sub-harmonic tension bed with controlled low-end
Advanced DnB arrangements often benefit from a low-frequency tension layer that isn’t quite a bassline yet. Create a separate MIDI track with Operator or Simpler and design a low rumble / sub swell that rises with the build.
Good starting points:
- Operator sine or sine-like waveform
- Low-pass filter very closed at first
- Pitch automation rising by 1–3 semitones across the build, or a subtle envelope up-swell
- Keep the layer mono
- Keep it 12–24 dB quieter than the main bassline reference point
This layer should imply the coming drop without stepping on the actual sub. In oldskool and roller contexts, a low rumble can make the drop feel huge because the ear registers pressure change, not just loudness.
If you want a more neuro-adjacent feel, lightly modulate the filter cutoff or wavetable position with LFO in Wavetable or Envelope Follower from a drum bus resample, but keep it restrained. The goal is menace, not wobble for its own sake.
6. Resample the build and edit it like a proper DnB transition
Now bounce the whole riser bus to audio. This is crucial in an edits workflow because it lets you cut the transition like an instrument.
Do this by:
- routing the riser layers to a group
- recording the group to a new audio track in real time, or
- freezing and flattening if you want speed
Once resampled:
- chop the audio into 1/2-bar, 1/4-bar, or even 1/8-note fragments
- reverse tiny pieces before the drop
- trim tails so the last transient clears the downbeat
- add micro-fades to prevent clicks
A strong advanced move is to create a call-and-response edit:
- first half of the riser: tonal swell
- second half: break chop responses
- final 1 beat: stripped-down reverse tail
This keeps energy evolving. In DnB, that evolution matters because the genre thrives on momentum through variation, not static long builds.
7. Shape the automation curve for a believable peak
Don’t automate everything linearly. That’s one of the fastest ways to make a DnB riser feel generic. Instead, shape the energy like an arrangement arc.
Automate:
- filter cutoff: slow at first, faster in the final 2 bars
- reverb send: increase early, then reduce right before the drop for impact
- distortion drive: rise slightly mid-build, then ease off to keep clarity
- stereo width: wider early, narrower in the last bar
- overall gain: tiny upward curve if needed, but keep headroom
A practical approach:
- Bars 1–4: subtle curve
- Bar 5: noticeable increase
- Bars 6–7: high tension, but not maxed
- Last 1/2 bar: remove low frequencies and dry things out so the drop lands clean
If you’re using Utility, automate Width from about 120% down to 80%, then to 0–40% in the last half-bar if you want a brutal mono snap into the drop. That contrast makes the return of the full drum image hit harder.
8. Use reverb and delay like atmosphere, not wash
For jungle and rollers, ambience can make the riser feel cinematic, but it must stay disciplined. Use Hybrid Reverb, Reverb, or Echo sparingly.
Suggested settings:
- Reverb decay: 1.2–2.8 s
- Pre-delay: 10–25 ms
- High-cut: keep it dark, often 5–9 kHz
- Low-cut: 150–300 Hz
- Delay feedback: 10–25% if used
- Delay filter: narrow the top end to avoid splashy brightness
Send the reversed break fragments or tonal source to a shared return for cohesion. Then automate the return amount so the riser blooms early and tightens before the drop. This gives you a classic sense of space that doesn’t blur the groove.
For a more authentic oldskool vibe, keep the ambience a little grainy and imperfect. Over-polished builds can feel disconnected from jungle’s chopped, physical DNA.
9. Finish with a drop-ready edit gap
The last step is the most important: create a moment of negative space before the drop. In DnB, the riser is only half the story — the gap before impact is what makes the impact feel enormous.
In the last 1/4 to 1 beat before the drop:
- cut the low end
- reduce the tail of the reverb
- remove any busy midrange chop
- leave a short reverse inhale, crash, or filtered noise tick
If needed, place a tiny silence gap or a brief single-frame-style edit before the downbeat. This is especially effective in darker rollers because the beat suddenly returns with authority. The drop feels larger even if nothing changed in volume.
In arrangement terms, this is what lets your tune breathe like a proper DJ weapon: the riser says “incoming,” then the drop detonates with clarity.
Common Mistakes
Fix: keep the high shelf under control and delay the full brightness until the final bar.
Fix: narrow the build at the end so the drop feels wider by comparison.
Fix: include break edits, reversed hits, or ghosted drum fragments so the riser feels like part of the groove.
Fix: add tonal or sub tension. DnB needs harmonic pressure, not just air.
Fix: high-pass the riser layers until the final moments, and keep the sub tension mono and controlled.
Fix: curve the movement. Make the last 25% of the riser do more work than the first 50%.
Fix: reduce return levels before impact and use shorter decay times.
Pro Tips for Darker / Heavier DnB
Mini Practice Exercise
Spend 10–20 minutes making one transition in an existing 8-bar section of a DnB track:
1. Pick a 4-bar or 8-bar space before a drop.
2. Build a simple Wavetable riser with filter cutoff automation.
3. Add one reversed amen snare or hat fragment.
4. Resample the combined build to audio.
5. Chop the resample into 4 or 6 edits and reverse one or two tiny segments.
6. Automate Utility width from wide to narrow in the final bar.
7. Add a short reverb return and cut it before the drop.
8. Compare it in context with the drums and bass muted, then unmuted.
Goal: make the transition feel like a real DnB edit, not just an FX swell. If it sounds like the drop is being pulled forward by the arrangement, you nailed it.

