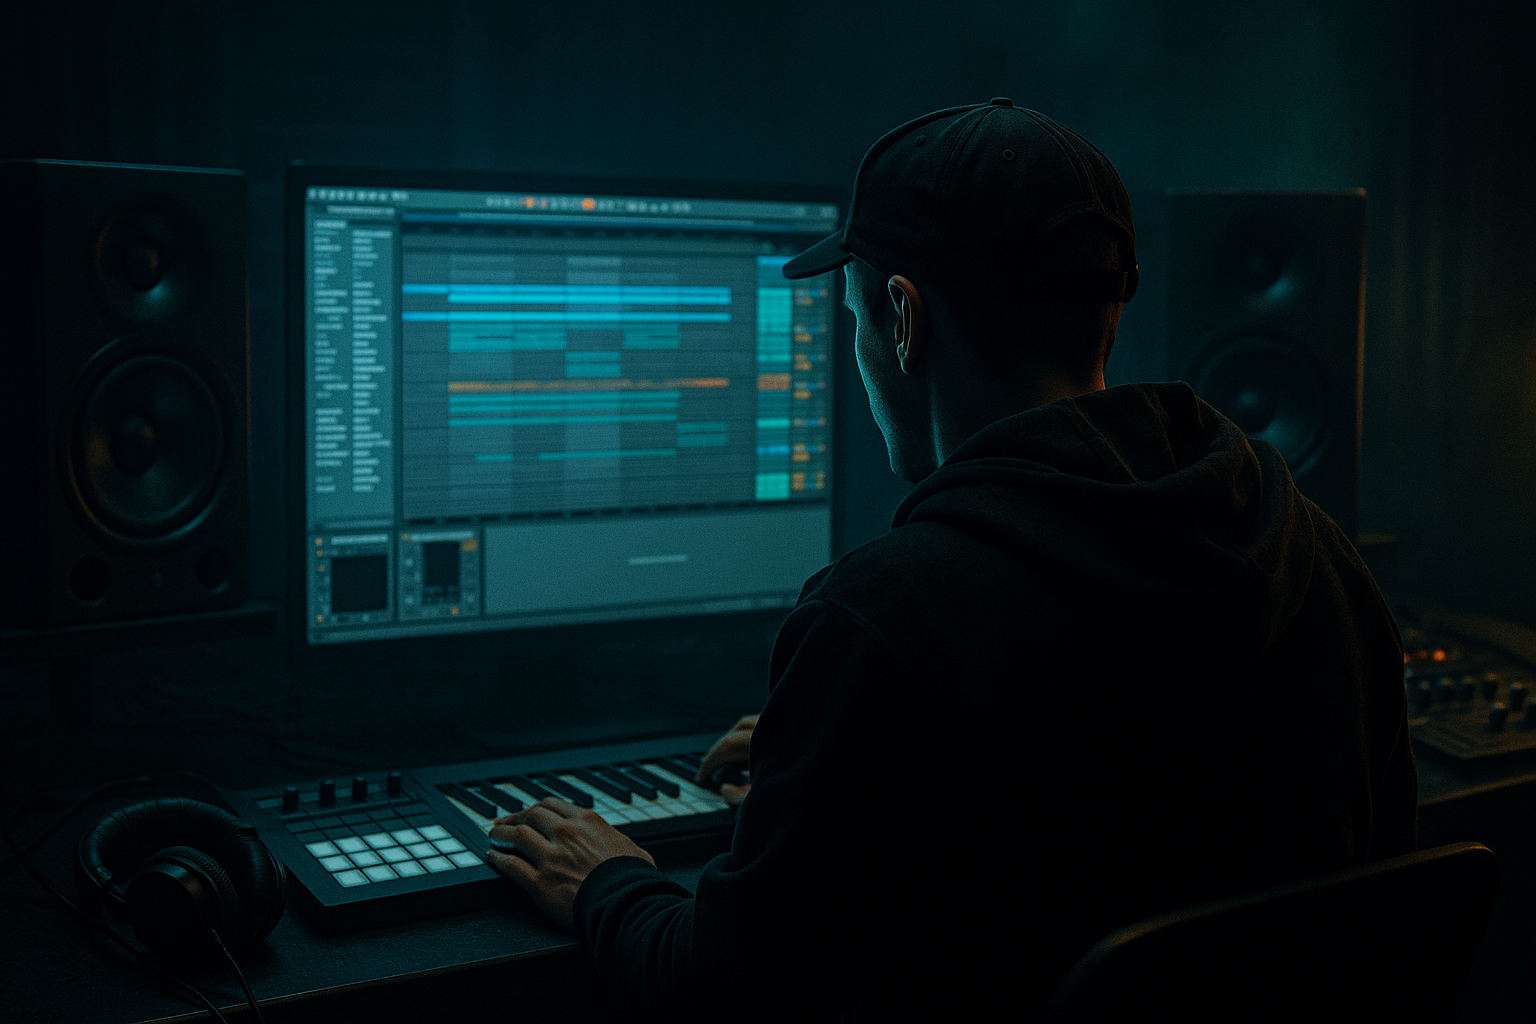
Main tutorial
Blueprint for a Top Loop with Crisp Transients and Dusty Mids in Ableton Live 12
For jungle / oldskool DnB vibes 🥁🌫️
1. Lesson overview
In jungle and oldskool DnB, a top loop is more than just hats and percussion—it’s the energy layer that gives your drums forward motion, grit, and attitude. For this lesson, we’re building a loop that has:
- Crisp transients up top for definition and bounce
- Dusty mids for vintage character and movement
- A controlled, energetic top-end that works over breakbeats, subs, and rolling basslines
- Enough texture to feel authentic, but not so much that it fights the kick, snare, or bass
- Starts with a tight audio sample or layered percussion
- Uses EQ, saturation, transient shaping, and filtering to split the loop into clean highs and dusty mids
- Adds movement with Auto Pan, subtle modulation, and controlled reverb
- Sits correctly in a DnB arrangement without cluttering the mix
- Sharp hat clicks
- Crunchy shaker noise
- Slightly lo-fi midrange texture
- A loop that feels like it could sit under a classic 90s break or a modern dark steppy groove
- A clean hat/percussion loop
- A dusty break loop with the kick/snare removed or reduced
- A shaker loop, rim loop, or ride pattern
- A few one-shot percussion hits arranged into a groove
- High-pass filter around 180–300 Hz
- Cut any harsh resonances around 3–6 kHz if needed
- Add a gentle shelf boost around 8–12 kHz only if the sample needs more air
- Kick punch
- Snare crack
- Sub weight
- Bass movement
- Drive: +2 to +6 dB
- Soft Clip: ON
- Output: trim so the level matches bypass
- Try Analog Clip or Warm Tube style curve behavior depending on the source
- Slight harmonic thickening in the 1–4 kHz area
- More presence in hats and shakers
- A little roughness, but not obvious distortion
- Drive: 5–15%
- Transient: +10 to +30
- Boom: OFF or very low for a top loop
- Crunch: subtle, around 5–20% if you want extra grain
- Damp: adjust to keep the top end under control
- Use Simpler on a one-shot chain
- Or use Envelope shaping via Gate or clip gain automation if the sample is too spiky
- Amount: 10–25%
- Rate: 1/8, 1/16, or synced dotted values for syncopation
- Phase: 0° if you want a pure volume-style movement
- Shape: sine or slightly sharper depending on feel
- Adds motion without turning the loop into an obvious stereo effect
- Helps create that rolling, alive jungle texture
- Decay: 0.3–0.8 sec
- Pre-delay: 5–20 ms
- High Cut: 6–10 kHz
- Low Cut: 300–600 Hz
- Dry/Wet: 5–12%
- EQ Eight
- Drum Buss
- Light compression if needed
- EQ Eight with high-pass around 250–400 Hz
- Saturator with more drive
- Auto Filter with a gentle band-pass or high-pass sweep
- Optional Redux for subtle crunch
- Keep Chain A dominant
- Bring Chain B in until the loop feels characterful, not lo-fi mush
- Attack: 3 ms or 10 ms
- Release: Auto
- Ratio: 2:1
- Threshold: only 1–3 dB gain reduction
- Soft Clip: ON if needed
- Glue the transients and mids together
- Make the loop feel more like a unified top layer rather than separate hits
- Nudge a few hits slightly late for swing
- Keep key accents tight on the grid
- Use Clip Gain to reduce any overly loud hits
- Duplicate the loop across 2–4 bars and vary one hit every second bar
- Let the loop answer the break
- Leave holes for snare ghosts and bass syncopation
- Make sure the loop doesn’t mask the main backbeat
- Start with filtered top loop only
- Use Auto Filter low-pass at first
- Slowly open the filter over 8–16 bars
- Full bandwidth top loop
- Add the dusty parallel chain
- Maybe automate a slight increase in saturation or reverb send
- Strip back to a thin hat texture
- Use tape-ish filtering or band-pass for tension
- Reintroduce the full loop before the drop
- Filter cutoff
- Reverb send
- Saturator drive
- One missing hit
- Auto Pan rate or depth
- Band-pass
- Sweep it slowly or automate it over 8 bars
- Velocity changes on MIDI percussion
- Slight clip gain variation on audio hits
- Tiny timing shifts for selected hits
- Slight bit depth reduction
- Barely audible sample-rate degradation
- EQ Eight
- Drum Buss
- Light Glue Compressor
- EQ Eight
- Saturator
- Redux
- Auto Filter
- EQ Eight
- Saturator
- Drum Buss
- Parallel chain with filtered grit
- Short Hybrid Reverb
- Make each version work with a breakbeat at 170 BPM
- Loop it over a sub bass and snare
- Decide which one supports the groove best
- Then combine the strongest traits into one final rack
- Does the transient cut through?
- Do the mids feel characterful but controlled?
- Does the loop leave space for the break and bass?
- Does it still feel energetic after 8 bars?
- Crisp transients for drive and definition
- Dusty mids for oldskool character
- Tight processing so it supports the break, not fights it
- Subtle movement and arrangement variation to keep the groove alive
- a device-chain cheat sheet
- a step-by-step rack preset design
- or a matching bassline tutorial for the same vibe
This is especially useful in DnB because the groove often relies on the relationship between the break, the ghost hits, and the top loop. If the top loop is too clean, it can feel sterile. If it’s too dirty, it can blur the rhythm and kill impact. We want the sweet spot ⚡
We’ll use Ableton Live 12 stock devices only, so you can build this immediately.
---
2. What you will build
By the end, you’ll have a top loop chain that:
Final sound target
Think:
---
3. Step-by-step walkthrough
Step 1: Start with the right source
The source matters more than any processor.
#### Good source options:
#### In Ableton Live 12:
1. Drag an audio loop into an audio track.
2. Warp it if needed:
- Use Beats mode for drum loops
- Start with Preserve: Transients
- Adjust Transient Loop Mode if the loop feels chopped
3. Set the loop to a tempo in the 160–175 BPM range for classic jungle/DnB feel
#### Practical tip:
If you’re starting from a break, use a loop that already has some atmosphere, but not too much low end. Your top loop should support the break, not compete with it.
---
Step 2: Clean the foundation with EQ Eight
Add EQ Eight first in the chain.
#### Suggested starting moves:
- Higher if the loop has too much body
- Lower if it’s very thin already
#### Why this matters:
For jungle/DnB, the loop needs to live in the upper mids and highs, leaving room for:
Don’t try to make the loop “full.” Make it useful.
---
Step 3: Add dusty character with Saturator
Now bring in Saturator to give the mids some grit.
#### Suggested settings:
#### What you’re listening for:
#### Workflow tip:
If the loop gets brittle, reduce the drive and/or follow with EQ Eight to tame the harshest frequencies.
---
Step 4: Shape transients with Drum Buss or Transient control
For crisp transient energy, use Drum Buss.
#### Suggested settings:
#### Why Drum Buss works here:
It enhances the attack of hats and percussion while adding a slightly glued, punchy feel. In DnB, that helps the loop cut through dense breaks and basslines.
#### Alternative:
If the loop already has plenty of tone and you just need attack:
---
Step 5: Add controlled movement with Auto Pan
A static top loop can feel stiff. Add subtle motion.
#### Auto Pan settings:
#### What this does:
#### Important:
Keep this subtle. If the top loop is the groove glue, too much movement can make the rhythm feel unstable.
---
Step 6: Add space with short, filtered reverb
Use Hybrid Reverb or Reverb, but keep it tight.
#### Hybrid Reverb starting point:
#### Goal:
You want a dusty halo, not a washed-out tail.
#### DnB note:
Oldskool jungle often has a slightly roomier feel, but the reverb should enhance the percussion’s size, not smear the swing.
---
Step 7: Use a parallel chain for extra grime
This is where the loop gets personality.
Create an Audio Effect Rack and build two chains:
#### Chain A: Clean attack
#### Chain B: Dusty mid texture
- Bit Reduction: very light
- Sample Rate: only slightly reduced
#### Blend:
This parallel approach is perfect for jungle because you can preserve transient clarity while adding worn-in texture.
---
Step 8: Tighten dynamics with Glue Compressor
If the loop feels too loose, use Glue Compressor gently.
#### Starting settings:
#### Purpose:
Don’t overcompress. Top loops should feel energetic, not flattened.
---
Step 9: Lock it into the groove with timing edits
Top loops in DnB often work best when they are slightly imperfect in a musical way.
#### Try this:
#### Good jungle approach:
---
Step 10: Arrange it like a DnB record
A good top loop should evolve over the arrangement.
#### Intro:
#### Drop:
#### Breakdown:
#### Variation idea:
Every 8 bars, change one of these:
This keeps the groove evolving without rewriting the whole pattern.
---
4. Common mistakes
1) Too much low end in the top loop
If your loop has body below 150–200 Hz, it will fight the kick and bass.
Fix: High-pass more aggressively and check with the sub/bass playing.
2) Over-saturating the highs
A little grit is great. Too much turns hats into fizzy noise.
Fix: Reduce Drive, then use EQ Eight to tame harsh bands around 6–9 kHz.
3) Reverb washing out the groove
A long tail destroys the snap of a DnB top loop.
Fix: Use short decay, low dry/wet, and high/low cuts.
4) Making everything loud
If the top loop is too loud, it will flatten the arrangement and reduce punch.
Fix: Use clip gain, group level, and compare against the kick/snare.
5) Too much stereo widening
Widened hats can sound exciting but become phasey and weak in mono.
Fix: Keep the core loop relatively centered and use subtle movement instead.
---
5. Pro tips for darker/heavier DnB
Tip 1: Use band-pass layering for eerie texture
Duplicate the loop and on one layer use Auto Filter:
This gives a haunted, gritty haze under the main top loop—great for darker jungle. 🕶️
Tip 2: Resample your processed loop
Once you like the chain:
1. Record the processed loop to audio
2. Chop the best bits
3. Rearrange them into a custom groove
This can create that classic “sampled from a sampled loop” vibe that feels very oldskool.
Tip 3: Add micro-variation with subtle randomization
Use:
The goal is human energy, not robotic precision.
Tip 4: Use Redux sparingly for grime
A tiny amount of Redux can add a dusty digital edge, especially on shakers and rides.
Keep it subtle:
Tip 5: Make room for the snare
In DnB, the snare is king. If your top loop is clashing with the backbeat, carve a small dip around the snare crack area and reduce busy hits around beats 2 and 4.
---
6. Mini practice exercise
Build three 1-bar top loops and compare them.
Version A: Clean and crisp
Chain:
Version B: Dusty and gritty
Chain:
Version C: Hybrid jungle style
Chain:
#### Exercise goal:
#### What to listen for:
---
7. Recap
A strong DnB top loop is all about balance:
Your core Ableton chain might look like this:
1. EQ Eight — clean low end and shape tone
2. Saturator — add dusty harmonics
3. Drum Buss — enhance attack and punch
4. Auto Pan — subtle motion
5. Hybrid Reverb — tiny space and depth
6. Glue Compressor — light glue if needed
If you build the loop with intention, you’ll get that classic jungle-meets-rolling DnB energy: sharp, worn, and full of motion. That’s the sweet spot 🔥
If you want, I can also turn this into:

