Main tutorial
Bounce a Kick Weight with an Automation-First Workflow in Ableton Live 12
Beginner tutorial for jungle / oldskool DnB vibes 🥁⚡
1. Lesson overview
In jungle and oldskool drum & bass, the kick is not just a thump — it’s part of the groove’s weight, bounce, and forward motion. In this lesson, you’ll learn an automation-first workflow in Ableton Live 12 to make your kick feel more alive, dynamic, and dancefloor-ready.
Instead of trying to “fix” a kick with one static chain, we’ll shape it over time using automation on:
- Volume
- Filter cutoff
- Reverb send
- Saturation amount
- Pitch or drum tuning
- Transient/Drum Bus behavior
- A solid DnB kick foundation
- Automation that makes the kick “bounce” and change energy across the phrase
- A simple processing chain for weight and punch
- A version that works well under:
- heavier in the drop
- lighter in the intro
- more animated before transitions
- punch around 100–150 Hz
- controlled sub
- not too boomy in the 200–400 Hz region
- short
- tight
- slightly gritty or analog
- not overly “housey”
- Beat 1
- the “and” of 2
- Beat 3
- optionally a lighter pickup before bar 4
- kick on 1
- kick on 2.5
- kick on 3
- kick on 4.75 for a pickup
- Drive: 5–15%
- Boom: OFF at first
- Transients: +5 to +20
- Damp: around 50–70% if needed
- High-pass very gently only if needed, around 20–30 Hz
- Small boost around 90–130 Hz if the kick needs body
- Cut muddy area around 200–400 Hz if it feels boxy
- If there’s click you don’t want, reduce 2–5 kHz
- Drive: 1–4 dB
- Soft Clip: ON
- Output: compensate to avoid level jumps
- Ratio: 2:1 or 3:1
- Attack: 10–30 ms
- Release: 50–100 ms
- Gain Reduction: 1–3 dB
- Intro: lower drive
- Pre-drop: slightly more drive
- Drop: full energy
- bass enters
- vocals stack up
- break layers thicken
- Intro: 1 dB
- Drop: 3 dB
- Peak phrases: 4 dB
- Raise kick level by 0.5 to 1.5 dB in the drop
- Drop it slightly in breakdowns
- Nudge specific hits before fills or transitions
- slightly louder first kick of the phrase
- slightly softer kick on fills if the break is busy
- stronger kick right after a snare fill or riser
- use Auto Filter on a duplicate kick layer
- automate the cutoff so the kick opens up into the drop
- Intro: cutoff around 80–150 Hz if you want a muffled preview
- Build: open gradually
- Drop: full open
- break fills the gaps
- kick anchors the groove
- Put Compressor on the bass or break bus
- Sidechain from the kick
- Fast attack, medium release
- Aim for 1–4 dB gain reduction
- Velocity
- Note Length
- Clip Gain / Expression
- Pitch envelope if you’re using a tuned percussion-style kick
- Increase velocity slightly on main downbeats
- Lower velocity on ghost kicks
- Add tiny pitch movement if using a synthesized kick layer
- Pitch
- Decay
- Filter cutoff
- Sample start
- short
- punchy
- centered around 100–120 Hz
- pure sine or subby kick layer
- very short decay
- low-passed
- put both in a Drum Rack
- group them with Instrument Rack
- use Chain Selector or just manual layering
- EQ Eight to remove everything above ~150 Hz
- Utility to keep the sub mono
- very gentle saturation if needed
- more low layer in the drop
- less low layer in breakdowns
- less low layer if the bassline is already huge
- 8 bars intro: filtered, lighter kick
- 8 bars build: more drive, more volume
- 16 bars drop: full-weight kick
- 4 bars fill: automate kick down slightly so the fill breathes
- next 16 bars: kick returns heavier
- Do not keep the kick identical for the whole track
- Let it evolve with the arrangement
- volume
- drive
- filter
- EQ
- Width: 0% for sub/lows
- Drum Buss drive
- Saturator drive
- kick level
- transient enhancement
- drop one
- second drop
- pre-fills
- EQ it to remove sub
- distort it harder
- blend it underneath
- slightly reduce kick brightness
- lower kick level by a touch
- keep the low-end stable but avoid masking the vocal
- volume
- drive
- filter
- EQ
- layer balance
- buildup and drop energy
- Drum Buss
- EQ Eight
- Saturator
- Utility
- Compressor
- Auto Filter
- Simpler / Drum Rack
- Keep the kick tight
- Let it evolve across phrases
- Make room for the bass and vocals
- Use automation to create bounce, not just loudness
This approach is especially useful for jungle, roller DnB, and oldskool breakbeat tracks where the kick must sit inside a busy rhythmic ecosystem with break loops, bass movement, and vocal chops.
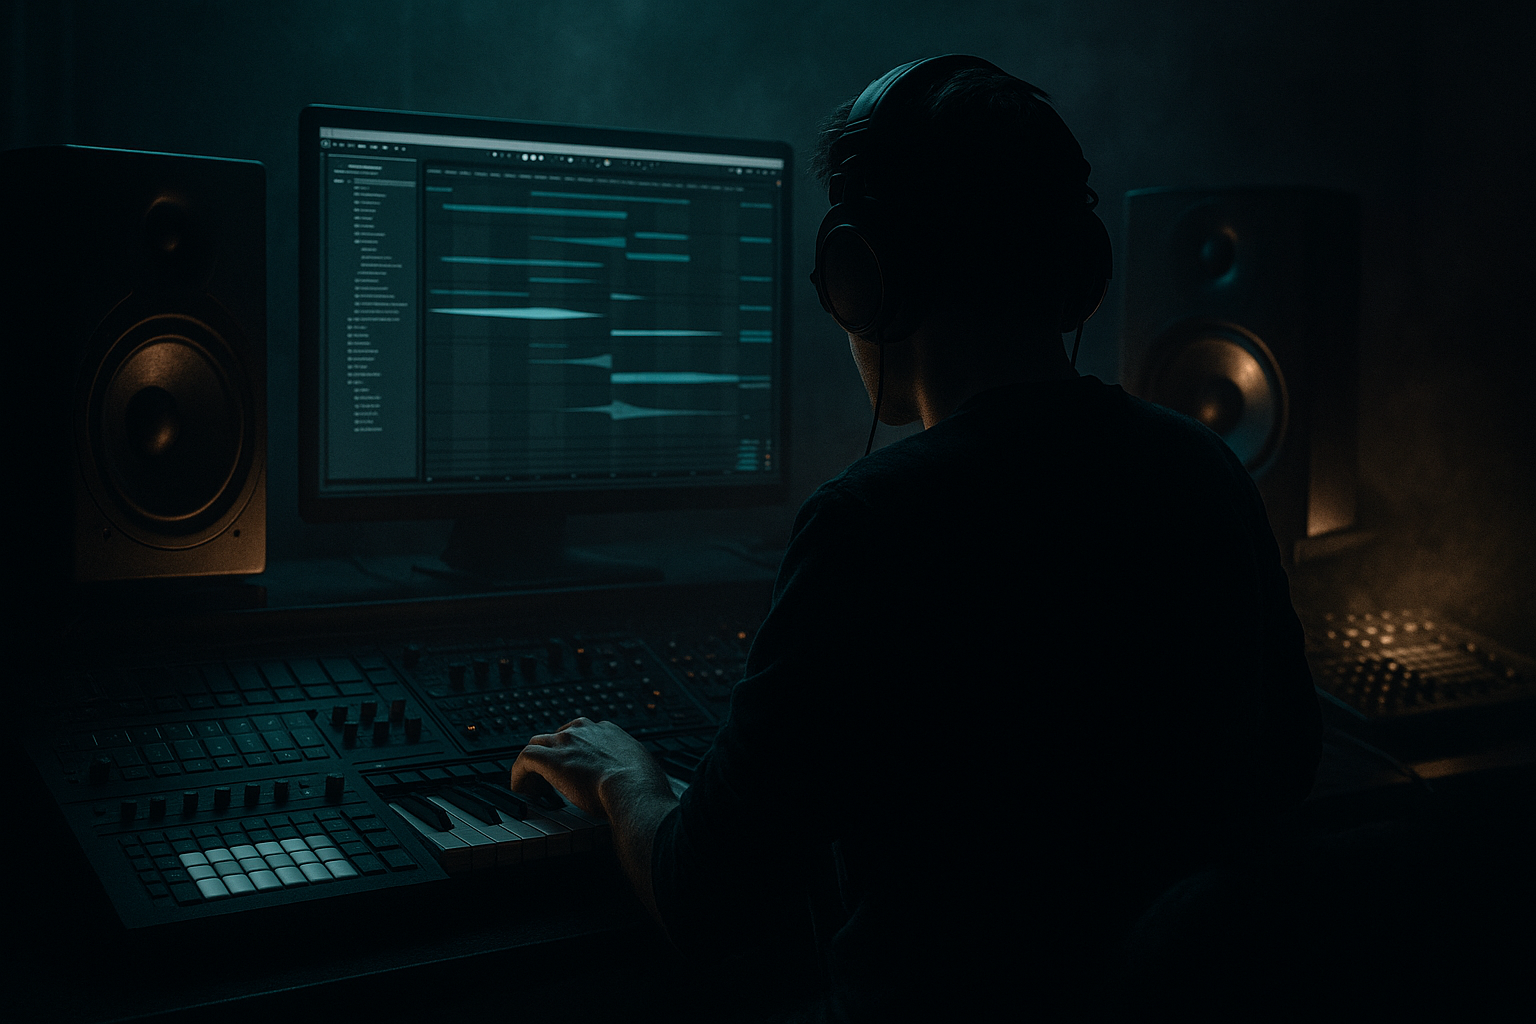
You’ll work entirely inside Ableton Live 12 using stock devices.
---
2. What you will build
By the end of this lesson, you’ll build a 16-bar kick pattern with:
- chopped jungle breaks
- sub-heavy basslines
- vocal stabs or MC-style sample cuts 🎤
You’ll also learn how to use automation to make the kick feel:
---
3. Step-by-step walkthrough
Step 1: Start with a simple drum foundation
Create a new MIDI track for drums.
#### Load a kick
Use a kick sample that already has a strong low end and a short tail. For jungle/DnB, good kick traits are:
If you’re browsing samples, choose something:
#### Program a basic pattern
For a beginner-friendly DnB groove, start with a kick on:
In 4/4, that can feel like:
If you’re building with a breakbeat, the kick can reinforce the break rather than replace it. Keep the pattern simple at first.
---
Step 2: Build a kick processing chain
Add these stock Ableton devices on the kick track, in this order:
#### 1. Drum Buss
Use this for punch, weight, and a little grit.
Suggested starting settings:
If the kick feels thin, increase Drive slightly. If it needs more snap, raise Transients.
> Tip: Don’t overuse Boom yet. In DnB, too much extra low end can fight the bassline.
#### 2. EQ Eight
Shape the kick so it fits the mix.
Try this:
Keep moves subtle. Jungle kicks often sound better when they’re controlled, not over-EQ’d.
#### 3. Saturator
Add harmonic density so the kick translates on smaller speakers.
Suggested settings:
This helps the kick feel thicker without making it huge.
#### 4. Optional: Compressor
If the kick has inconsistent peaks, use light compression.
Start here:
If you want more punch, use a slower attack so the transient comes through.
---
Step 3: Set up automation lanes
Now we do the fun part: automation-first shaping.
In Ableton Live 12, switch to Automation Mode by pressing A.
We’ll automate the kick over the arrangement, not just with static settings.
#### Automation idea 1: Drum Buss drive
Create movement by increasing Drive into key sections.
Example:
This gives the kick more aggression when the tune opens up.
#### Automation idea 2: EQ Eight low-mid cut
If the arrangement gets busy, automate a small cut around 250–350 Hz in sections where the mix needs more space.
This is useful when:
#### Automation idea 3: Saturator Drive
You can automate saturation slightly up in the drop to make the kick feel more excited.
Example range:
Keep it subtle. The goal is energy, not distortion overload.
---
Step 4: Add bounce with volume automation
A very effective trick in jungle/DnB is to slightly automate the kick level phrase by phrase.
#### Do this:
This creates a feeling that the kick is responding to the arrangement.
#### How to apply it:
Use the track volume or clip gain automation:
This is especially useful when the kick must sit under a chopped break and still hit hard.
---
Step 5: Automate filter movement for section contrast
Add an Auto Filter before the rest of the chain or on a duplicate return-style layer if you want movement.
For a more controlled approach:
Suggested filter idea:
For jungle vibes, you can make the kick feel like it is coming out of fog into a hard-hitting drop.
---
Step 6: Make the kick “bounce” against the break
This is where the groove becomes DnB.
In oldskool jungle, the kick often feels alive because it works with the break, not just on top of it.
#### Try this:
1. Put a breakbeat in another audio track
2. Place your kick to complement the snare and ghost hits
3. Use automation to slightly reduce kick volume when the break is busiest
4. Bring the kick back up on open spaces
This creates a push-pull effect:
If the kick and break are clashing, use sidechain compression:
That way the kick punches through without needing to be too loud.
---
Step 7: Use clip envelopes for micro-movement
For beginners, clip envelopes are a great way to start automation without making the session too complicated.
Open the MIDI clip and use:
#### Practical idea:
If your kick is from Drum Rack, you can also automate:
These small changes can make the kick feel more “played” and less robotic.
---
Step 8: Build a layered kick for heavier DnB
If you want more weight, layer two sounds:
#### Layer A: Main kick
#### Layer B: Low-end body
In Ableton:
Process the low layer carefully:
Then automate the balance:
This is a classic way to make a kick feel big without muddying the whole tune.
---
Step 9: Arrange the automation like a DJ set
Think in phrases.
A solid DnB arrangement idea:
This keeps the track moving and stops the kick from feeling flat.
A good rule:
That’s very much in the spirit of jungle and oldskool DnB.
---
4. Common mistakes
1. Making the kick too long
In DnB, a kick with too much tail can clash with the bass and break.
Fix: shorten the sample or lower decay in Simpler/Drum Rack.
2. Boosting sub too much
If the kick owns too much low end, the mix will get muddy fast.
Fix: use EQ Eight carefully and keep the sub controlled.
3. Over-automating everything
If every parameter is moving wildly, the groove loses focus.
Fix: automate just 2–4 important parameters first:
4. Ignoring the bassline
A strong DnB kick must work with the bass, not against it.
Fix: sidechain the bass or carve space with EQ.
5. Too much compression
Over-compressing can kill the attack and make the kick weak.
Fix: keep compression light and check if the kick still pops.
6. Not using phrase-based automation
Static drum settings can sound boring.
Fix: automate changes every 8 or 16 bars for movement.
---
5. Pro tips for darker/heavier DnB
Use subtle distortion layers
A little Saturator, Overdrive, or Drum Buss drive can add menace and help the kick cut through dark pads and reese bass.
Keep the kick mono
Use Utility on the kick or low layer:
This keeps the low end tight and club-safe.
Automate “more aggressive” only in key moments
For heavier tunes, increase:
Do this mostly in:
Use parallel processing
Duplicate the kick and make a dirty layer:
Automate that dirty layer louder in the drop for extra menace.
Let the kick breathe around vocals
Since this lesson is in the Vocals category, think about MC-style phrases or chopped vocal hooks.
When a vocal hits:
That helps the vocal feel integrated instead of fighting the drum energy.
---
6. Mini practice exercise
Try this 10-minute exercise in Ableton Live 12:
Exercise goal
Make a 16-bar kick pattern that evolves across the arrangement.
Steps
1. Choose a kick sample with a punchy attack.
2. Program a simple DnB pattern in MIDI.
3. Add this chain:
- Drum Buss
- EQ Eight
- Saturator
4. Automate:
- Drum Buss Drive from low in the intro to higher in the drop
- Saturator Drive up by 1–2 dB in bar 9 onward
- Track volume up by about 1 dB in the drop
5. Add a second kick layer or low sub layer.
6. Use Utility to keep the low layer mono.
7. Listen for whether the kick still punches when the bass comes in.
Bonus challenge
Add a vocal chop or MC-style sample and automate the kick slightly lower during the vocal phrase, then bring it back up after the line.
That teaches you how to keep drums and vocals working together in a DnB arrangement.
---
7. Recap
Here’s the key idea:
Don’t rely on one static kick sound. Shape it with automation.
In Ableton Live 12, you can make a kick feel more like jungle / oldskool DnB weight by automating:
Your core toolkit:
Final mindset:
If you want, I can also turn this into:
1. a step-by-step Ableton template, or
2. a drum rack chain preset for jungle/DnB kick weight.

