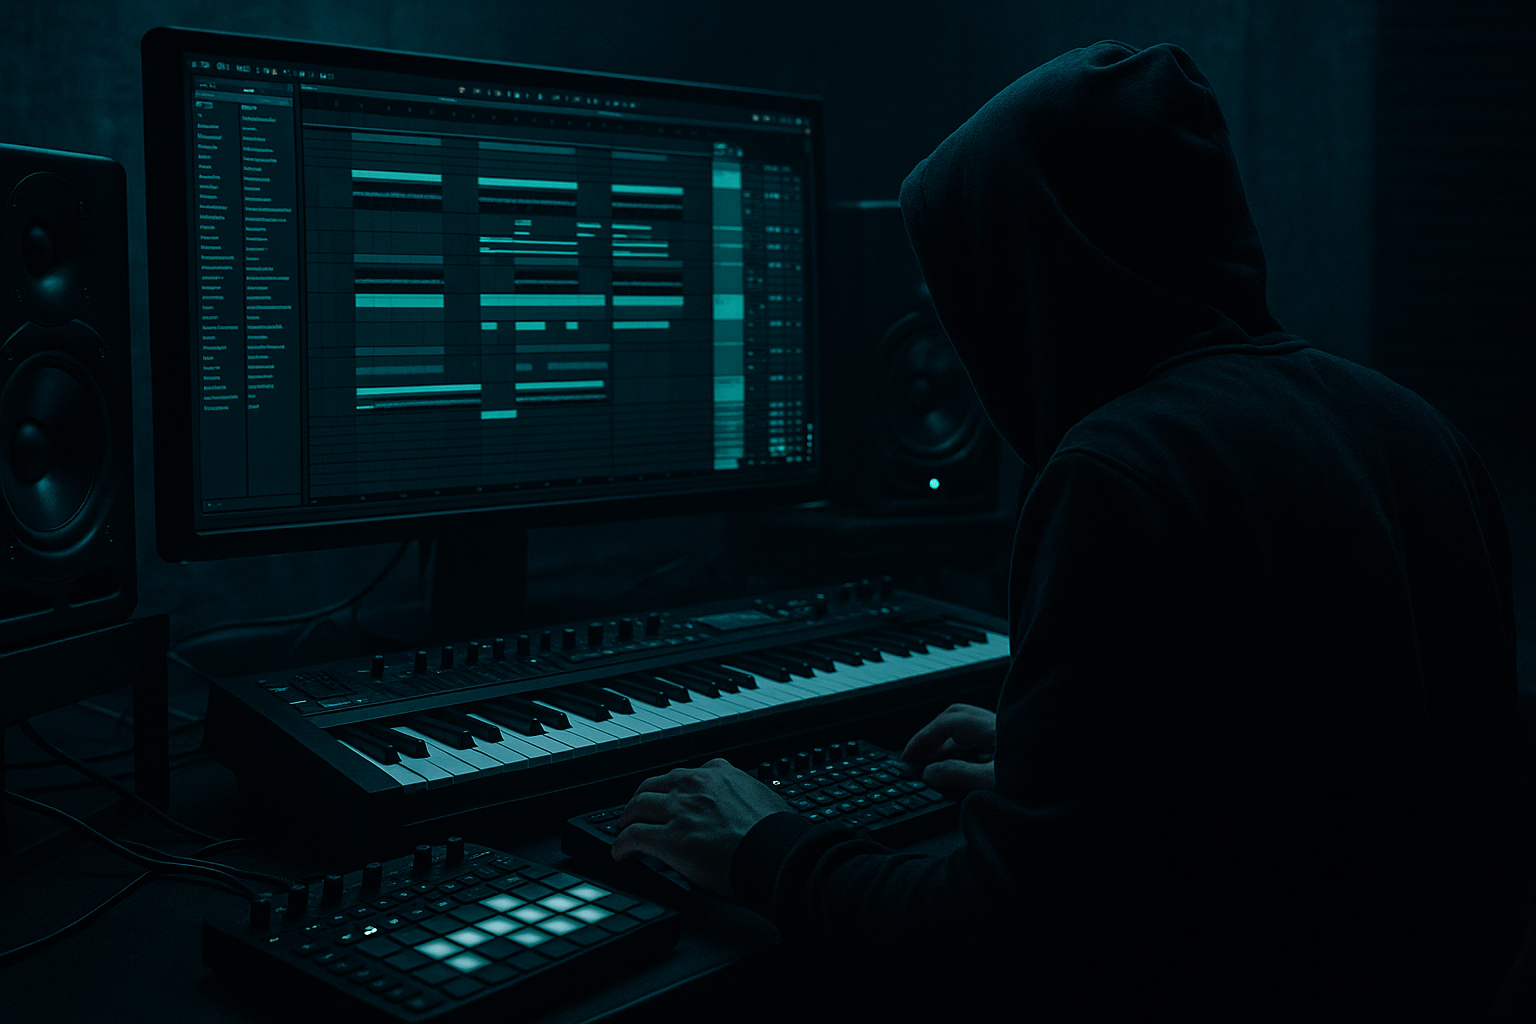
DNB COLLEGE

Drum & Bass Ableton Live 12 Tutorials

LESSON DETAIL

Bounce in place strategies for dark rollers (Intermediate)

An AI-generated intermediate Ableton lesson focused on Bounce in place strategies for dark rollers in the Workflow area of drum and bass production.

Back to lessons
Bounce in place strategies for dark rollers (Intermediate) cover image

Narrated lesson audio

The voice track includes the tutorial plus extra teacher commentary.

Open audio file

Main tutorial

Bounce in Place Strategies for Dark Rollers in Drum and Bass

1. Lesson Overview

Welcome, fellow beatmakers! 🎶 In this lesson, we’ll dive into Bounce in Place strategies tailored specifically for creating dark rollers in Drum and Bass. This technique is perfect for allowing you to manipulate audio clips with flexibility while keeping your creative momentum flowing. Let’s harness the power of Ableton Live to shape dynamic, rolling beats that pulse with energy and depth!

2. What You Will Build

By the end of this tutorial, you'll have a robust drum loop alongside a textured bassline ready for dark roller vibes. You'll learn how to use the Bounce in Place feature to freeze and flatten audio clips efficiently, which will help us layer effects and create that deep, immersive sound typical in darker Drum & Bass.

3. Step-by-step Walkthrough

Step 1: Set Up Your Session

  • Open Ableton Live and set your BPM to 170, a classic range for Drum and Bass.
  • Create three MIDI tracks: one for drums, one for bass, and one for ambiance.
  • Step 2: Create a Drum Loop

    1. Drum Rack: Load a Drum Rack on your drum track.

    - Add one-shot samples for kicks, snares, and hi-hats (e.g., kick from a Jungle sample pack, snappy snare, and crisp hi-hat).

    2. Build the Beat:

    - Create a 16-bar MIDI clip.

    - Program a kick on beats 1 and 3, a snare on 2 and 4, and position steppy hi-hats in between.

    - Quantize the MIDI notes to 1/16 for tighter placement.

    Step 3: Bounce Your Drum Loop

  • Select the drum MIDI clip.
  • Right-click and choose "Bounce in Place".
  • In the dialog, ensure to check “Include Effects” if you’ve applied any (like Compression or Saturation) to the Drum Rack.
  • This will create a new audio track below the MIDI track.
  • Step 4: Shape the Drum Sound

  • Add Effects: On the bounced audio track, add:
  • - Saturator: To add warmth and character.

    - Reverb: Set decay to about 1.2 seconds for a spacious feel.

    - EQ Eight: Cut frequencies below 40 Hz and boost around 200 Hz to give that punchy kick presence.

    Step 5: Create a Bassline

    1. Instrument: Use an instrument like Analog or a third-party plugin (if you have it) to create a deep bass sound.

    2. MIDI Clip: Program a simple bassline that moves in time with your kick, typically sticking to the root notes of your harmonies.

    Step 6: Bounce the Bassline

  • Again, select your bass MIDI clip.
  • Right-click and “Bounce in Place”, ensuring to include effects like a low-pass filter for a muddy, darker vibe.
  • Step 7: Manipulate the Audio

  • On your bounced bass audio track, apply:
  • - LFO Tool: To create subtle movement and rhythm.

    - Reverb: Short decay to maintain intelligibility but add a touch of space.

    - Compressor: Sidechain it with your kick (use a ratio around 3:1 for a punchy effect).

    4. Common Mistakes

  • Over-processing: It's easy to drown sounds in too many effects; keep it subtle for darker rollers.
  • Ignoring Groove: Tightness is essential, but don’t forget to introduce a slight swing to enhance the groove.
  • Static Basslines: Ensure your bass has movement; using pitch modulation can create depth.
  • 5. Pro Tips for Darker/Heavier DnB

  • Explore using Distortion and Chorus on your bass; this can thicken your sound and help it sit well in the mix.
  • Use Noise Gates on your ambience and pads to create a rolling effect that ebbs and flows with your primary elements.
  • Experiment with layering different bass sounds to create a rich sonic texture.
  • Make use of Modulation LFOs to create evolving textures that maintain listener interest.

6. Mini Practice Exercise

Create a new session and apply the bounce technique on a vocal sample or a synth line. Focus on layering effects—try using a Glide effect to give a more liquid feel to your notes. Use Bounce in Place again and experiment with re-arranging sections in the audio to discover new rhythm patterns.

7. Recap

In this lesson, we explored Bounce in Place strategies tailored for dark rollers in Drum and Bass. You learned how to set up your session, create compelling drum and bass elements, and manipulate those elements effectively. Don’t hesitate to revisit these steps and refine your sound—every bounce leads to new possibilities! 🎧🔥

Happy producing! Keep those beats rolling!

Ask GPT about this lesson

Chat with the lesson tutor, get follow-up help, or use quick actions.

Bigup 👽 Ask me anything about this lesson and I’ll answer in context.

Narration script

Show spoken script
Welcome, fellow beatmakers! In this lesson, we're diving into Bounce in Place strategies specifically for creating dark rollers in Drum and Bass. This technique gives you the ability to manipulate audio clips with great flexibility while keeping the creative momentum going. By harnessing the power of Ableton Live, we're going to shape dynamic, rolling beats that pulse with energy and depth!

Now, by the end of this tutorial, you’ll have a solid drum loop along with a textured bassline that embodies the dark roller vibes. Plus, you'll learn how to efficiently use the Bounce in Place feature to freeze and flatten your audio clips. This will really help us layer effects and create that deep, immersive sound typical in darker Drum and Bass tracks. 

Let’s kick things off by setting up your session. First, open Ableton Live and set your BPM to 170, a classic range for Drum and Bass. Next, create three MIDI tracks: one for your drums, one for bass, and one for ambiance.

Moving on to step two, let’s create a drum loop. Load a Drum Rack on your drum track and start adding one-shot samples for kicks, snares, and hi-hats. You might choose a kick from a Jungle sample pack, a snappy snare, and a crisp hi-hat.

Now, it’s time to build the beat. Program a 16-bar MIDI clip where you place kicks on beats one and three, snares on two and four, and position those steppy hi-hats in between. Don't forget to quantize those MIDI notes to 1/16 for tighter placement. 

Once your drum loop is solid, we’ll bounce it. Select the drum MIDI clip, right-click, and choose “Bounce in Place.” When that dialog pops up, make sure to check “Include Effects” if you've added any effects like Compression or Saturation to the Drum Rack. This action will create a new audio track right beneath the MIDI track.

Next, let’s shape the sound of that drum loop! On your newly bounced audio track, we’ll add a few essential effects. Start with a Saturator to give it some warmth and character. Then, add in Reverb, setting the decay to about 1.2 seconds for that spacious feel. Finally, use EQ Eight to cut frequencies below 40 Hz and boost around 200 Hz to give that punchy kick presence.

Now, let's create a bassline. For this, you can use an instrument like Analog or even a third-party plugin if you have one. Program a simple bassline that syncs nicely with your kick, typically sticking to the root notes of your harmonies. 

Once your bassline is set, it’s time to bounce it as well. Select your bass MIDI clip, right-click, and choose “Bounce in Place.” Make sure to include any effects you may have used, like a low-pass filter to achieve that muddy, darker vibe. 

Now, onto audio manipulation! On your bounced bass audio track, why not apply an LFO Tool? This adds subtle movement and rhythm to your bassline. Next, add some Reverb with a short decay to maintain clarity while giving it just a touch of space. And don’t forget the Compressor—sidechain it with your kick using a ratio of around 3:1 for that punchy, driving effect.

Before we wrap up, let’s touch on a few common mistakes to watch out for. Over-processing can easily drown your sounds in too many effects, so keep it subtle, especially for darker rollers. It’s also vital to maintain groove; while tightness is essential, introduce a slight swing to enhance the feel of the track. Lastly, static basslines can lack interest, so ensure your bass has movement. Try pitch modulation to create depth and variation.

With that said, here are some pro tips for achieving even darker and heavier Drum and Bass. Consider using Distortion and Chorus on your bass; these can thicken your sound and help it sit well in the mix. Employ Noise Gates on your ambiance and pads to produce a rolling effect that ebbs and flows with your primary elements. And remember to experiment with layering different bass sounds for richer texture.

To put all this into practice, here’s a mini exercise: create a new session and apply the bounce technique to a vocal sample or a synth line. Focus on layering effects, and try out a Glide effect to introduce a more liquid feel to your notes. Use Bounce in Place again and experiment with rearranging sections in your audio to discover new rhythmic patterns.

In this lesson, we’ve explored Bounce in Place strategies tailored specifically for dark rollers in Drum and Bass. You learned how to set up your session, create engaging drum and bass elements, and manipulate those elements effectively. Don’t hesitate to revisit these steps and fine-tune your sound—every bounce leads to new possibilities! 

Happy producing! Keep those beats rolling!

mickeybeam

Go to drumbasscd.com for +100 drum and bass YouTube channels all in one place - tune in!

Generating PDF preview…