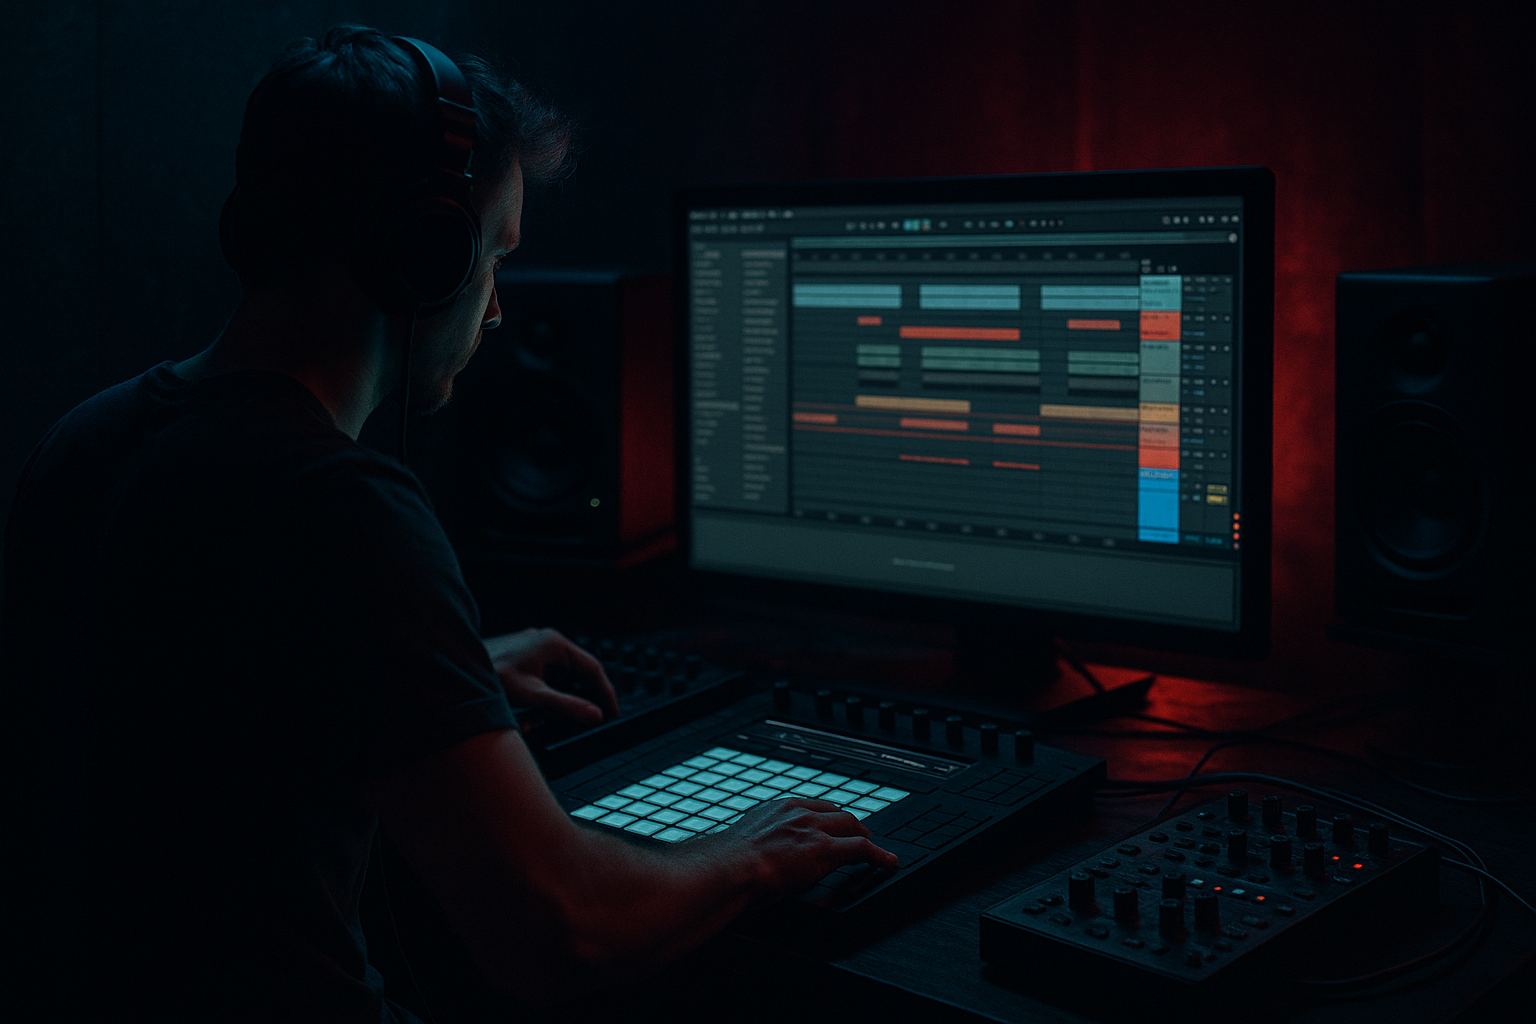
Main tutorial
Lesson Overview
In this lesson, you’ll build a bounce-heavy jungle breakbeat drop with a DJ-friendly arrangement in Ableton Live 12, designed for advanced Drum & Bass production. The focus is not just making a break loop sound good — it’s making it move like a record, with clear intro/outro phrasing, strong phrase changes, and enough tension-release to survive a DJ mix.
This technique matters because in DnB, a track lives or dies on two things at once:
1. the energy and swing of the break/bass interaction, and
2. the structure that lets DJs mix it cleanly.
A bounce jungle breakbeat isn’t just “busy drums.” It’s a controlled groove that feels alive, rolls forward, and still leaves room for sub weight, call-and-response bass phrasing, and transition points that DJs can read instantly. The goal here is to make something that sounds authentic in a set: gritty, responsive, and functional.
We’ll use stock Ableton tools to shape the break, resample movement, carve space in the low end, and arrange it into a DJ-friendly structure with clear 16-bar and 32-bar phrases. You’ll also learn how to keep the drums punchy while giving the bassline enough room to breathe — crucial for rollers, jungle, darker half-step-influenced DnB, and neuro-leaning pressure.
What You Will Build
You’ll create a complete 174 BPM DnB section with:
- A bounce-driven jungle break built from edited amen-style or breakbeat material
- Layered ghost notes, fills, and micro-cuts for forward motion
- A sub-plus-reese bass system that answers the break in phrases
- A DJ-friendly intro, drop, switch-up, and outro
- Controlled grit using Drum Buss, Saturator, Auto Filter, Echo, and resampling
- A structure that works in a real mix: clean 16-bar intro, 32-bar drop, 8-bar switch, 16-bar reset, clean outro
- Over-chopping the break
- Making the bass too wide
- Too much low-mid buildup
- Using heavy sidechain that pumps the whole track
- No phrase contrast
- Driving the break until it loses transients
- Layer a filtered noise burst under snares for extra urgency, but keep it short and band-limited.
- Use Drum Buss transient shaping to emphasize the attack of the break without flattening the body.
- Resample the break after processing and edit the bounced audio. This often creates a more “record-like” feel than endlessly tweaking live chains.
- Add a very quiet reverb send on ghost hits only. Dark DnB often feels bigger when the core is dry and the decoration is selective.
- Use rhythmic gaps in the bassline to make the kick/snare feel heavier. Space is part of the weight.
- Automate a low-pass filter on the bass before a drop so the full harmonic weight arrives with impact.
- Try a darker parallel chain with Saturator + EQ Eight + Compressor to thicken the break underneath the clean version.
- Check the track at low monitor volume. If the groove still reads at low level, the kick/break/bass relationship is strong.
- Keep the upper break hats under control; harsh top-end can make dark DnB feel brittle instead of powerful.
- Use short fill motifs as identity markers so the track sounds designed, not looped.
- Break editing that preserves groove
- Bass phrasing that leaves space
- Mono, punchy low-end discipline
- Clear intro/drop/outro phrasing
- Selective grit and resampling for character
- Arrangement that supports mixing as well as impact
Musically, think of a tune that starts with filtered atmospheres and a stripped break, then drops into a rolling jungle groove with a sub-led bass stab pattern, followed by a switch-up where the break gets chopped tighter and the bass becomes more syncopated. The final result should feel like something you could cue into a set without fighting the grid or losing the mix.
Step-by-Step Walkthrough
1. Set up the project for DnB phrasing and fast decisions
Start at 174 BPM. Set the time signature to 4/4 and build a marker-based arrangement from the start.
In Ableton Live 12, create these rough sections:
- 16 bars: intro
- 32 bars: main drop
- 8 bars: switch-up
- 16 bars: second drop variation
- 16 bars: outro
Add Arrangement Locators now so every design decision serves the structure. For DJ-friendly music, the intro and outro need to be mixable, meaning they should avoid sudden full-spectrum chaos. Leave room for beatmatching and phrasing.
Create at least four tracks:
- Breaks
- Drum layer / tops
- Bass
- FX / atmos
Use color-coding and naming immediately. Advanced workflow tip: make a rack of empty return tracks or utility chains for your standard DnB processing so you can move fast later.
2. Choose and prep the core break for bounce, not just aggression
Drop a strong break into Simpler or directly onto an audio track. A classic amen-style break, think breakbeat with enough transient detail to chop, will work best. If the break is too flat, it won’t bounce; if it’s too compressed already, it won’t respond well to your edits.
Warp the break carefully:
- Turn Warp on
- Use Complex Pro only if the source is musical and stretched; for punchier drum breaks, Beats is usually more reliable
- Set transient markers manually so snare hits and kick accents land cleanly
Now make the break feel like a performance:
- Slice to a new MIDI track if you want full edit control
- Or duplicate the audio clip and use clip gain/warp markers for more organic movement
Good starting point:
- Leave the main kick/snare hits strong
- Reduce some hat density by 1–3 dB in selected bars
- Add tiny pre-snare ghost hits earlier in the bar for momentum
Why this works in DnB: the ear locks onto the backbeat, but the forward motion comes from the micro-edits. A bounce jungle break should feel like it’s constantly leaning into the next bar, not just repeating a sample.
3. Build a break chain: transient control, body, and grit
Route the break to a dedicated group and shape it with stock Ableton devices:
- Drum Buss
- Drive: around 5–15%
- Crunch: subtle, around 5–20%
- Boom: use sparingly or not at all on the full break if your sub will carry low-end
- Transients: push slightly up if the break is too soft
- Saturator
- Soft Clip on
- Drive: 2–6 dB for color, more if the source is thin
- Keep output compensated so you don’t fool yourself with level
- EQ Eight
- High-pass very gently only if needed, around 25–35 Hz
- Cut any boxy build-up around 250–500 Hz if the break is muddy
- Tame harsh hats around 7–10 kHz with narrow or medium cuts
If the break needs more punch, duplicate it and create a parallel “impact” chain:
- Chain A: dry break
- Chain B: compressed and distorted break
- Compressor with a faster attack, moderate release
- Saturator or Pedal for extra grit
- Blend quietly underneath
Keep the transients intact. The point is not to flatten the break into a loop; it’s to make it feel like a living, hard-hitting performance.
4. Add bounce with selective chop logic and ghost-note programming
Open the break in Simpler or a Drum Rack and create a variation system. For advanced DnB, don’t over-chop every hit — use edits to create phrasing.
Try this:
- Keep the first bar relatively open
- In bar 2, cut a few 16th hat hits to create negative space
- In bar 3, add ghost snare or rim hits before the main snare
- In bar 4, insert a quick fill or reverse fragment into the next phrase
In Drum Rack, place these elements on separate pads:
- Main kick/snare
- Hat layer
- Ghost snare
- Reverse crash/noise
- Fill slice
Useful parameter ideas:
- Ghost snare velocity: 20–55
- Main snare velocity: 90–127
- Hat swing via Groove Pool: start around 55–58% swing if the break is too rigid
- Nudge selected slices forward/backward by 5–15 ms to create bounce without losing grid integrity
Use Groove Pool with taste. In jungle and rollers, too much swing can make the groove collapse. The best result often comes from a combination of:
- tiny timing nudges,
- velocity variation,
- and selective muting.
Advanced move: resample 8 bars of your edited break, then slice the bounced audio into a new track. This locks in the feel and gives you a single file to further edit with clip fades and reverse moves.
5. Design the bass as a call-and-response system
For DnB, the bass should not just be a held note. It should interact with the break. Build two bass layers:
- Sub layer
- Use Operator or Wavetable with a sine wave
- Keep it mono
- Low-pass or band-limit it so it stays underneath the drums
- Use short, controlled notes
- Mid-bass layer
- Use Wavetable, Operator, or Analog
- Shape a reese, growl, or dark pulse
- Add movement with filter modulation or unison detune
Suggested starting points:
- Sub notes: 40–55 Hz fundamentals depending on key
- Mid-bass cutoff: around 120–600 Hz depending on tone
- Mid-bass unison: keep it moderate; too much width will blur the mix
For the reese/mid layer:
- Add Auto Filter with slow LFO motion
- Use Phaser-Flanger very lightly for texture
- Add Saturator or Roar if you want more edge and harmonic density
- Use Utility to keep the lows mono
Phrase the bass in two-bar questions and answers:
- Bar 1: short stab or slide
- Bar 2: silence or tail response
- Bar 3: denser variation
- Bar 4: fill into next phrase
This works in DnB because the drums are already complex. The bass must create contrast, not compete for constant attention. Call-and-response makes the groove feel intentional and gives the listener something to lock onto after the break’s movement.
6. Lock drums and bass together with sidechain and low-end discipline
You want weight, but not low-end fog. Set up the interaction cleanly:
- Put Compressor on the bass group
- Sidechain from the kick or a dedicated ghost kick if your break doesn’t provide a stable low-end trigger
- Start with:
- Attack: 1–10 ms
- Release: 50–120 ms
- Ratio: 2:1 to 4:1
- Threshold set for only a few dB of gain reduction
If the kick is part of the break and not separate, use Volume Shaper-style thinking with stock tools:
- automate clip gain on the bass around kick hits
- or use a ghost trigger track for sidechain consistency
Then tidy the mono/width relationship:
- Keep sub fully mono with Utility
- Let only the mid-bass carry width
- Check your mix in mono regularly
Mixing rule for this style: if the break and bass both feel huge soloed but the drop loses impact when combined, the problem is usually low-mid overlap, not volume. Often a 2–4 dB cut around 180–350 Hz on one element creates more perceived power than boosting anything.
7. Build the DJ-friendly intro and outro with functional energy management
A DJ-friendly DnB structure is about how the tune mixes, not just how hard it hits. For the intro:
- Start with atmos, filtered break fragments, vinyl-noise-style texture, or a filtered drum loop
- Keep the sub out until the mix is established
- Introduce the main rhythm in layers over 16 bars
Good intro progression:
- Bars 1–8: atmosphere + filtered top loop
- Bars 9–12: break tease with HP filter opening
- Bars 13–16: full drum pickup, bass still absent or filtered
For the outro:
- Remove mid-bass first
- Leave drums and a reduced top layer
- Let the last 8–16 bars function as a clean exit for the DJ
Use Auto Filter automation to open and close energy:
- High-pass atmos at around 150–300 Hz in the intro
- Gradually remove the filter before the drop
- On the outro, reverse that logic and thin the arrangement
Musical context example: if your drop is centered around a dark E minor roller, the intro can tease the root note as a filtered sub pulse while the break starts partially muted. That lets a DJ beatmatch the track while the crowd hears the identity of the tune before full impact.
8. Design one switch-up to prevent loop fatigue
Advanced DnB arrangement needs a change-up before the listener gets comfortable. After 32 bars of the main drop, switch the drum logic or bass phrasing.
Options:
- Chop the break harder for 4–8 bars
- Swap the bass from long stabs to shorter syncopated notes
- Insert a half-bar drum fill leading into the variation
- Remove the kick for one beat and let the snare + bass land harder after the gap
Use automation and resampling:
- Reverse a break fragment into the downbeat
- Automate Echo for one bar only on a snare or vocal texture
- Automate a Frequency Shifter subtly for tension on a fill
- Resample the whole drum bus if you want a unique variation without building everything from scratch
Keep the switch-up still mixable. A good DJ-friendly variation doesn’t suddenly destroy the pulse; it re-frames the groove while preserving the phrase count.
Common Mistakes
- Fix: leave a few hits intact so the groove breathes. If every 16th is edited, the break loses bounce.
- Fix: keep sub mono and restrict stereo width to the mid layer only.
- Fix: cut one source around 180–350 Hz rather than boosting the whole mix.
- Fix: sidechain the bass lightly and let the break keep its natural shape.
- Fix: create clear 8-, 16-, and 32-bar changes. DnB arrangements need readable movement for DJs and listeners alike.
- Fix: use parallel grit and keep a dry core. Distortion should add edge, not erase punch.
Pro Tips for Darker / Heavier DnB
Mini Practice Exercise
Spend 10–20 minutes building a 16-bar jungle drop skeleton:
1. Set Ableton to 174 BPM.
2. Load one break and edit it into a 4-bar loop with at least three ghost-note variations.
3. Add a mono sine sub with a simple 2-bar call-and-response pattern.
4. Create one mid-bass layer with filter movement and place it only on off-beats or phrase endings.
5. Use Drum Buss and Saturator on the break group, keeping the dry core intact.
6. Arrange:
- 4 bars intro tease
- 8 bars main drop
- 4 bars switch or fill
7. Do one mono check and one low-volume check.
8. Bounce the section and listen as if you were a DJ cueing it into a mix.
Goal: by the end, you should have a rough drop where the break bounces, the bass answers cleanly, and the arrangement could realistically sit inside a set.
Recap
To make a bounce jungle breakbeat work in a DJ-friendly DnB structure, focus on:
If the break feels alive, the bass responds musically, and the arrangement reads clearly over 16- and 32-bar phrases, you’ve built something that belongs in a real Drum & Bass set — not just a loop folder.

