Main tutorial
Lesson Overview
A rewind-worthy DnB drop lives or dies on the energy of its drum bus. In jungle, rollers, neuro, and darker bass music, the drums are not just keeping time — they’re part of the hook. When the drop hits, the drum bus needs to feel like it is bouncing, breathing, and punching through the mix with enough attitude to make DJs want to rewind the tune.
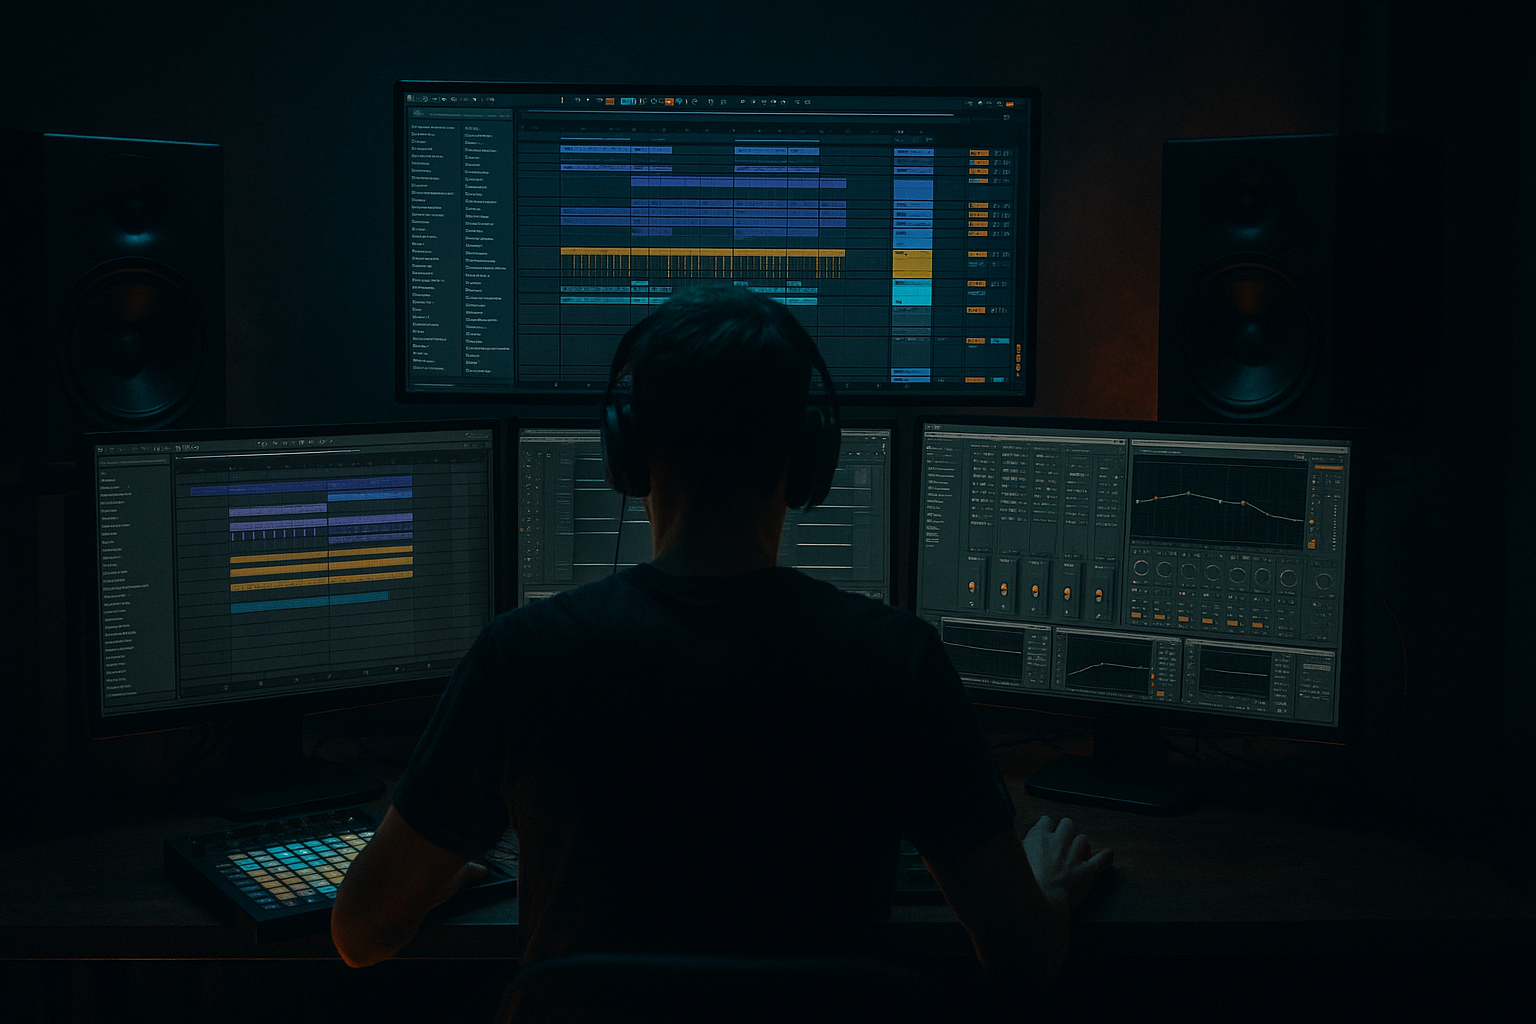
In this lesson, you’ll learn how to build a bounced jungle drum bus in Ableton Live 12 using stock devices, then shape it so it lands hard in a drop without getting brittle or overcooked. The focus is sound design and bus processing: how to glue break layers, add movement, control transients, and create that slightly reckless-but-controlled bounce that works so well in DnB.
This technique fits especially well in:
- Intro-to-drop transitions
- 8- or 16-bar drop phrases
- Call-and-response sections with bass
- Switch-up bars before a DJ rewind moment
- Lighter to darker contrast sections, where the drums need to feel like they’re escalating
- A pumping jungle-style groove
- Controlled low-mid body without muddying the sub
- Snappy transients on kicks/snares
- A little saturated grit for darker character
- Subtle stereo motion in the tops while keeping the core mono-safe
- Enough dynamic movement to create a rewind-friendly, high-impact drop phrase
- Overprocessing the low-end
- Making the drums too clean
- Killing the groove with too much quantization
- Using too much compression
- Harsh upper mids from saturation
- Ignoring mono compatibility
- Trying to make the bus do everything
- Use a filtered distortion return
- Let the snare drive the drop
- Resample into grime
- Use micro-contrast between bars
- Keep room for bass phrasing
- Try tiny reverb only on selected hits
- Exploit the break’s natural ghost notes
- Keep kick, snare, and break roles clear
- Use Glue Compressor, Drum Buss, Saturator, and Utility as your core Ableton tools
- Preserve groove and ghost notes
- Use saturation and parallel processing for density, not just volume
- Automate across the phrase so the drop evolves
- Resample the finished bus for extra sound design power
Why it matters: in Drum & Bass, the drums often need to do more than just “sound good.” They need to create momentum, define groove, and leave space for sub and bass movement while still sounding aggressive. A well-shaped drum bus helps your break edits feel like one living performance instead of separate samples glued together.
What You Will Build
You’ll build a tight, bouncing drum bus made from layered break elements and one-shot hits, processed into a cohesive, energetic drop-ready drum sound.
The final result will have:
Musically, think of a 174 BPM roller or jungle-tech drop where the first bar hits with chopped break energy, the second bar introduces a more syncopated snare variation, and the third/fourth bars push harder with fills and ghost notes. The drum bus should feel like it’s “leaning forward” into the next bar.
Step-by-Step Walkthrough
1. Build the drum layers before touching the bus
Start by making a simple grouped drum arrangement in Ableton Live 12. Keep it practical: one main break layer, one snare layer, and one kick layer or punch layer. If you’re working in a jungle context, use a chopped Amen-style break or any gritty break sample with strong transient content. For rollers or darker DnB, you can use a cleaner top break plus harder one-shots.
In the Session or Arrangement view:
- Put your break on one audio track
- Add a separate snare one-shot track
- Add a kick or low punch track if needed
- Group them into a Drum Group so you can process the bus together
Editing tip:
- Keep your break slices tight enough that the groove is obvious
- Leave a few ghost hits or shuffled notes in place; don’t over-quantize everything
- If a break has too much low-end, high-pass it lightly before grouping
Good starting point:
- Break high-pass around 120–180 Hz
- Snare layer body around 180–250 Hz
- Kick punch around 50–90 Hz if you actually need one
Why this matters: DnB drums feel powerful when the individual layers already have roles. The bus should enhance the performance, not repair a bad arrangement.
2. Program the bounce with groove, not just straight 16ths
The “bounce” comes from timing and phrasing. In Ableton, use Groove Pool if your break needs swing, or manually offset a few hits for a more human shuffle. For jungle and rollers, try a groove that subtly pulls the 2nd and 4th 16ths forward while keeping the kick/snare anchors locked.
Practical Ableton moves:
- Open the Groove Pool and try a light MPC-style swing or one of Ableton’s built-in grooves
- Set Timing around 10–25%
- Set Random low, around 3–8%
- Keep Velocity moderate if the break becomes too flat
Arrangement example:
- Bar 1: standard break with a strong snare on 2 and 4
- Bar 2: add a ghost snare pickup before 4
- Bar 3: drop a kick fill or break flam at the end of beat 4
- Bar 4: strip the break slightly so the next section lands harder
Why this works in DnB: rewind-worthy drops need repetition with variation. If every bar hits identically, the drop feels static. Tiny rhythmic shifts make the groove feel like it’s evolving under the listener.
3. Shape individual drum layers before the bus
Before processing the group, do the essentials on each track so the bus doesn’t have to do all the work.
On the break track, try:
- EQ Eight: remove rumble below 25–35 Hz, and reduce muddy low-mids around 220–400 Hz if needed
- Saturator: use Soft Clip on, Drive around 2–5 dB
- Drum Buss if you want extra weight and smack; keep Drive 5–15%, Boom low or off unless the sample needs sub reinforcement
On the snare layer:
- Transient shaping with Drum Buss can work well: increase Transient slightly
- EQ a small dip if the snare is boxy around 300–500 Hz
- Add a small boost around 2–5 kHz if it needs crack
On a kick layer:
- Keep it short and focused
- If the kick competes with the sub, high-pass the top portion and let the sub live elsewhere
- Use Utility to check mono compatibility early
The goal here is to create layers that already make sense on their own. The bus should tie them together and add attitude, not rescue sloppy source material.
4. Route the drum group through a dedicated bounce chain
Now build the actual bus processing on the Drum Group. A strong stock Ableton chain for this style could be:
- EQ Eight
- Glue Compressor
- Drum Buss
- Saturator
- Utility
- Optional: Limiter only for safety checks, not for smashing the life out of it
Start with EQ Eight:
- High-pass very gently if needed at 25–35 Hz
- Make a small cut around 200–350 Hz if the bus clouds the bass
- If the top end is harsh, notch around 6–8 kHz by 1–3 dB
Then Glue Compressor:
- Ratio: 2:1 or 4:1
- Attack: 3–10 ms
- Release: 0.1–0.3 s or Auto if it feels better
- Aim for about 1–3 dB of gain reduction on the loudest hits
Why this works: Glue Compressor helps the break fragments act like one instrument. In DnB, that cohesion matters because the kick/snare/break relationship is part of the drop’s impact.
5. Add bounce with Drum Buss, but don’t overdo the Boom
Drum Buss is one of the best stock devices for this exact job. It can add weight, sustain, transient punch, and subtle drive in one place.
Suggested starting settings:
- Drive: 8–20%
- Crunch: low to moderate if you want more grain
- Boom: use carefully; try 10–30%
- Boom frequency: often 50–80 Hz for bigger drums, or lower if the kick/sub needs more separation
- Transient: push up slightly if the break needs more snap
Important: if your track already has a strong sub or bassline, keep the Boom conservative. You want bounce, not a fake second sub that fights the bass.
A useful approach:
- Use Boom only if the drums feel too thin after processing
- If the low-end gets woolly, reduce Boom and shape the low-end with EQ instead
- If the top is too spiky, back off Transient and let Saturator create density instead
This is especially effective in darker DnB where the drums need to sound menacing, not glossy.
6. Create controlled grit with Saturator and clip behavior
After Drum Buss, add Saturator to bring the bus forward and create a more rewind-friendly edge.
Solid settings to test:
- Drive: 2–6 dB
- Soft Clip: on
- Curve: keep it moderate unless you want more obvious distortion
- Use Output to match level so you’re not fooled by loudness
If you want a harder, more neuro-adjacent drum presence:
- Try Analog Clip in Saturator
- Push Drive until the snare gets dense but not fizzy
- Use a very small EQ dip after saturation if upper mids become harsh
For jungle and rollers, this stage can make the break feel like it’s been printed through a slightly abused mixer channel — exactly the kind of character that helps a drop feel alive.
7. Use parallel processing for extra lift and density
Instead of smashing the whole bus, create a parallel return or duplicate chain. This is a great intermediate workflow because it gives you density without flattening your transients.
Option A: Return track
- Send the drum group to a Return track
- On the return, add Saturator, Drum Buss, and maybe Compressor
- Filter the return so it focuses on midrange punch and high-end energy
- Blend it in quietly until the drums feel bigger
Option B: Drum Group duplicate
- Duplicate the drum group to another track
- Distort/compress the duplicate more heavily
- High-pass the duplicate around 150–250 Hz
- Blend under the main bus for aggression
Suggested parallel character:
- More compressed than the main bus
- Slightly brighter
- Less low-end
- More presence in the 1–6 kHz range
This is a classic DnB move because it lets the main drums stay dynamic while the parallel layer adds the “in your face” feeling needed for drops and rewinds.
8. Automate movement across the drop phrase
A bounce-heavy drum bus becomes much more exciting when it evolves over 8 or 16 bars. Use automation to make the drums feel like they are pushing forward.
Good automation targets in Ableton:
- Drum Buss Drive
- Saturator Drive
- Glue Compressor threshold
- EQ Eight high shelf
- Auto Filter for build and release moments
- Reverb or Echo throws on selected snare hits, not the full bus
Practical phrase idea:
- Bars 1–4: cleaner drum bus, less drive
- Bars 5–8: increase saturation slightly and add more transient edge
- Bars 9–12: open the top end a little for more excitement
- Bars 13–16: pull elements out, then slam back in with a fill
If you’re writing a DJ-friendly drop, leave space for a switch-up at the end of the 16-bar phrase. A one-bar drum fill or stop-start moment can make the rewind feel earned.
9. Check mono, low-end separation, and mix balance
Once the bus feels exciting, check whether it still works in a real mix. This is where a lot of intermediate producers lose control.
Use Utility on the drum group or master reference:
- Hit Mono briefly and listen for disappearing snare body or broken stereo tricks
- Reduce width only on the low-end elements if necessary
- Keep the core kick/snare impact centered
Mix checks:
- The drum bus should punch without masking the bassline
- If the bass is a Reese or distorted reese, make sure the drum low-mids are not crowding it
- If the track feels small, don’t just boost the drums; often a 200–400 Hz cleanup makes the punch feel larger
Good rule of thumb:
- The drum bus can be aggressive
- The sub should remain the authority below
- The bass and drums should feel like call-and-response, not a fight
10. Print a resampled version for final sound design control
One of the best intermediate moves in Ableton Live is to resample the drum bus once it’s bouncing properly. This gives you the option to slice, reverse, warp, and re-edit the processed sound as if it were a new sample.
Workflow:
- Create a new audio track
- Set input to Resampling or the drum group output
- Record 4–8 bars of the processed drum bus
- Chop the printed audio into fills, impacts, or new break variations
You can then:
- Reverse a drum tail before a drop
- Slice a snare hit into a mini-fill
- Use a printed bar as the basis for a switch-up
- Warp a specific hit to create a rewind-style tape-stop moment
This is a big reason the technique is so effective in DnB: the bounce becomes source material. You’re not just mixing drums; you’re designing new rhythmic texture from them.
Common Mistakes
- Fix: keep Boom in Drum Buss moderate, and let the sub/bass track own the bottom octave.
- Fix: add subtle saturation or parallel grit. Jungle and darker DnB often need texture to feel alive.
- Fix: preserve some break swing and ghost notes. The bounce is part of the character.
- Fix: aim for controlled glue, not flatlining. If transients disappear, back off the threshold or slow the attack.
- Fix: use EQ Eight after distortion to tame 6–8 kHz if needed.
- Fix: keep the drum core centered, especially kick and snare energy. Check Utility mono regularly.
- Fix: shape the individual layers first, then use the bus for glue, density, and movement.
Pro Tips for Darker / Heavier DnB
- Send drums to a parallel chain, high-pass the return, and saturate it hard for dark midrange bite without low-end mess.
- In darker rollers, the snare often carries the energy more than the kick. Automate a little extra transient on the snare bars before a switch-up.
- Print your drum bus and re-edit the audio. Slight warps, reverses, and chopped tails can add underground character fast.
- One bar slightly drier, next bar slightly more saturated, next bar with a tiny fill. That variation makes the drop feel expensive.
- If the bassline is aggressive, reduce unnecessary low-mid energy in the drums. The contrast makes both hit harder.
- Instead of washing the whole bus, put Reverb or Echo on specific snare throws or end-of-bar fills. That gives space without losing impact.
- Don’t erase every quiet hit. Those tiny accents are often what make jungle drums feel like they are bouncing.
Mini Practice Exercise
Spend 10–20 minutes making a rewind-friendly drum bus in Ableton Live 12:
1. Load a break sample, a snare layer, and a kick layer into a Drum Group.
2. High-pass the break and clean the mud from the group.
3. Add Groove Pool swing lightly to the break.
4. Build a bus chain with EQ Eight, Glue Compressor, Drum Buss, and Saturator.
5. Set the Glue Compressor for about 1–3 dB of gain reduction.
6. Push Drum Buss Drive until the groove feels thicker, then reduce it slightly.
7. Automate Saturator Drive up by a small amount over 8 bars.
8. Resample 4 bars of the processed drums.
9. Slice the resampled audio and make a one-bar fill or stop-start variation.
10. Play it against a sub and bassline to check whether the drums still leave room.
Goal: by the end, you should have a drum bus that feels like it could live in a jungle roller or darker drop, not just a loop.
Recap
The key to bounce-worthy DnB drums is to shape the break layers first, then use the bus to glue, thicken, and energize them.
Remember:
If the drum bus feels like it can make the room move on its own, you’re close. In DnB, that’s exactly the kind of energy that earns rewinds 🔥

