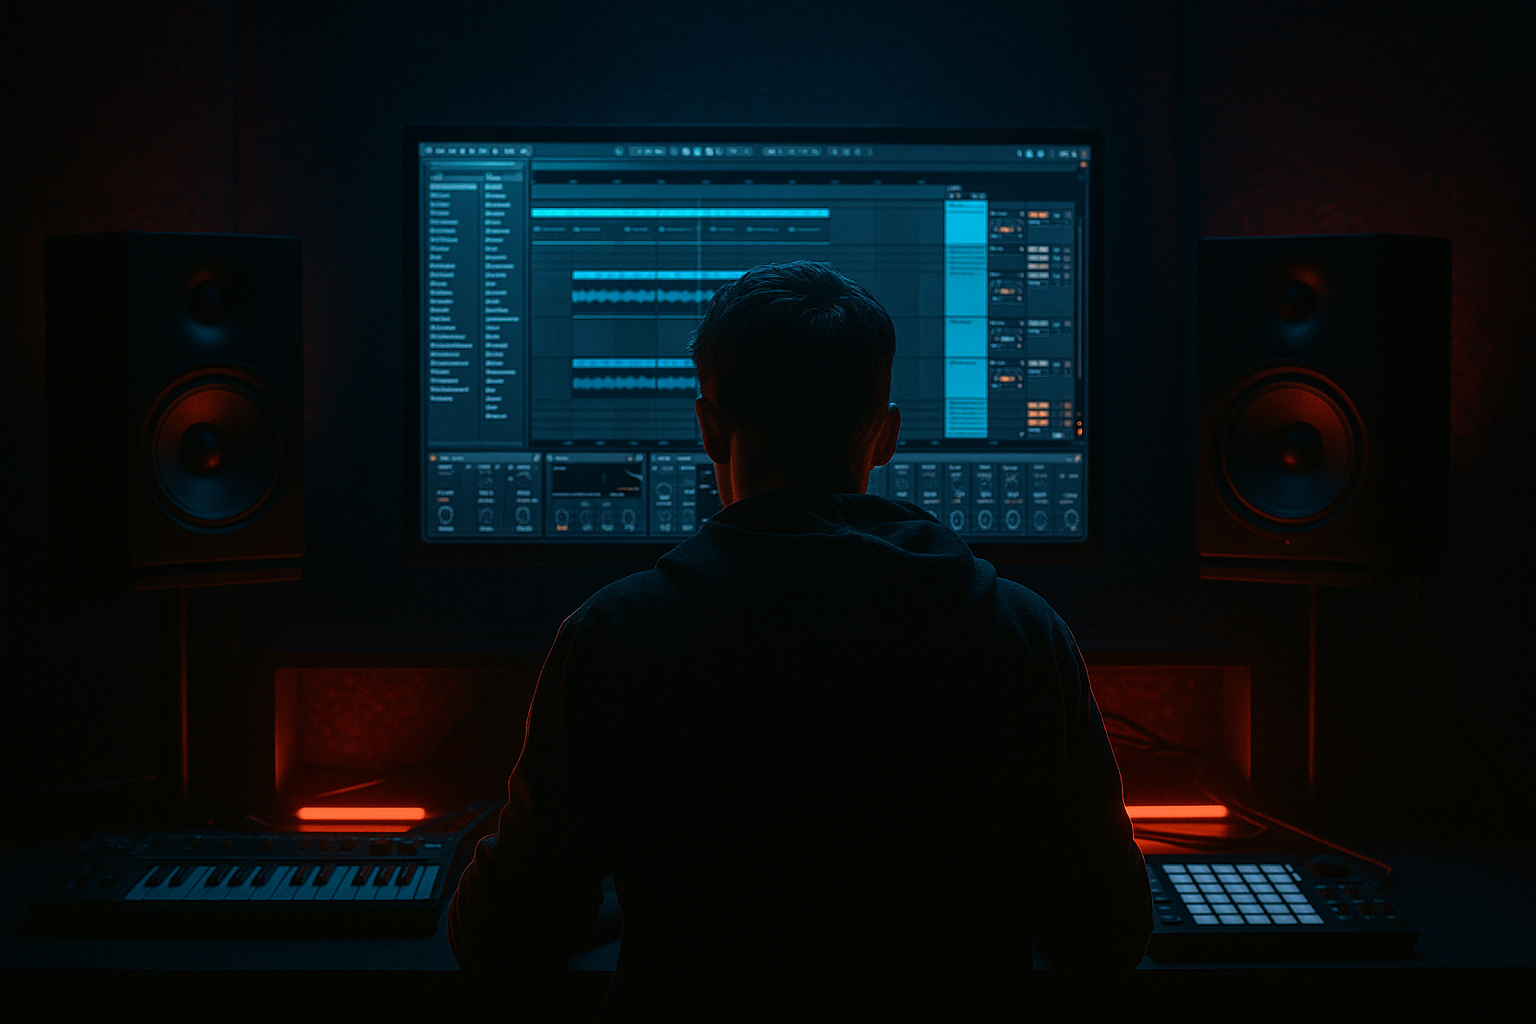
Main tutorial
```markdown
Break clarity in dense arrangements (oldskool DnB vibes) — Ableton Live Mixing Lesson 🎛️🥁
1) Lesson overview
In oldskool DnB/jungle, the break is the record. But modern arrangements get dense fast: big subs, reese layers, pads, FX, vocals, rides… and suddenly your break sounds like it’s behind a curtain.
In this lesson you’ll learn a practical Ableton Live workflow to keep breaks clear, punchy, and forward in a busy mix—without killing the gritty vibe. We’ll focus on:
- Frequency space (clean lows, controlled low-mids)
- Transient clarity (snap + presence)
- Dynamic control (sidechain + bus compression)
- Stereo + arrangement tricks (center priority for drums)
- `BREAK (main)` — your chopped or looped break
- `KICK (optional)` — for extra weight
- `SNARE (optional)` — for extra crack
- `BASS (sub + mid)` — typical rolling bass stack
- `MUSIC (pads/stabs)` — oldskool rave content
- `DRUM BUS` (Return/Group) — glue + tone
- `PARALLEL CRUSH` (Return) — controlled aggression
- Break sits forward and readable
- Kick/snare are defined
- Bass is big but not masking
- Mix keeps that 1994–1998 energy 🔥
- Aim peaks around -10 to -6 dBFS
- Master should comfortably sit under -6 dBFS while building the drop
- Use Utility at top of each track if needed.
- Keep your Break fader at a reasonable level—don’t mix with it pinned at 0 while everything else is low.
- High-pass filter: 24 dB/Oct at ~90–130 Hz
- Mud dip: bell at 250–450 Hz, -2 to -5 dB, Q ~1.2
- Harshness control (optional): 3–6 kHz -1 to -3 dB if it’s tearing your ears off
- Drive: 3–8% (taste)
- Crunch: 0–10% (careful)
- Transient: +5 to +20 (bring attacks forward)
- Damp: adjust so highs aren’t fizzy (start around 10–20 kHz)
- Boom: OFF (usually; your sub handles low end)
- Mode: Analog Clip or Soft Sine
- Drive: 1–4 dB
- Output: reduce to match level (level match!)
- Attack: 3 ms (lets transients through)
- Release: Auto (or 0.1–0.3s)
- Ratio: 2:1
- Threshold: aim for 1–3 dB gain reduction on peaks
- Makeup: Off; manually match output level
- Enable Sidechain
- Audio From: `BREAK` (or a “Break SC” ghost track—see below)
- Attack: 1–5 ms
- Release: 50–120 ms
- Ratio: 2:1 to 4:1
- Threshold: aim for 2–5 dB reduction when the break hits
- Name: `BREAK SC (ghost)`
- Turn Monitor Off
- Put EQ Eight on it:
- Width: 80–110% (don’t go huge)
- Bass Mono: If you have Live’s Utility with Bass Mono, set around 120 Hz (or just keep lows removed via HPF)
- Use Utility to increase width (120–160%) or
- Use Chorus-Ensemble lightly
- Start send at -inf, bring up slowly until you feel the break step forward.
- Typical: -18 to -10 dB send (depends on your break).
- Break + bass only for the first 4–8 bars of the drop (let the groove establish)
- Bring stabs/pads in on bar 9 or after a fill
- Add rides/shakers later or only every other 8 bars
- Use 1-bar break fills at the end of phrases; reduce bass notes during fills
- Bars 1–8: Break + sub + light mid-bass
- Bars 9–16: Add stabs + extra percussion + one FX riser
- Bar 16: Fill + bass drop-out for 1/2 bar → slam back in
- Split your bass into sub + mid:
- Tame low-mids on the reese (200–500 Hz) before you reach for break EQ.
- Use Auto Filter on pads/stabs:
- Add “air” without harshness:
- For gritty oldskool edge:
- On `BREAK`: EQ Eight HP at 120 Hz, Drum Buss transient +10, Glue Comp 2 dB GR
- Sidechain mid-bass to `BREAK SC (ghost)` for ~3 dB ducking
- Put stabs wide (Utility width 140%) and HP at 250 Hz
- Add `PARALLEL CRUSH` return and send break until it feels forward
- Clean lows on the break (HP 90–130 Hz) so sub owns the bottom
- Enhance transients (Drum Buss) and add controlled saturation
- Use light glue compression (1–3 dB GR) to stabilize the break
- Sidechain busy mid-bass/music to the break (ghost sidechain = pro move)
- Keep core drums centered, push musical layers wider
- Use parallel crush for aggression without flattening transients
- Arrange in phrases so the groove gets space to speak
Target: Beginner, but using pro habits.
---
2) What you will build
A simple but effective break mixing chain + routing that keeps an Amen/Think-style break crisp in a dense DnB drop:
Tracks
Result
---
3) Step-by-step walkthrough
Step 0 — Choose a break that mixes well
1. Drop a break loop (Amen, Think, Hot Pants, Funky Drummer, etc.) into a MIDI/Audio track.
2. Warp it:
- Warp Mode: `Beats`
- Preserve: `Transients`
- Envelope: Start around `20–40`
3. Set project tempo typical oldskool:
- 160–174 BPM (try 168 for that classic roll)
Why: Beats mode keeps transient punch. Complex modes can smear breaks.
---
Step 1 — Gain staging: give yourself headroom 🧠
On each track:
In Live:
Why: Break clarity improves when your plugins aren’t being hammered and your bus compression isn’t overreacting.
---
Step 2 — Clean the break low-end (this is huge)
On `BREAK`, add EQ Eight first.
EQ Eight (starting point)
- If you have a separate kick/sub doing the low end, push higher (120–150).
Why: Old breaks often carry low-end rumble + boxy mids that fight your bass.
> If you want break bass (very oldskool), keep more low-end but then your sub must be simpler and quieter.
---
Step 3 — Bring out snap and presence (without brittle top)
Now we help the break speak in a dense mix.
#### Option A: Transient shaping with Drum Buss (stock)
Add Drum Buss after EQ Eight:
Why: Transient lifts drum attacks so you can hear the pattern through bass + stabs.
#### Option B: Add bite with Saturator (stock)
If you don’t like Drum Buss transient behavior, use Saturator:
Rule: If it sounds better only because it’s louder, it’s not really better.
---
Step 4 — Control dynamics: “glue” the break so it stays consistent
Add Glue Compressor after your tone devices.
Glue Compressor (starting point)
Why: Breaks have wild peaks; a touch of glue keeps the break “in front” instead of jumping backward on loud hits.
---
Step 5 — Create separation with sidechain (the “dense mix” fix)
You’ll sidechain other stuff away from the break—not just sidechain the break to the kick.
#### A) Sidechain the bass to the break’s transient
On your mid-bass (reese, bass layer that lives 150 Hz–2 kHz), add Compressor:
Why: This makes space exactly when the break speaks, which is how you keep oldschool rhythm intelligible.
#### Pro workflow: “ghost sidechain break”
Create a duplicate of the break track:
- HP at 200 Hz
- Boost 2–5 kHz a bit (so sidechain triggers on snare/crack)
Use this ghost track as the sidechain input.
Why: Your sidechain reacts to the snare/crack, not random low-end rumble.
---
Step 6 — Stereo: keep break core in the center, push clutter outward
Oldschool breaks feel powerful when the main hits are centered.
On `BREAK`, add Utility (often near the end):
On pads/stabs/atmos:
Why: If your music layers are wide, the break reads clearly in the center.
---
Step 7 — Parallel “crush” for oldskool aggression (Return track)
Create a Return track: `A - PARALLEL CRUSH`
On Return A chain (stock devices):
1. EQ Eight
- HP at ~150 Hz
- Small dip around 300–500 Hz if boxy
2. Saturator
- Drive 4–10 dB (yes, a lot—this is parallel)
3. Glue Compressor
- Ratio 4:1
- Attack 1–3 ms
- Release 0.1–0.3s
- Aim 5–10 dB GR
4. Drum Buss (optional)
- Crunch 10–30%
- Transient +10
Send your `BREAK` to this return:
Why: Parallel adds density and bite while preserving the main break transients.
---
Step 8 — Arrangement moves that “mix themselves” (classic jungle trick)
Mixing isn’t only plugins—oldskool clarity often comes from smart arrangement.
Try these:
DnB example (16-bar drop):
Why: If everything is “on” constantly, no EQ can save the groove.
---
Step 9 — Drum Bus routing (simple + effective)
Group your drum elements (Break + added kick/snare + hats) into a DRUMS Group.
On the DRUMS Group:
1. EQ Eight
- tiny dip 250–400 Hz if needed
2. Glue Compressor
- Attack 10 ms
- Release Auto
- Ratio 2:1
- 1–2 dB GR (gentle glue)
3. Limiter (optional)
- Only for safety; don’t smash it
Why: Glue at the drum bus helps the break and layered hits feel like one unit.
---
4) Common mistakes 🚫
1. Not high-passing the break while also running a heavy sub
→ Result: low-end fights, groove disappears.
2. Over-brightening with EQ (huge 8–12 kHz boosts)
→ Sounds crispy solo, harsh in the mix.
3. Too much compression on the break (5–10 dB GR on the main chain)
→ Flattens the pattern and kills that choppy jungle movement.
4. Wide break + wide pads + wide reese
→ Stereo mush; center loses impact.
5. Everything plays all the time
→ Arrangement is the real enemy of clarity.
---
5) Pro tips for darker/heavier DnB 🕳️
- Sub track: clean sine/triangle, mono, low-passed ~80–120 Hz
- Mid track: reese/distortion, high-passed ~90–140 Hz
This makes break mixing way easier.
- High-pass them up to 200–400 Hz during the drop.
- Try Saturator or Drum Buss Damp rather than massive treble boosts.
- Parallel chain + a touch of Redux (very subtle; don’t alias everything)
- Or lightly degrade only the parallel return, not the main break.
---
6) Mini practice exercise 🎯
Goal: Make a break readable with bass + stabs, using only stock devices.
1. Load an Amen-style break on `BREAK` and loop 8 bars.
2. Add a sub (Operator) playing a simple 2-note pattern.
3. Add a mid-bass (Wavetable) with a reese-ish patch.
4. Add a stab (Simpler) on offbeats.
Now do this checklist:
Pass condition: At normal listening level, you can clearly “read” the break pattern even when bass + stabs hit.
---
7) Recap ✅
To keep break clarity in dense oldskool DnB:
If you want, tell me what break (Amen/Think/etc.), your BPM, and whether you’re layering kick/snare—I'll suggest exact EQ points and a clean Ableton rack chain for your specific vibe.
```

