Main tutorial
Lesson Overview
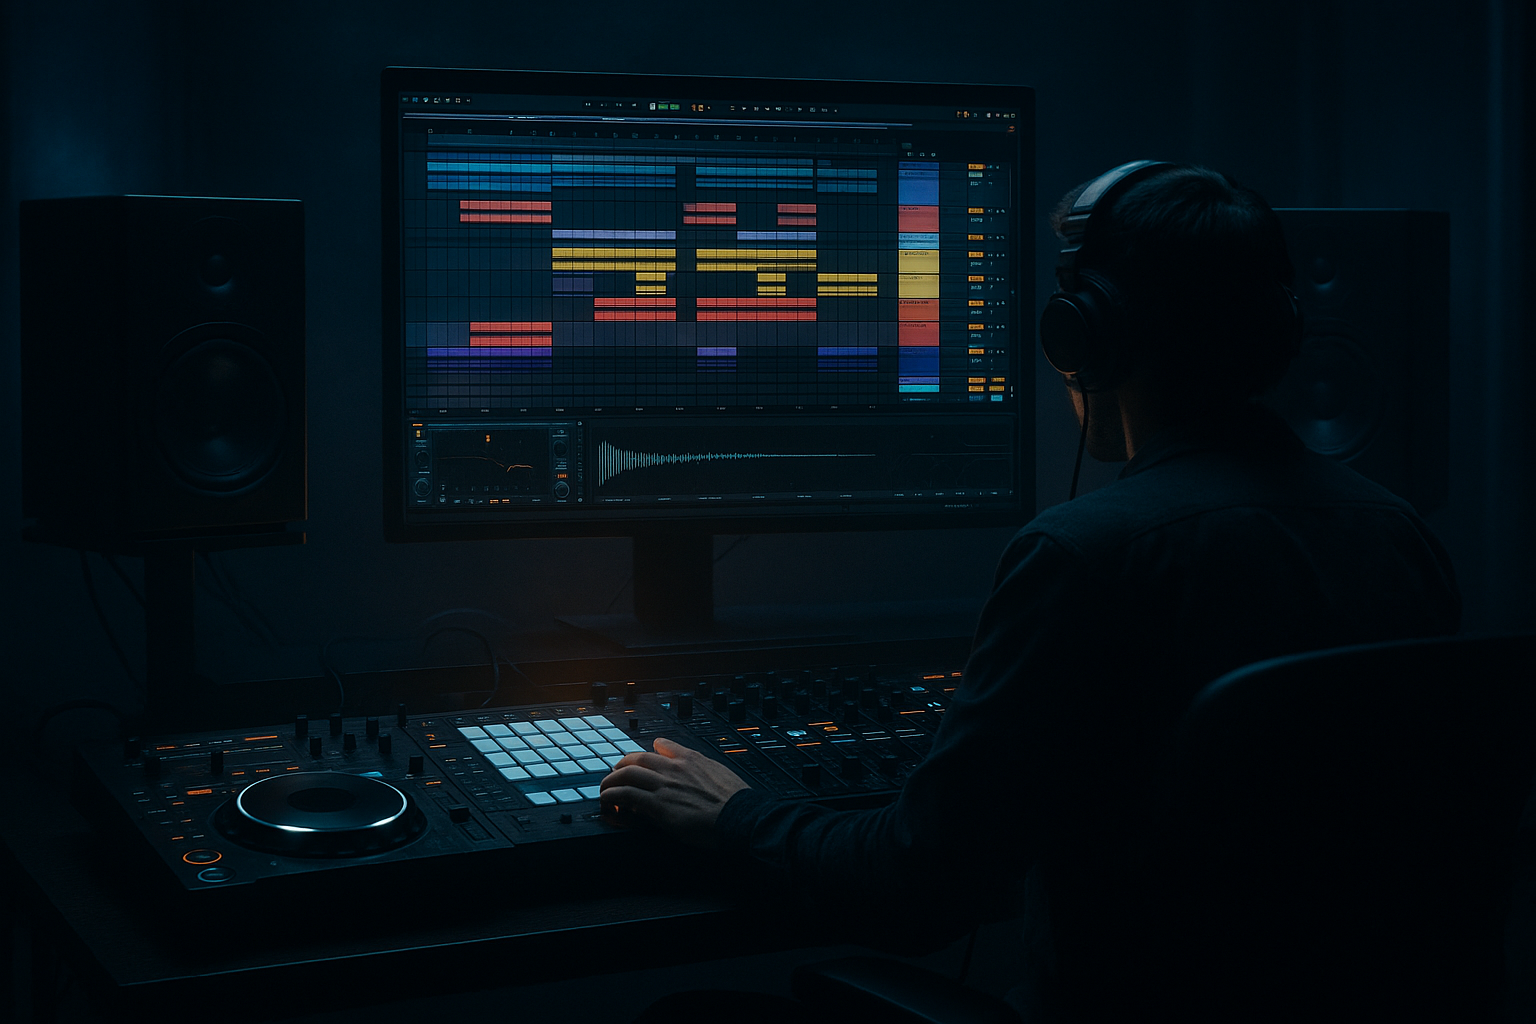
This lesson is about turning a breakbeat into a full bassline drop blueprint in Ableton Live 12, with a workflow built for Drum & Bass / jungle / rollers / darker bass music. The focus is not just chopping drums — it’s about using a break as the rhythmic engine, then designing a bassline that answers it with pressure, space, and movement.
In a real DnB track, this technique sits at the heart of the first drop, mid-track switch-up, or second drop variation. You’ll learn how to take a raw break, edit it into a controlled groove, and then build a bassline that feels like it belongs to the drums instead of sitting on top of them. That matters because in DnB, the relationship between drums and bass is everything: if the break grooves, the bass can hit harder; if the bass leaves room, the drums feel faster; if both are arranged with intention, the track instantly sounds more pro.
We’re also going to think like a DnB producer, not just a beat-maker:
- use the break as a rhythmic reference
- make the bassline call and respond to the drum edits
- keep the low end clean, mono, and heavy
- use Ableton stock devices to shape tone, movement, and transitions
- build a loop that can become a full drop with minimal extra work
- a chopped and edited breakbeat foundation
- a sub + mid bassline that turns around the break phrasing
- a few ghost hits, fills, and pickup notes for momentum
- controlled saturation, compression, and stereo discipline
- basic automation for filters, distortion, and transitions
- a structure that can be expanded into a full intro → drop → switch-up arrangement
- the drums stay busy without sounding messy
- the bassline sits between the kick/snare pockets
- the energy rises through arrangement, not just louder sounds
- the whole loop feels ready for a DJ-friendly intro or a heavy first drop
- Leaving the break unedited and hoping the bass will fit
- Making the bass too continuous
- Letting sub and mid-bass fight each other
- Over-compressing the break
- Using too much stereo width on low frequencies
- Forgetting arrangement variation
- Use a short reverb send on just the last snare or bass stab of a phrase, then automate it down fast. That creates tension without washing out the mix.
- Add a subtle Frequency Shifter to the mid-bass for metallic movement, but keep the amount small so it doesn’t sound accidental.
- Layer a quiet noise or texture under the bass turn and filter it heavily. That gives your drop a gritty “air pressure” feel.
- In darker rollers, leave more space between bass hits and let the break carry the urgency.
- For neuro-leaning weight, try Saturator into Auto Filter into Compressor on the mid-bass, then automate the filter slightly every 2 bars.
- Use reverse break fragments before a snare or bass turn for a sinister pull-in.
- If your drop feels too polite, shorten a few bass notes and make one of them hit slightly earlier than expected. Tiny timing shifts are huge in DnB.
- Keep your kick/sub relationship disciplined. If the kick is from the break, tune your bass phrase around its strongest low-end moments rather than fighting them.
- chop the break into something you can control
- keep the sub mono and the mid-bass separate
- write bass phrases with space and intent
- use resampling to create a “turn” or hook
- add variation every 4 or 8 bars
- check the balance in mono so the drop stays powerful
This is especially useful if you want that modern underground feel: rollers with punch, jungle energy, neuro-influenced bass movement, or darker halftime-style tension inside a fast grid.
What You Will Build
By the end of this lesson, you’ll have a 16-bar DnB drop blueprint built from scratch in Ableton Live 12 featuring:
Musically, the result should feel like a tight, dark roller:
Step-by-Step Walkthrough
1. Start with a break that has character, then clean it for control
Drag in a classic breakbeat or jungle-style loop with some swing and transient detail. A good source is a break with clear snare backbeats and some ghost notes or hat texture. If the break is too clean, it can feel sterile; if it’s too roomy, it can clutter the bassline later.
In Ableton Live 12:
- put the sample into an audio track
- right-click and Warp it if needed
- set Warp mode to Beats
- try Preserve: 1/16 or 1/8 for punchy drum chops
- reduce the transient envelope slightly if the break is too spiky
Then trim the loop to a clean 2-bar segment. You’re not trying to preserve the full original break — you’re creating a usable drum skeleton for your bassline to react to.
Why this works in DnB: breaks carry natural swing and micro-accent timing that makes fast music feel human. That human push-pull is what keeps DnB from sounding like a rigid grid.
2. Slice the break into playable parts with Simpler or Slice to New MIDI Track
Once the break is clean, convert it into something you can perform and rearrange quickly.
Two solid workflows:
- Right-click the audio clip and choose Slice to New MIDI Track
- Or drop the break into Simpler and switch to Slice mode
For intermediate workflow speed, Slice to New MIDI Track is ideal because it gives you:
- kick hit
- snare hit
- ghost hits
- hat fragments
- reverse tails if present
Edit the resulting MIDI clip so you can re-sequence the break instead of looping it unchanged. Aim for:
- main snare on 2 and 4
- extra ghost notes before the snare
- a few off-grid hat hits to maintain swing
- occasional missing kick to create breathing room
Keep the groove lively, but avoid overcrowding the low mids. The bassline still needs space to talk.
3. Shape the break into a DnB-supporting pattern, not a full drum wash
Now build an 8- or 16-bar drum pattern from your sliced break. Think like a DJ: the drums should establish momentum, but also leave gaps for bass movement and future variation.
Use these editing ideas:
- duplicate the first 2 bars across the loop
- remove one kick every 4 bars for variation
- add a short fill into bar 8 or 16
- use ghost snare drags before the main snare hits
- offset one hat or perc hit slightly late to create drag
If needed, layer a clean one-shot kick or snare underneath the break using stock Drum Rack or separate audio clips. Keep layers subtle. A tiny boost in the kick’s punch or snare body can help, but don’t erase the break’s identity.
Useful stock devices here:
- Drum Buss for weight and drive
- EQ Eight to carve low-end mud
- Glue Compressor for gentle glue, not crushing
Suggested settings:
- Drum Buss Drive: around 5–15%
- Drum Buss Boom: subtle, around 0–20%, tuned carefully
- Glue Compressor: 2:1, slow attack, medium release, only 1–2 dB gain reduction
4. Build the bassline from a simple musical idea and let the break lead the phrasing
Don’t start with a complex synth patch. Start with the rhythm of the bassline. In DnB, bass often works best when it feels like a response to the drums — short, punchy, and phrased around the snare.
Create a MIDI track and load Wavetable, Operator, or Simpler if you’re using a resampled bass hit. For a clean foundation:
- use Operator for sub weight
- use Wavetable for mid-bass movement
Start with a one- or two-note motif. Try a bass phrase that answers the snare:
- bass hit before the snare
- a short note after the snare
- a longer note in the gap after the kick
Keep the sub lane simple:
- root notes or one-step movement
- note lengths often between 1/8 and 1/4
- minimal overlap to prevent low-end blur
For the mid-bass, use slightly shorter notes with rhythm:
- note lengths around 1/16 to 1/8
- small pitch jumps
- rests between phrases
A strong DnB pattern often feels like:
- drums speak
- bass answers
- drums reset
- bass pushes forward again
5. Split the bass into sub and mid layers for clean low-end control
This is one of the biggest “instant pro” moves. Keep the sub focused and mono, and let the mid-bass carry movement, grit, and character.
Build two tracks:
- Sub track: Operator or a resampled sine-based bass
- Mid track: Wavetable, Serum-style thinking if using stock only, or a resampled bass texture in Simpler
On the sub track:
- use a sine or near-sine tone
- keep it mono
- low-pass everything above the sub region if needed
- avoid heavy stereo widening
On the mid-bass track:
- add movement with Wavetable LFOs, Auto Filter, or Frequency Shifter subtly
- drive it harder than the sub
- high-pass it so it doesn’t fight the sub
Suggested filter split:
- sub: low-pass around 80–120 Hz if needed
- mid-bass: high-pass around 90–140 Hz depending on the patch and arrangement
Why this works in DnB: fast tempos expose muddy bass instantly. If your sub and mid share too much space, the drop loses punch and the kick disappears.
6. Resample a movement layer to create a “turn” or bassline twist
This is the “bassline turn blueprint” part. Instead of writing only one static bass sound, create a short movement or turn that becomes the hook.
In Ableton:
- route your mid-bass to a new audio track
- record 1–2 bars while playing filter movement, note changes, or macro automation
- use the recorded audio as a resampling source
- chop the best turn into a tight phrase
Then place that resampled phrase at the end of a 4-bar or 8-bar cycle so the bassline “turns” into the next section. You can use Warp and Simpler to re-trigger the resampled phrase if you want it playable.
Try automating:
- Auto Filter cutoff opening 10–25% over 2 bars
- Wavetable position movement for added bite
- Saturator Drive increased by 1–3 dB into the turn
- Reverb send briefly on the last hit only, then cut it
This is where the track starts feeling arranged instead of looped.
7. Glue the drums and bass with sidechain, but keep it subtle and musical
In DnB, sidechain is less about obvious pumping and more about preserving impact and clarity.
Put Compressor on the bass group or on the mid-bass and sub separately. Use the kick as sidechain input if the kick is present in the break or as a layered kick.
Starting point:
- Ratio: 2:1 to 4:1
- Attack: 1–10 ms
- Release: 50–120 ms
- Aim for around 1–3 dB reduction on the bass hits
If your kick is weak or the break has too much transient clutter, you can also use Utility automation or volume shaping on the bass notes instead of hard compression.
Add EQ Eight before compression if the bass is overly wide or harsh:
- cut a little around 200–400 Hz if the low mids are muddy
- tame harsh harmonics around 2–5 kHz if the mid-bass gets gnarly
A good drum/bass balance should feel like the bass is pushing through the drums, not hiding behind them.
8. Add call-and-response with one-bar variations and fills
The fastest way to make a DnB loop feel like a track is variation. Every 4 or 8 bars, change one thing.
Ideas:
- mute the bass for the first half of bar 4, then bring it back hard
- add a snare drag into bar 8
- swap one kick for a ghost hit
- create a bass pickup note into the next phrase
- reverse a break fragment into a transition
In arrangement terms, you might build:
- bars 1–4: main groove
- bars 5–8: same groove plus one new ghost hit
- bars 9–12: more bass activity
- bars 13–16: turn/fill leading into the next section
This keeps the drop evolving without overcomplicating it. In DnB, small changes have big impact because the tempo is already doing a lot of the energy work.
9. Shape the whole drop bus for punch and cohesion
Group the drums and bass separately so you can control them as systems.
On the drum group:
- Drum Buss for transient density and body
- EQ Eight for cleaning the low end
- light Glue Compressor if needed
On the bass group:
- Saturator for harmonic weight
- Utility to keep the sub mono
- EQ Eight to carve conflicting frequencies
Practical settings:
- Utility Width on sub: 0%
- Saturator Drive: 2–6 dB depending on source
- EQ Eight high-pass on non-sub bass layer: around 90–140 Hz
Check the track in mono periodically using Utility on the master or a monitoring group. If the bass disappears or the drums lose impact in mono, fix that before you keep arranging.
Common Mistakes
Fix: chop or mute hits so the bass has room around the snare and key kick points.
Fix: use rests. DnB bass often hits harder when it phrases in short bursts.
Fix: split them, keep the sub mono, and high-pass the mid layer.
Fix: preserve transient punch. Too much compression can flatten the groove and make the drop feel smaller.
Fix: mono the sub and be careful with stereo enhancers on anything below roughly 120 Hz.
Fix: add a change every 4 or 8 bars so the loop feels like a living drop.
Pro Tips for Darker / Heavier DnB
Mini Practice Exercise
Spend 10–20 minutes making a 4-bar break-to-bass turn loop:
1. Choose one break and slice it into MIDI.
2. Create a 4-bar drum loop with at least:
- 1 ghost note
- 1 mini fill
- 1 removed kick for space
3. Build a sub bass with only 2 notes.
4. Add a mid-bass layer with 3–5 short notes.
5. Resample one bass movement or turn at the end of bar 4.
6. Automate either a filter cutoff or saturation drive over the last 2 bars.
7. Bounce the loop and listen once in mono.
Goal: make the loop feel like it wants to continue into another 4 bars, not like it just repeats.
Recap
The key to this lesson is simple: edit the break so it supports the bass, then design the bass so it answers the break.
Remember:
If you nail the drum/bass conversation, your DnB track instantly feels more alive, heavier, and more finished.

