Main tutorial
Lesson Overview
This lesson is about building a chopped-vinyl texture route from scratch in Ableton Live 12 — the kind of break edit that gives a DnB track that dusty, swung, late-night jungle feel without sounding messy or cheap. The goal is to take a clean break, slice it into playable pieces, and turn it into a musical texture layer that can sit behind a main drum pattern, add movement in the drop, or carry a switch-up into a half-time section.
In DnB, this matters because a great break edit does more than “fill space.” It gives your track:
- Rhythmic identity: the break becomes part of the hook
- Texture: vinyl grit, room tone, and transient variation
- Momentum: chopped micro-edits keep the energy rolling
- Old-school credibility: jungle-inspired swing and ghost-note feel
- Arrangement flexibility: you can bring it in subtly for tension or push it forward for a full switch
- a background texture under the main kick/snare pattern
- a 16-bar evolving break layer in the intro or build
- a drop switch-up that momentarily replaces the main drums
- a call-and-response accent against the bassline
- a slightly worn, swung break with audible ghost notes
- tight low-mid body without clashing with the sub
- grainy top-end texture instead of harsh hiss
- micro-edits and stutters that feel “performed”
- enough character to suggest vinyl sampling, but still clean enough for modern DnB playback
- Over-warping the break
- Too much low end in the break layer
- Every chop being the same velocity
- Too much lo-fi processing
- Clashing with the snare
- No arrangement purpose
- Stereo mess in the top end
- Use filtered resampling for grit layers
- Create call-and-response with the bass
- Pitch tiny slices for tension
- Use ghost notes as groove glue
- Automate filter movement into fills
- Protect the sub at all times
- Try a parallel “wrecked” bus
- one cleaner support layer
- one grittier switch-up version
- Slice cleanly, then humanize intentionally
- Keep the break supporting the bass, not fighting it
- Use stock Ableton devices to shape grit, punch, and motion
- Resample to capture useful chaos
- Arrange the break as a tension tool, not just a loop
We’re going to build this in a way that feels authentic to jungle, rollers, darker liquid, and neuro-adjacent DnB workflows, while staying inside Ableton stock tools. The method is designed so you can resample, process, and arrange the break like a real production asset instead of a random loop.
Why this works in DnB: the genre thrives on contrast between rigid low-end control and human-sounding drum movement. A chopped-vinyl break gives you that human instability, but when you control it with Simpler, Warp, EQ, Saturator, and careful routing, it stays tight enough to survive a modern mix.
---
What You Will Build
By the end, you’ll have a chopped vinyl break texture rack built from a single break sample, shaped into a playable, loopable part that can function as:
Musically, the result should feel like:
Think: dusty break fragments with controlled attack, subtle pitch drift, and a bit of room around the snare — not a washed-out lo-fi loop.
---
Step-by-Step Walkthrough
1. Start with the right source and tempo-map it properly
Pick a break that has clear transients and some room noise: an Amen-style break, a dusty funk break, or a live drum loop with slightly uneven hits. For this lesson, aim for something in the 85–105 BPM source range or a break that loops cleanly.
In Ableton Live:
- Drag the break onto an audio track
- Set the project tempo to your target DnB tempo, usually 172–174 BPM
- Turn on Warp if needed, but don’t force every transient aggressively yet
- Use Complex Pro if the sample has a lot of tonal room sound; use Beats if it’s mostly percussive
Useful starting points:
- Warp mode: Beats
- Preserve: 1/16 or 1/8 for punchy chopping
- Transient loop mode: Off initially
The goal here is not perfect straightening. You want enough timing accuracy to edit cleanly, but some of the human pull is part of the charm.
2. Slice the break into a playable sampler format
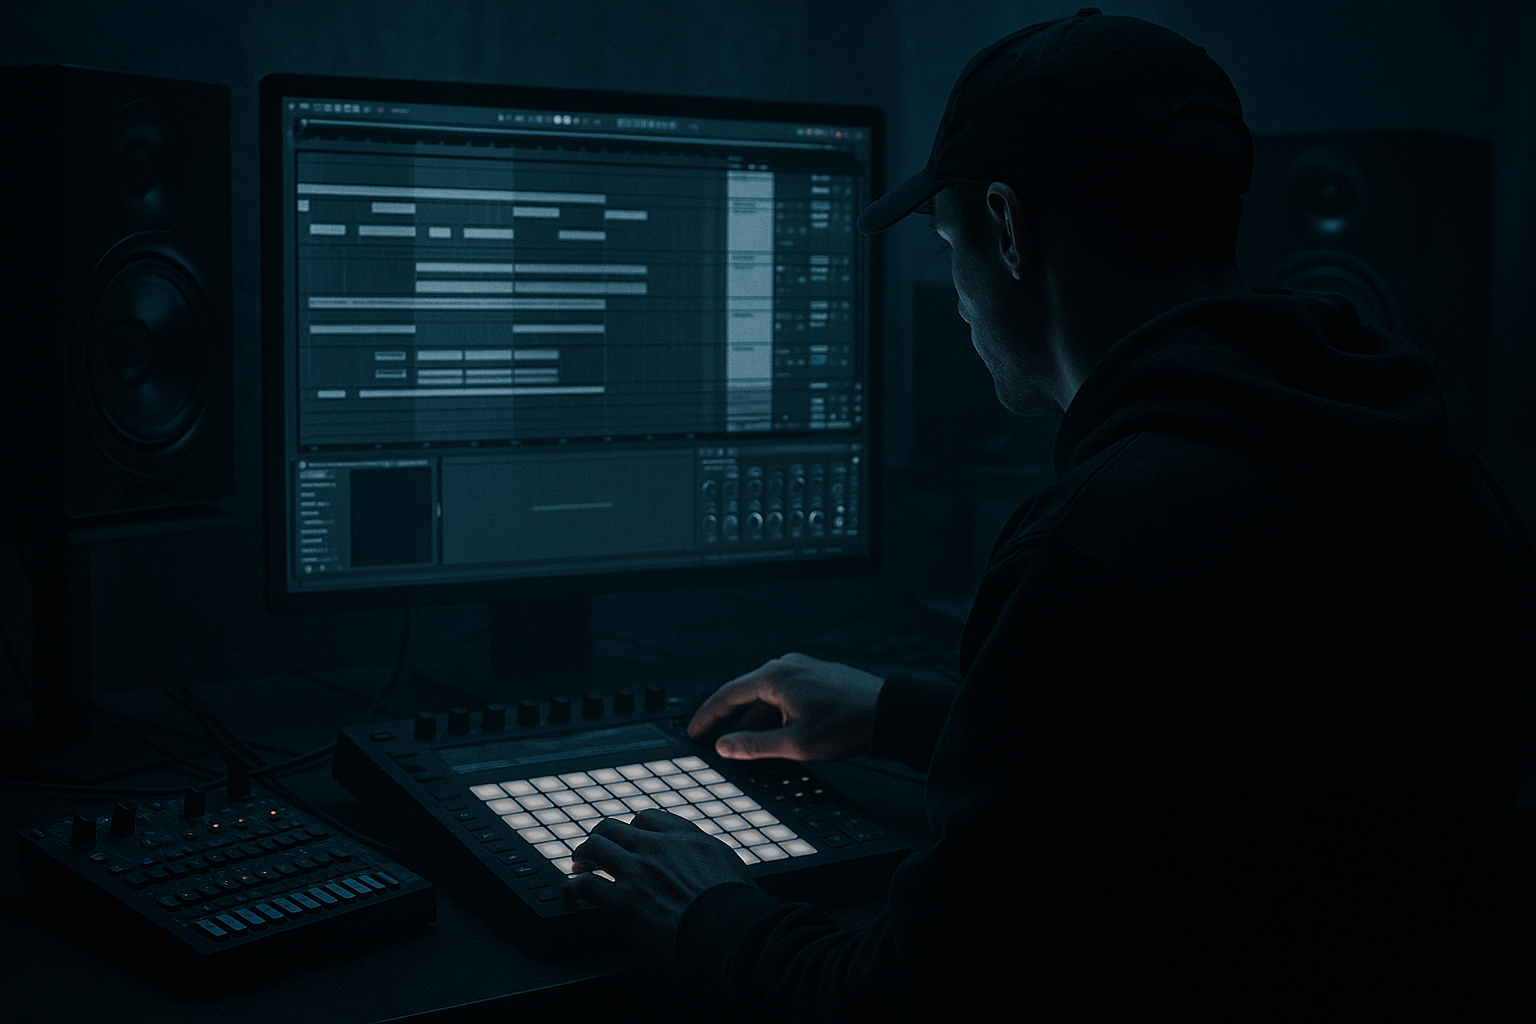
Right-click the break and choose Slice to New MIDI Track. This is the fastest route for an intermediate Ableton workflow because it gives you a performance-ready chopped instrument instantly.
In the slice settings:
- Slice by: Transient
- Create one-shot slices: good starting point for controlled playback
- MIDI trigger note length: leave default if you want each hit to play fully
Ableton will create a Drum Rack or Simpler-based slice setup. Now you can:
- Reorder hits
- Duplicate specific ghost notes
- Trigger slices manually in a MIDI clip
- Resample your edits later into audio
Why this matters in DnB: the break becomes a composable drum instrument. You’re no longer locked to the original loop; you can emphasize snare ghosts, delay certain hats, or create the stop-start tension that works so well in jungle and rollers.
3. Build a 1-bar core pattern with space for bass
Create a MIDI clip at 1 bar first. Don’t overcomplicate it. Program a groove that leaves room for the sub and reese movement.
A strong DnB break edit often follows this logic:
- Kick on the strong downbeats
- Snare on 2 and 4 or a snapped variation
- Ghost notes before or after the snare
- Hats shuffled around the off-beats
- One or two small stutters to suggest vinyl chop
Try this structure as a starting template:
- Bar beat 1: kick or low break hit
- Just before beat 2: a ghost snare or hat
- Beat 2: main snare
- Between 2 and 3: two quick hat slices
- Beat 3: kick + ghost
- Beat 4: snare or a snare-flam variation
Keep velocity varied:
- Main snare: 95–127
- Ghost notes: 20–65
- Hats: 35–90
If the groove feels too stiff, use Ableton’s Groove Pool with something subtle, like a swing groove around 54–58%, then reduce timing amount so it doesn’t sound exaggerated.
4. Shape the slices with Simpler or Drum Rack controls
Open one of the slices and refine its behavior. If you used Slice to New MIDI Track, each pad or lane can be adjusted individually.
Focus on these parameters:
- Start: tighten starts on snare slices so they hit cleanly
- Fade: tiny fades can prevent clicks
- Transpose: try subtle shifts on texture hits, like -2 to +3 semitones
- Volume: balance ghost notes against the main snare
- Filter: low-pass some slices for vinyl illusion
For a darker texture route:
- Main snare slice: keep full bandwidth
- Ghost snare: filter to around 7–10 kHz on the top end or use a gentler low-pass
- Hat fragments: roll off some low-mid body below 250–400 Hz
If you want more realism, create micro-variation:
- Duplicate one snare slice and lower its velocity slightly
- Offset it by 10–30 ms
- Lower its level by 1–3 dB
This kind of imperfection is what makes the chop feel “played” instead of grid-locked.
5. Add vinyl texture and break glue with stock Ableton devices
Now turn the clean chop into a chopped-vinyl texture. Use an effects chain on the break bus or group:
- EQ Eight
- High-pass gently around 25–35 Hz to clear sub rumble
- Dip harshness around 3–5 kHz if the snare gets spiky
- Saturator
- Drive: 2–6 dB
- Soft Clip: On
- This thickens the break and gives a subtle tape/vinyl edge
- Drum Buss
- Drive: 5–20%
- Crunch: low to moderate
- Boom: use carefully, usually low or off if the sub is already busy
- Redux for occasional grit
- Downsample lightly, not aggressively
- Mix it in parallel if possible
- Auto Filter
- Add a slow-moving low-pass or band-pass for texture automation
Optional character move:
- Put Vinyl Distortion very lightly for pitch wobble and surface character
- Use small amounts only; too much destroys the groove quickly
A good rule: the break should sound worn, not broken. You want rhythmic information to stay sharp while the high-end acquires dust and movement.
6. Create motion with automation and resampling
This is where the edit becomes a route, not just a loop. Automate changes across 8 or 16 bars so the break evolves during the intro, drop, or switch-up.
Automate:
- Filter cutoff slowly opening across 8 bars
- Saturator drive increasing slightly into a fill
- Reverb send on one snare chop for a transition
- Delay feedback on selected ghost notes
- Track volume for small tension lifts and drops
Then resample the result:
- Route the break group to a new audio track
- Record 4–8 bars of the evolving chop
- Consolidate the best moments into a new audio clip
- Slice the resampled audio again if you want extra micro-edits
This resampling step is classic DnB workflow. It lets you “print” happy accidents and then rearrange them into a more intentional pattern. It’s especially useful for jungle-style edits where the best moments often come from a slightly chaotic pass.
7. Make it sit with the kick, snare, and bassline
The chopped break should support the main drums, not fight them. In a modern DnB arrangement, your break texture often sits behind a more deliberate kick/snare and bassline system.
Use these mix moves:
- High-pass the break layer higher if the sub or kick needs room; sometimes 80–140 Hz works on texture-only layers
- Keep the main snare stronger than the break snare if the arrangement needs clarity
- Sidechain or volume-shape the break lightly to the kick if needed
- Check mono compatibility, especially if you use stereo widening on the top layer
Bassline context example:
- Sub is holding steady on sustained notes
- Reese or mid-bass is moving with syncopated phrasing
- The break texture fills the holes between bass notes and reinforces the snare push
Why this works in DnB: the genre often relies on a division of labor. The bass carries weight and motion, while the break texture carries human energy and upper rhythmic detail. When separated properly, the mix feels bigger and faster without becoming muddy.
8. Arrange it like a proper DnB section
Don’t leave the break texture looping endlessly. Give it a purpose in the arrangement.
Good arrangement uses:
- 8-bar intro: filtered break texture with minimal bass
- 16-bar drop A: break tucked under the main drums
- bar 9 or 17 switch: bring the break forward for 1–2 bars
- pre-drop fill: reverse slice or snare flam with a short delay throw
- outro: strip the low end and let the dust remain
A practical arrangement trick:
- Bars 1–8: intro with vinyl break filter closed
- Bars 9–16: open filter gradually, introduce ghost snare chop
- Bars 17–24: full drop with sidebreak tucked under kick/snare
- Bar 25: cut the main drum for one bar and let the chopped break speak alone
- Bar 26 onward: return to full weight
This creates tension/release and makes the edit feel intentional, not repetitive.
---
Common Mistakes
- Fix: use the least invasive warp settings possible. If the groove feels better with some natural drift, keep it.
- Fix: high-pass more aggressively and leave sub weight to the bassline and kick.
- Fix: vary velocities and occasionally offset a ghost note by a few milliseconds.
- Fix: grit should enhance the groove, not blur the transients. Reduce Redux, distortion, or filtering if the break loses punch.
- Fix: choose whether the main snare or the chopped break snare is leading in a given section, not both at full intensity.
- Fix: use the break texture for intros, switch-ups, fills, or tension bars. A loop without function gets boring fast.
- Fix: keep the low end mono and check the texture layer in mono before exporting.
---
Pro Tips for Darker / Heavier DnB
Print a version of the break through Auto Filter + Saturator + Drum Buss, then layer it quietly under the clean chop. This creates depth without sacrificing transient clarity.
Let the break accent land right before or after a reese phrase. In darker DnB, that rhythmic push-pull can make the drop feel much more alive.
Try transposing occasional hat or snare fragments by -1 to -3 semitones for a darker, uneasy vibe. Keep it subtle.
One well-placed ghost snare before beat 2 or 4 can make the whole break feel more expensive. Don’t overfill the space.
A closing band-pass into a snare fill, followed by a hard reopen on the drop, is a classic underground DnB move.
If the break layer starts stealing weight, cut more low end. Heavy DnB sounds heavier when the sub is disciplined, not when everything is loud.
Duplicate the break group and destroy the copy with heavier saturation, Redux, and EQ shaping. Blend it in quietly for attitude.
---
Mini Practice Exercise
Spend 10–20 minutes making a 4-bar chopped-vinyl break texture for a 174 BPM DnB loop.
1. Find one break sample and slice it to MIDI in Ableton.
2. Build a 1-bar pattern using kick, snare, ghost notes, and hats.
3. Add Groove Pool swing at a subtle amount.
4. Process the break with EQ Eight, Saturator, and Drum Buss.
5. Automate a low-pass filter over 4 bars.
6. Resample the result to audio.
7. Re-slice the best resampled moments and make one variation for bar 4.
Goal: end with two versions:
If you finish early, try making the same pattern work both under a roller-style bassline and under a darker halftime switch.
---
Recap
A strong chopped-vinyl break edit in Ableton Live 12 is about more than slicing a loop. The key ideas are:
If you get the balance right, this technique gives your DnB track that authentic dusty, rolling, underground energy while still sounding current and controlled.

