Main tutorial
Lesson Overview
This lesson is about building a Break Lab edit: an Amen-style call-and-response riff stack from scratch in Ableton Live 12 that lands with proper jungle / oldskool DnB energy. The goal is not just to chop a break and loop it — it’s to design a musical drum conversation that can sit in a drop, push a bassline forward, and keep a DJ-friendly arrangement moving.
This technique lives right in the heart of a DnB track: the main drop, a second-drop variation, or a tension-led pre-drop switch-up. In jungle and oldskool DnB, the break is not background texture; it is part of the hook. A strong call-and-response riff stack gives you:
- rhythmic identity,
- forward motion,
- variation without losing the groove,
- and enough space for a sub/bassline to stay powerful underneath.
- a strong main Amen chop,
- a response layer with contrast,
- subtle ghost-note movement,
- a few micro-edits and reverses for phrase punctuation,
- and enough headroom and clarity to work in an actual DnB drop.
- gritty but controlled,
- chopped with intent rather than randomly sliced,
- punchy in the mids and tops,
- and light enough in the low end that your sub can still own the bottom.
- a drop driver,
- a switch-up after a straight drum section,
- or a break-layered hook before the bass phrase returns.
- Use contrast between dry and degraded slices. Keep the main snare relatively clean, then dirty only the response hits with Saturator or Drum Buss. That gives you menace without turning the whole groove into mush.
- Let the break breathe before the bass re-enters. A one-beat or half-bar gap before the sub returns creates pressure. In darker DnB, negative space often hits harder than more notes.
- Pitch a small slice down for weight, not the whole break. One low hit or tail pitched down a little can add a sinister edge. If you pitch the whole phrase, you risk making it sluggish.
- Automate a low-pass sweep on the response layer only. Dimming the answer phrase makes the call feel sharper by comparison. This is a strong trick for building tension into a drop return or second section.
- Keep the sub lane clean and let the break own the mid aggression. Darker DnB works when the break sounds rude in the mids and the sub stays pure underneath. Don’t let the break try to be both bass and drums.
- Use tiny reverse textures to imply more chaos than you actually have. A short reversed snare or hat tail before a downbeat can make the section feel more dangerous without adding clutter.
- Resample your best 2-bar version and re-edit it once. The second pass often gives a harder, more unified groove because you stop thinking like a sampler and start thinking like an arranger.
- Use only one Amen source.
- Use only stock Ableton devices.
- Make one layer the main break and one layer the response/texture layer.
- Include exactly one fill and one reverse hit.
- a clear call in bars 1–2,
- a different response in bars 3–4,
- and enough space for a sub to enter underneath.
- Can you still hear the snare anchor clearly?
- Does the response feel like an answer, not just extra notes?
- Does the loop stay strong in mono and without losing the groove?
- Build the Amen as a conversation, not just a chop.
- Keep the main phrase clear and let the response bring the variation.
- Use a selective riff stack instead of duplicating the whole break.
- Shape the edit with light stock Ableton processing, not overcooked effects.
- Arrange it in 4-bar phrases so it works in a real DnB drop.
- Check it with bass and in mono before calling it finished.
- Commit early when the groove works — that’s how you finish jungle edits that actually hit.
Technically, this matters because an Amen-style edit can become messy fast. If you layer too many slices without hierarchy, the groove loses its bounce, the transient picture gets cloudy, and the low end starts fighting the break’s own energy. The lesson is about keeping the break alive, punchy, and readable while still sounding like a proper jungle edit.
By the end, you should be able to hear a break pattern that feels like a two-part conversation: a first phrase answers the kick/snare logic, and a second phrase replies with fills, ghost hits, or chopped variations. A successful result should feel urgent, broken, and musical, with the edit still making sense when the bass and sub are in.
What You Will Build
You’ll build a 16-bar Amen-style riff stack that behaves like a mini drum composition rather than a static loop. It will have:
Sonically, the result should feel:
Rhythmically, it should swing in a way that makes the listener lean forward. The stack should not smear into a loop; it should ask a question and answer it across 2- or 4-bar phrases. In the track, this can function as:
If you do it right, the finished edit will feel DJ-usable, arrangement-ready, and strong enough to survive being replayed over the bass without losing its shape.
Step-by-Step Walkthrough
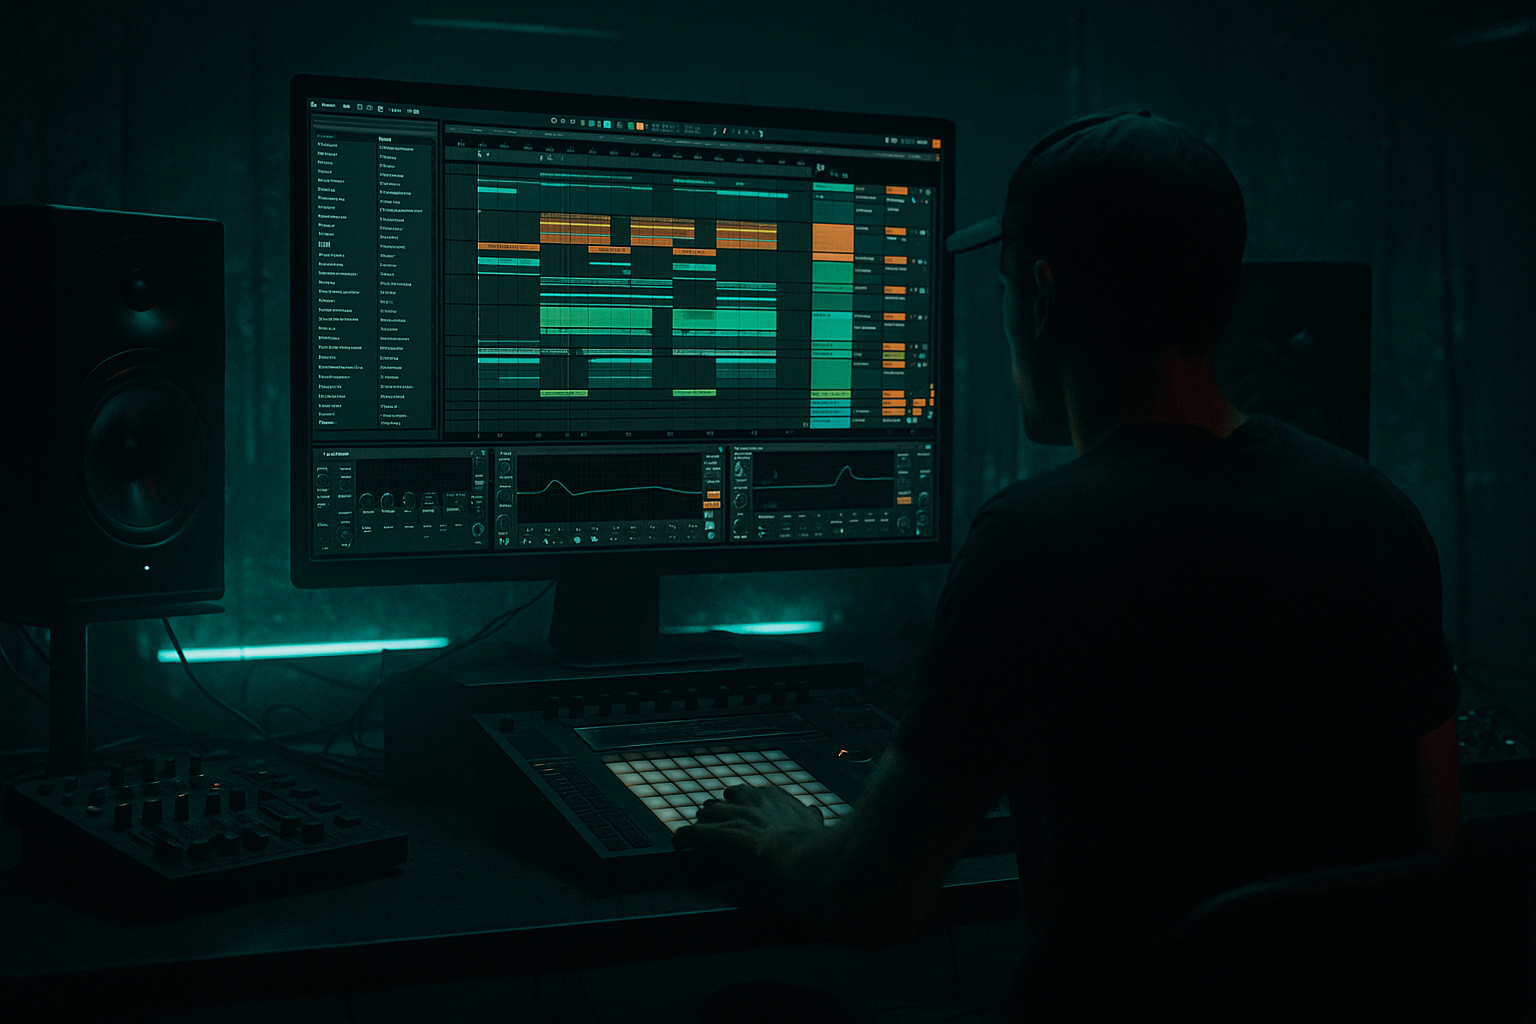
1. Set up a clean break lab lane and choose your Amen source
Start by dropping a clean Amen break into an Audio Track in Ableton Live 12. If you have a few Amen recordings, choose one with a clear transient picture and enough room tone to chop. Drag it into Simpler in Slice mode if you want fast trigger-based editing, or keep it as audio if you prefer manual warping and precise clip edits. For this lesson, use the raw break as a source, but commit to one main break so you are making decisions instead of endlessly comparing options.
The important thing here is not perfection — it’s source quality plus clarity. A good Amen with solid snare crack and enough hat movement will give you the classic jungle swing without needing heavy rescue processing.
What to listen for:
- a snare that cuts through even before processing,
- kick transient shape that still reads after slicing,
- and high-end breakup that sounds lively, not harsh.
If the sample already sounds crushed or overly bright, choose another. You want something that can survive slicing, filtering, and re-layering without turning thin.
2. Create a 2-bar “call” phrase from the break
In the Arrangement View, loop a 2-bar section and begin slicing the break into a call phrase. Use the Clip Envelope or simply duplicate the audio and cut on transient boundaries. Keep the first phrase relatively clear: let the kick/snare identity speak before you get clever.
A useful starting shape is:
- bar 1: kick-led phrase with one or two ghost hits,
- bar 2: snare answer with a small fill at the tail.
If you’re in Simpler Slice mode, map slices to MIDI and play them like a drum kit. If you’re editing audio directly, consolidate a few key slices after auditioning them. This is where the “riff” feeling begins: the break should feel like a pattern, not chopped debris.
A good default is to leave the first phrase at about 70–80% original rhythmic recognisability. That keeps the listener anchored.
What to listen for:
- the snare should still feel like the backbeat anchor,
- the kick pattern should create forward pull rather than random syncopation.
3. Build the “response” phrase with contrast, not more density
Duplicate the 2-bar phrase and turn the second version into the response. This is where you do the classic call-and-response trick: the second phrase should answer the first, not outshout it. Shift one or two hits, swap a tail, or add a quick triplet-style flick into the last half-bar.
A useful A/B decision point:
- Option A: Tight response — keep the second phrase close to the original and add only one short fill. This sounds more oldskool, more minimal, and more DJ-friendly.
- Option B: Loose response — make the second phrase more active, with extra ghost notes, a reverse slice, or a faster turnaround. This feels more restless and more modern-jungle.
Choose A if your bassline is busy. Choose B if your bassline is sparse and you need the drums to carry more narrative.
This works in DnB because the ear can track repetition very quickly at 170–174 BPM. The response phrase gives the brain a payoff without breaking the dancefloor pulse. It also creates a clear structure for DJs and listeners: the groove says, “I’ve heard the idea, now here comes the reply.”
4. Add a second layer that acts like a riff stack, not a full duplicate
Now duplicate the track and create a second layer that only carries selected hits from the break. This is your riff stack layer. Don’t copy the whole break again — that usually just makes the drums smaller and messier. Instead, extract a few key elements:
- a snare ghost,
- a hat flourish,
- a kick pickup,
- or a short reversed tail leading into the main snare.
Use stock Ableton tools to shape this layer:
- EQ Eight to high-pass around 180–250 Hz so it stays out of sub/bass territory,
- Saturator with a light drive around 2–5 dB for grit,
- and Auto Filter if you want to thin or darken the layer during certain bars.
This layer should feel like a rhythmic shadow above the main break. It adds detail and motion without stealing the downbeat.
What to listen for:
- the main break still feels like the lead drummer,
- the stack layer adds texture, not confusion,
- and the snare impact remains clean.
5. Use groove and micro-timing to make it breathe
Jungle feels wrong when it’s too locked. But it also falls apart when timing gets sloppy in the wrong places. Use Ableton’s groove tools carefully: pull a groove from the break itself or use a subtle swing feel, then apply it lightly to the edited phrases. If you are editing manually, nudge only a few slices by a tiny amount — often just enough to make the hats feel human while keeping the snare stable.
A useful timing approach:
- keep main snares very close to the grid,
- move ghost notes slightly late for drag,
- and bring pickup kicks or fills a touch early if you want forward energy.
Don’t overdo it. The point is not drunken timing; the point is elasticity. In oldskool jungle, that bounce comes from the break reacting to itself.
Workflow efficiency tip: once you have a good 2-bar groove, consolidate it before going deeper. Commit the edit to audio so you stop re-solving the same timing decisions. That makes the arrangement stage much faster.
6. Shape the riff stack with two stock-device chains
Keep the processing purposeful and light enough to preserve transient life. Two practical stock chains:
Chain 1: Clean punch and control
- EQ Eight: high-pass gently around 30–50 Hz if there is unnecessary rumble, and cut any muddy build-up around 200–350 Hz if the break feels boxy.
- Drum Buss: very moderate drive, a touch of crunch, and only enough boom to thicken the break if it feels too flat.
- Utility: check mono compatibility and reduce width if the layer is too smeared.
Chain 2: Dirty accent layer
- Saturator: push 2–6 dB drive depending on how nasty you want it.
- Auto Filter: low-pass or band-pass automate between roughly 4 kHz and 12 kHz to create movement.
- Reverb: tiny amount, short decay, just for a cracked-room sense on the response hits.
Use Chain 1 on the main break. Use Chain 2 on the stack layer or the response layer. The trade-off is simple: more drive and filtering gives you character, but too much will flatten the groove and reduce transient contrast.
Stop here if the break already feels exciting in solo but starts smearing once both chains are active. That’s a sign to back off processing before the arrangement stage.
7. Place the riff in 4-bar phrasing so it behaves like a section, not a loop
Now arrange it over 16 bars:
- bars 1–4: call phrase, relatively sparse,
- bars 5–8: response phrase, slightly busier,
- bars 9–12: repeat with one new fill or reverse hit,
- bars 13–16: final variation with a small lift or dropout.
This is where arrangement matters most. A real DnB drop needs readable phrase design. If the riff stack repeats identically for too long, it stops feeling like a journey and starts feeling like a loop clip. Introduce one clear change every 4 bars:
- remove a kick for negative space,
- swap a snare ghost for a fill,
- mute the stack layer for one bar,
- or add a reverse slice into bar 4 or 8.
A useful DJ-friendly move is a half-bar pickup into bar 9 that hints at a second phrase without fully resetting the energy. That keeps the drop moving for dancers and gives you a clean place to bring the bass back in.
Check this in context with your drums and bass if they already exist. A strong break edit can sound impressive solo but become crowded when the sub enters. If the bass disappears, simplify the break. If the break disappears, reduce the bass midrange or pause the stack layer for a beat.
8. Add one or two intentional fills and commits, not endless edits
Pick one moment where the break says, “Here’s the answer.” A tiny fill in bar 4 or bar 8 is enough. Use a reversed snare tail, a chopped hat flick, or a short splice of the Amen’s tail leading into the downbeat. If the fill is working, it should feel like a hinge rather than a drum solo.
This is a good point to commit this to audio if the performance is feeling right. Print the edited break stack so you can make the next decisions faster. Once committed, you can:
- duplicate the audio,
- reverse a tiny slice,
- or pitch one accent hit slightly down for menace.
If you keep everything as a live edit forever, you’ll tend to overwork the part. Printing forces commitment, which is valuable in arrangement-focused DnB.
What to listen for:
- the fill should lead the ear into the next bar,
- it should not bury the snare or interrupt the dancefloor pulse,
- and it should still sound like part of the same record, not a random effect.
9. Balance the stack against the low end and keep the mono picture solid
This step keeps the whole thing club-ready. The break edit lives mostly in the mids and highs, while the sub/bass owns the bottom. Use Utility to check width and mono. If the stack feels cool in stereo but collapses in mono, that’s a problem — especially in a DJ system where low-mid detail can sum hard.
Practical fixes:
- high-pass the stack layer a bit more if it competes with the bass,
- reduce stereo width on any widened break layer,
- and make sure the snare transient still feels centered and strong.
A good range for many jungle break stacks is to keep most of the important energy below 8 kHz in mono-compatible form, with only limited high-frequency texture spread wider. If the hats vanish in mono, that’s acceptable; if the groove vanishes in mono, it’s not.
Listen in context with the bassline. If the sub starts sounding smaller when the break enters, your lower mids are overcrowded. Remove energy around 180–400 Hz on the break stack before touching the sub.
10. Finish with arrangement movement: second-drop evolution or breakdown teaser
Your last task is to make the riff stack useful beyond the first drop. For a second drop, evolve it:
- drop one of the ghost layers,
- shift the response phrase by a slice,
- or alternate between A and B every 4 bars.
For a breakdown teaser, strip the break down to just the response layer and a single reverse hit. That creates tension without giving away the full groove too early.
The successful result should sound like a finished jungle device: a break edit that feels intentional, not accidental. It should be able to carry a section, interact with the bass, and still make sense when a DJ mixes through it.
Common Mistakes
1. Making the whole Amen equally busy
- Why it hurts: everything becomes the same level of importance, so the groove loses hierarchy.
- Fix in Ableton: mute or delete extra hits in the main phrase, then keep the response phrase as the only place where fills happen.
2. Layering a full duplicate instead of a selective riff stack
- Why it hurts: full duplication often causes phase-like clutter and makes the break feel smaller.
- Fix in Ableton: keep the second layer high-passed with EQ Eight and only let it play accent slices or ghost details.
3. Letting the snare drift off the anchor
- Why it hurts: in jungle, the snare is the spine. If it wobbles too much, the break stops feeling danceable.
- Fix in Ableton: keep the main snare close to the grid, and only nudge smaller slices.
4. Over-processing the break before arrangement is set
- Why it hurts: too much saturation, reverb, or widening early on makes it harder to hear the phrase structure.
- Fix in Ableton: build the edit first, then add light Drum Buss or Saturator, and keep Utility on hand for width checks.
5. Ignoring the bassline when shaping the break
- Why it hurts: a great drum phrase can still fail if it blocks the bass rhythm or low-mid pocket.
- Fix in Ableton: audition the edit with bass and sub playing, then trim 200–400 Hz on the break if needed.
6. Using too many fills too often
- Why it hurts: the drop stops breathing and loses the “question / answer” effect.
- Fix in Ableton: reserve fills for bar 4, 8, 12, or 16, then repeat the main groove elsewhere.
7. Widening the important drum content too much
- Why it hurts: wide low-mid drum energy can get weak or unstable in mono and on club systems.
- Fix in Ableton: keep the crucial body of the break centered; only let light top texture spread wider if needed.
Pro Tips for Darker / Heavier DnB
Mini Practice Exercise
Goal: Build a 4-bar Amen call-and-response riff stack that could sit in the first 16 bars of a jungle drop.
Time box: 15 minutes.
Constraints:
Deliverable: A 4-bar loop that has:
Quick self-check:

