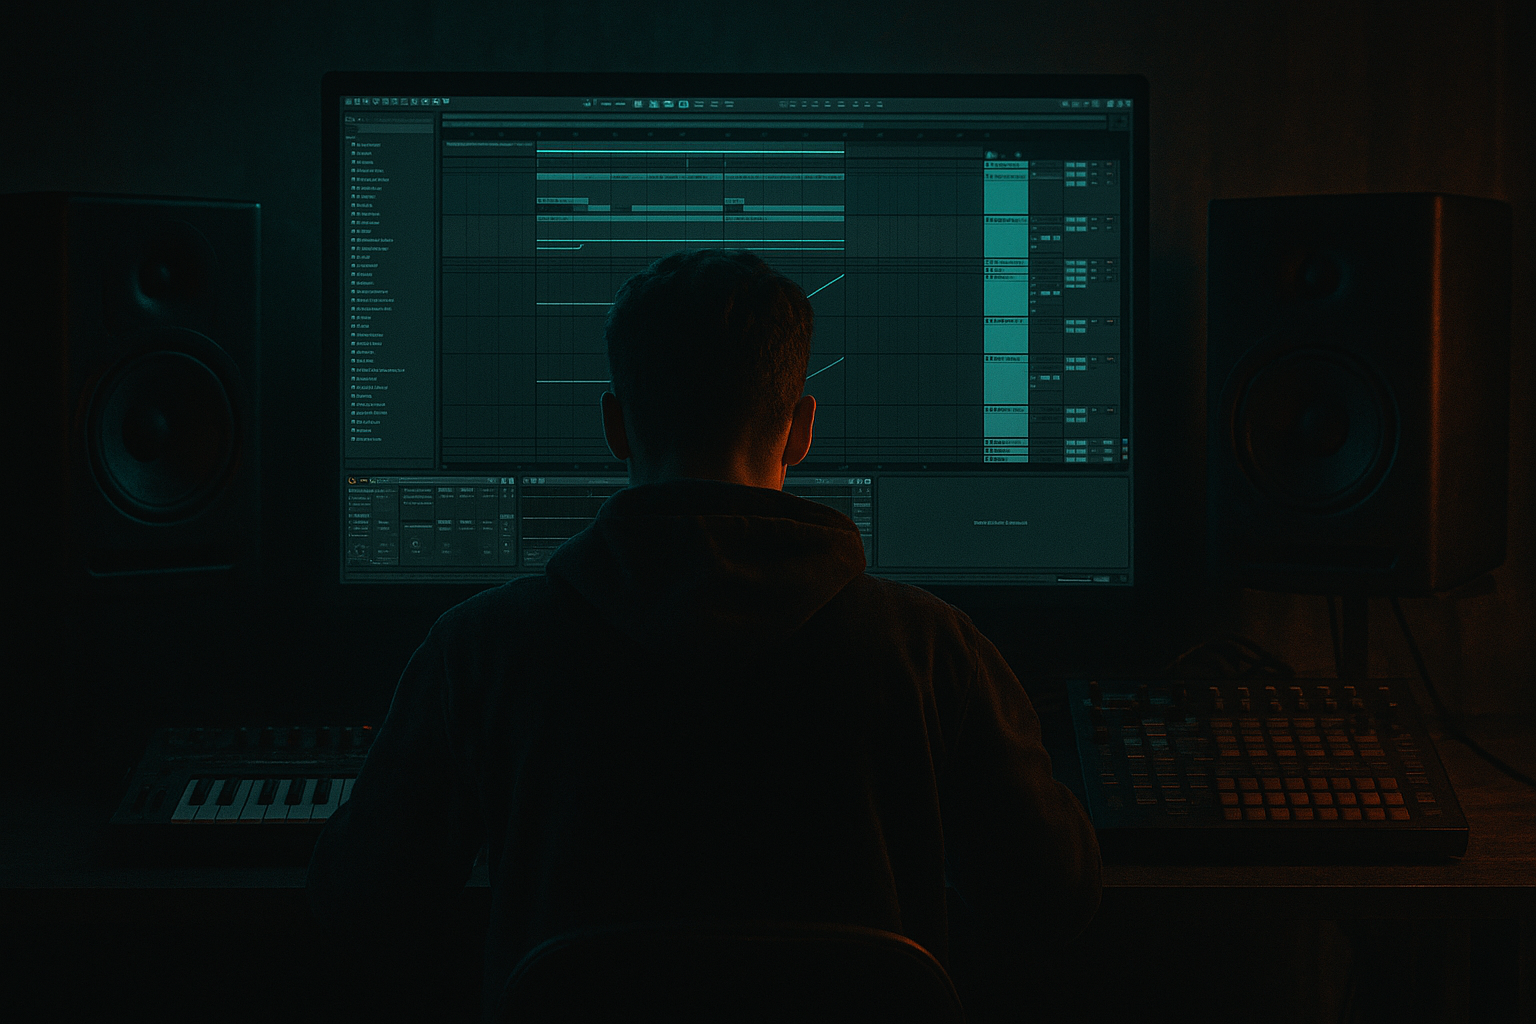
DNB COLLEGE

Drum & Bass Ableton Live 12 Tutorials

LESSON DETAIL

Break-noise cleanup from scratch for modern control with vintage tone (Beginner)

An AI-generated beginner Ableton lesson focused on Break-noise cleanup from scratch for modern control with vintage tone in the Mixing area of drum and bass production.

Back to lessons
Break-noise cleanup from scratch for modern control with vintage tone (Beginner) cover image

Narrated lesson audio

The voice track includes the tutorial plus extra teacher commentary.

Open audio file

Main tutorial

Break-noise cleanup from scratch for modern control with vintage tone (Ableton Live, DnB) 🥁🧼

1) Lesson overview

Old-school breaks (Amen, Think, Funky Drummer, etc.) are full of character… and noise. That noise can be a vibe, but in modern drum & bass—especially clean rolling tunes—you need control: tight transients, stable top end, and noise that sits on purpose.

In this lesson you’ll learn a repeatable Ableton Live workflow to:

  • clean a break without killing the “vinyl/jungle” tone
  • separate hit energy from noise bed
  • keep the break punchy in a modern mix while retaining vintage grit 🎛️
  • ---

    2) What you will build

    You’ll create a two-layer break system:

    1) CLEAN HIT LAYER

    Focused transients + controlled tails, minimal hiss between hits.

    2) VINTAGE NOISE LAYER (CONTROLLED)

    The break’s noise/hum/room vibe, reshaped and automated so it feels intentional.

    You’ll end up with a rack-like chain you can reuse across tunes.

    ---

    3) Step-by-step walkthrough

    Step 0 — Prep the break (clean session habits)

    1. Drag your break sample into Arrangement View on an audio track.

    2. Set Warp:

    - Enable Warp

    - Mode: `Complex Pro` (good general choice for breaks)

    - If the break feels smeary, try `Complex` or `Beats` (see below).

    - Set the correct Seg. BPM and align bar 1.

    3. Consolidate a clean loop:

    - Select a clean 1–2 bar region → `Cmd/Ctrl + J`

    Warp tip for breaks:

  • `Beats` mode can be punchier. Try:
  • - `Beats` → Preserve: `Transients`

    - Transient Loop: Off

    - Envelope: ~`80–100`

    If it starts clicking or losing vibe, go back to `Complex Pro`.

    ---

    Step 1 — Find what “noise” actually is (listen like a mixer)

    Solo the break and do two quick checks:

  • Is the noise mostly top-end hiss (8–16 kHz)?
  • Is there low rumble or turntable hum (20–120 Hz)?
  • Does the noise jump on snare hits (meaning it’s embedded in the transient)?
  • This determines whether you can “gate it out” or need a “parallel noise” approach.

    ---

    Step 2 — Remove obvious junk first (surgical but gentle)

    Add these stock devices in this order on the break track:

    #### 2A) EQ Eight (cleanup)

  • High-pass filter:
  • - Type: 24 dB/oct HP

    - Start around 25–35 Hz (DnB needs sub space!)

  • If there’s hum/rumble:
  • - Add a narrow bell cut at 50/60 Hz (and maybe 100/120)

    - Q: `8–12`

    - Reduce: `-3 to -9 dB` depending on severity

    Keep it subtle—don’t “EQ the life out of it”.

    #### 2B) Utility (gain stage)

  • Set gain so your break peaks around -10 to -6 dBFS before heavy processing.
  • This gives headroom for saturation and compression.

    ---

    Step 3 — Split the break into “Hits” and “Noise” (the key move) 🔥

    This is where modern control happens.

    #### Option A (recommended): Duplicate track and separate with gating + EQ

    1. Duplicate the break track twice:

    - Track 1: `BREAK – HITS`

    - Track 2: `BREAK – NOISE`

    ---

    #### 3A) BREAK – HITS chain (remove between-hit noise)

    Device chain:

    1) Gate

    2) EQ Eight

    3) Drum Buss (light)

    4) Compressor (optional)

    Gate settings (starting point):

  • Threshold: set so hits open clearly, noise between hits closes
  • (often around -25 to -15 dB, but use your ears)

  • Attack: `0.3–2 ms` (fast; preserves snap)
  • Hold: `10–30 ms` (prevents chattering)
  • Release: `60–140 ms` (let tails breathe; faster for tighter breaks)
  • Turn on Lookahead if needed (tiny values) to catch fast transients cleanly.
  • EQ Eight (post-gate shaping):

  • Optional gentle high shelf: +1 to +3 dB at 8–10 kHz if it got dull
  • If hats feel harsh: small dip around 7–9 kHz (Q ~2–3)
  • Drum Buss (glue + punch, keep it controlled):

  • Drive: `2–6`
  • Crunch: `0–10` (tiny—this can get fizzy fast)
  • Boom: OFF or very low (Boom often conflicts with DnB sub)
  • Damp: adjust to reduce excessive top fizz (try `10–30%`)
  • Transient: +`5 to +20` for punch (careful—can bring noise back)
  • Optional Compressor (gentle):

  • Ratio: `2:1`
  • Attack: `10–30 ms`
  • Release: `60–120 ms`
  • Gain reduction: `1–3 dB`
  • This “HITS” track should feel tight and modern.

    ---

    #### 3B) BREAK – NOISE chain (keep the vibe, but control it)

    Goal: Extract a bed of noise/room/vinyl that you can automate and color.

    Device chain:

    1) EQ Eight

    2) Gate (reverse behavior) or Compressor sidechained

    3) Saturator or Pedal

    4) Auto Filter (optional movement)

    EQ Eight (isolate noise):

  • High-pass: 200–500 Hz (push it up until kick/snare body disappears)
  • Low-pass: 8–12 kHz (taste; lower = darker)
  • If there’s nasty whistle: notch it (narrow Q, -3 to -8 dB)
  • Now you mostly have hiss/room.

    Control method 1: Sidechain-duck the noise (best for clean modern mixes)

  • Add Compressor on NOISE track
  • Enable Sidechain
  • Audio From: `BREAK – HITS`
  • Settings:
  • - Ratio: `4:1`

    - Attack: `1–5 ms`

    - Release: `80–200 ms` (sync with groove; longer = smoother pumping)

    - Threshold: aim for 3–8 dB gain reduction on hits

    This makes the noise “breathe” around the drums—very modern, very mix-friendly.

    Add vintage tone:

  • Saturator
  • - Mode: `Analog Clip`

    - Drive: `2–8 dB`

    - Soft Clip: ON (if it’s too peaky)

  • Or Pedal (for dirt)
  • - Mode: `OD` (overdrive)

    - Drive: low (start `5–15%`)

    - Tone: darker side

    Optional movement (subtle): Auto Filter

  • Filter: Low-pass
  • Frequency: `7–12 kHz`
  • Resonance: `0.3–0.8`
  • Add tiny LFO amount for life (very small!)
  • Set NOISE track level low. You want “you miss it when it’s gone” energy, not obvious hiss.

    ---

    Step 4 — Make it DnB-ready in the arrangement (where cleanup matters most)

    Here’s how to use your two layers in a typical rolling tune:

    #### 4A) Drops: cleaner, tighter

  • Keep NOISE lower in the drop (or duck harder).
  • Your bass + cymbals will already fill the top.

    #### 4B) Intros / breakdowns: more vintage

  • Raise NOISE level slightly in intro (or open the low-pass) for jungle atmosphere 🌫️
  • Automate:
  • - NOISE track volume +2 to +4 dB in intro

    - Auto Filter cutoff slowly rising into the drop

    #### 4C) Fills: momentary grime

  • For a 1-bar fill, briefly:
  • - reduce sidechain ducking (lower threshold = more duck, higher threshold = less duck)

    - or open the NOISE low-pass to let more hiss through for that “tape lift”

    ---

    Step 5 — Bus both layers for final glue (clean but vibey)

    Group both tracks: select both → `Cmd/Ctrl + G` → name it `BREAK BUS`.

    On BREAK BUS, add:

    1) EQ Eight

    - tiny high-pass at 20–30 Hz

    - small dip if needed around 300–500 Hz (mud zone), -1 to -3 dB

    2) Glue Compressor (classic drum glue)

    - Attack: `3 ms` or `10 ms` (10ms keeps punch)

    - Release: `Auto` (often works great on breaks)

    - Ratio: `2:1`

    - Aim for 1–2 dB gain reduction

    3) Limiter (safety, not loudness)

    - Just catch peaks if needed (1–2 dB max)

    Now your break behaves like a modern drum recording—but still has that vintage fingerprint.

    ---

    4) Common mistakes

  • Over-gating: if the gate chops tails, your break will sound fake and “sampled badly.” Ease release/hold.
  • Cleaning the highs too much: DnB needs crispness; don’t low-pass the life away.
  • Boosting highs before controlling noise: you’ll just amplify hiss.
  • Too much saturation on the noise layer: it becomes fizzy and tiring fast.
  • Not sidechaining the noise: constant hiss makes the whole mix feel smaller and less punchy.
  • ---

    5) Pro tips for darker/heavier DnB 🖤

  • Make the noise darker, not louder: low-pass around 7–9 kHz on the NOISE layer for a moody, techy feel.
  • Transient-first philosophy: keep HITS crisp (transient shaping/Drum Buss transient), keep NOISE smooth (sidechain + filtering).
  • Add controlled “air” with Return reverb, not hiss:
  • Put a short room reverb on a Return and send only the HITS (not the NOISE).

  • Parallel distortion on HITS only:
  • Create a return with Saturator/Pedal, send just snare-heavy breaks for aggression without raising the noise floor.

  • Mono the low end:
  • On BREAK BUS, use Utility: `Bass Mono` (if available) or manually keep lows centered—helps the drop hit hard.

    ---

    6) Mini practice exercise (15 minutes) ⏱️

    1. Pick a classic break (Amen/Think) and loop 2 bars at ~170–174 BPM.

    2. Build the HITS/NOISE split exactly as above.

    3. Do three versions:

    - Version A (Clean Drop): heavy ducking on NOISE, darker filter

    - Version B (Jungle Intro): lighter ducking, brighter noise, slightly louder

    - Version C (Dark Tech): very dark noise (LP ~7 kHz), more transient on HITS

    4. Bounce each version and A/B them in your project with bass playing.

    Goal: learn how tiny changes in ducking + filtering decide whether it feels modern, jungle, or dark.

    ---

    7) Recap

  • Clean breaks like a pro by separating HITS (modern punch) from NOISE (vintage vibe). ✅
  • Use Gate + EQ to reduce between-hit noise on HITS.
  • Use EQ isolation + sidechain ducking to control the NOISE bed.
  • Automate noise in the arrangement: more in intros, less in drops.
  • Glue both layers on a BREAK BUS with gentle compression and final EQ.

If you want, tell me which break you’re using (Amen/Think/etc.) and your target style (liquid, roller, neuro, jungle), and I’ll suggest tighter starting settings for your exact case.

Ask GPT about this lesson

Chat with the lesson tutor, get follow-up help, or use quick actions.

Bigup 👽 Ask me anything about this lesson and I’ll answer in context.

Narration script

Show spoken script
Break-noise cleanup from scratch for modern control with vintage tone. Beginner Ableton Live lesson for drum and bass.

Alright, let’s take an old-school break and make it behave like a modern drum recording… without deleting the soul. If you’ve ever dropped an Amen or Think into a clean roller and thought, “This is vibey, but why does my whole mix suddenly sound smaller and noisier,” this is exactly the fix.

The core idea is simple: we stop treating the break like one thing. We split it into two jobs.
One layer is the clean hit layer: the punch, the snap, the controlled tails.
The other layer is the vintage noise layer: the hiss, room, hum, and grain… but reshaped and ducked so it feels intentional.

By the end, you’ll have a reusable setup you can drop onto basically any break.

Let’s do it.

Step zero: prep the break like a grown-up.
Drag your break into Arrangement View on an audio track. Before any processing, get the timing solid.

Turn Warp on. For a safe starting point, choose Complex Pro. It’s usually the most forgiving if you’re new. Now set the segment BPM correctly and align bar 1 so the loop lands cleanly on the grid.

Now consolidate a clean loop. Grab one or two bars where the break feels steady and not weirdly flammed, then consolidate with Command or Control J. This gives you one clean clip to work with.

Quick warp tip: if Complex Pro feels a little smeary and you want more bite, try Beats mode. Set Preserve to Transients, turn transient looping off, and set the envelope around 80 to 100. If you start hearing clicks or the groove loses vibe, just go back to Complex Pro. No ego here, just results.

Step one: identify what “noise” actually is.
Solo the break and listen like a mixer, not like a fan.

Ask three questions.
Is it mostly top-end hiss, like 8 to 16k?
Is there low rumble or turntable hum, like 20 to 120?
And does the noise jump up on snare hits, meaning it’s baked into the transient and not just living between hits?

That third one matters, because if the noise is glued to the transient, hard gating can start sounding fake. We’ll still get control, but we’ll do it smarter.

Step two: remove obvious junk first, surgical but gentle.
On the break track, add EQ Eight.

First move: high-pass. Use a 24 dB per octave high-pass, and start around 25 to 35 Hz. In drum and bass, that space is sacred for your sub. We’re not trying to change the break’s vibe, we’re just removing the stuff that eats headroom and muddies limiters later.

If you hear mains hum or low rumble, add a narrow bell cut at 50 or 60 Hz, depending on your region, and maybe also at 100 or 120. Use a tight Q, like 8 to 12, and cut a few dB. Don’t overdo it. If you carve too hard, the break starts sounding hollow and weird.

Now add Utility after EQ and gain-stage. Aim for the break peaking around minus 10 to minus 6 dBFS before heavy processing. This is boring, but it’s the reason your saturation and compression won’t turn into chaos.

Now the key move: split into hits and noise.
Duplicate the track so you have two copies.
Name the first one BREAK – HITS.
Name the second one BREAK – NOISE.

We’re going to make the hits modern and punchy, and we’re going to turn the noise into a controllable ambience layer.

Let’s build the BREAK – HITS chain first.
On HITS, add a Gate, then EQ Eight, then Drum Buss, and optionally a Compressor after that.

Start with the Gate. The goal is not to create dead silence. The goal is “less noise between hits,” so it still feels like a continuous performance.

Set the threshold so the kick and snare clearly open the gate, but the between-hit hiss drops away. A common range is around minus 25 to minus 15, but ignore the numbers and listen for the groove.

Set Attack fast, like 0.3 to 2 milliseconds, so you keep snap.
Hold around 10 to 30 milliseconds to stop chattering.
Release around 60 to 140 milliseconds. Shorter release makes it tighter and more modern; longer release keeps more natural tails. If the break starts sounding like it’s being chopped with scissors, your release is probably too short, or your threshold is too high.

If you’re missing the very front of the transient, enable a tiny bit of lookahead so the gate catches fast hits cleanly.

Now a coach move that saves you from “hat flutter.”
In the Gate, open the Sidechain section and turn on the filter. Band-pass it roughly from 120 Hz up to 4 kHz. That means the gate is listening mostly to the body of the kick and snare, not the fizzy top. Your hats will stop accidentally opening and closing the gate, and everything will feel more stable.

If you still get tiny clicks at the ends of hits, don’t just crank the release. Instead, add microscopic clip fades. In the clip view, add a 2 to 10 millisecond fade out, or use Ableton’s fade handles on the consolidated clip. That one tiny move can make gating sound “recorded” instead of “edited.”

Now EQ Eight after the gate. If the gate made things a bit dull, add a gentle high shelf, maybe plus 1 to 3 dB around 8 to 10k. If it’s harsh, do the opposite: a small dip around 7 to 9k with a medium Q like 2 to 3.

Then Drum Buss. Keep it light.
Drive around 2 to 6.
Crunch barely on, like 0 to 10, because this gets fizzy fast.
Boom off, or very low. In DnB, Boom often fights the sub and makes your low end messy.
Use Damp, maybe 10 to 30 percent, to calm excessive top fizz.
And Transient up slightly, plus 5 to plus 20, for punch. Just remember: more transient can bring perceived noise back, so don’t overdo it.

Optional: a gentle Compressor after Drum Buss. Ratio 2 to 1, attack 10 to 30 ms, release 60 to 120 ms, and only 1 to 3 dB of gain reduction. This is just glue, not punishment.

At this point, the HITS track should feel tight, punchy, and way more mix-ready.

Now let’s build the BREAK – NOISE layer.
The mission here is to turn the break’s hiss and room into a texture bed you can automate and shape. Think ambience, not cymbals.

On NOISE, start with EQ Eight to isolate the noise.
High-pass somewhere around 200 to 500 Hz. Keep pushing it up until the kick and snare body disappear. You don’t want drum weight here.
Then low-pass around 8 to 12 kHz. Lower equals darker and more “tape,” higher equals more “hiss.” If there’s a nasty whistle, notch it with a narrow Q and cut a few dB.

Now for control: sidechain ducking. This is what makes it modern.
Add a Compressor on the NOISE track.
Turn Sidechain on.
Set Audio From to BREAK – HITS.

Set ratio around 4 to 1.
Attack 1 to 5 ms so it reacts quickly.
Release 80 to 200 ms. Longer release gives smoother breathing, shorter release gives tighter cleanliness.
Set threshold so you’re getting about 3 to 8 dB of gain reduction when the hits land.

Now the noise will breathe around the drums instead of sitting on top of them constantly. This is one of those changes that instantly makes a mix feel louder and clearer, even if the meters barely move.

Now add vibe. Use Saturator or Pedal.
With Saturator, try Analog Clip. Drive 2 to 8 dB. Soft Clip on if it gets spiky.
With Pedal, try Overdrive mode, keep Drive low, like 5 to 15 percent, and keep Tone on the darker side.

Important teacher note: saturation can trick you because louder feels better. After the saturator, put a Utility and level-match. Toggle the saturator on and off and make sure what you’re loving is tone, not extra volume.

Optional movement: Auto Filter on the NOISE.
Set a low-pass around 7 to 12k, small resonance, and just a tiny bit of LFO if you want life. Tiny. If you hear the filter clearly, it’s too much.

One more mix saver: stereo control.
If the noise starts smearing your image or competing with your top loops, put Utility on NOISE and reduce Width to somewhere between 0 and 50 percent. Noise that’s too wide can make your whole track feel foggy.

Now set the NOISE fader low. Here’s a great reality check: in the full mix, mute the NOISE track.
If the drop barely changes, you’re probably in the sweet spot.
If muting it suddenly makes the whole track feel clearer and louder, your noise was too loud or too bright.

Next: arrange it like drum and bass.
In the drop, keep the NOISE lower or duck it harder. Your bass harmonics, rides, and cymbals already fill that region. The noise is just seasoning.

In intros and breakdowns, bring the NOISE up a little, like 2 to 4 dB, or open the low-pass so it feels more jungle and atmospheric. Then automate it down into the drop so the mix “snaps into focus.”

A really slick tension trick is to automate the release time on the NOISE sidechain compressor.
Longer release during the build makes a smooth swell.
Shorter release at the drop makes it tighten up instantly. It feels like the whole track focuses.

For fills, you can do a one-bar grime moment: open the NOISE low-pass briefly, or do a quick band-pass like 800 Hz to 6 kHz for that telephone grit, then snap back to normal on the downbeat.

Now glue both layers together.
Select HITS and NOISE and group them. Name the group BREAK BUS.

On the BREAK BUS, add EQ Eight first.
Tiny high-pass at 20 to 30 Hz.
If it’s boxy, a small dip around 300 to 500 Hz, just 1 to 3 dB.

Then add Glue Compressor.
Try attack 10 ms to keep punch, release on Auto, ratio 2 to 1, and aim for 1 to 2 dB of gain reduction. This is glue, not flattening.

Finally, a Limiter as safety. Just catching peaks, maybe 1 to 2 dB max. We’re not trying to win loudness here; we’re trying to keep your break consistent and controlled.

Common mistakes to avoid as you listen back.
If you over-gate, tails get chopped and the break sounds fake. Back off the threshold, increase hold, or lengthen release slightly. Or accept a little room. Silence is not the goal.
If you clean the highs too much, you lose crispness and DnB stops feeling exciting.
If you boost highs before controlling noise, you’ll just amplify hiss.
If you saturate the noise layer too much, it becomes fizzy and tiring.
And if you don’t duck the noise, the constant hiss steals headroom and makes the entire mix feel smaller.

Now a quick 15-minute practice you can do today.
Pick a classic break, loop two bars at around 170 to 174 BPM, and build this exact HITS and NOISE split.

Make three versions.
Version A: Clean drop. Darker noise, heavy ducking.
Version B: Jungle intro. Lighter ducking, brighter noise, slightly louder.
Version C: Dark tech. Very dark noise, low-pass around 7k, and more transient punch on HITS.

Bounce each one and A/B them with your bass playing. This is how you train your ears to hear how tiny ducking and filtering decisions change the whole aesthetic.

Final recap.
You get modern control by separating the break into HITS and NOISE.
Gate and shape the HITS so they’re tight and punchy.
Isolate and sidechain-duck the NOISE so it breathes, not hisses.
Automate the noise: more in intros, less in drops.
Then glue both layers on a break bus with light EQ and compression.

If you tell me which break you’re using and whether you’re aiming liquid, roller, neuro, or jungle, I can give you tighter starting values for the gate threshold, the noise EQ crossover, and the ducking release time so it lands in the pocket faster.

mickeybeam

Go to drumbasscd.com for +100 drum and bass YouTube channels all in one place - tune in!

Generating PDF preview…