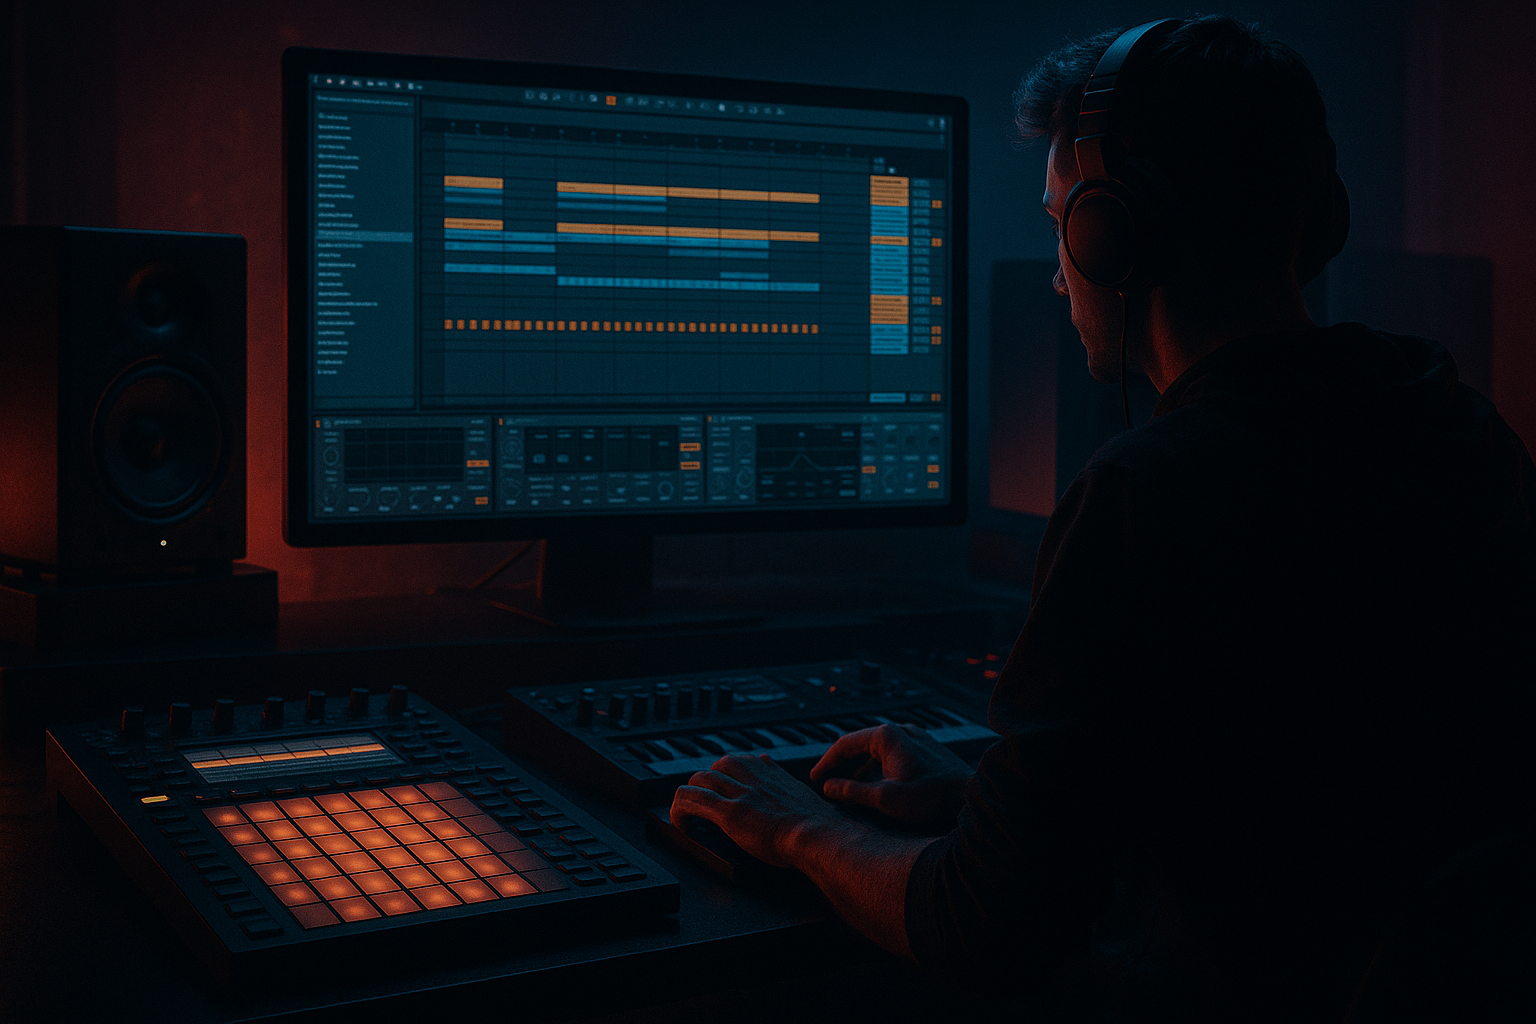
Main tutorial
Break Swing Shaping for Modern Control with Vintage Tone (DnB in Ableton Live) 🥁⚙️
1. Lesson overview
In modern drum & bass, breakbeats often need two things at once:
- Vintage tone (grit, air, texture, natural dynamics)
- Modern control (tight timing, consistent punch, clean low-end behavior)
- Extract groove from breaks (or use classic swing templates)
- Apply swing selectively so the break breathes but the drop stays locked
- Split and process transients vs tails for “crunch + glue”
- Control microtiming without killing vibe
- A tight kick/snare backbone (modern control)
- A break layer that swings and shuffles naturally (vintage feel)
- A device chain that preserves transients, adds dirt, and stabilizes dynamics
- A repeatable method to “dial swing” per element (hats, ghost snares, ride chatter)
- Kick: 1, (optional pickup before 3) depending on style
- Snare: 2 and 4
- Apply groove to the break clip, but keep it subtle:
- Duplicate your MIDI clip.
- In the duplicate, remove kick/snare; keep hats/ghost snares only.
- Apply groove more strongly:
- Your kick/snare MIDI clip: no groove, or very low:
- Manually nudge ghost snares slightly late (a few ms)
- Nudge kicks slightly early (tiny amounts)
- Bars 1–4: Break layer low in volume, mostly tops (tease the groove)
- Bars 5–8: Bring break up + add extra ghost notes (increase groove Timing slightly)
- Bars 9–12: Add a second groove template (or increase Random slightly) for variation
- Bars 13–16: Pull break back, let clean drums dominate, set up next section
- Groove Timing (yes, you can automate groove amount by duplicating clips with different groove settings)
- Break track volume
- Drum Buss Drive
- Auto Filter cutoff (tails layer) for tension
- Swing the hats, not the sub: keep low-end elements tight; let groove live above ~150 Hz.
- Use Roar (if you have Live 12 Suite) for nasty controlled texture:
- Parallel distortion on the break:
- Ghost snare strategy:
- Neuro-style control:
- Use Groove Extract to capture authentic break swing.
- Keep kick/snare mostly straight for modern punch.
- Apply groove more to hats + ghosts, less to fundamentals.
- Use partial quantize and small nudges to refine without sterilizing.
- Build vintage tone with Drum Buss/Saturator/Redux, but keep modern control via transient/tail splitting and careful EQ.
This lesson teaches you a practical workflow to shape swing and feel in breakbeats using Ableton Live stock tools, while keeping that jungle-era flavor. You’ll learn how to:
Skill level: Intermediate (you know Simpler/Sampler, warping basics, Drum Rack, grooves).
---
2. What you will build
By the end you’ll have a rollable DnB break layer with:
Think: modern roller punch with old-school Amen/Funky Drummer attitude.
---
3. Step-by-step walkthrough
Step 0 — Session setup (so swing behaves predictably)
1. Set tempo to 172–176 BPM.
2. In Preferences → Record/Warp/Launch:
- Ensure Auto-Warp Long Samples is off (optional but often helps avoid weird warp assumptions).
3. Create 3 tracks:
- Track 1: DRUMS (Core) (Drum Rack, your clean one-shots)
- Track 2: BREAK (Texture) (audio or Simpler)
- Track 3: DRUM BUS (group bus for both)
Group Track 1 + 2 into a Drum Group.
---
Step 1 — Choose a break and warp it without killing the feel 🎛️
1. Drop a break (Amen, Funky Drummer, Think, etc.) onto Track 2 (BREAK).
2. In Clip View:
- Set Warp: ON
- Try Warp Mode:
- Beats mode for percussive breaks (good starting point)
- Preserve: Transients
- Transient Loop Mode: Off
- Envelope: ~80–100
- If it gets clicky or you want more smear: try Complex Pro at low Formants (but Beats is usually more “breakbeat-correct”).
3. Right-click the clip → Warp From Here (Straight) or place markers manually:
- Put a marker on bar 1 beat 1
- Check snare on 2 and 4 lands right
- Don’t over-warp: use the minimum markers needed so the break stays alive.
Goal: the break is time-correct enough to layer with modern drums, but still has human microtiming.
---
Step 2 — Extract groove from the break (your “vintage swing blueprint”) 🧬
1. Right-click the warped break clip → Extract Groove.
2. Open the Groove Pool (left side panel).
3. Find your extracted groove (it’ll be named after the clip).
Now you have the break’s timing + velocity “DNA” as a reusable groove.
Why this is powerful: you can apply the break’s swing to only hats/ghosts, while keeping your kick/snare locked.
---
Step 3 — Build the modern backbone (kick/snare locked, no swing yet) 🧱
On Track 1 (DRUMS Core):
1. Load a Drum Rack.
2. Place:
- A tight kick (short, controlled)
- A snappy snare (layer if needed)
- A hat or ride (optional)
Program a simple 2-step DnB grid:
Keep this track straight for now (no groove). This is your “modern control anchor”.
---
Step 4 — Apply swing selectively using Groove Pool controls 🎚️
Here’s the key concept: don’t swing everything equally.
1. In Groove Pool, click your extracted groove.
2. Set starting values:
- Timing: 20–35%
- Velocity: 10–25%
- Random: 2–8%
3. Now apply groove differently per track/clip:
#### A) Break layer (Track 2)
- Timing 10–20%
- Velocity 0–15% (break already has dynamics)
- Random 0–5%
This keeps the break “bouncy” but not sloppy.
#### B) Hats/ghost notes in Drum Rack (Track 1)
- Timing 30–55%
- Velocity 15–35%
- Random 5–12%
Now your top-end will shuffle like a real break.
#### C) Keep kick/snare straight
- Timing 0–10%
This keeps the drop feeling “engineered” and heavy.
Pro workflow: Split MIDI into Core (kick/snare) and Groove (tops/ghosts) clips so you can groove them independently.
---
Step 5 — Dial in “modern tightness” with micro-quantize (without flattening feel)
If the groove feels too drunk:
1. Select notes (usually hats/ghosts).
2. Use Quantize Settings:
- Quantize to 1/16
- Amount: 20–50% (not 100%)
This nudges timing toward the grid while retaining swing.
If you want that classic jungle “push-pull”:
In Ableton, use the Delay field per track (ms) or nudge notes.
---
Step 6 — Vintage tone chain on the break (stock devices, real settings) 🧨🕯️
On Track 2 (BREAK), add:
1. EQ Eight
- HPF around 30–60 Hz (24 dB/oct) to clear sub space
- Optional small dip 200–400 Hz if it’s boxy
- Gentle shelf boost 8–12 kHz if you need air (careful)
2. Drum Buss
- Drive: 5–15
- Crunch: 5–20
- Damp: 5–20 (tames harsh top)
- Boom: OFF or very subtle (your sub should come from bass/kick)
- Transients: +5 to +20 if it needs snap, or negative if too clicky
3. Saturator
- Mode: Analog Clip (great for vintage edge)
- Drive: 2–6 dB
- Soft Clip: ON
- If it gets harsh, reduce Drive and push Drum Buss instead.
4. Redux (optional for old sampler flavor)
- Bit Reduction: 10–14
- Sample Rate: 12–20 kHz
- Mix with Dry/Wet 5–20% (subtle is the move)
Goal: it sounds like a break lifted from wax, but sits like a modern layer.
---
Step 7 — Modern control: transient/tail split (big trick) ✂️
To keep vintage dirt while staying punchy:
1. Duplicate the BREAK track → BREAK (TRANSIENTS) and BREAK (TAILS).
2. On TRANSIENTS:
- Add Gate
- Threshold so it catches hits and shortens tails
- Return: keep it snappy
- Add Saturator (light) or Drum Buss Transients up
3. On TAILS:
- Add Auto Filter low-pass around 6–12 kHz (to remove brittle edges)
- Add Glue Compressor
- Attack: 3–10 ms
- Release: Auto
- Ratio: 2:1
- Aim for 1–3 dB GR
- Add Reverb very small room, low mix (3–10%) for air (optional)
Blend the two layers to taste. This gives controlled punch + authentic break wash.
---
Step 8 — Arrangement: how to use swing across an 8/16-bar phrase 📐
A rolling DnB arrangement idea (16 bars drop):
Automation targets:
---
4. Common mistakes ❌
1. Swinging the kick and snare heavily
- Result: the drop loses impact and feels unstable.
2. Over-warping the break
- Too many warp markers = dead groove.
3. Groove Timing too high on everything
- 60–100% timing on the whole drum group often becomes messy fast.
4. No frequency separation
- Break low-end fights your kick/bass; HPF is your friend.
5. Saturation without gain staging
- You’ll think it’s “more energy” but it’s just clipping your bus. Watch levels.
---
5. Pro tips for darker/heavier DnB 🌑🔩
- Subtle drive on break tails, band-split if needed.
- Create a Return track with Saturator + EQ Eight (bandpass 500 Hz–6 kHz)
- Send break to it lightly for grit without wrecking transients.
- Add a ghost snare before beat 2 or between 3–4, then apply groove heavily only to those ghosts.
- Put Multiband Dynamics on the Drum Group very gently (or just on break) to keep mids consistent while preserving snap.
---
6. Mini practice exercise 🧪
Goal: Create two versions of the same drum loop—one “classic jungle loose,” one “modern roller tight.”
1. Pick a break, warp it, and Extract Groove.
2. Build a clean kick/snare loop on-grid.
3. Make two scenes (or duplicate clips):
- Version A (Jungle Loose):
- Break groove Timing: 20–35%
- Hats/ghosts groove Timing: 45–65%
- Add Redux 10–20% wet
- Version B (Modern Tight):
- Break groove Timing: 10–15%
- Hats/ghosts groove Timing: 25–40%
- Use transient/tail split and keep transients louder
4. Bounce both loops and A/B them. Listen specifically for:
- Snare stability
- Hat shuffle
- Whether the break feels “late” or “alive”
---
7. Recap ✅
If you tell me what subgenre you’re aiming for (jungle, rollers, jump-up, techy, halftime) and which break you’re using, I can suggest a groove amount range and a dialed device chain for that exact vibe.

