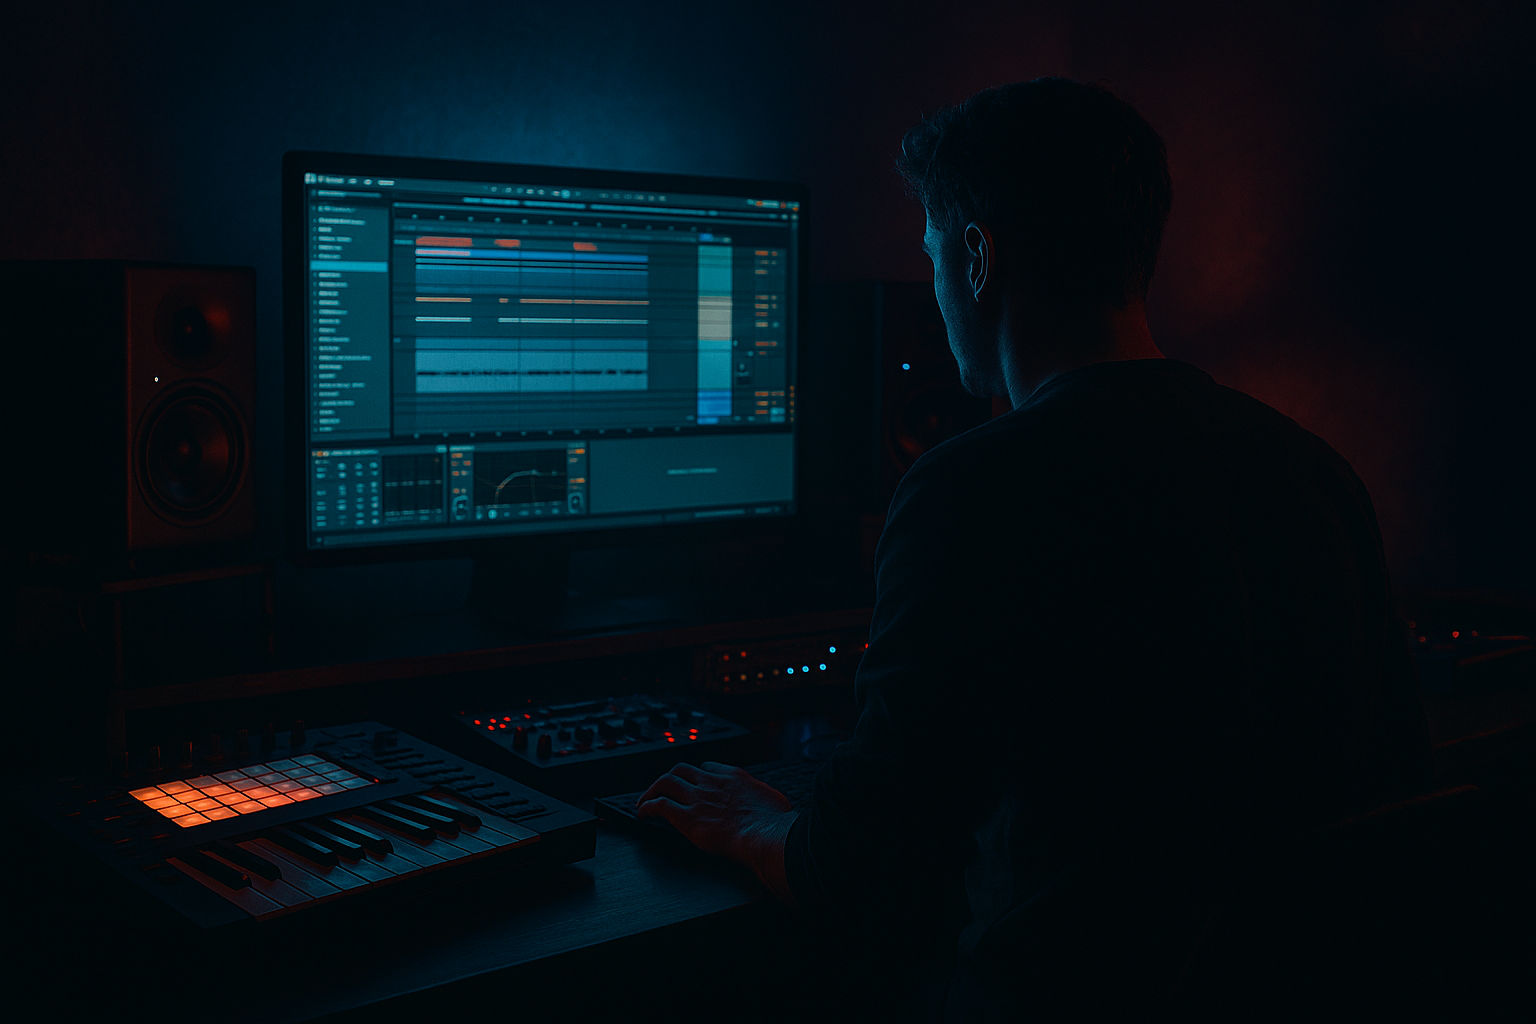
Main tutorial
```markdown
Break Sync Against Halftime Intros (DnB in Ableton Live) 🥁⚡
1. Lesson overview
In drum & bass, a halftime intro (70/140 feel) creates space and tension before the full 170–175 BPM breakbeat drop. The trick is making the breaks feel “locked” to the halftime groove so the transition hits hard instead of sounding like two unrelated beats.
In this lesson you’ll learn a practical Ableton workflow to:
- Build a halftime intro that implies the coming DnB pace
- Sync a full-speed break against that halftime feel (without it sounding rushed or messy)
- Create a clean, confident transition into a rolling drop
- Intro (8 bars): halftime drums (kick on 1, snare on 3), atmosphere, tiny break hints
- Pre-drop (4 bars): break “ghost layer” grows, fills, risers
- Drop (16 bars): full break + punchy kick/snare + rolling hats + bass
- A halftime drum rack
- A break loop track that stays rhythmically consistent
- A transition method using clip warping, fades, and bus processing
- Kick: punchy but not too long
- Snare: heavy clap/snare hybrid
- Hat: closed hat
- Perc: rim / foley click (optional)
- Kick: 1.1.1
- Snare: 1.3.1 (bar beat 3)
- Hat: 1/8 notes (or 1/16 with lower velocity)
- Kick: ~110–127
- Snare: ~115–127
- Hats: vary 45–85
- Put the break solo and play with metronome.
- If it flams against the grid, fix warp markers at big hits (kick/snare), not everywhere.
- Duplicate `Break Loop` to `Break Hits`
- Right-click the break clip → Slice to New MIDI Track
- A ghost snare before beat 3
- A quick hat rush at the end of the bar
- A 1/16 glitch fill into the pre-drop
- Halftime drums full
- Break loop filtered (Method A) quietly underneath
- Automation:
- Bring the break up from -14 dB → -8 dB
- Reduce halftime elements slightly (or remove kick on bar 12)
- Add a fill:
- Echo on a snare hit (Feedback 25–40%, 1/4 or 1/8)
- Reverb short plate (Decay 0.8–1.5s) on select hits
- Auto Pan very subtle on atmos (rate 0.1–0.3 Hz)
- Full break at full bandwidth (remove/relax high-pass)
- Either:
- Add a crash + sub hit
- Very short master gap (1/16 silence) if it fits the style (optional, don’t overuse)
- Make the break meaner with parallel distortion:
- Use gated reverb on a halftime snare for menace:
- Keep breaks tight with transient control:
- Make the halftime feel huge without being busy:
- Dark atmosphere trick:
- A halftime intro works best when it shares rhythmic DNA with the DnB break.
- The easiest professional method is a filtered break shadow under halftime, slowly revealed.
- Warp breaks carefully: correct 1.1.1, minimal markers, and Beats warp mode is a great start.
- Use arrangement moves (fills, automation, short removal moments) to make the transition hit hard.
- Glue the drum world together with a DRUM BUS using Glue Compressor + light saturation.
---
2. What you will build
You’ll produce a simple arrangement like this (at 174 BPM):
You’ll end up with:
---
3. Step-by-step walkthrough
Step 0 — Session setup (so timing stays clean)
1. Set tempo to 174 BPM (typical rolling DnB).
2. In Preferences → Record/Warp/Launch:
- Auto-Warp Long Samples: OFF (recommended when handling breaks manually)
3. Create tracks:
- MIDI Track: `HalfTime Drums`
- Audio Track: `Break Loop`
- Audio Track: `Break Hits (optional)` for single chops
- Return Track A: `Short Verb` (reverb)
- Group: `DRUM BUS` (group your drum tracks into this)
---
Step 1 — Build a halftime intro groove (simple but weighted) 🥁
On `HalfTime Drums`, load a Drum Rack with:
Program a 1-bar halftime pattern (in MIDI):
Velocity suggestion (beginner-friendly):
Stock device chain (HalfTime Drums track):
1. Drum Buss
- Drive: 5–15%
- Boom: 20–35% (tune around 50–70 Hz depending on kick)
- Transients: +5 to +15
2. EQ Eight
- Cut mud around 250–400 Hz if boxy
- Optional gentle shelf above 8–10 kHz if hats need air
This halftime groove is your “anchor”.
---
Step 2 — Choose and warp a break properly (this is everything) 🎯
Drag a classic break (Amen, Think, Hot Pants, etc.) into `Break Loop`.
1. Double-click the clip → Warp: ON
2. Set Seg. BPM if Ableton guessed wrong:
- If it’s a typical old break, it might be ~160–175, or even recorded looser.
3. Set Warp Mode:
- Start with Beats
- Preserve: Transient
- For cleaner tails: try 1/16 or 1/8
4. Find the first clean transient (usually the first kick) and:
- Right-click → Set 1.1.1 Here
5. Set loop length:
- Many breaks are 1 bar or 2 bars
- Make sure the loop ends exactly on the bar line (2.1.1, 3.1.1, etc.)
Quick check:
---
Step 3 — The core concept: “break sync against halftime”
You want the break to feel like it’s already present during halftime, just restrained.
#### Method A (most reliable): Break as a filtered “shadow” layer in the intro
1. In the arrangement, place the break loop starting at bar 1 (same start as halftime drums).
2. Turn the break down to around -18 to -12 dB.
3. Add this device chain on `Break Loop`:
Break Loop chain (stock):
1. EQ Eight
- High-pass at 120–200 Hz (removes low-end conflict with halftime kick)
- Optional dip at 2–4 kHz if snare gets too pokey
2. Auto Filter (for movement)
- Filter type: LP24
- Cutoff: start around 800–2kHz
- Envelope: small amount, or automate cutoff across 8 bars
3. Utility
- Width: 70–100% (keep it controlled)
4. (Optional) Saturator
- Drive: 1–4 dB
- Soft Clip: ON (if it’s spiky)
Now the break is in sync, but “behind the curtain.” This makes the eventual full break feel inevitable.
#### Method B: Make halftime feel like DnB by adding “micro-hints”
In bars 5–8 (still halftime), add tiny break chops:
- Slicing preset: Built-in → Slicing
- Slice by: Transient
Now you can trigger small bits:
This makes the halftime groove talk the same rhythm language as the full break.
---
Step 4 — Arrange the transition (this is where it feels “pro”) 🚦
Let’s do a simple 8 + 4 + drop structure.
#### Bars 1–8 (Halftime intro)
- Auto Filter cutoff rising slowly
- Optional reverb send increasing on a texture
#### Bars 9–12 (Pre-drop tension)
- Use a 1/2 bar break fill (copy a spicy part of the break)
- Add Reverb (short) and delay throw (Echo) on the last hit
Stock tension tools:
#### Bar 13 (Drop)
- Mute halftime kit, or
- Keep only a reinforced kick/snare for punch
Clean “impact” trick:
Right on the drop:
---
Step 5 — Lock the break and drums together (bus glue)
Group `HalfTime Drums` + `Break Loop` into `DRUM BUS`.
On the DRUM BUS group, add:
1. Glue Compressor
- Attack: 3 ms
- Release: Auto (or 0.1–0.3s)
- Ratio: 2:1
- Aim for 1–3 dB gain reduction on loudest parts
2. Drum Buss (optional, very light)
- Drive: 2–6%
- Transients: +5
3. EQ Eight
- Tiny low shelf cut if it’s boomy
- Tiny high shelf if it needs bite
This helps the break and halftime elements feel like one “drum engine.”
---
4. Common mistakes (and quick fixes)
1. Warping the break with too many warp markers
- Fix: Only warp major hits. Too many markers = weird time-stretch artifacts.
2. Halftime intro has no relationship to the drop
- Fix: Layer a filtered break shadow or micro-chops so the rhythm DNA matches.
3. Low-end clashes (mud or weak punch)
- Fix: High-pass the break in intro (120–200 Hz) and let the dedicated kick/sub own the lows.
4. Drop feels smaller than the intro
- Fix: In the intro, keep drums narrower/filtered. Save full bandwidth + loudness for the drop.
5. Transition feels abrupt instead of exciting
- Fix: Automate filter, add a fill, and do a small drum “remove” moment right before the drop.
---
5. Pro tips for darker/heavier DnB 🖤
- Return track with Saturator (Drive 6–12 dB) + EQ Eight (band-limit 200 Hz–8 kHz)
- Send break to it lightly for grit.
- Reverb (Decay 1.2–2.5s) → Gate after it
- Automate it off right at the drop so the drop goes dry/punchy.
- Drum Buss transients up slightly
- Or soften harshness with Saturator soft clip and EQ.
- Add a low tom hit on beat 4 occasionally
- Add sparse ride swells or reversed cymbals into bar transitions
- Create a pad/noise texture, then automate Auto Filter + Redux (very subtle) for dystopian movement.
---
6. Mini practice exercise (15–20 minutes) ⏱️
1. Set project to 174 BPM.
2. Program a 1-bar halftime beat (kick 1, snare 3).
3. Import a break and warp it so it loops perfectly for 1–2 bars.
4. Place the break under the halftime intro for 8 bars:
- HP filter at 150 Hz
- Lower volume to -14 dB
- Automate low-pass opening over the 8 bars
5. In bars 9–12:
- Add 2–4 transient slices (Slice to MIDI) as a fill
6. At bar 13:
- Drop into full break (remove most filtering)
- Mute the halftime kick/snare (or keep only one layer)
Goal: When you hit play from bar 1, the drop should feel like a natural “reveal,” not a different track.
---
7. Recap ✅
If you want, tell me what kind of vibe you’re making (roller, jungle, neuro, dark minimal) and I’ll suggest a specific halftime pattern + break choice + transition automation plan.
```

