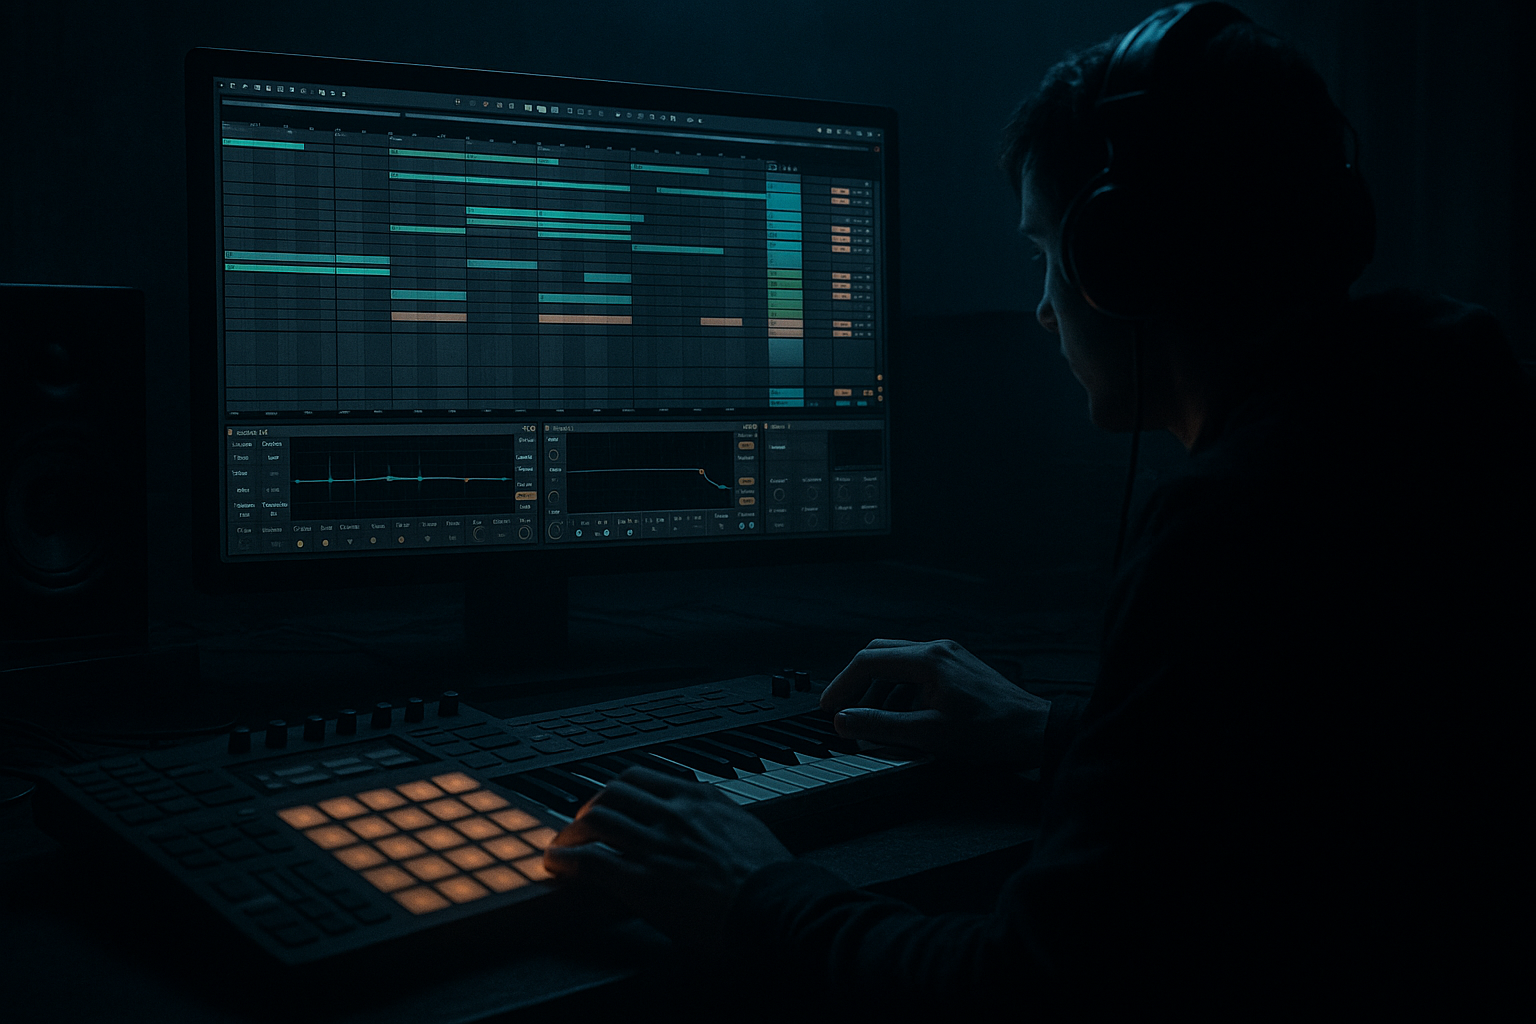
Main tutorial
Break Transient Control for Modern Punch with Vintage Tone (DnB in Ableton Live) 🥁⚡
1) Lesson overview
Modern drum & bass drums need controlled transients (so they hit hard, translate on small speakers, and survive mastering), but we also crave that vintage break tone (hair, crunch, room, and that “tape-ish” glue).
In this lesson you’ll learn a repeatable Ableton Live workflow to:
- Keep kick/snare transients tight and consistent
- Preserve (or even enhance) break character and swing
- Add vintage saturation + glue without flattening your drums
- Build a rollable 2-step / jungle break layer that feels modern
- Tempo: 172–176 BPM (try 174 BPM)
- Create three tracks:
- Kick-ish slice on 1
- Snare-ish slice on 2 and 4 (half-bar positions in 174)
- Add ghost notes: tiny slices before/after snare for jungle energy
- Snare: beat 2 and 4
- Add a small ghost ~1/16 before beat 2 (low velocity)
- A hat slice on offbeats to keep it rolling
- Bar 4: remove a kick slice
- Bar 8: add a little fill (extra snare slice / pitch-down)
- Drive: 5–15% (taste)
- Crunch: 0–10% (light; we’ll add character later)
- Boom: OFF for breaks (usually)
- Transient: -10 to -25 (reduces spiky peaks)
- Damp: 5–15% (tames harsh top if needed)
- Mode: `Analog Clip` or `Soft Sine`
- Drive: 2–6 dB
- Soft Clip: ON
- Output: match level (don’t just get louder)
- High-pass: 30–60 Hz (remove sub rumble)
- Reduce mud: -2 to -5 dB at ~200–400 Hz (wide Q)
- Tame harshness: -2 to -4 dB around 6–10 kHz if needed
- Optional: tiny presence bump 2–4 kHz if the break feels too soft after transient reduction.
- Attack: 3 ms (or 10 ms if you want more punch preserved)
- Release: Auto or 0.1–0.3 s
- Ratio: 2:1
- Threshold: aim for 1–3 dB gain reduction on peaks
- Makeup: OFF (level manually)
- Use Drum Rack with clean one-shots:
- Kick:
- Snare:
- Transient: +5 to +20 (adds snap)
- Drive: 0–10% (depending on sample)
- Damp: small if harsh
- Break: Transient negative (smoother)
- Punch: Transient positive (snappier)
- Threshold: adjust until tail tightens but ghost notes remain
- Return: 6–12 dB (brings body back after gating)
- Attack: 0.3–1 ms
- Hold: 10–30 ms
- Release: 60–140 ms (timed to the groove)
- Bars 1–4: Break only (filtered/lowpassed), hint of punch snare
- Bars 5–8: Bring punch kick+snare full, reduce break send to vintage crush slightly
- Bars 9–16 (drop):
- Automate Drum Buss Transient on BREAK: slightly more negative in busiest sections
- Automate `VINTAGE CRUSH` send up during fills for chaos, then back down
- Over-transient shaping the break: If Transient is too negative, the break loses life and groove. Leave some bite.
- Saturating before controlling peaks: Saturator will exaggerate sharp hits → harshness. Tame transients first.
- Layering without EQ roles: If break and punch both carry the same midrange, you’ll get papery snares and crowded hats.
- Gating too hard: You’ll delete ghost notes and “jungle chatter.” Use gentle thresholds and musical releases.
- Too much parallel crush: It’s easy to make drums sound cool solo and messy in the mix. Check with bass playing.
- Make the break darker on purpose:
- Midrange aggression without fizz:
- Snare weight trick:
- Controlled chaos fills:
- Sidechain the break to the punch snare (subtle):
- Use the break for tone and groove, but control its transients (Drum Buss Transient negative + gentle gating).
- Use one-shots for modern punch, enhancing transients (Drum Buss Transient positive).
- Add vintage character in parallel (Saturator/Redux/Filter/Glue) so you don’t destroy impact.
- Glue lightly on the drum bus and automate small changes for arrangement energy.
We’ll do it with stock Ableton devices (with optional extras).
---
2) What you will build
A 2-layer DnB drum system:
1. Break Layer (tone + groove)
Vintage vibe, controlled with transient shaping and gating so it doesn’t smear your mix.
2. Punch Layer (modern impact)
Clean kick + snare (or tight one-shots) providing consistent transient “spine”.
You’ll end with a Drum Bus that’s loud, glued, and still dynamic—perfect for rolling/neuro/darker jungle-inspired stuff.
---
3) Step-by-step walkthrough
Step 0 — Session setup (fast, but important)
1. `BREAK` (Audio)
2. `PUNCH` (Drum Rack or Audio)
3. `DRUM BUS` (Group the two tracks or route both to a bus)
Ableton tip: Select BREAK + PUNCH → Cmd/Ctrl+G to group.
---
Step 1 — Choose and prep a break (warp like a pro)
Pick a classic-style break: Amen-ish / Think / Funky Drummer / Hot Pants vibes.
1. Drop the break into `BREAK`.
2. In Clip View:
- Warp: ON
- Mode: `Complex Pro` for quick results
(If it gets dull, try `Beats` with Preserve = `Transients`, but we’ll control transients later.)
- Seg. BPM: set correctly if Live guesses wrong.
3. Tighten the pocket (but keep groove):
- Right-click clip → Slice to New MIDI Track
- Slicing preset: `Built-in` → “Slice to Drum Rack”
- Slice by: `Transients`
- Now you have break slices in a Drum Rack—ideal for micro-editing, ghost notes, and transient control.
Why slice? It lets you control transients per hit, not just as one big loop—huge for modern DnB clarity.
---
Step 2 — Rebuild a rolling 2-step from the slices (DnB arrangement feel)
In the sliced MIDI track (your break rack), write a simple 2-step:
Practical MIDI idea (1 bar at 174):
Then duplicate to 8 bars and make variations:
---
Step 3 — Transient control on the BREAK (tight punch, keep tone) 🎯
Now we shape the break so it doesn’t fight your punch layer.
BREAK rack chain (on the sliced break track):
1. Drum Rack (slices)
2. Drum Buss
3. Saturator
4. EQ Eight
5. Glue Compressor (light)
6. Utility (gain staging)
#### 3A) Drum Buss (the secret weapon)
Start here:
What it does: You’re shaving transient spikes so you can push level and saturation without harshness.
#### 3B) Saturator (vintage hair without killing attack)
Goal: Add harmonic thickness to the body of the break while Drum Buss keeps the transients from getting brittle.
#### 3C) EQ Eight (carve for modern layering)
Typical break EQ moves (adjust by ear):
#### 3D) Glue Compressor (light glue, not smash)
Key: We’re controlling, not flattening.
---
Step 4 — Build the PUNCH layer (modern kick/snare spine) 💥
Your break provides vibe; your punch layer provides consistency.
Create `PUNCH` track:
- Kick: short, punchy
- Snare: tight fundamental + crack (or layer two snares)
Punch chain (on PUNCH):
1. EQ Eight
2. Drum Buss
3. Saturator (optional)
4. Compressor (optional)
#### 4A) Punch EQ (make room for bass + break)
- Tighten sub area: don’t overboost.
- Often a small cut around 200–300 Hz reduces boxiness.
- Shape body: 180–250 Hz (careful)
- Crack: 2–5 kHz
- Air: 8–12 kHz (tiny)
#### 4B) Drum Buss on punch (for “modern controlled hit”)
Important: Notice the contrast:
This is how you get modern control with vintage tone.
---
Step 5 — Make the break feel “vintage” without ruining punch (parallel character bus) 🧪
Add an Audio Return Track called `VINTAGE CRUSH`.
On the return, build this chain:
1. Saturator
- Drive: 6–12 dB
- Analog Clip
- Soft Clip ON
2. Auto Filter
- Mode: LP24
- Cutoff: 8–14 kHz (roll off modern fizz)
- Slight resonance (5–15%)
3. Redux (subtle!)
- Downsample: 1.2–2.5 (just a touch)
- Bit reduction: 0–2
4. Glue Compressor
- Ratio 4:1
- Attack 10 ms
- Release Auto
- GR: 3–6 dB
Send BREAK to this return at -18 to -10 dB send.
Send PUNCH lightly (or not at all).
Result: Vintage grime in parallel while the core stays punchy. 😈
---
Step 6 — Control break tails with gating (tight modern rhythm)
A common issue: vintage breaks have long hats/rooms that blur your groove.
On the BREAK track, try Gate before saturation:
Technique: Set Release to feel like it “breathes” in 1/16 or 1/8 rhythm at 174.
---
Step 7 — Drum Bus group finishing (glue + loudness safely)
On the `DRUM BUS` group:
1. EQ Eight (tiny corrective)
- Optional low shelf -1 to -2 dB at 60–90 Hz if kick/bass fight
2. Glue Compressor
- Attack: 10 ms
- Release: Auto
- Ratio: 2:1
- GR: 1–2 dB average
3. Limiter (light safety)
- Ceiling: -0.3 dB
- Aim: no more than 1–2 dB limiting most of the time
Gain staging target: Drum bus peaks around -6 dBFS before the Limiter if you’re still writing.
---
Step 8 — Arrangement ideas (DnB/Jungle feel) 🧱
For an 16-bar loop turning into a drop:
- Full punch
- Break slightly quieter than punch (often -3 to -8 dB)
- Add a 1-bar drum fill at bar 16 by reordering slices (or pitching one slice down)
Automation moves:
---
4) Common mistakes 🚫
---
5) Pro tips for darker/heavier DnB 🕳️
Use Auto Filter LP12/LP24 at 10–14 kHz so your synthetic hats/ride can own the top end.
Try Saturator + EQ Eight after: boost 1–3 kHz after saturating, not before.
Layer a very short tonal “thud” under the snare (lowpassed at 200–300 Hz). Keep it subtle.
In the last 1/2 bar, automate break Redux slightly up and then cut it instantly on the downbeat.
Compressor on BREAK keyed from PUNCH snare, 1–2 dB GR, fast attack/release. Keeps snare crack clear.
---
6) Mini practice exercise (20 minutes) ⏱️
1. Pick a break, Slice to Drum Rack.
2. Program an 8-bar rolling pattern using only slices.
3. Add `PUNCH` kick+snare on top.
4. Set:
- BREAK Drum Buss Transient: -15
- PUNCH Drum Buss Transient: +12
5. Create `VINTAGE CRUSH` return and blend until you feel the grit but the transients stay clean.
6. Export two versions:
- A) Break louder than punch
- B) Punch louder than break
Compare which feels more “modern but vintage” in context.
---
7) Recap ✅
If you tell me what kind of break you’re using (Amen-style, Think, clean modern break, etc.) and your sub style (roller, neuro, jungle), I can suggest exact transient ranges and EQ points tailored to that sound.

