Main tutorial
Breakdown Pad for Warm Tape-Style Grit in Ableton Live 12
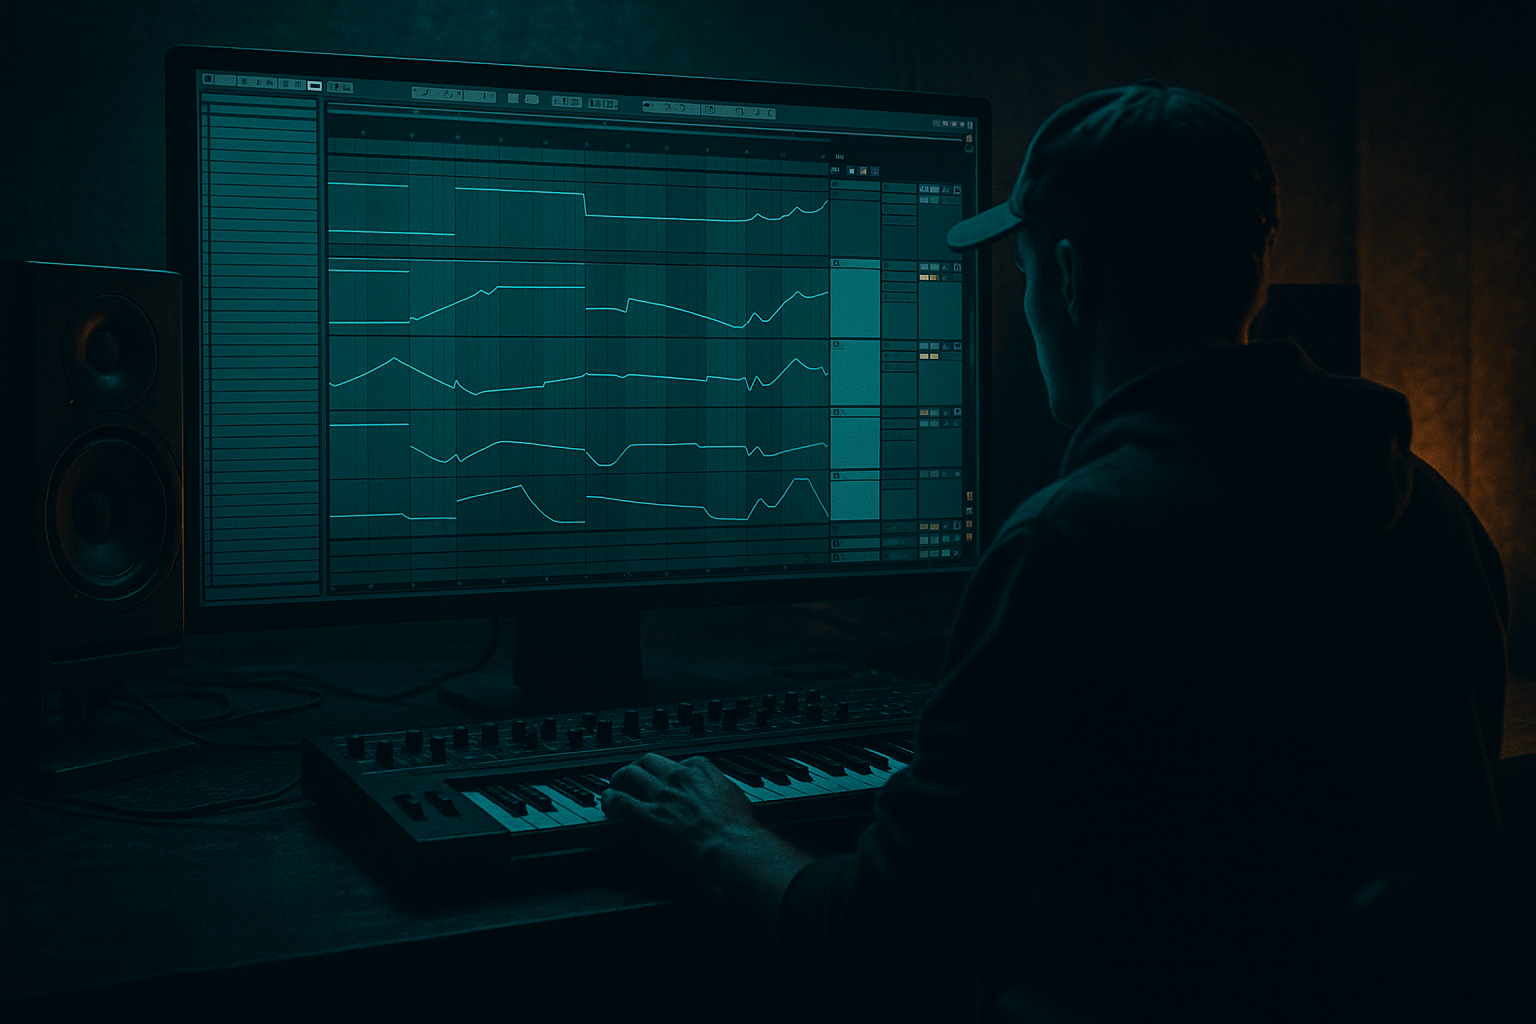
Jungle / Oldskool DnB Breakbeats Tutorial 🎛️🥁
1. Lesson overview
In jungle and oldskool drum & bass, the breakdown pad is more than just “background harmony.” It’s the emotional reset before the drop: smoky, degraded, slightly haunted, and usually full of texture. Think of those warm, dusty chords that feel like they came off a warped cassette or an old VHS tape.
In this lesson, you’ll learn how to build a warm tape-style gritty pad inside Ableton Live 12 using stock devices. The goal is a pad that feels:
- Warm and blurred
- Lo-fi and slightly unstable
- Dark enough for jungle / oldskool DnB
- Useful in a breakdown before the drums come back in
- Wavetable or Analog
- Saturator
- Chorus-Ensemble
- Echo
- Reverb
- EQ Eight
- Drum Buss or Dynamic Tube
- Auto Filter
- Utility
- Optional Redux for grit
- holds long chords for 4–8 bars
- has tape-like warmth and wobble
- sits behind breaks and bass without taking over
- can be automated to grow tension before the drop
- works well in jungle, jungle-tech, oldskool DnB, and rolling atmospheric sections
- a Rhodes-ish chord layer
- filtered through an old tape machine
- slightly overdriven
- wide but not too shiny
- with enough movement to stay alive in a long breakdown
- Oscillator 1: Saw wave
- Oscillator 2: Sine or triangle, tuned same pitch
- Unison: 2–4 voices
- Detune: low to moderate
- Filter: low-pass, cutoff around 4–8 kHz
- Envelope:
- Use two oscillators
- Set one slightly detuned from the other
- Use a low-pass filter
- Increase glide/spread only slightly if needed
- Keep the amp envelope smooth and slow
- Am – F – G – Em
- Dm – Bb – C – Am
- Cm – Ab – Eb – Bb
- Em – C – D – Bm
- Hold each chord for 1 bar or 2 bars
- Use long note lengths so the pad can bloom
- Keep the voicing simple at first:
- A2
- E3
- C4
- G4
- Filter type: Low-pass 12 dB or 24 dB
- Cutoff: around 1.5–4 kHz
- Resonance: low, around 5–15%
- Drive: a little if needed
- starts darker
- opens gradually during the breakdown
- then closes slightly before the drop for tension
- Mode: Soft Sine or Analog Clip
- Drive: 2–8 dB
- Soft Clip: ON
- Output: compensate so the level stays controlled
- thickness
- harmonic warmth
- a slightly worn tape texture
- Mode: Chorus
- Amount: low to moderate
- Rate: slow
- Delay: short
- Width: fairly wide
- Keep the movement subtle
- You want drift, not obvious 80s chorus unless that’s the vibe
- The goal is “unstable warmth,” not a cheesy effect
- Decay Time: 3–8 sec
- Pre-delay: 10–30 ms
- Size: medium to large
- Low Cut: around 200–400 Hz
- High Cut: around 6–9 kHz
- Dry/Wet: keep moderate
- Use a plate, hall, or convolution hall
- Blend a short early reflection section with a longer tail
- Delay Time: synced to 1/8D, 1/4, or 1/8
- Feedback: 15–35%
- Filter: darken the repeats
- Modulation: low amount for wobble
- Dry/Wet: modest
- Drive: low
- Boom: usually OFF for pads
- Crunch: very low if used
- Damp: adjust to taste
- Drive: low to medium
- Bias: adjust slightly for color
- Use it gently to thicken the pad
- High-pass around 120–250 Hz
- Cut any muddy area around 250–500 Hz
- If the pad is too sharp, gently reduce around 3–6 kHz
- If needed, add a tiny shelf boost around 1–2 kHz for presence
- Check mono compatibility
- Reduce width if the pad feels too huge
- Use Bass Mono cautiously if needed
- If the pad is too wide and messy, bring width down a little
- Filter cutoff: 1.5–4 kHz
- Saturator drive: 2–8 dB
- Reverb decay: 3–8 sec
- Echo feedback: 15–35%
- HPF in EQ: 120–250 Hz
- filtered pad only
- low volume
- little reverb
- open the filter slightly
- increase reverb send
- maybe add delayed repeats
- add automation to saturation or chorus amount
- introduce tension notes or suspended chords
- automate filter opening further
- cut drums out completely or leave only fx
- prepare a snare roll or reverse crash into the drop
- a reverse reverb swell
- vinyl crackle or texture
- atmospheric jungle ambience
- a filtered break loop underneath
- Cm
- Fm
- Gm
- Ab major used as a color chord
- one layer wide and airy
- one layer more mid-focused and filtered
- tiny LFO movement
- very small detune
- slow chorus modulation
- vinyl crackle
- room noise
- tape hiss
- old ambience sample
- Keep it subtle
- Just enough to avoid masking
- Great for modernizing the oldskool atmosphere without losing vibe
- Does it feel warm?
- Is it dark enough?
- Does it support the breaks instead of fighting them?
- Does it sound like it could sit before a drop?
- Start with a simple synth patch
- Use minor or modal chords
- Darken the sound with filtering
- Add warmth with saturation
- Add movement with chorus and echo
- Create space with reverb, but keep it controlled
- Clean the low end with EQ
- Automate the pad so it evolves through the breakdown
- a device-by-device Ableton rack recipe
- a MIDI chord pack for jungle breakdowns
- or a matching reese bass tutorial to pair with this pad.
We’ll focus on a practical workflow using Ableton’s built-in tools like:
This is beginner-friendly, but the sound will still feel authentic in a proper DnB context. 🔥
---
2. What you will build
By the end, you’ll have a breakdown pad patch that:
Final sound character
Imagine a pad that sounds like:
---
3. Step-by-step walkthrough
Step 1: Create a MIDI track and choose a synth source
1. Create a MIDI track
2. Load Wavetable
- If you want a softer, more analog feel, use Analog instead
3. Start from a simple preset:
- for Wavetable: choose a basic saw/pad patch
- for Analog: choose a plain warm pad or synth pad
Recommended synth settings
If using Wavetable:
- Attack: 50–150 ms
- Decay: 1–3 sec
- Sustain: 60–80%
- Release: 2–6 sec
If using Analog:
Why this matters
Oldskool DnB pads are rarely super bright or hyper-detailed. They usually sit in the midrange and upper mids with a soft top. That gives room for the breakbeat and the sub to hit hard later.
---
Step 2: Write a simple chord progression
For jungle and atmospheric DnB, start with minor or modal chords.
Good beginner-friendly progressions:
MIDI tips
- root
- minor third
- fifth
- optional octave on top
DnB voicing tip
Try placing the notes slightly spread apart rather than stacked too tightly.
Example in A minor:
This helps the pad feel wider and less muddy.
---
Step 3: Make the pad feel more “oldskool” with filtering
Add Auto Filter after the synth.
Suggested starting settings:
Why use a filter here?
Tape-style pads often feel like they’ve been rolled off slightly. You don’t want shiny modern synth top-end unless you plan to shape it later.
Workflow idea
Automate the cutoff so the pad:
This is very effective in DnB arrangement. 😎
---
Step 4: Add saturation for warm grit
Now add Saturator.
Suggested starting settings:
What this does
Saturation gives the pad:
Important
Don’t smash it too hard yet. In DnB, the pad should feel gritty but still leave room for drums and bass.
---
Step 5: Add tape-style movement with Chorus-Ensemble
Add Chorus-Ensemble after Saturator.
Suggested starting settings:
Good starting approach
This is especially useful in jungle breakdowns where the pad should feel animated even when the drums drop out.
---
Step 6: Create depth with Reverb
Add Reverb or Hybrid Reverb.
#### If using Reverb:
#### If using Hybrid Reverb:
A very good DnB choice:
Pro breakdown tip
For jungle and oldskool DnB, don’t make the reverb too pristine. A slightly dark, smeared tail works better than a shiny hi-fi one.
---
Step 7: Add a tape-style delay or echo wash
Add Echo after Reverb, or before Reverb if you prefer a softer smear.
Suggested settings:
DnB use
Echo can help create that emotional “space between the breaks.”
For oldskool vibes, keep the repeats a little muddy and filtered.
---
Step 8: Warm it further with Drum Buss or Dynamic Tube
This is where things start to feel more authentic.
#### Option A: Drum Buss
Use lightly:
#### Option B: Dynamic Tube
A very good choice for subtle degradation:
Rule
You want “recorded through an old machine” energy, not distortion that destroys the chord tone.
---
Step 9: Clean the low end with EQ Eight
Add EQ Eight near the end of the chain.
Suggested EQ moves:
- higher if the bassline is busy
Important DnB mixing tip
Pads must not fight the sub bass or the kick/snare energy.
Your pad should support the atmosphere, not occupy the low end.
---
Step 10: Control the width with Utility
Add Utility last.
Suggested use:
Good practice
In jungle and DnB, wide atmosphere is nice, but the mix must still hit in the center when the drums return.
---
Suggested device chain
Here’s a practical chain you can copy:
1. Wavetable or Analog
2. Auto Filter
3. Saturator
4. Chorus-Ensemble
5. Echo
6. Reverb or Hybrid Reverb
7. Drum Buss or Dynamic Tube
8. EQ Eight
9. Utility
Simple starting values summary
---
Arrangement ideas for a jungle / DnB breakdown
A breakdown pad works best when it evolves over time. Try this:
8-bar breakdown structure
Bars 1–2
Bars 3–4
Bars 5–6
Bars 7–8
Common jungle-style trick
Layer your pad with:
That makes the breakdown feel like part of a bigger scene, not just a chord loop.
---
4. Common mistakes
1. Making the pad too bright
If your pad has too much top-end, it can sound modern and synthetic instead of oldskool.
Fix:
Lower filter cutoff, use EQ, darken reverb and echo.
---
2. Overloading the reverb
Too much reverb makes the breakdown wash out and can kill the groove.
Fix:
Use high-pass filtering on reverb, reduce wetness, or automate it only in key moments.
---
3. Not leaving space for bass
A pad with too much low-mid energy can clash badly with the sub and reese bass.
Fix:
High-pass the pad and reduce 200–500 Hz if it feels cloudy.
---
4. Using too much stereo widening
Huge width can sound impressive in solo but weak in mono and messy in a club mix.
Fix:
Use Utility to check mono and keep the core chord stable.
---
5. No movement
A static pad can feel lifeless in a breakdown.
Fix:
Automate cutoff, reverb, delay feedback, or chorus amount over time.
---
5. Pro tips for darker/heavier DnB
Tip 1: Tune the pad to the bass mood
If your bassline is dark and minor, choose chords that reinforce that mood.
For example:
This keeps the breakdown aligned with the drop.
---
Tip 2: Layer with a low synth texture
Duplicate the pad and make a second layer:
This gives depth without cluttering the mix.
---
Tip 3: Use subtle pitch drift
For more tape feel, automate or modulate pitch very slightly:
This creates that unstable, worn character associated with old tape and sampled hardware.
---
Tip 4: Try resampling
Once your pad sounds good:
1. Freeze and Flatten, or resample to audio
2. Reverse certain sections
3. Warp lightly if needed
4. Add fades and automation
This works brilliantly for jungle-style breakdowns because the audio starts to feel like a found texture rather than a clean synth.
---
Tip 5: Add low-level noise or vinyl texture
Place a quiet texture track underneath:
This helps sell the “warm tape” illusion.
---
Tip 6: Use sidechain very gently
If the pad continues under a kick or intro drums, add a gentle Compressor sidechain from the kick or full drum bus.
---
6. Mini practice exercise
Goal
Build a 4-bar breakdown pad for a jungle tune.
Exercise steps
1. Load Wavetable
2. Pick a saw-based pad
3. Write this progression in D minor:
- Dm – Bb – C – Dm
4. Hold each chord for 1 bar
5. Add this chain:
- Auto Filter
- Saturator
- Chorus-Ensemble
- Hybrid Reverb
- EQ Eight
- Utility
6. Automate:
- filter cutoff slowly opening over 4 bars
- reverb wet/dry slightly increasing in bar 3
7. High-pass the pad at 180 Hz
8. Export or bounce it and listen against your breakbeat loop
What to listen for
If it feels too clean, add a little more saturation and a darker echo.
If it feels too muddy, tighten the EQ and reduce reverb.
---
7. Recap
You’ve now built a warm tape-style gritty breakdown pad for jungle and oldskool DnB in Ableton Live 12.
Key takeaways
Final mindset
In DnB, the best breakdown pads don’t just sound pretty — they create tension, history, and atmosphere. You want the listener to feel like the drop is coming from somewhere deeper and more emotional. That’s the jungle magic. 🌫️🥁
If you want, I can also turn this into:

